Posted onFebruary 18, 2017February 18, 2017inDIY, Step by step, Tutorial How To Make Mini Photo Album
Posted onFebruary 18, 2017February 18, 2017inBest out of Waste, DIY, Step by step, Tutorial DIY: Handmade Tissue Box
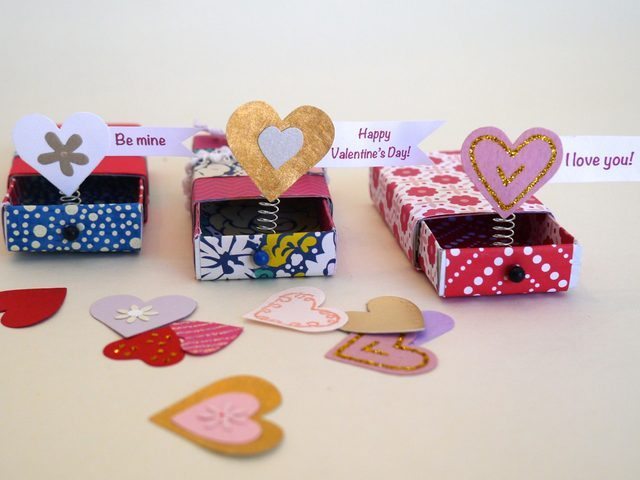
Posted onFebruary 16, 2017inBest out of Waste, DIY, Step by step, Tutorial, Valentine’s Day DIY: Surprise Messages Hidden In Little Matchboxes
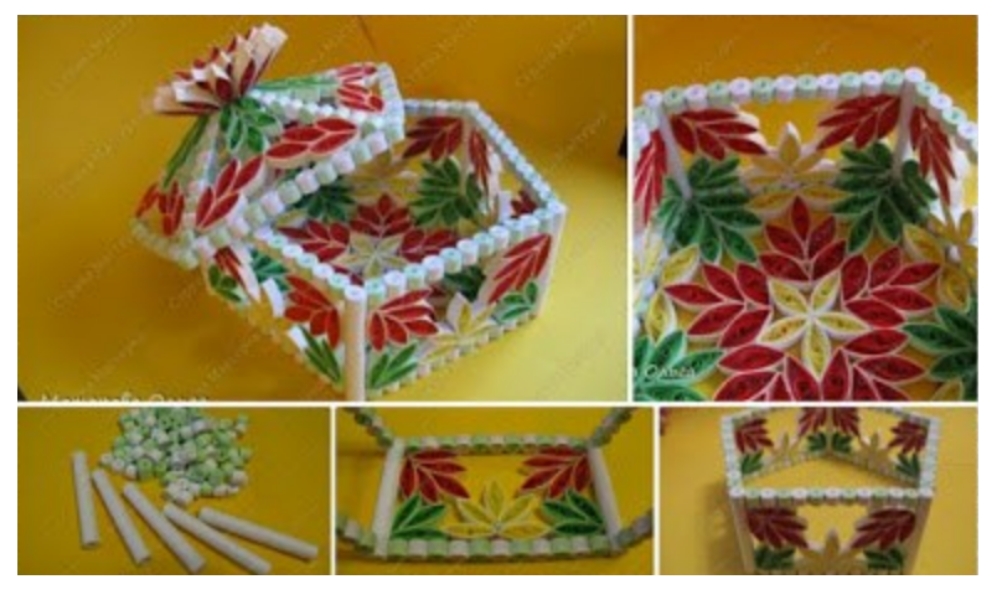
Posted onFebruary 16, 2017July 17, 2017inDIY, Quilling, Step by step, Tutorial How to make Quilling Casket
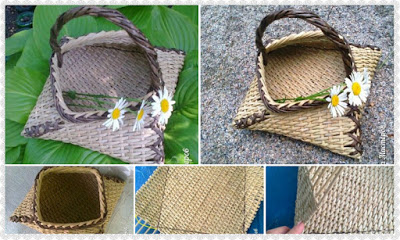
Posted onFebruary 16, 2017inBest out of Waste, DIY, Newspaper Crafts, Step by step, Tutorial DIY: Weaving Newspapers Basket
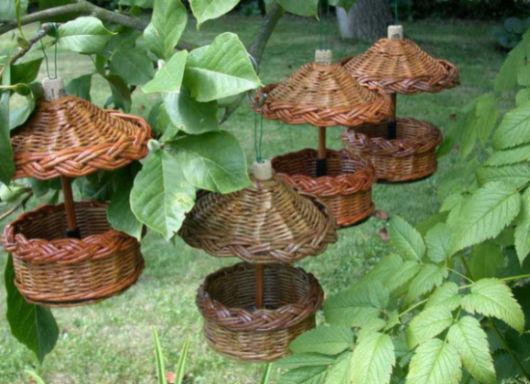
Posted onFebruary 16, 2017inBest out of Waste, DIY, Newspaper Crafts, Step by step, Tutorial How to Make Bird Feeder with a Newspaper
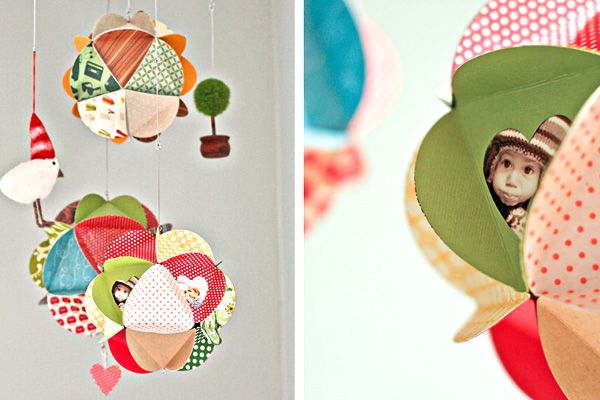
Posted onFebruary 16, 2017inDIY, Home Decor, Paper Crafts, Step by step, Tutorial DIY: Beautiful Photo Globe