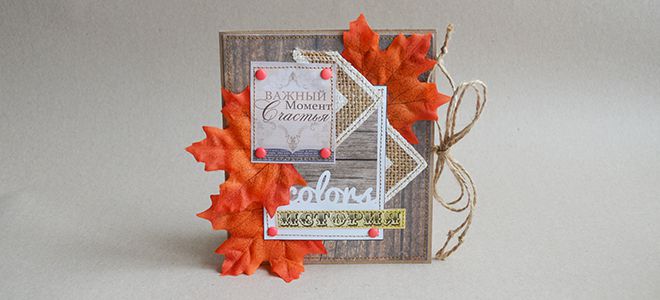
Posted onFebruary 21, 2017inCardboard Crafts, DIY, Step by step, Tutorial Autumn scrapbooking-postcard
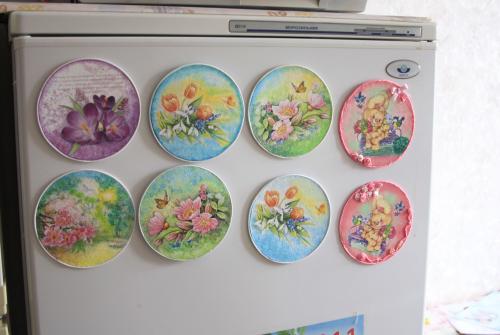
Posted onFebruary 21, 2017inBest out of Waste, DIY, Home Decor, Step by step, Tutorial Fridge magnets from CD’s
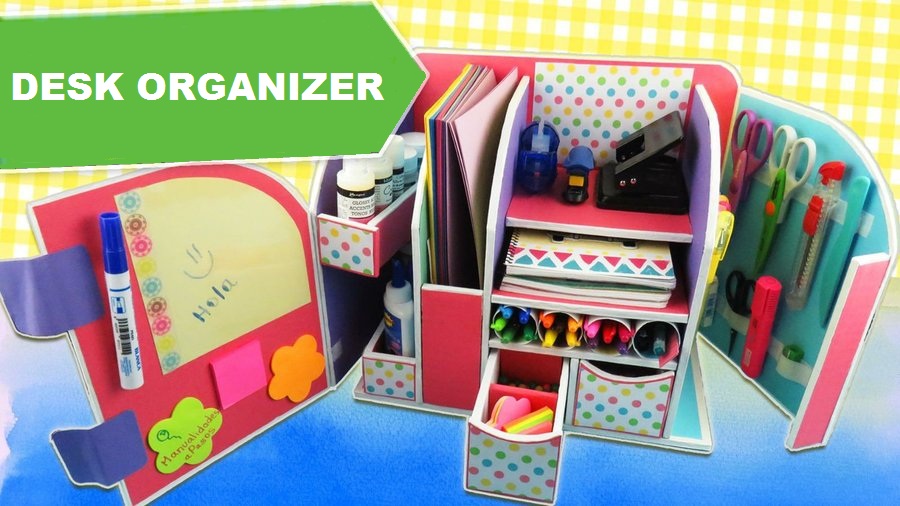
Posted onFebruary 20, 2017February 20, 2017inBest out of Waste, Cardboard Crafts, DIY, Featured, Step by step, Tutorial DIY: Beautiful Desk Organizer from Cardboard
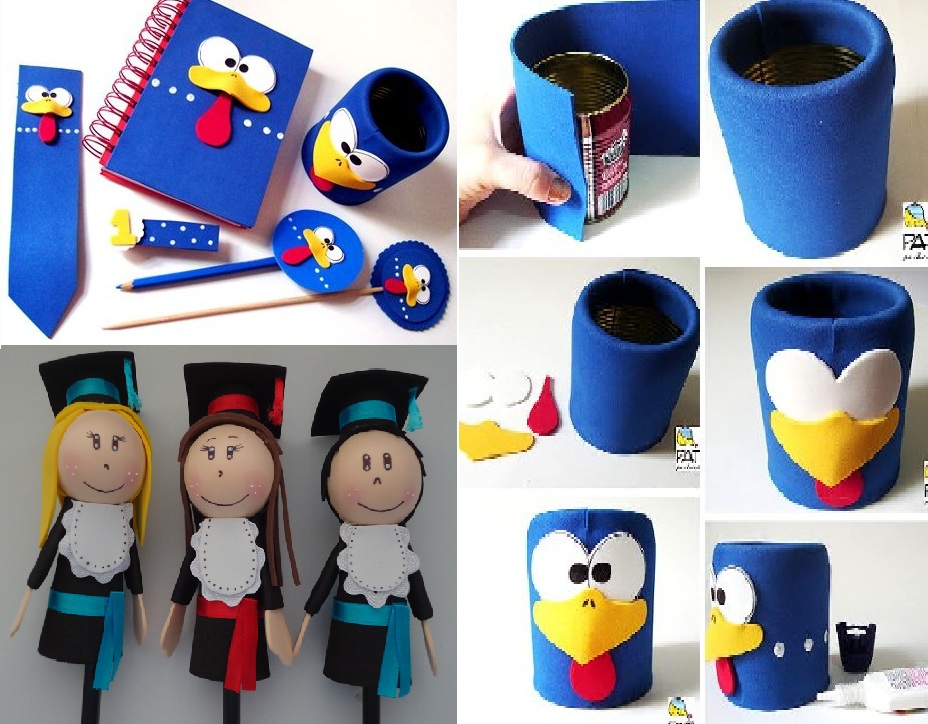
Posted onFebruary 19, 2017inDIY, Ideas, Kids Crafts, Step by step, Tutorial 20 Handicrafts for Back to School with EVA
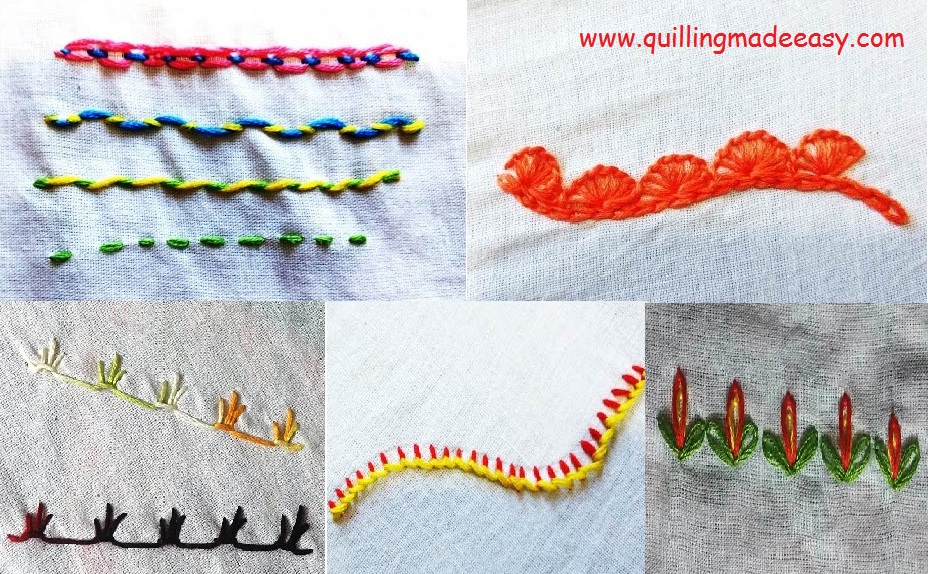
Posted onFebruary 19, 2017inEmbroidery And Sewing, Tutorial, Video Basic embroidery stitches tutorial for beginners
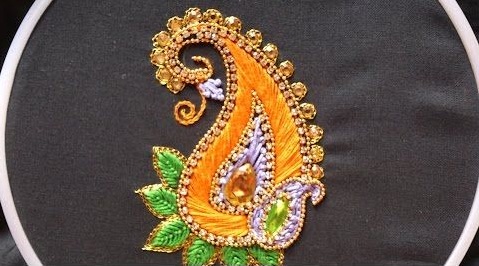
Posted onFebruary 19, 2017inEmbroidery And Sewing, Step by step, Tutorial Aari Style Hand Embroidery Designs
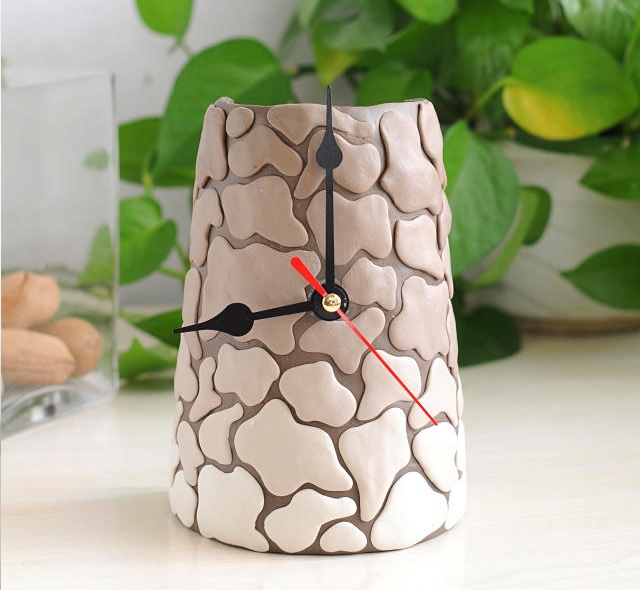
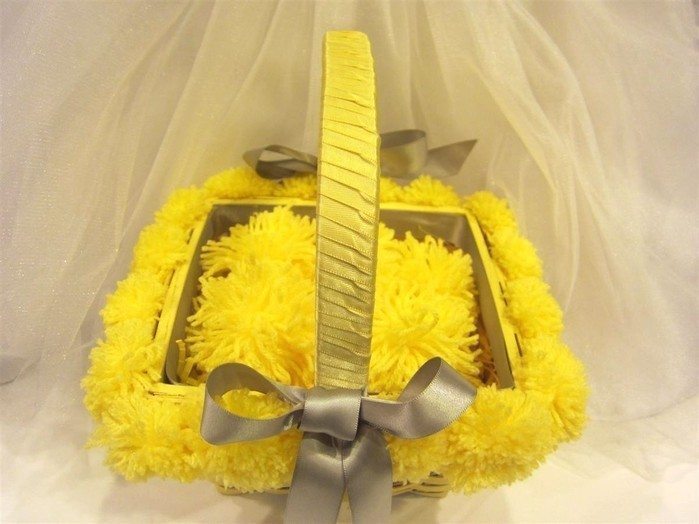
Posted onFebruary 18, 2017February 19, 2017inDIY, Step by step, Tutorial How to make soft pot clock ornaments
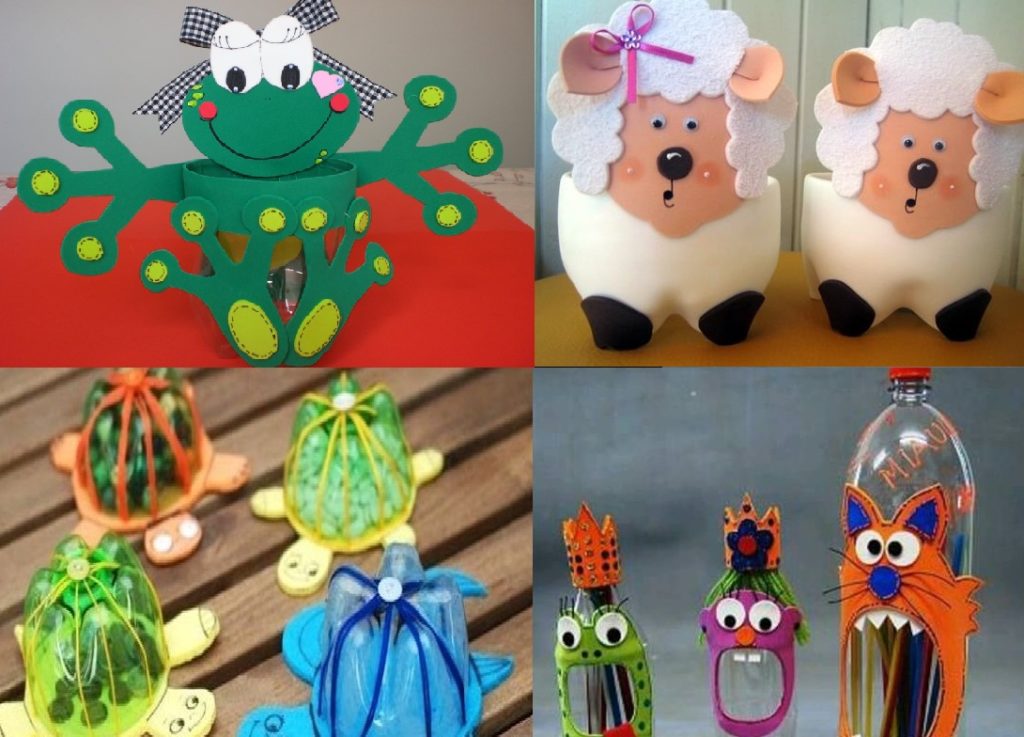
Posted onFebruary 18, 2017inBest out of Waste, DIY, Ideas, Kids Crafts 22 crafts made with EVA and Plastic bottle
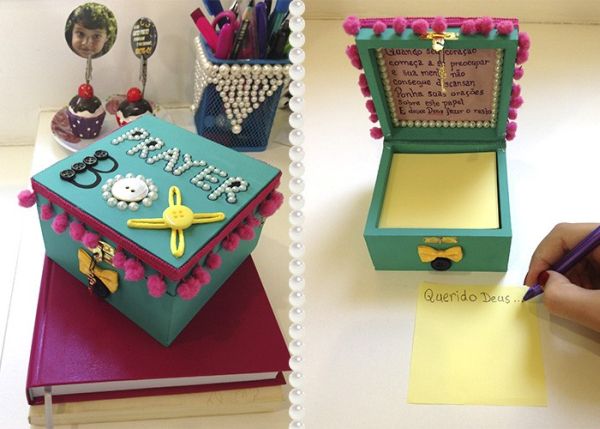
Posted onFebruary 18, 2017February 18, 2017inBest out of Waste, Decorations, Step by step, Tutorial How To Decorated Prayer Box