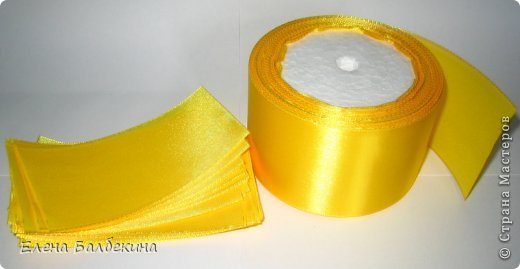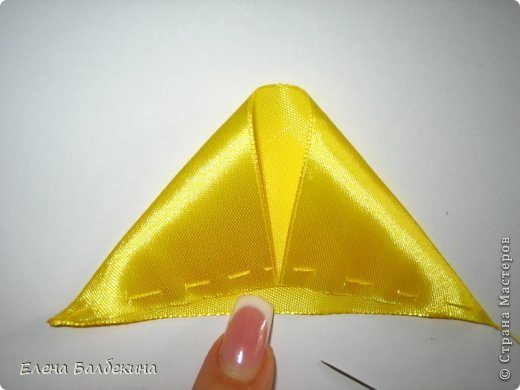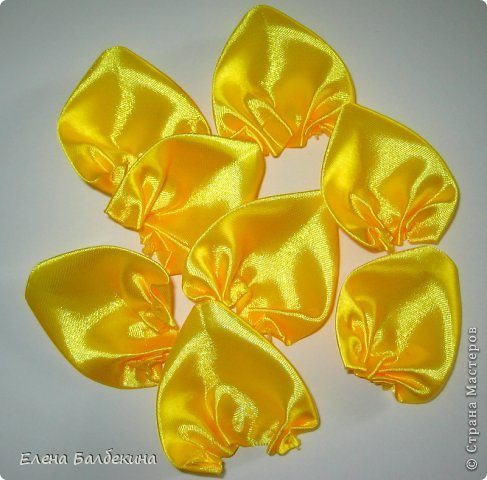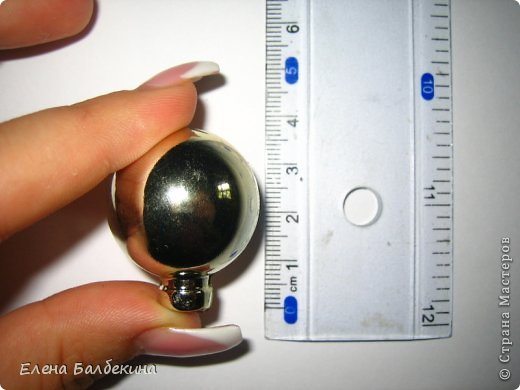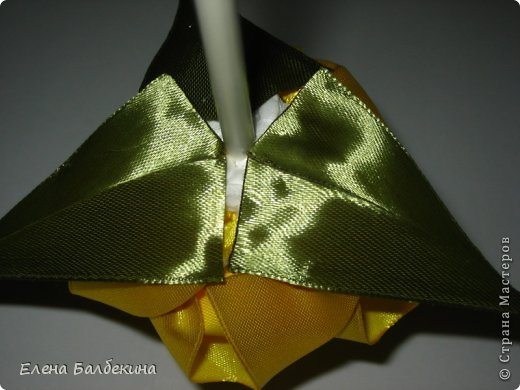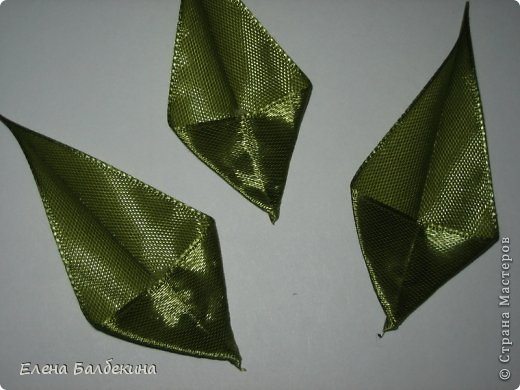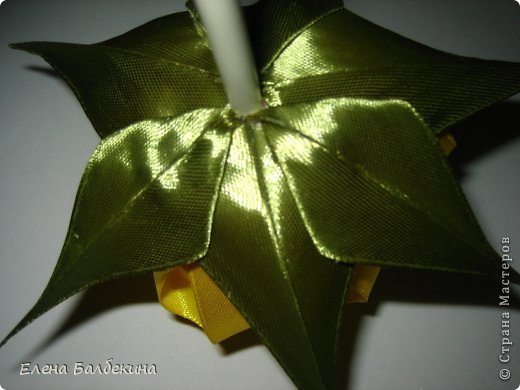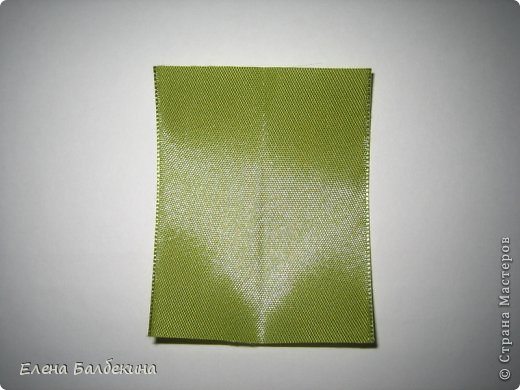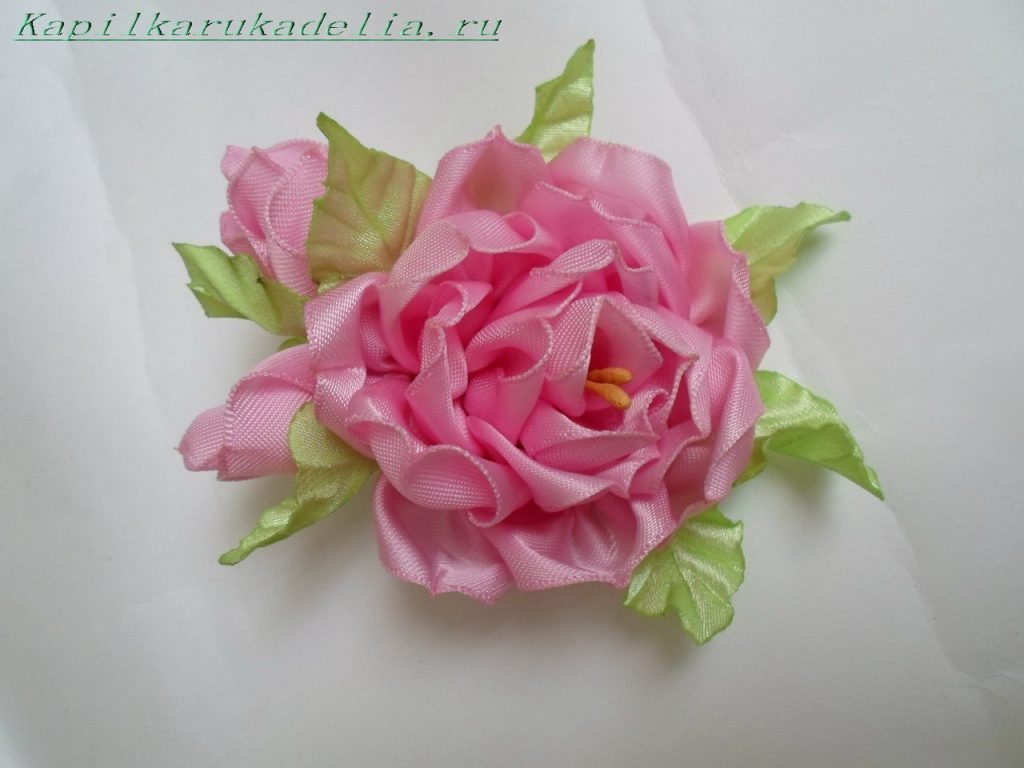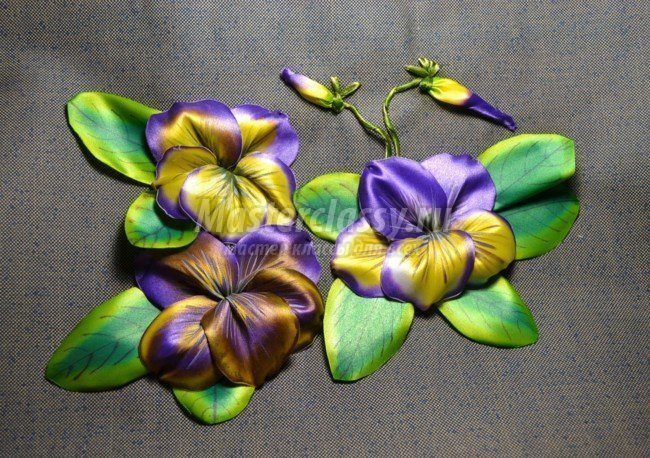
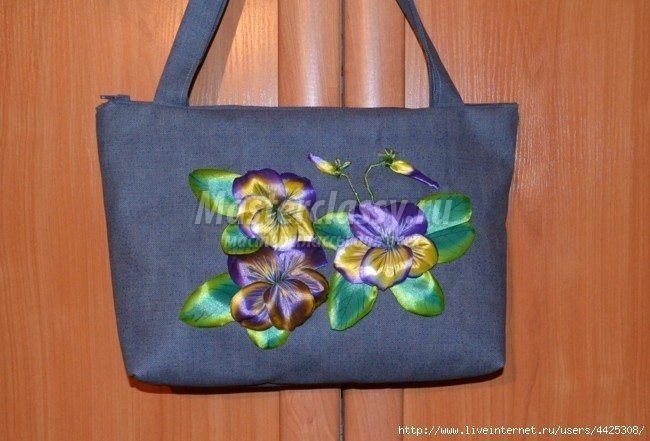
To embroider pansy for bags , we need the following:
We need the satin ribbons. In this case, it is a white satin ribbon 5 cm, satin ribbon and green, too 5 cm.
Need to paint batik or any fabric paint.
Need a base for embroidery. In my case, it’s the fabric for bags. I initially strengthened fabric . I use very tight, which is designed for the collar.
Proceed. Now I’ll show you how to make the petals. Prepare satin ribbons.
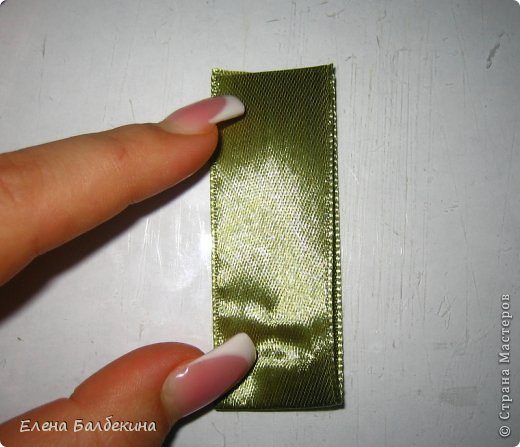
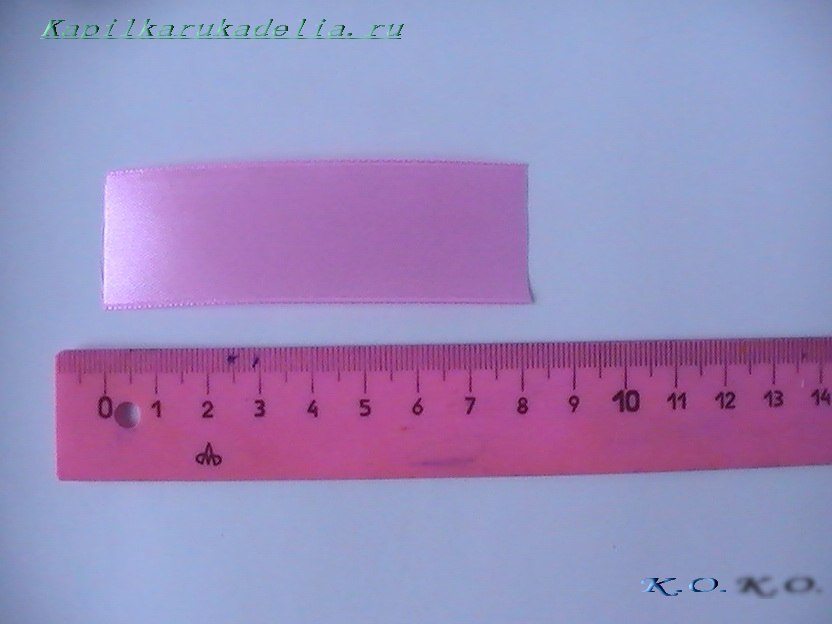
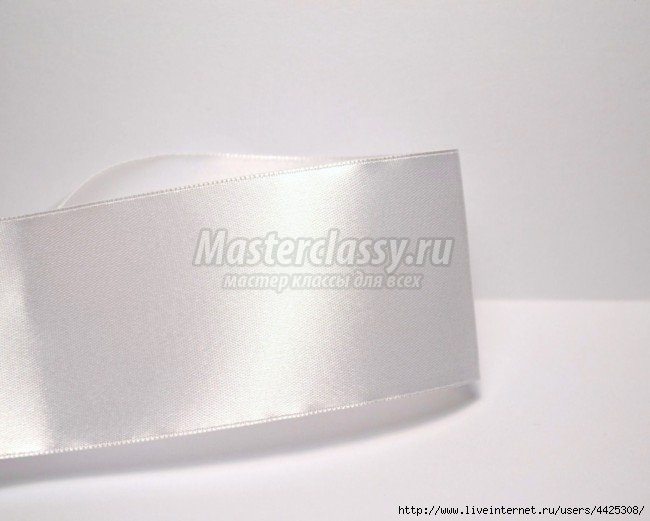 Cut off from the tape segment rather rectangle.
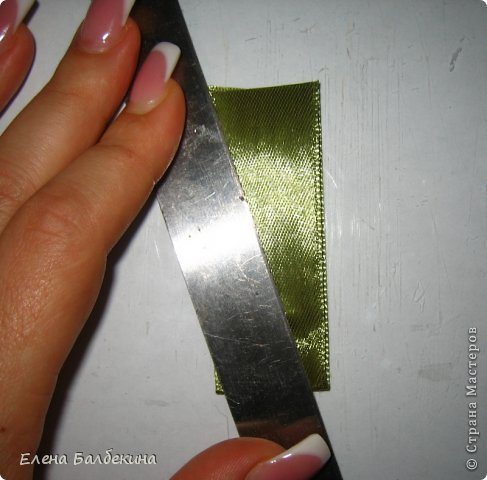
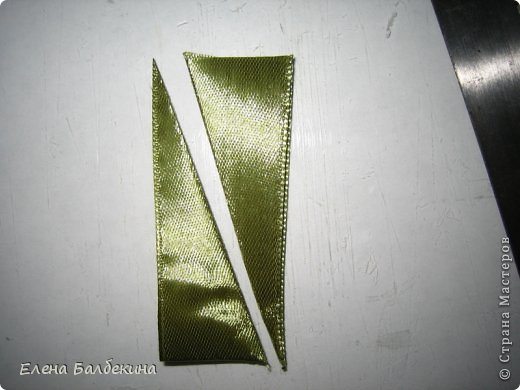
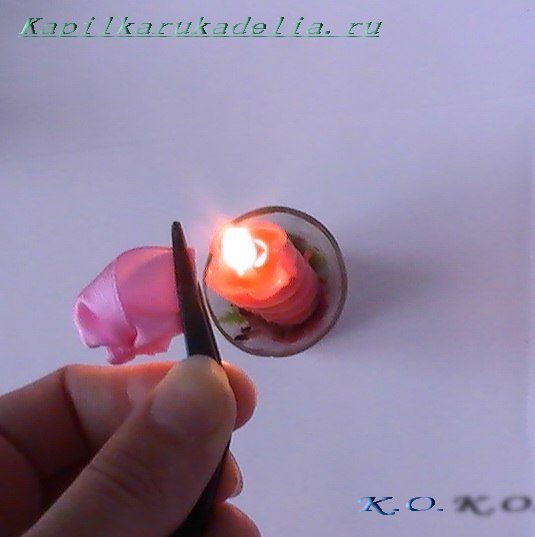
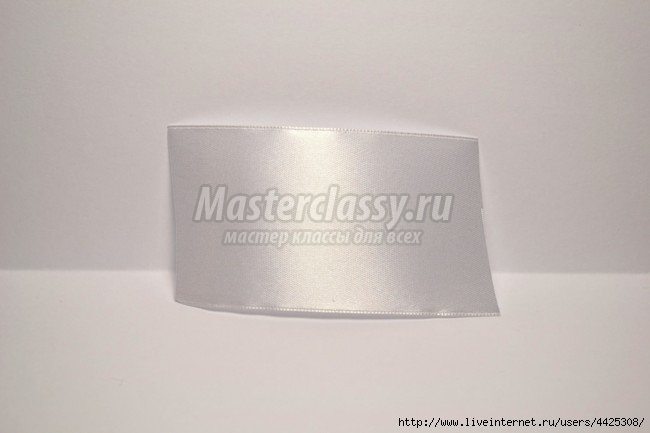 Cut a rectangle of a certain preparation, which is shown in the photo. singeing the edges of the work piece. This is done so that the edges of the tape is not rained.
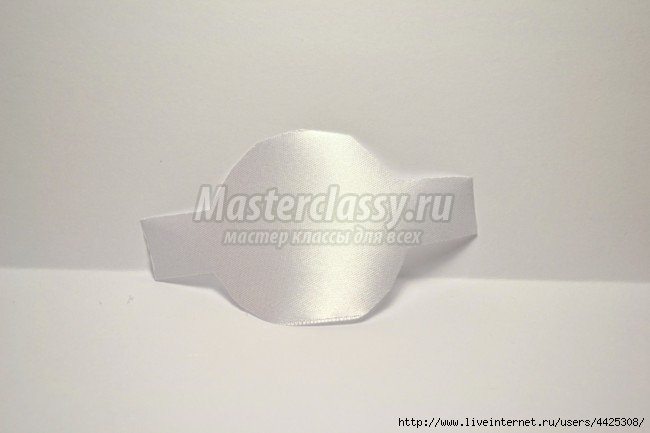
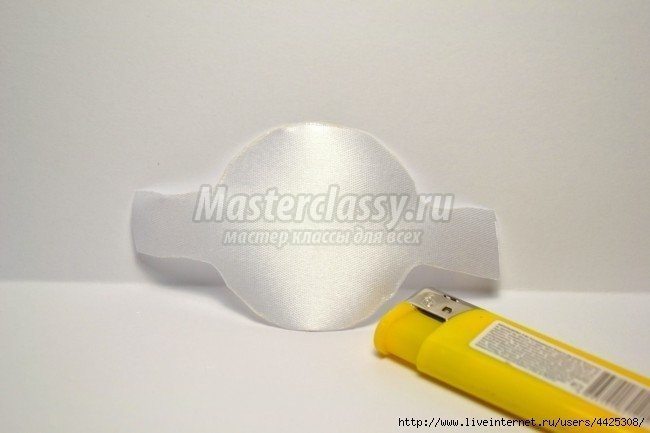 Next, take the hands of paint. They should be diluted to a state of some water. Even if you have a liquid paint, you also their divorce. Workpiece should be wetted with water and blot on polotenicheke to avoid dripping. Then apply the paint brush tip and touch the edge of a petal… petals according to the real petals. After the paint has dried it is necessary to draw the veins. I do it with conventional acrylic paints dry brush. (You can do this a black gel pen)
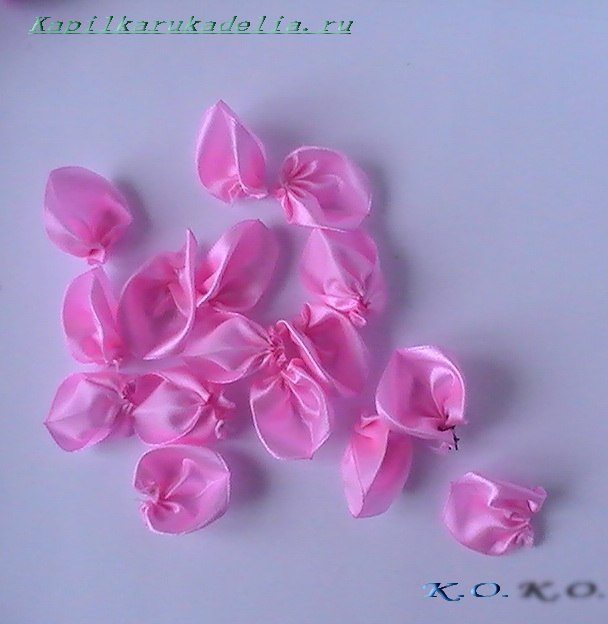
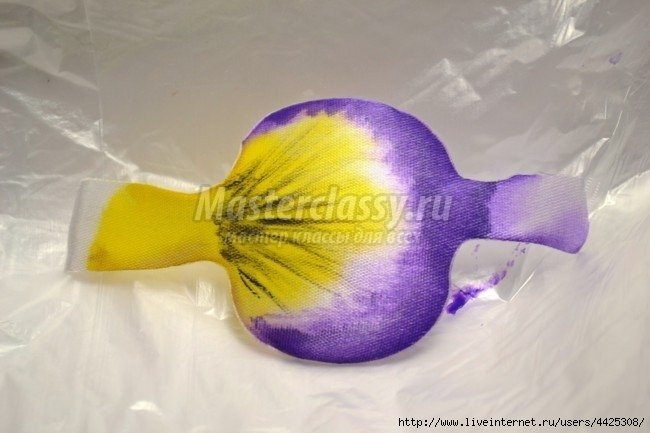 Create a few of these petals. For one flower need 5 petals.
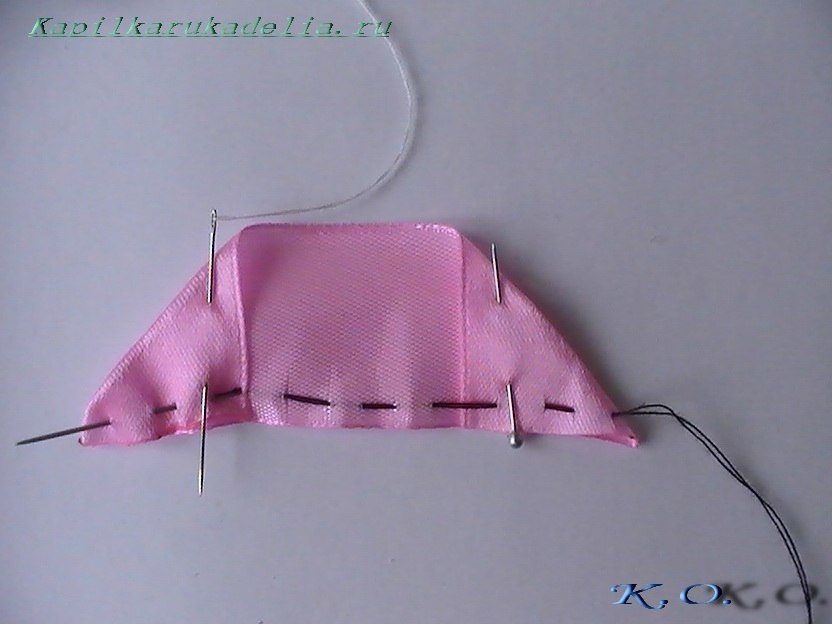
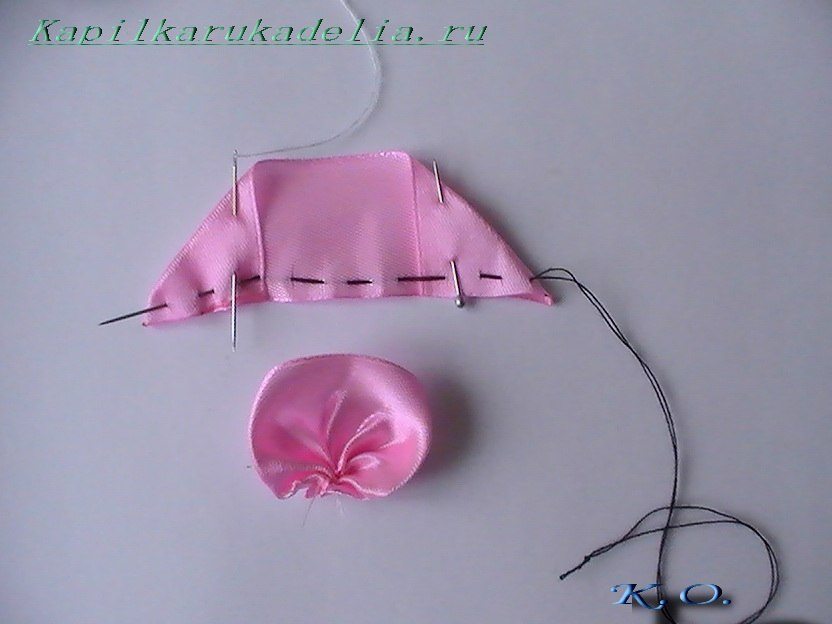
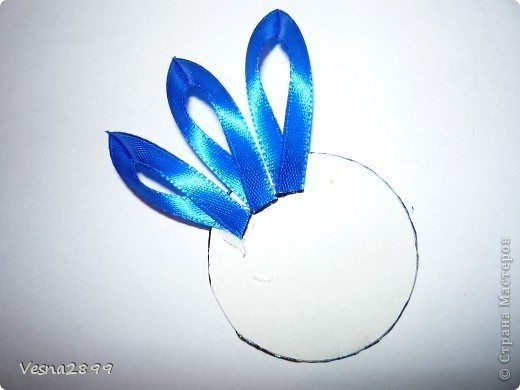
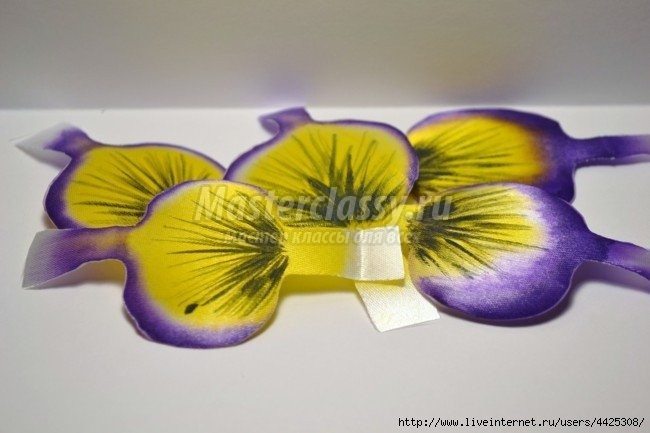 Now combine the three petals together. Sew them. And sew two lobes separately.
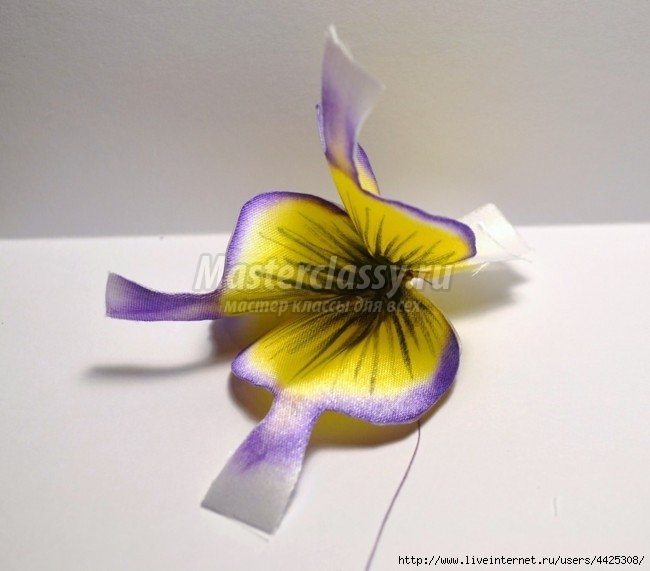
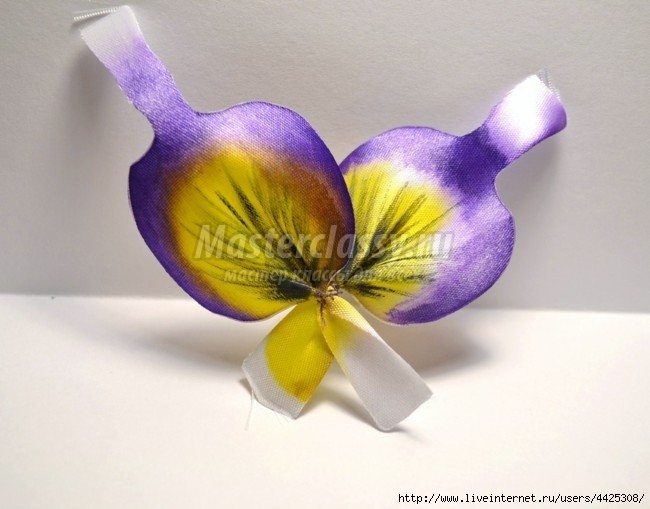 Now you need to sew all the petals. Care should be taken, as will be placed petals. We must achieve greater similarity with real colors.
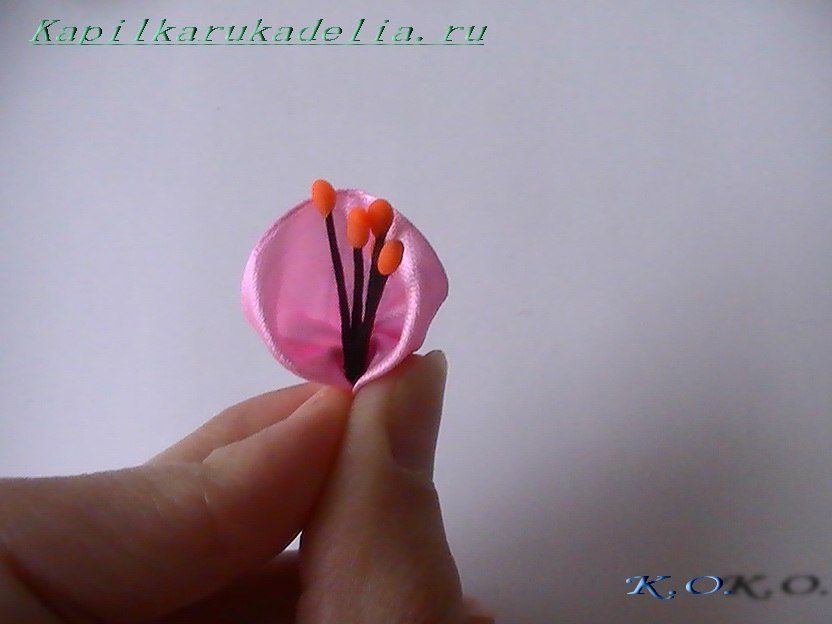
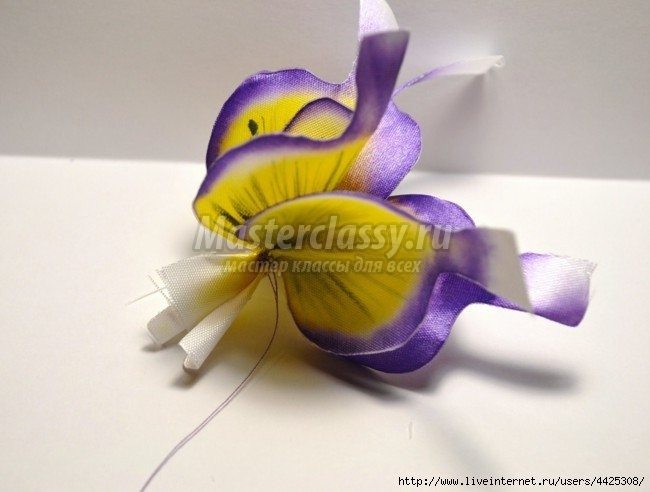 Next, insert the tip of the flower and sew the fabric on the reverse side.
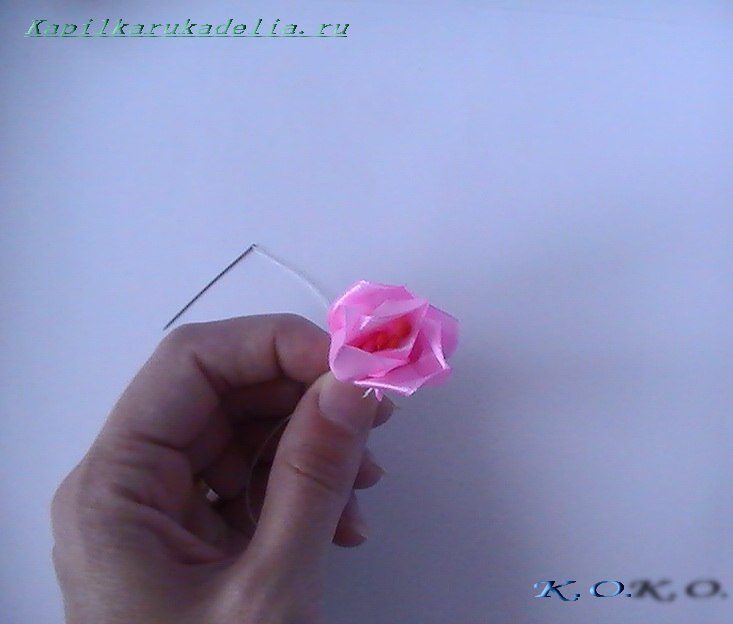
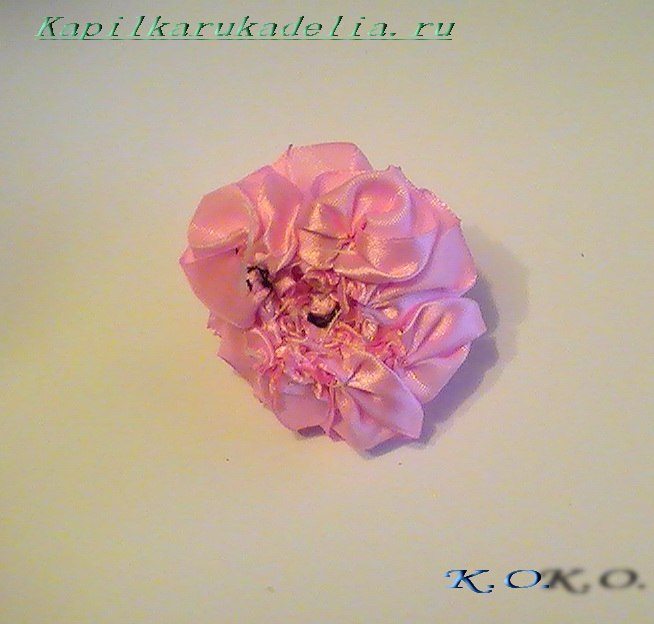
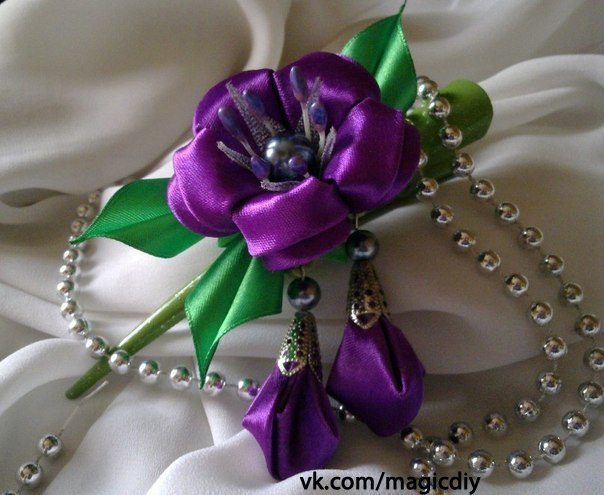
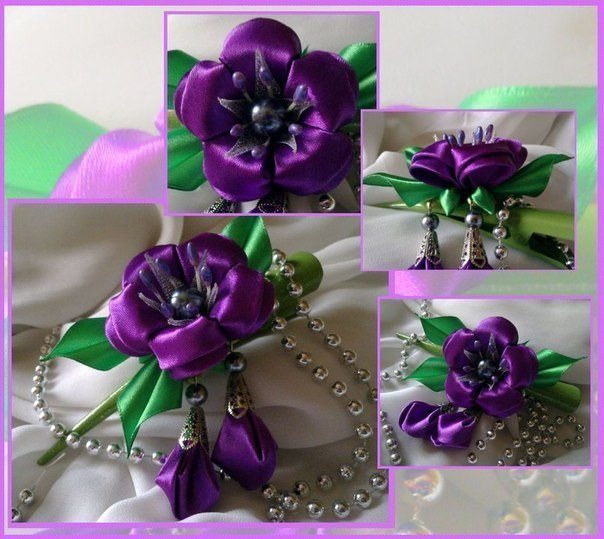
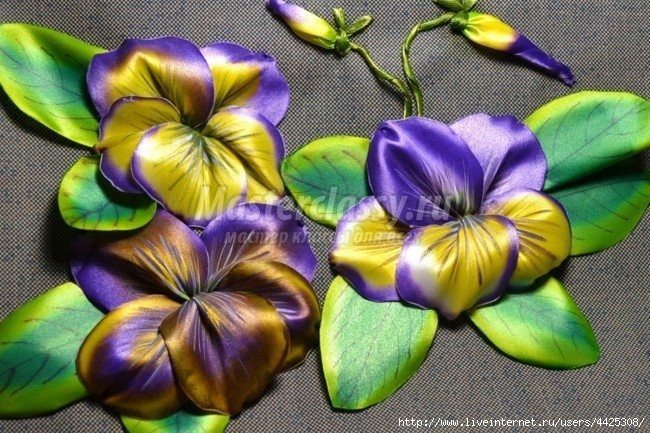
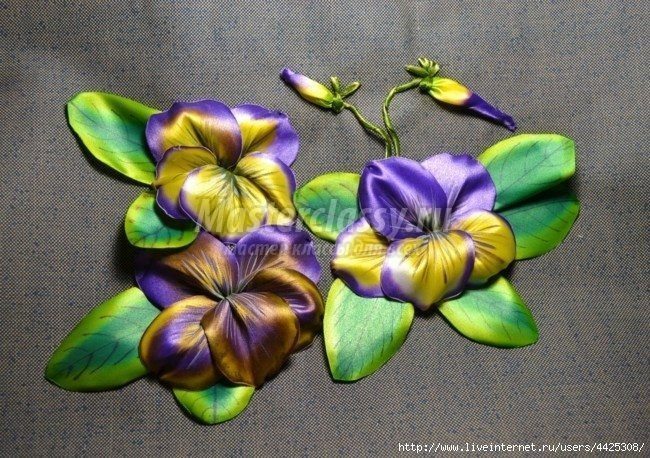
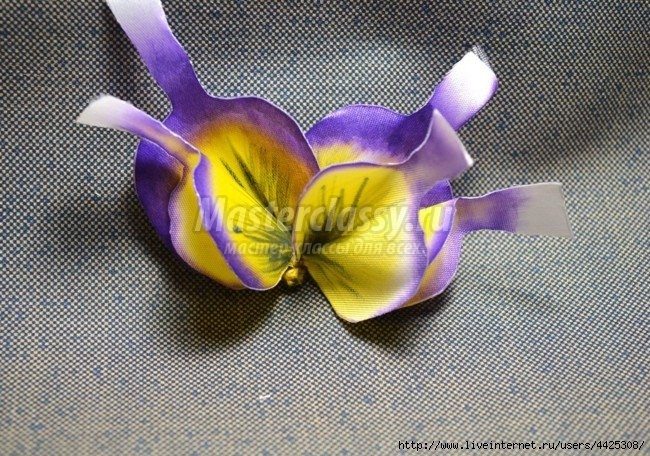 Then insert the tip of each petal in the fabric. We obtain as a result a beautiful flower pansy. .
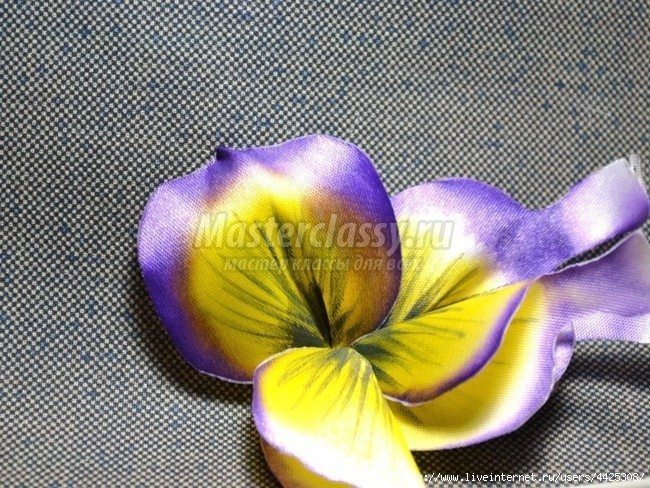
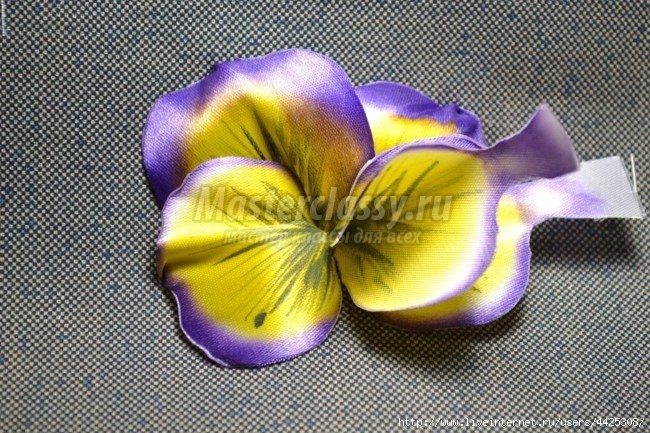

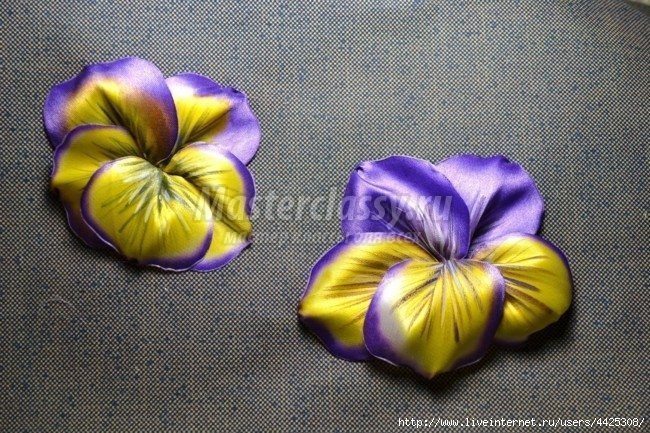
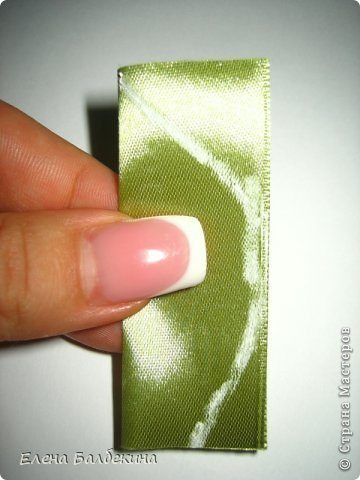
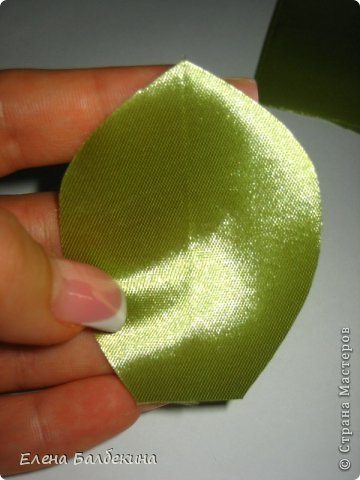
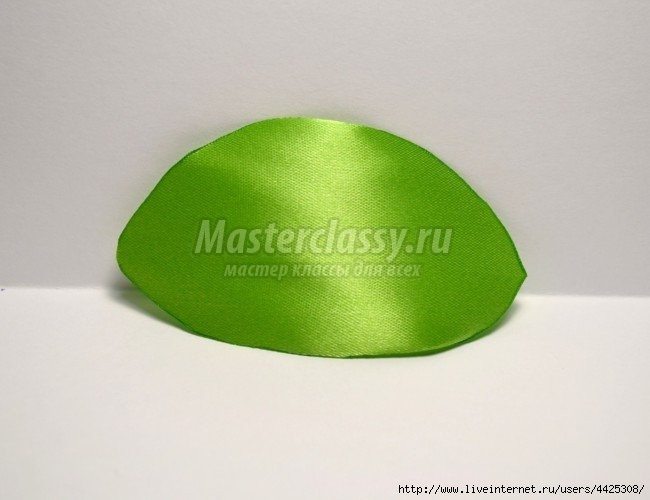
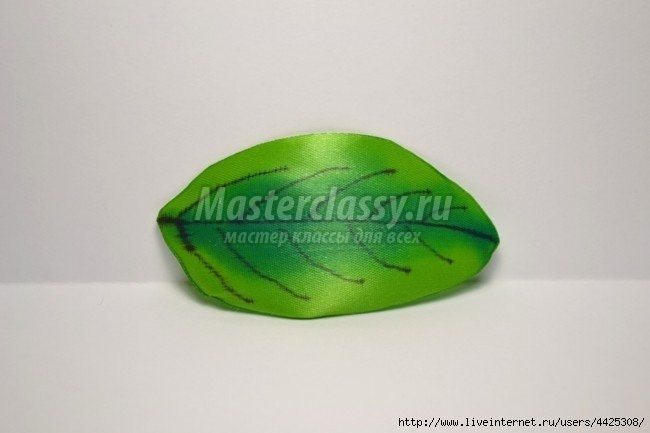
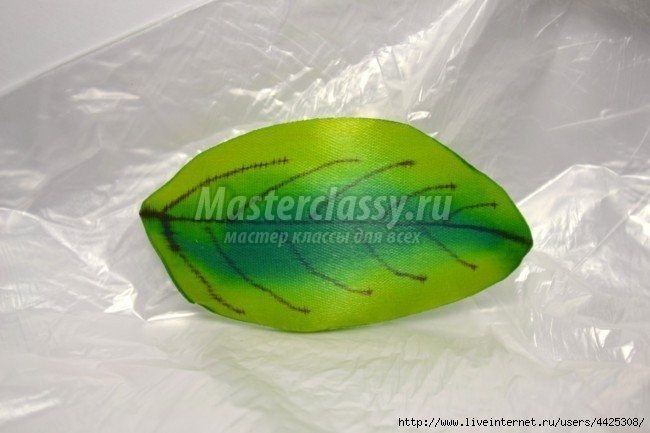
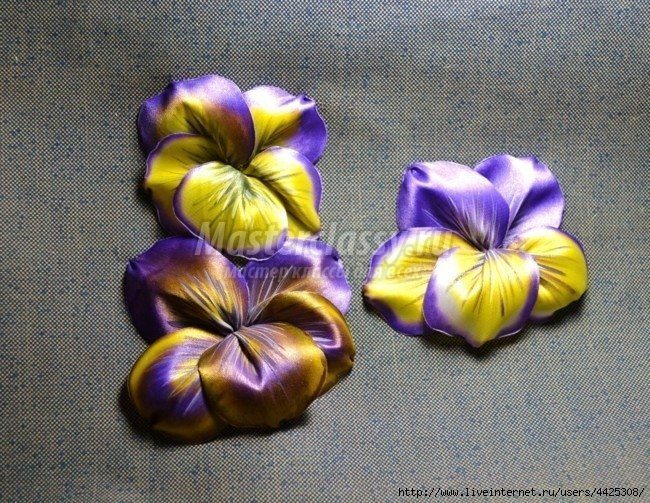 Now proceed to the creation of the leaves. Cut a piece of satin ribbon.
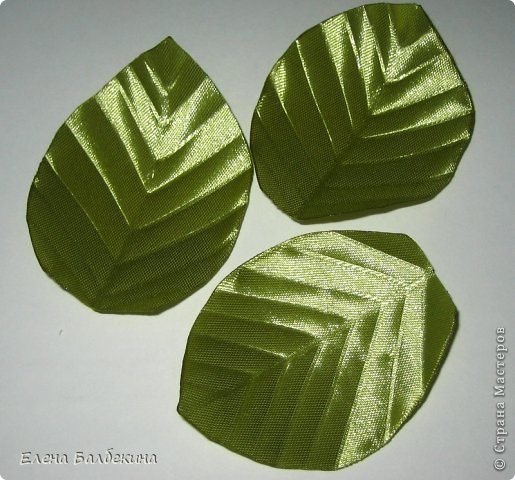
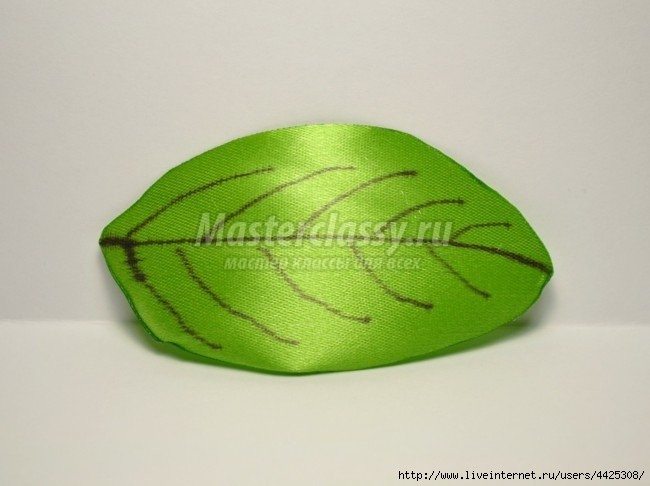
 Drawn streaks of dry leaves. I drew veins with a toothpick fabric paint. (Gel pen you just to help!)
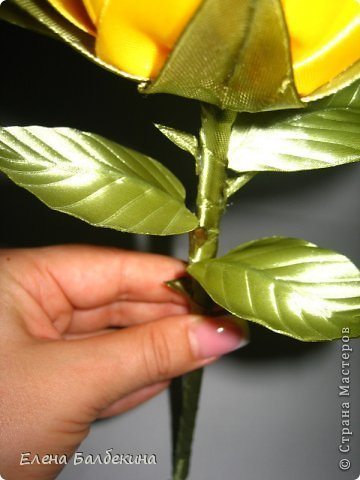
 Next, it is necessary to wet the sheet and towel . Then the middle of a toned leaf and edge colours for the fabric.
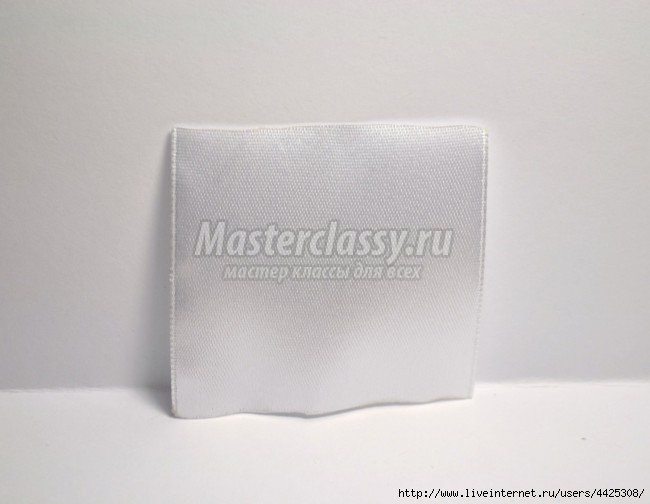
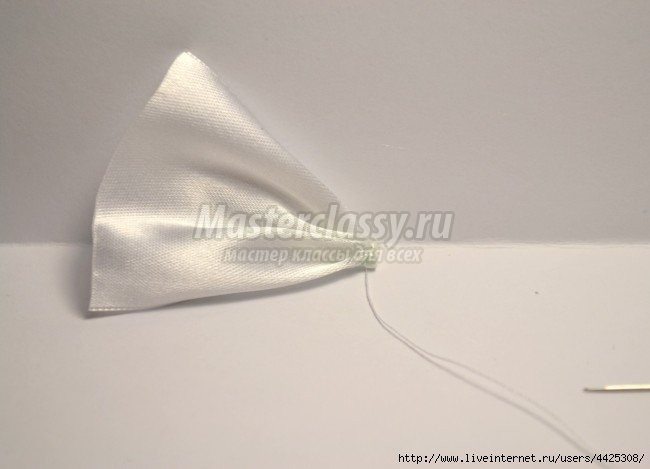
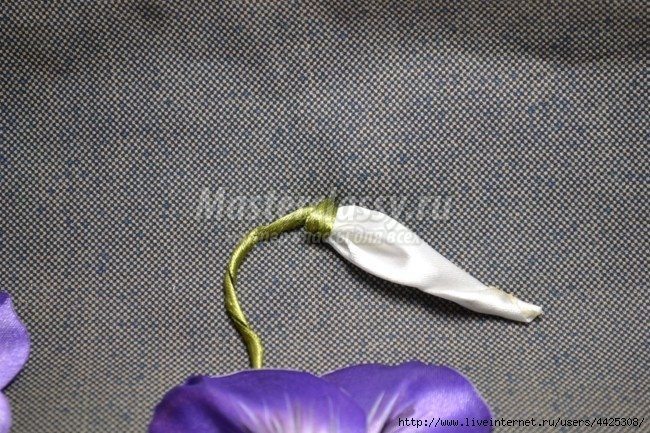
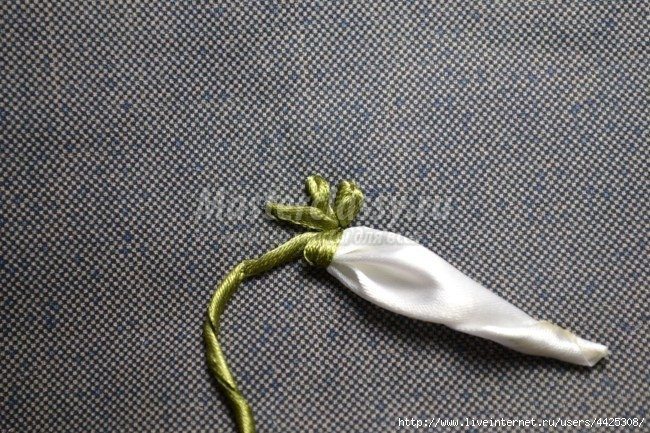
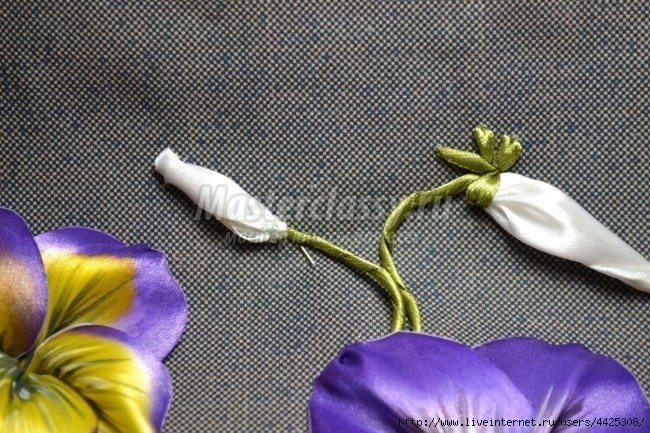
 Will create further bud of a flower. Cut out a square of satin ribbons. Sew it with one edge. Rolled and stitched to the embroidery . Using a thin satin ribbon necessary to embroider the stem and sepals.
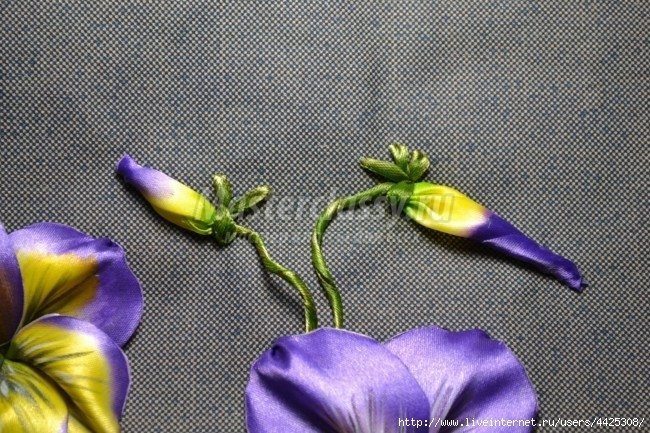
 Create more bud. Toning dyes for fabrics. After all the manipulations embroidery ready.
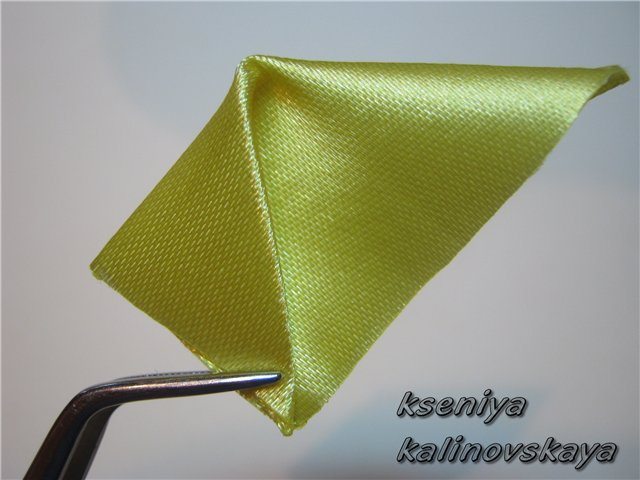
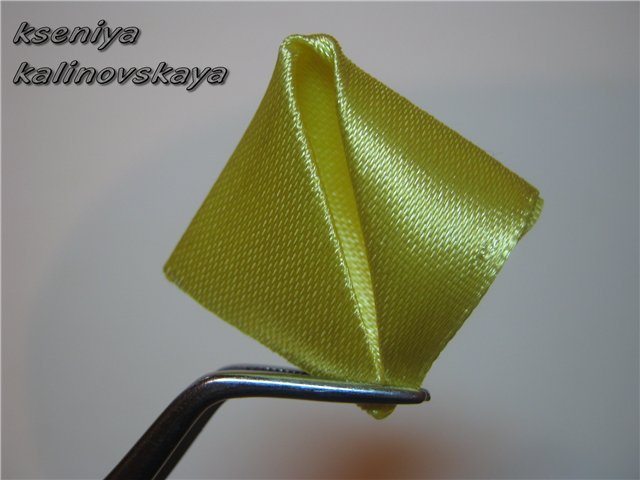
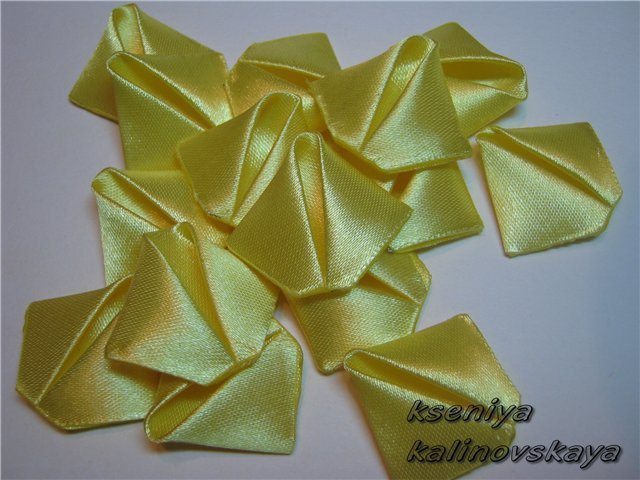
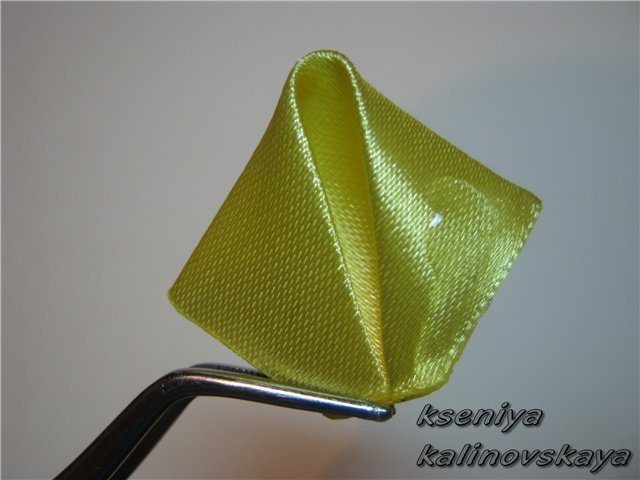
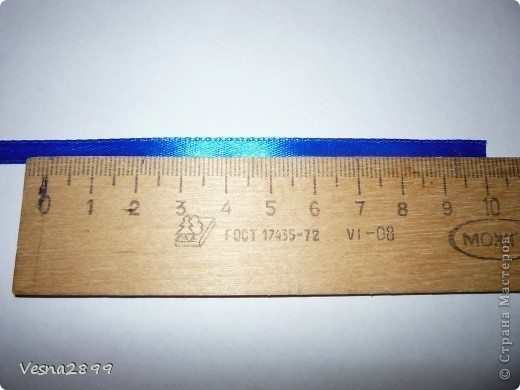
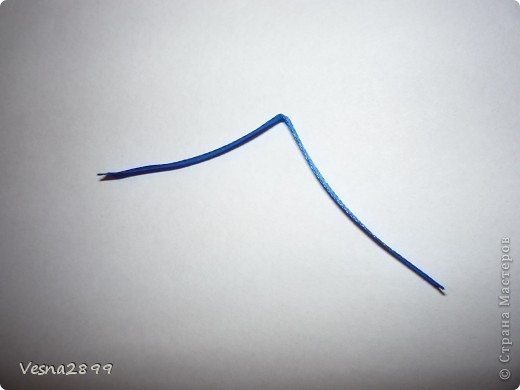
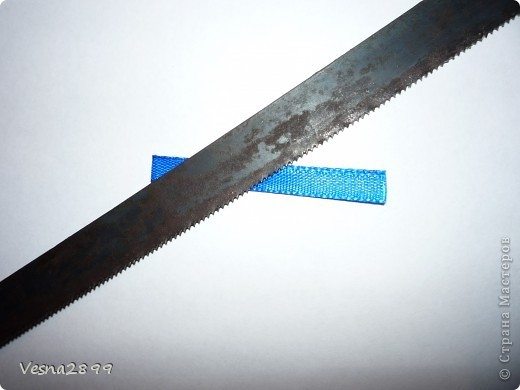
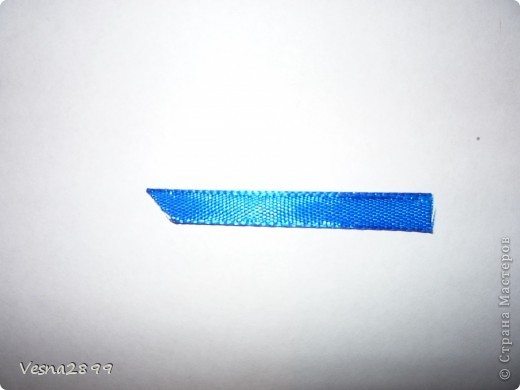
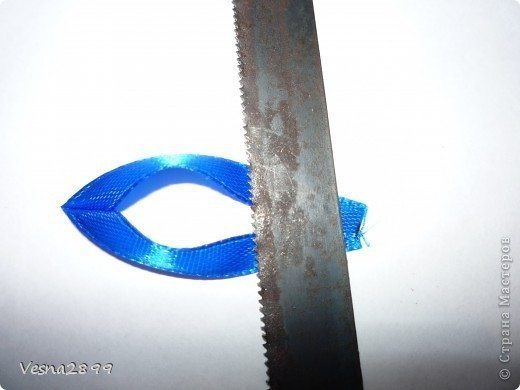
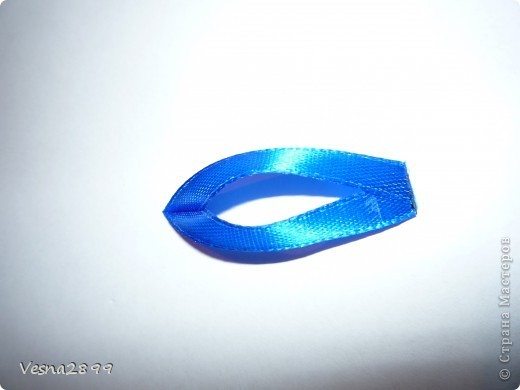
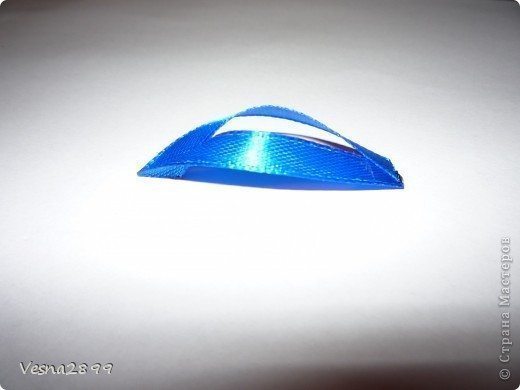

 Cut off from the tape segment rather rectangle.
 Cut a rectangle of a certain preparation, which is shown in the photo. singeing the edges of the work piece. This is done so that the edges of the tape is not rained.
 Next, take the hands of paint. They should be diluted to a state of some water. Even if you have a liquid paint, you also their divorce. Workpiece should be wetted with water and blot on polotenicheke to avoid dripping. Then apply the paint brush tip and touch the edge of a petal… petals according to the real petals. After the paint has dried it is necessary to draw the veins. I do it with conventional acrylic paints dry brush. (You can do this a black gel pen)
 Create a few of these petals. For one flower need 5 petals.
 Now combine the three petals together. Sew them. And sew two lobes separately.
 Now you need to sew all the petals. Care should be taken, as will be placed petals. We must achieve greater similarity with real colors.
 Next, insert the tip of the flower and sew the fabric on the reverse side.
 Then insert the tip of each petal in the fabric. We obtain as a result a beautiful flower pansy. .


 Now proceed to the creation of the leaves. Cut a piece of satin ribbon.
 Drawn streaks of dry leaves. I drew veins with a toothpick fabric paint. (Gel pen you just to help!)
 Next, it is necessary to wet the sheet and towel . Then the middle of a toned leaf and edge colours for the fabric.
 Will create further bud of a flower. Cut out a square of satin ribbons. Sew it with one edge. Rolled and stitched to the embroidery . Using a thin satin ribbon necessary to embroider the stem and sepals.
 Create more bud. Toning dyes for fabrics. After all the manipulations embroidery ready.


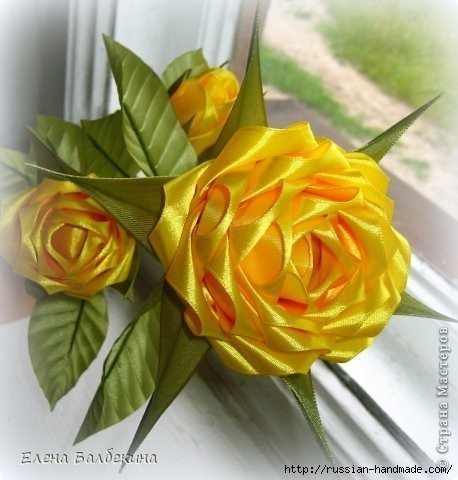
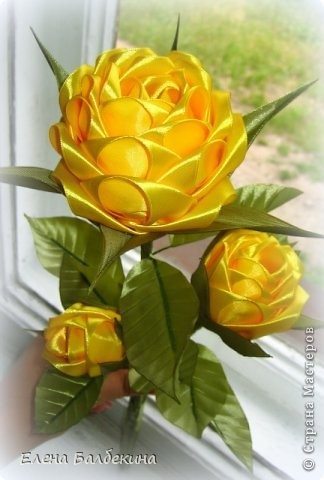
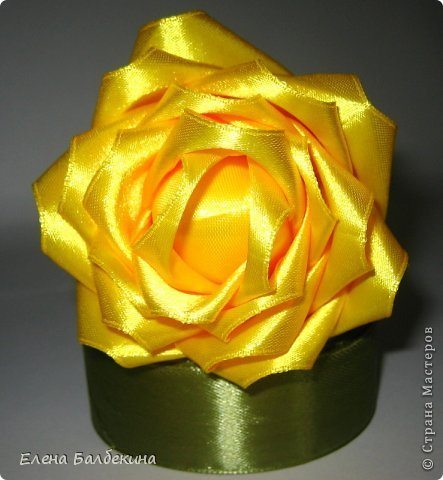
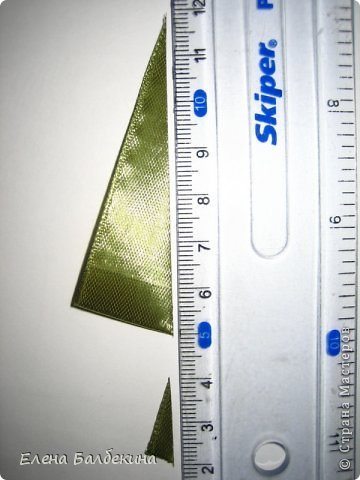
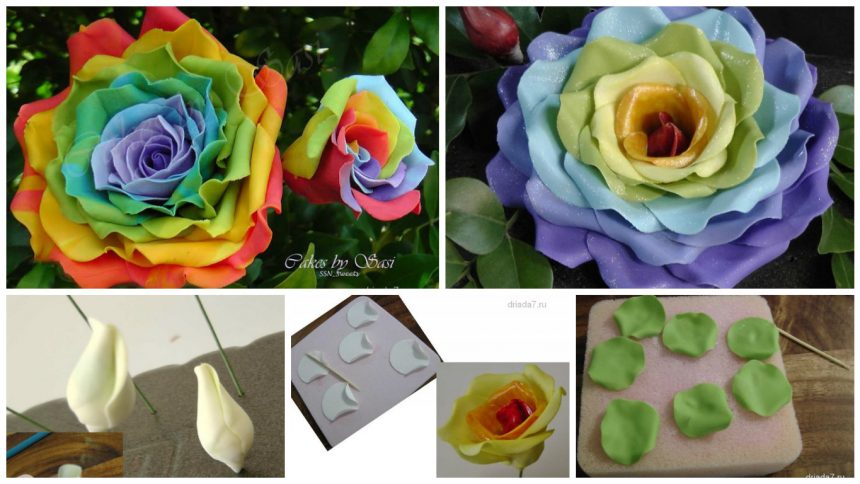
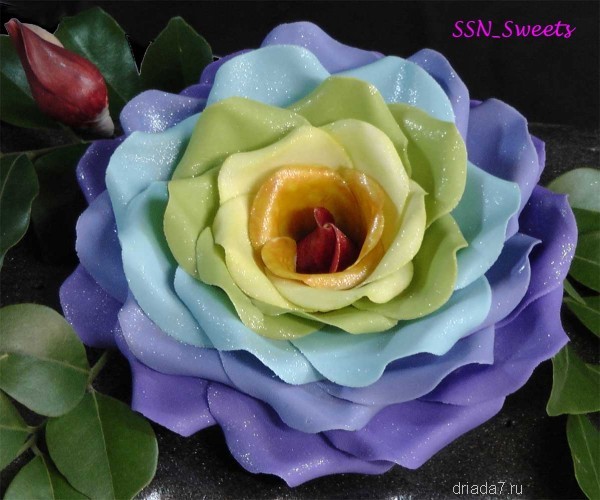
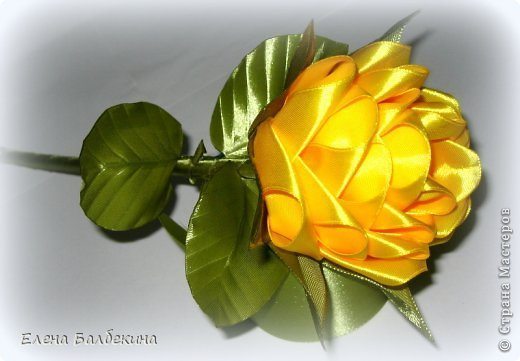 Feed 5 cm to 10 cm. Cut the right amount of soldering. I took on this rose petal 21.