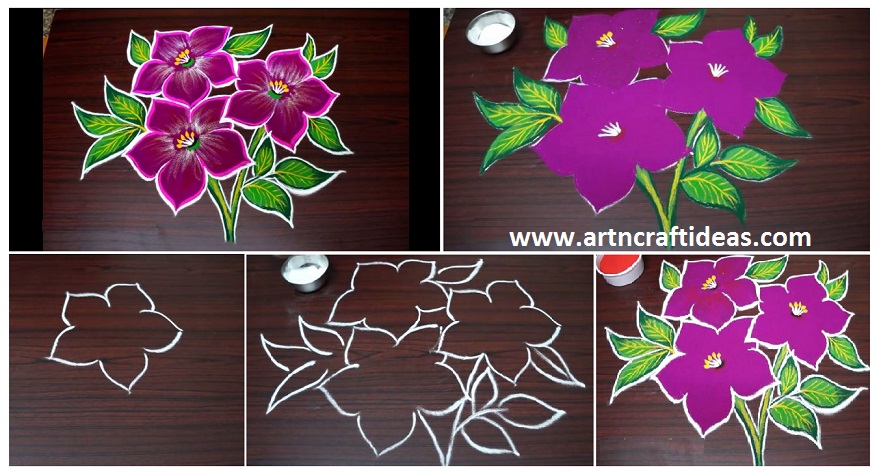
Posted onOctober 31, 2017inRangoli, Tutorial, Video Latest Flower Rangoli Designs – Step By Step (Tutorial)
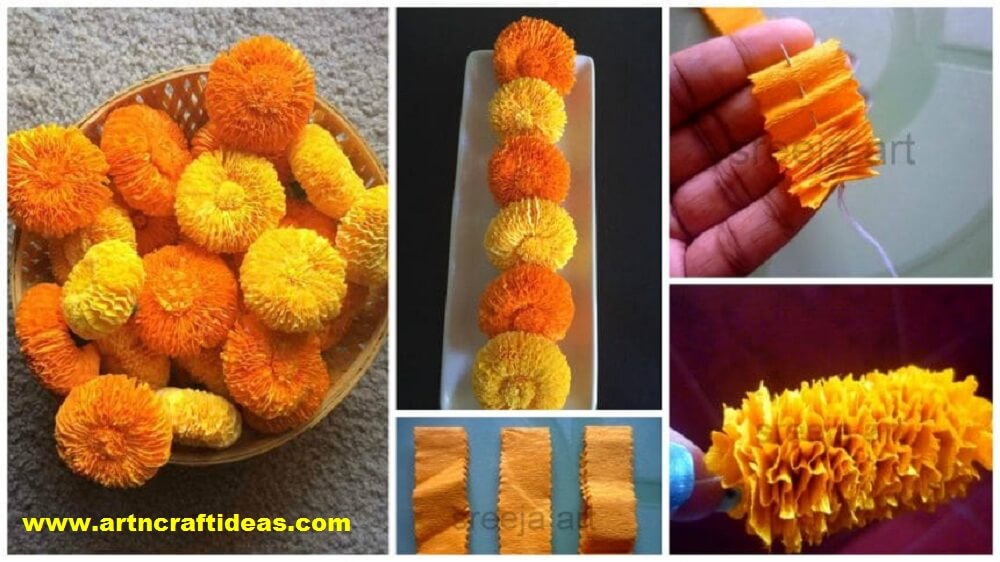
Posted onJune 24, 2017November 19, 2022inDiwali, Flower Crafts, Paper Crafts, Tutorial How to make marigold flower with crepe paper
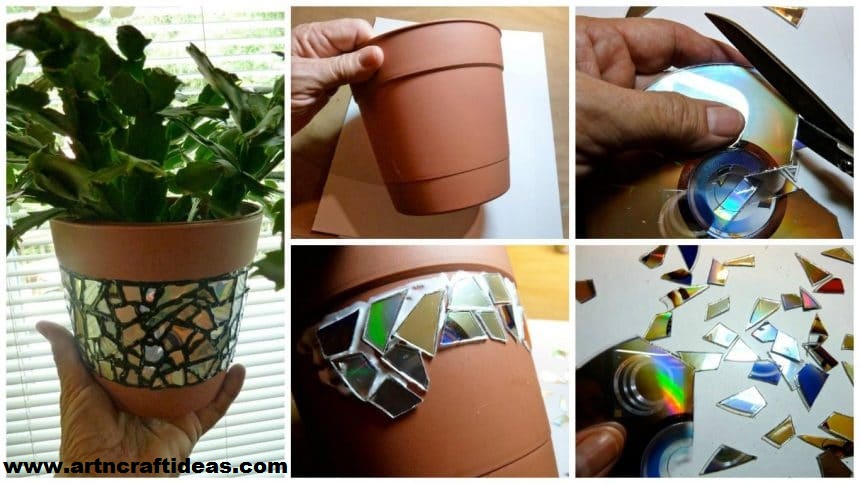
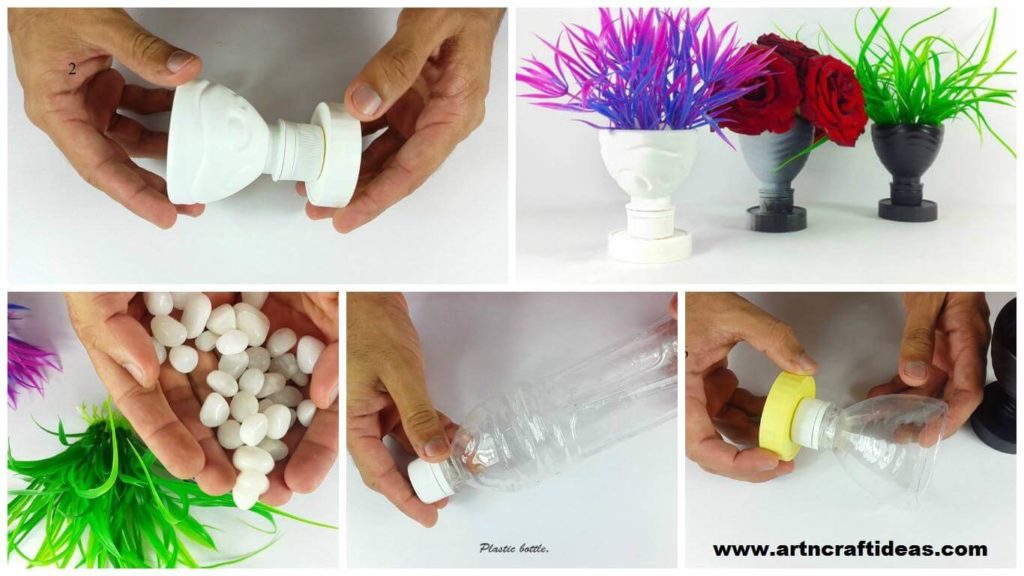
Posted onJune 11, 2017inBest out of Waste, Craft, DIY, Tutorial, Video DIY Flower Vase Out of Plastic Bottle
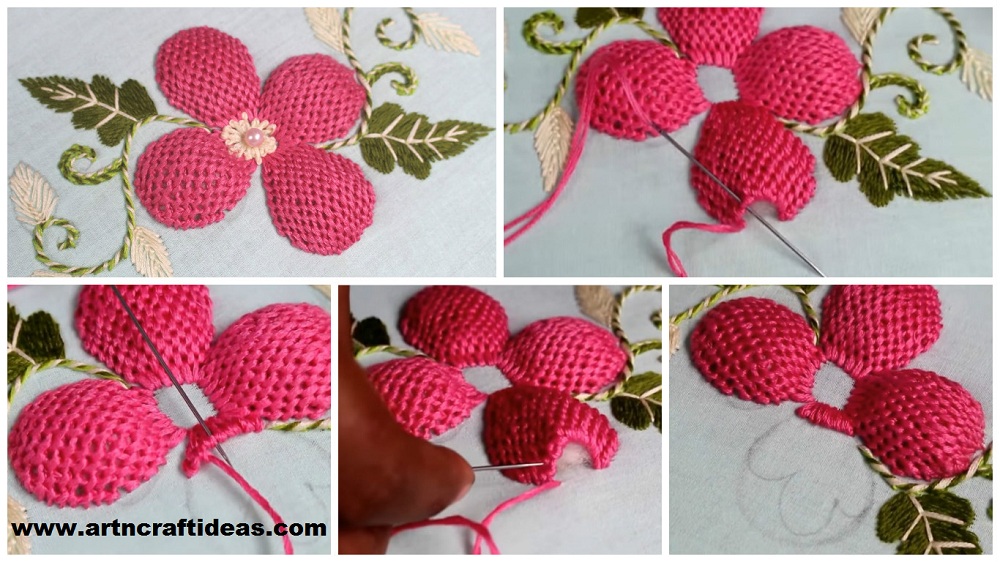
Posted onJune 2, 2017inEmbroidery And Sewing, Tutorial, Video Pump Lace Stitch Flower Embroidery Designs
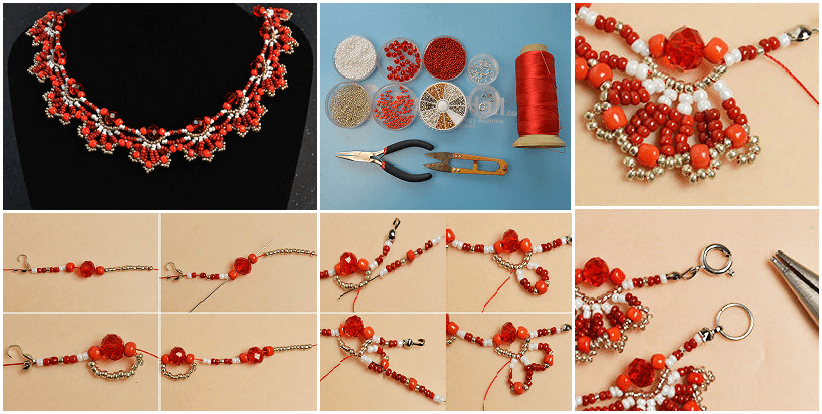
Posted onMay 28, 2017inJewellery, Mother's Day, Tutorial How to Make a Delicate Red Flower Choker Necklace With Beads
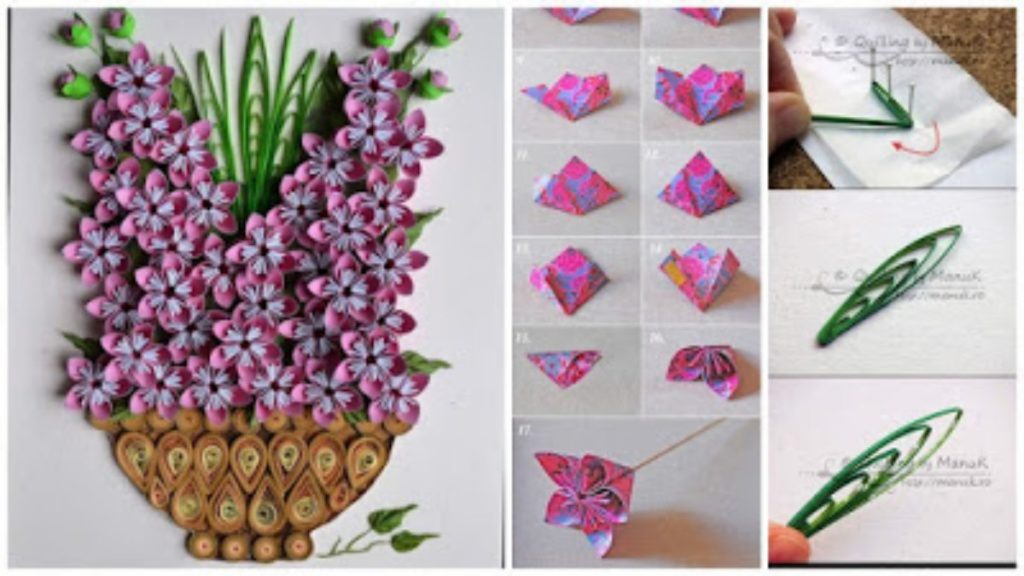
Posted onMarch 30, 2017May 11, 2017inFlower Crafts, Origami, Tutorial How to Make a Origami Kusudama Flower