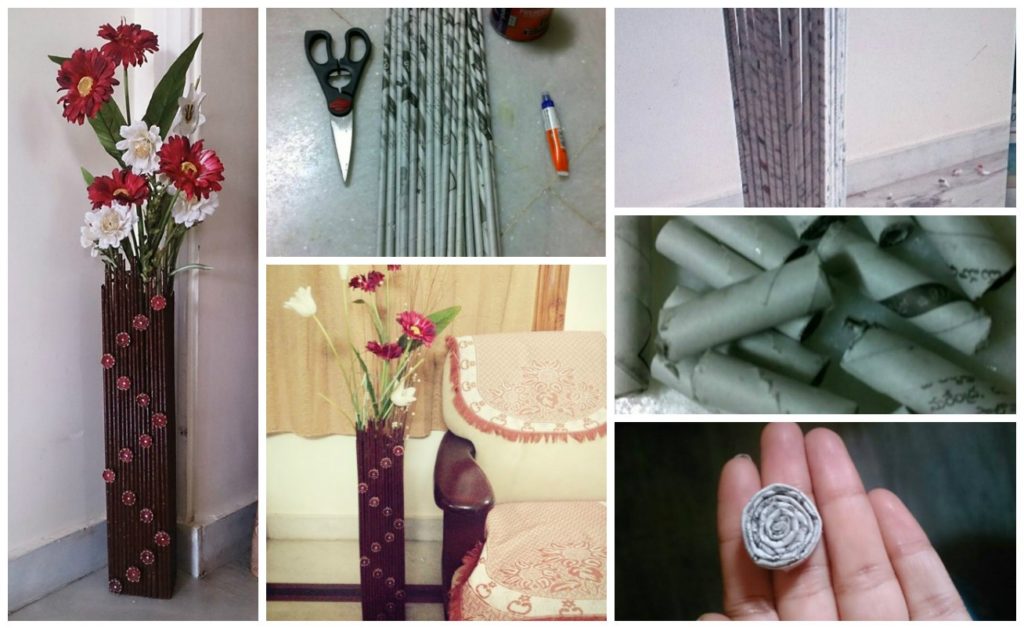
Posted onJanuary 11, 2017inBest out of Waste, DIY, Newspaper Crafts, Step by step, Tutorial DIY make newspaper vase
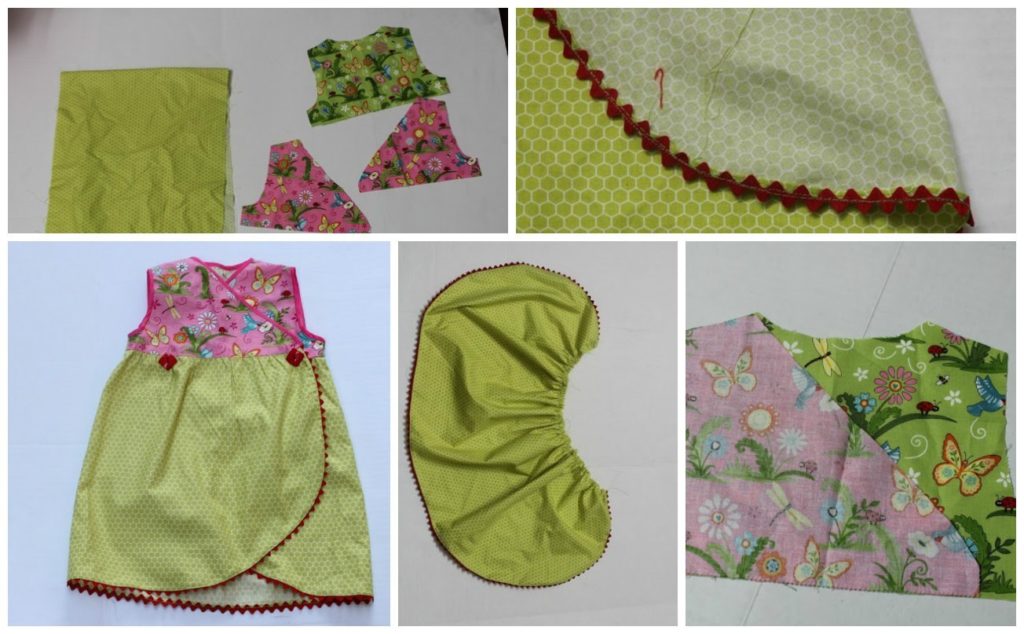
Posted onJanuary 10, 2017November 19, 2022inClothing, Kids Corner, Patchwork Crafts, Tutorial Beautiful Handmade Dress for girls
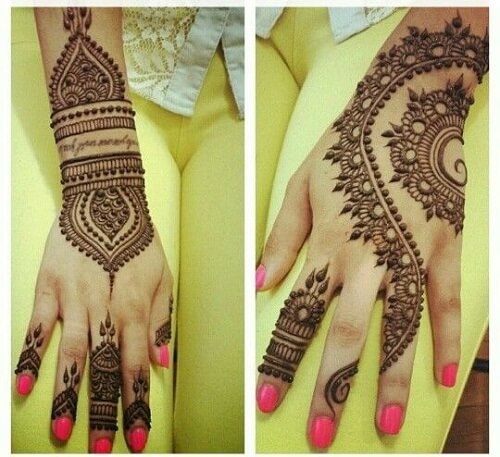
Posted onJanuary 10, 2017inBirthday, Diwali, Ideas, Mehndi, Wedding 10+ Simple Arabic Mehndi Designs [2017]
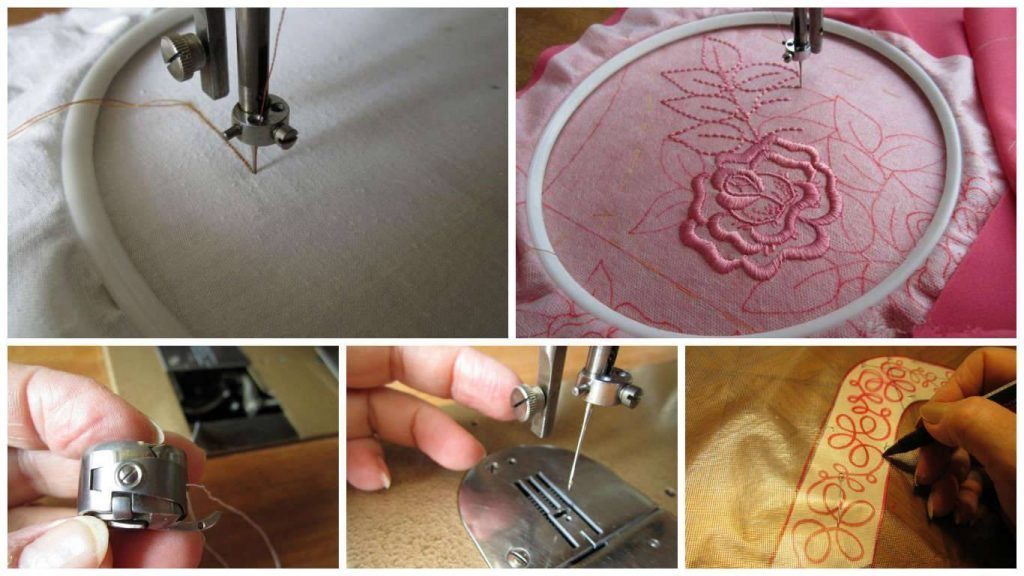
Posted onJanuary 10, 2017inDIY, Embroidery And Sewing, Home Decor, Step by step, Tutorial How to embroider the simplest sewing machine – Step by step
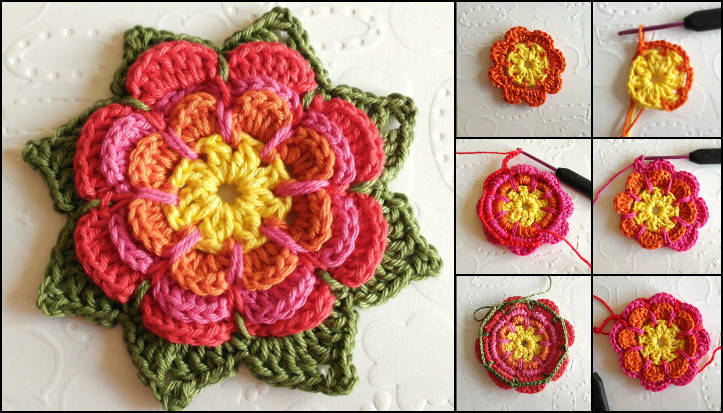
Posted onJanuary 10, 2017inCrochet, Flower Crafts, Step by step, Tutorial Beautiful Crochet Mesh Flower
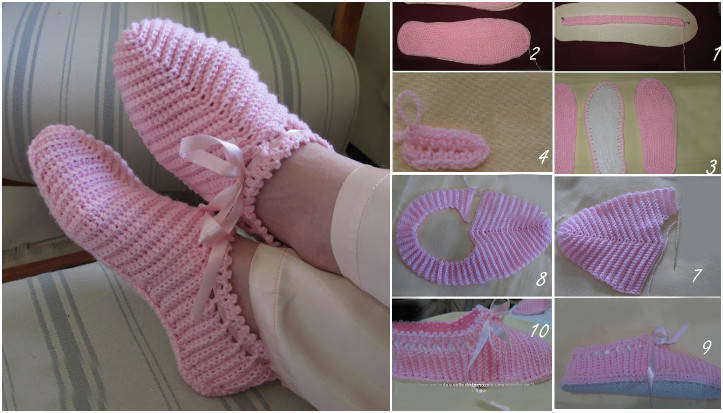
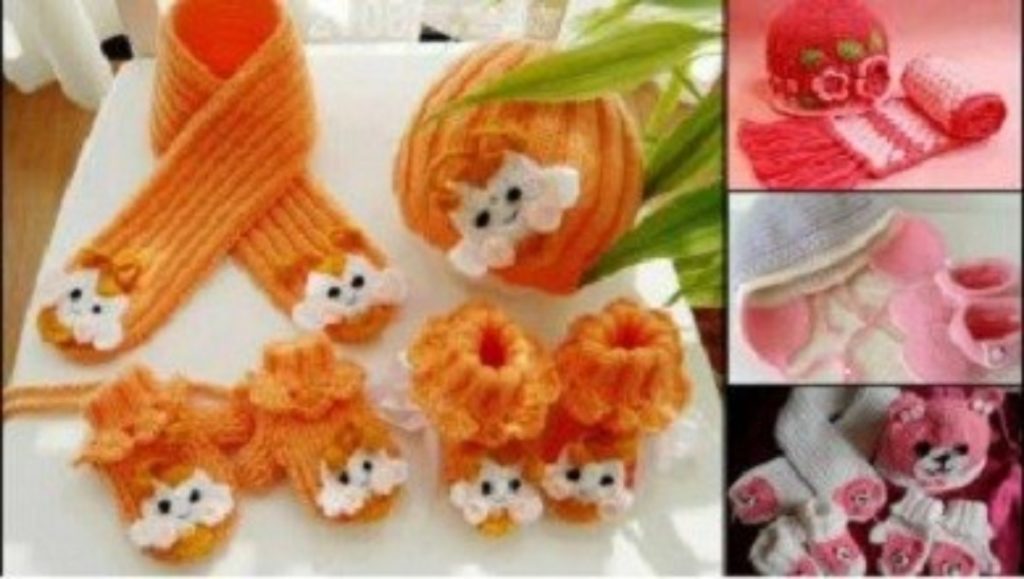
Posted onJanuary 10, 2017July 16, 2017inCrochet, DIY, Ideas, Kids Corner, Step by step, Tutorial Beautiful Crochet Work Knitted Scarf Bite Sets