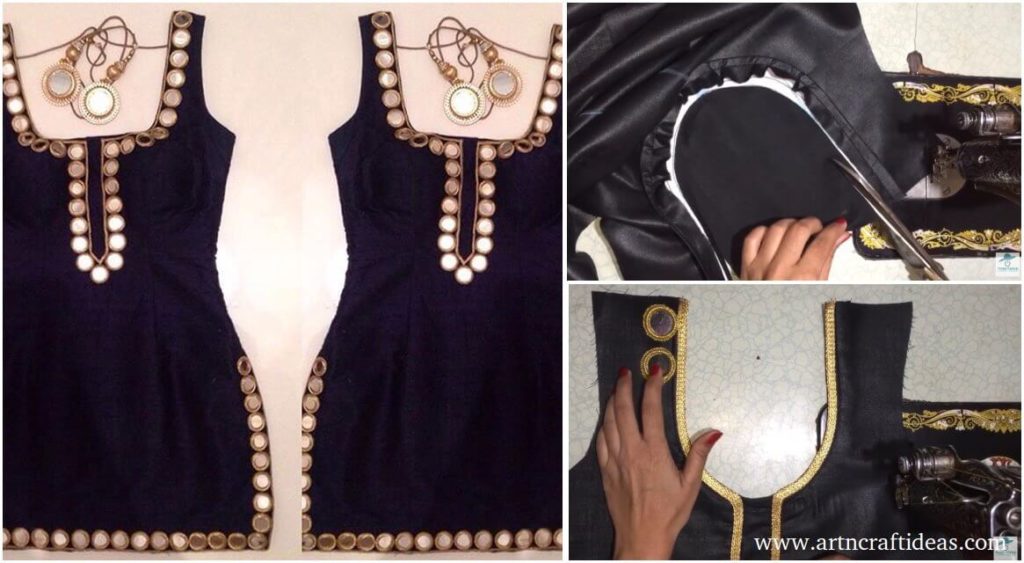
Posted onJune 5, 2017June 5, 2017inClothing, Tutorial, Video DIY Fashion: Round Neck Design for Kurti with Mirror work
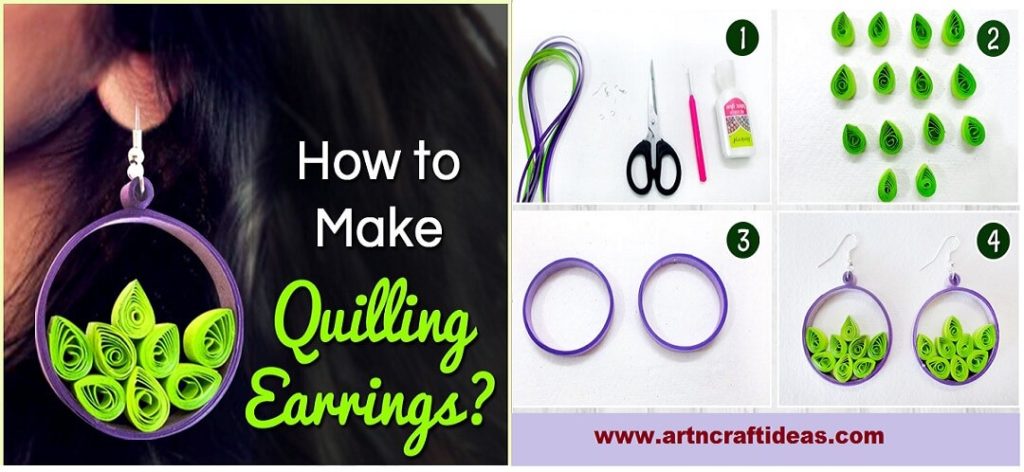
Posted onJune 3, 2017June 3, 2017inJewellery, Quilling, Tutorial, Video how to make Quilling Earrings
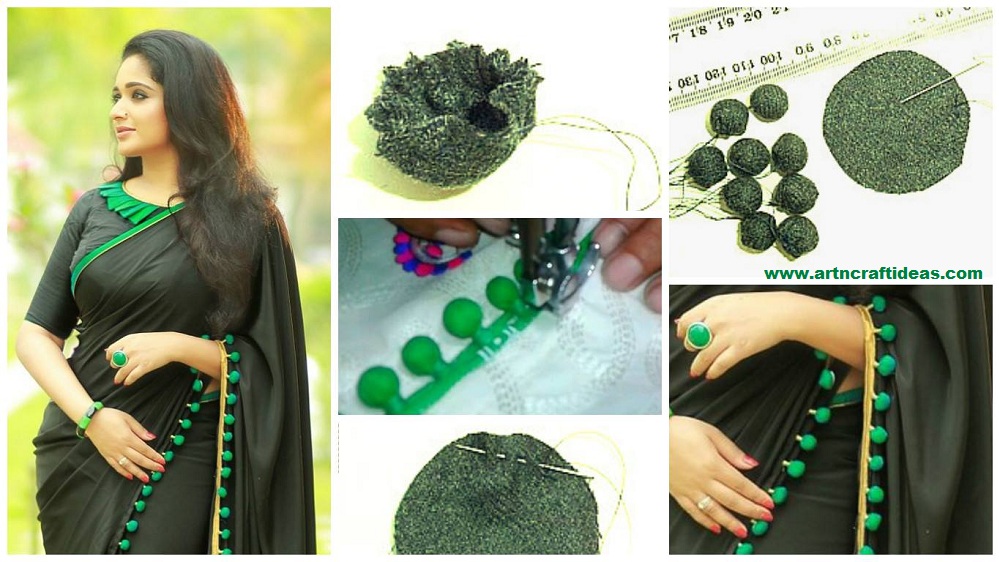
Posted onJune 2, 2017inClothing, Embroidery And Sewing, Tutorial How to decorate saree from fabric pompom
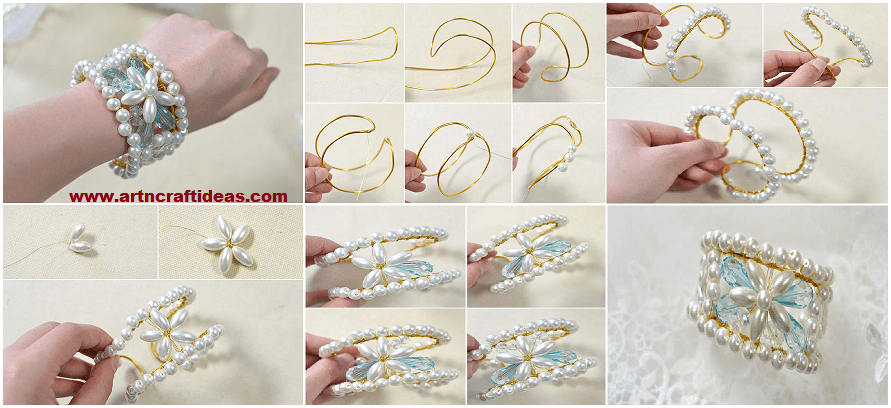
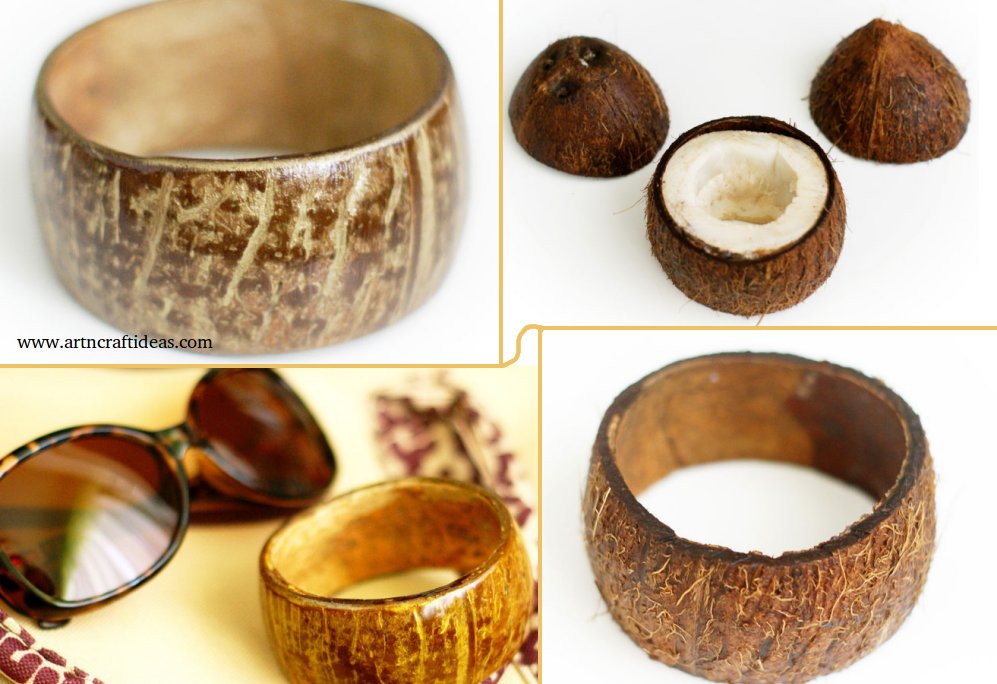
Posted onJune 1, 2017inBest out of Waste, Jewellery, Step by step, Tutorial How to make coconut shell bracelet – Step by step