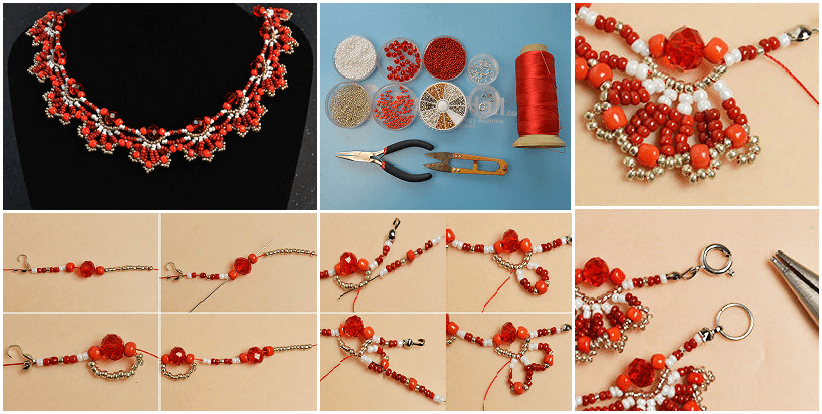
Posted onMay 28, 2017inJewellery, Mother's Day, Tutorial How to Make a Delicate Red Flower Choker Necklace With Beads
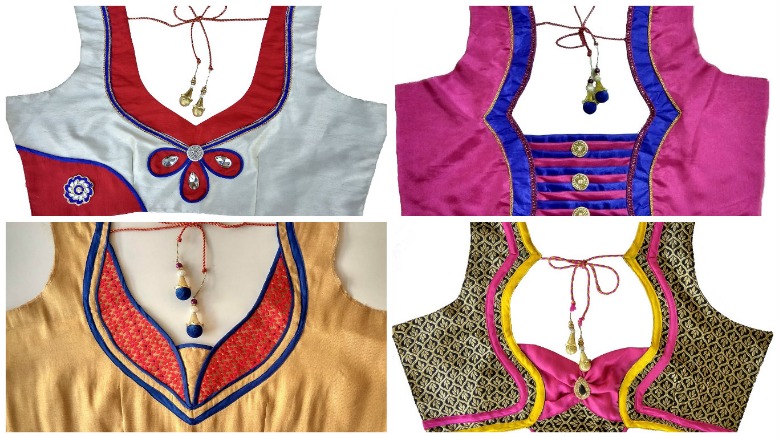
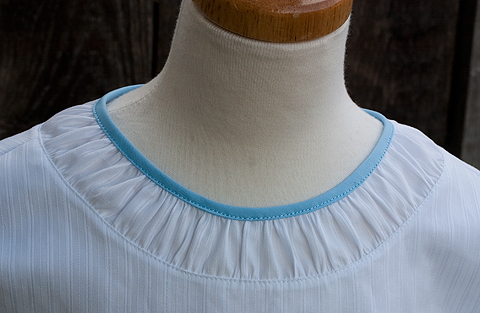
Posted onMay 19, 2017November 19, 2022inClothing, Patchwork Crafts, Tutorial, Video How to make designer back neck blouse
Posted onMay 18, 2017inClothing, Featured, Kids Corner, Tutorial Little Red Riding Baby Boots Pattern Tutorial
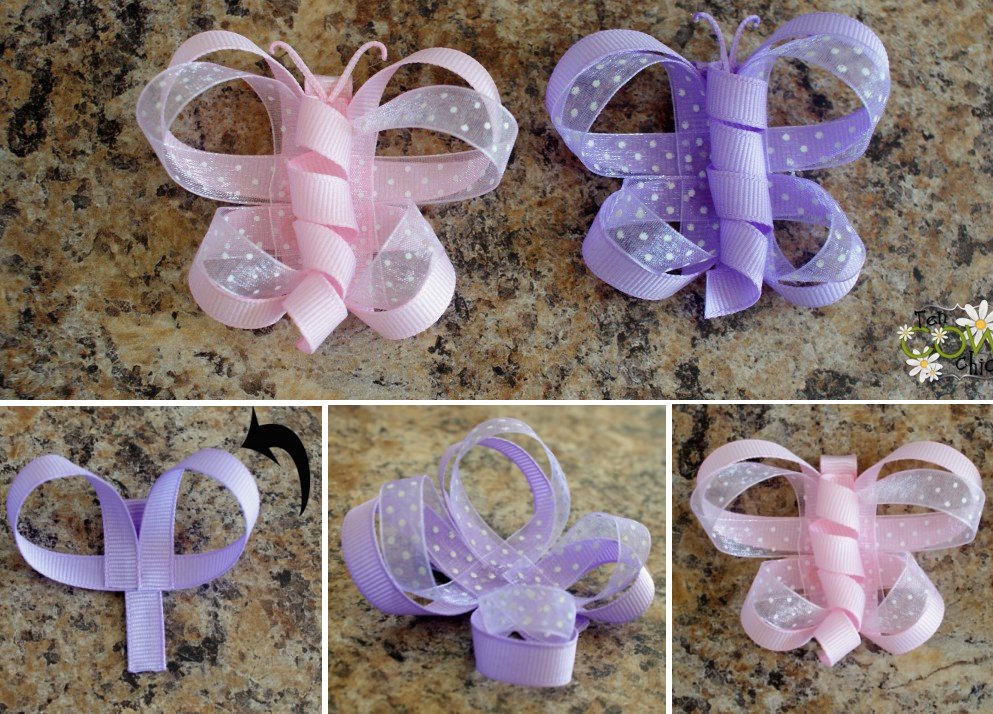
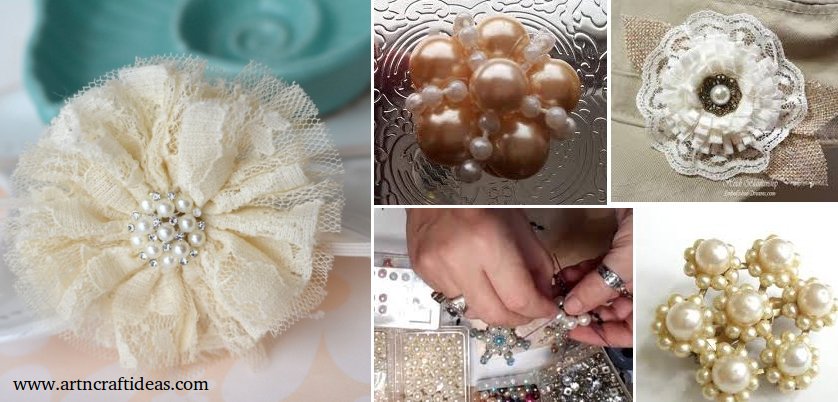
Posted onMay 16, 2017inFlower Crafts, Jewellery, Tutorial, Video Shabby Chic Pearl Flower Video Tutorials
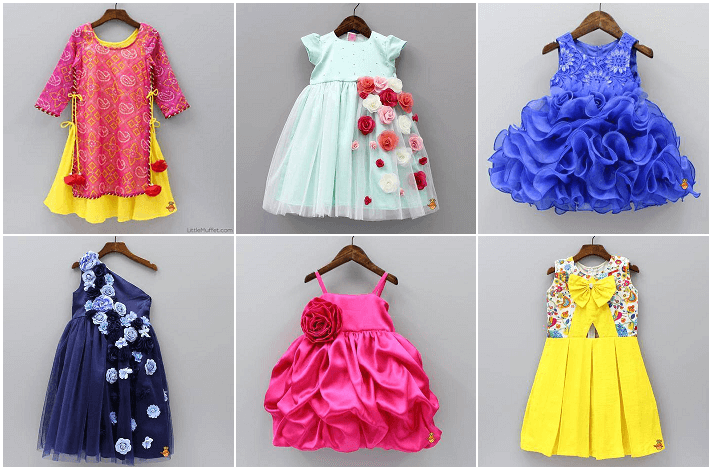
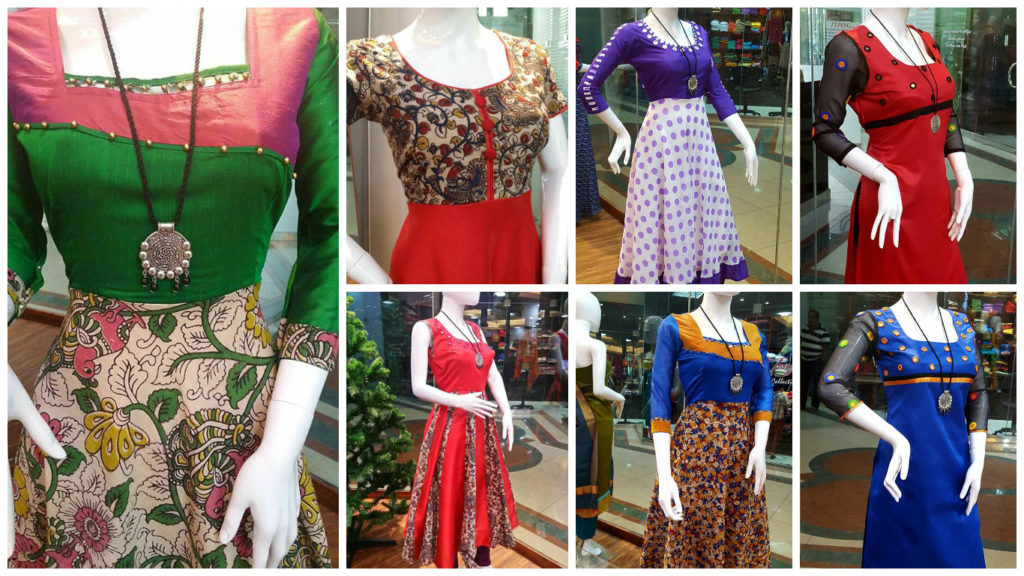
Posted onMay 16, 2017inClothing, Embroidery And Sewing Different Types Of Kurti Designs For Stitching
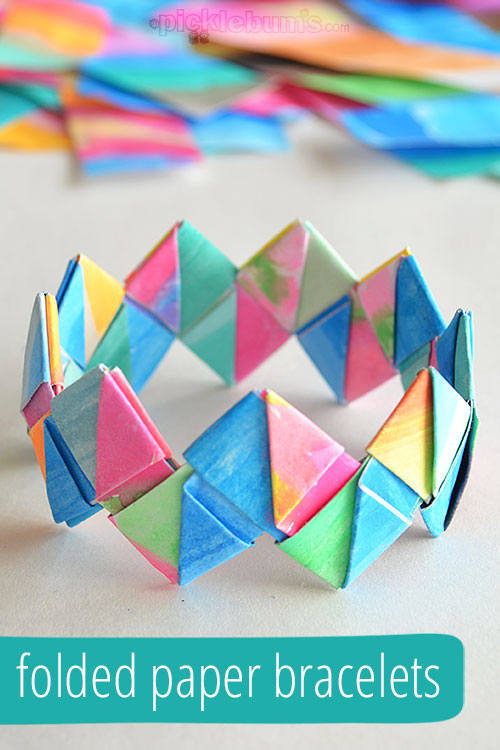
Posted onApril 5, 2017April 5, 2017inJewellery, Paper Crafts, Tutorial DIY Folded Paper Bracelets (Tutorial)