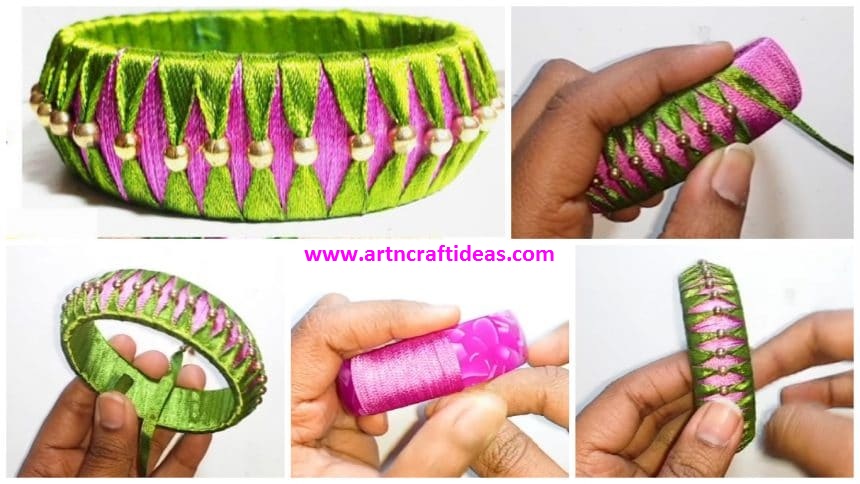
Posted onJuly 9, 2017inCraft, DIY, Jewellery, Tutorial, Video How to Make Silk Thread Ribbon Bangle at Home
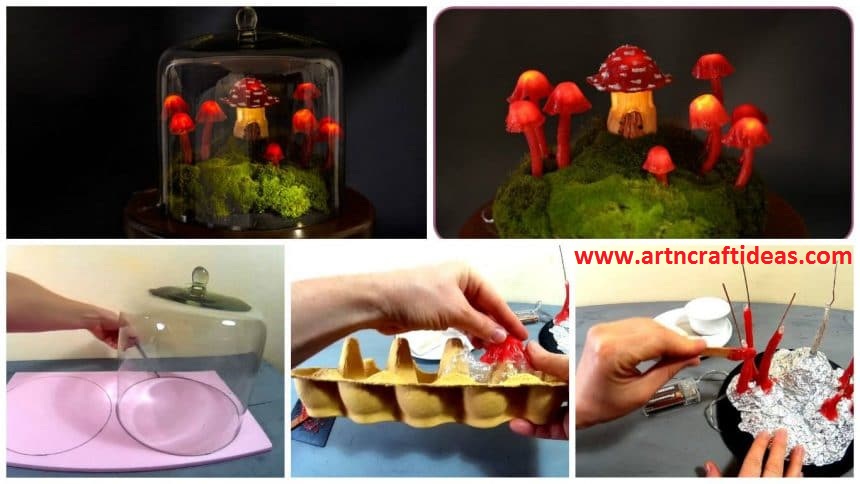
Posted onJuly 8, 2017inCraft, DIY, Home Decor, Tutorial DIY Miniature Fairy Garden Terrarium – Enchanted Mushroom Lights
Posted onJuly 8, 2017inClothing, DIY, Fashion, Step by step, Tutorial Recycled Craft: T-shirt to DIY Jumpsuit in 20min
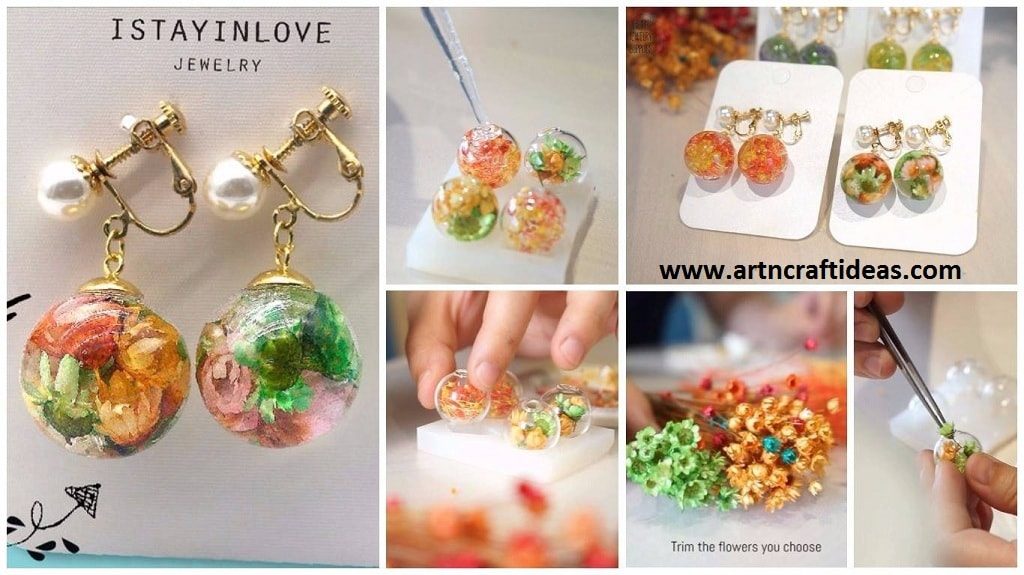
Posted onJuly 7, 2017inDIY, Fashion, Jewellery, Tutorial DIY Silicone Transparent Floral Bracelet Tutorial
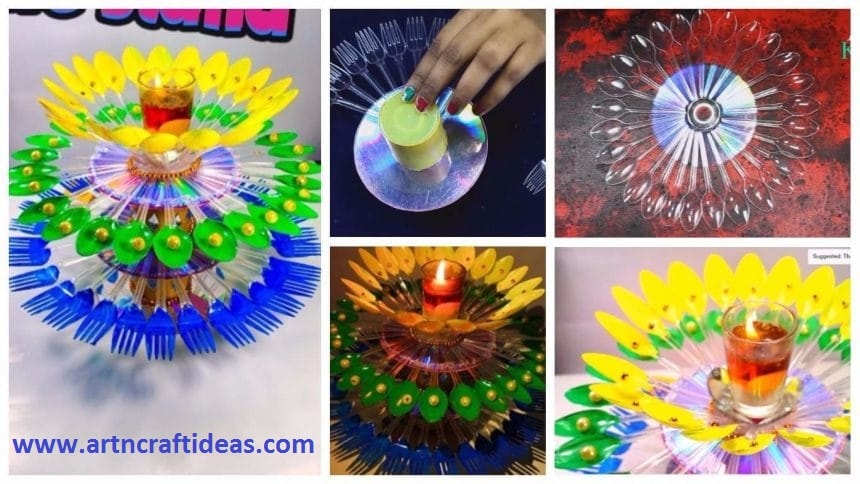
Posted onJuly 6, 2017July 6, 2017inBest out of Waste, Christmas, Craft, Diwali, DIY, Home Decor, Tutorial How to Decorate Candle Holder/Stand from Plastic Spoons
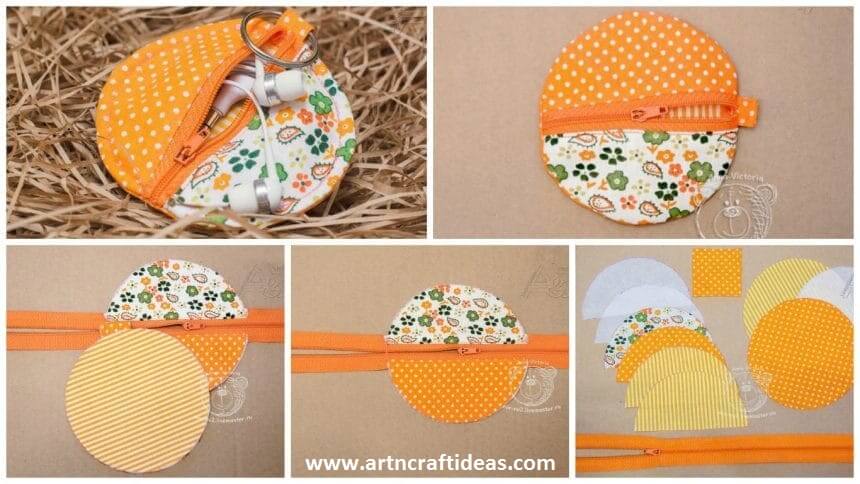
Posted onJuly 6, 2017inDIY, Embroidery And Sewing, Tutorial How to sew case for the headphone and different things
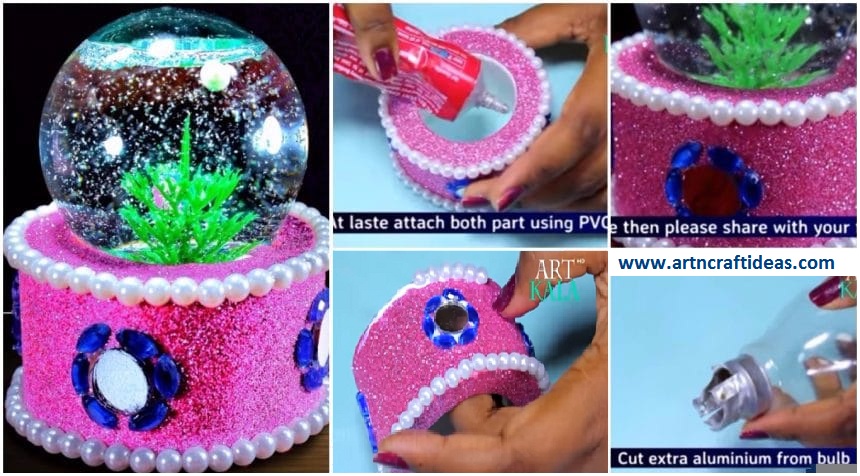
Posted onJuly 5, 2017July 5, 2017inBest out of Waste, Craft, DIY, Tutorial How to make snow globe from waste fuse bulb best out of waste