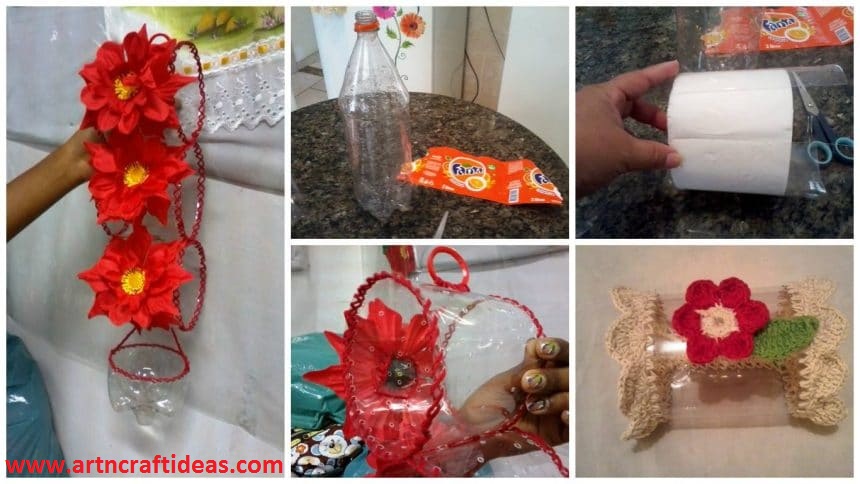
Posted onJuly 5, 2017inBest out of Waste, Craft, DIY, Tutorial How to Make Toilet Paper Roll Holder from Plastic Bottle
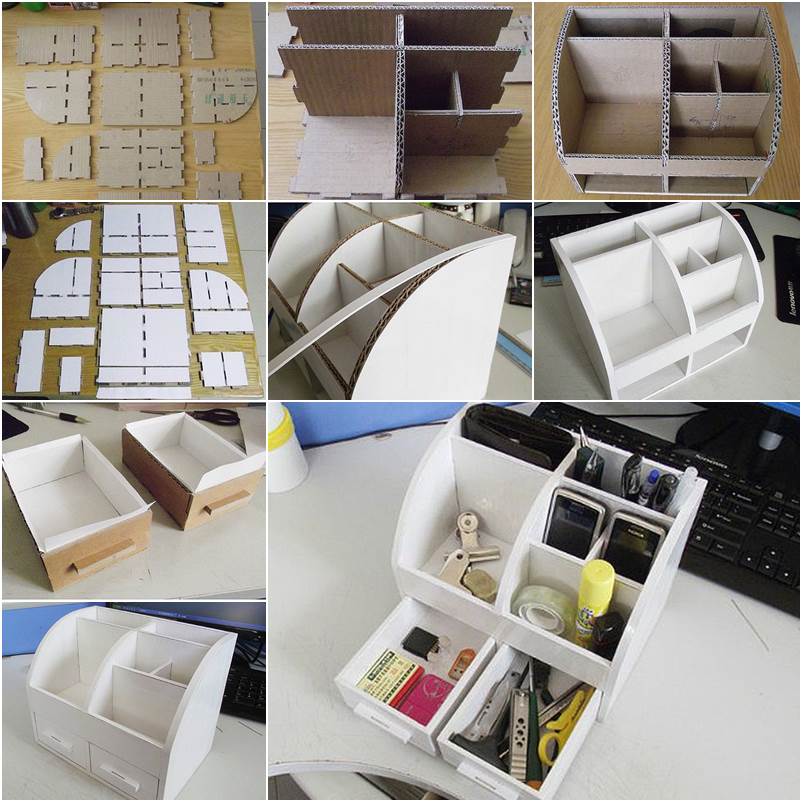
Posted onJuly 5, 2017inBest out of Waste, Cardboard Crafts, DIY, Tutorial DIY Cardboard Desk Organizer with Drawers (AFFORDABLE)
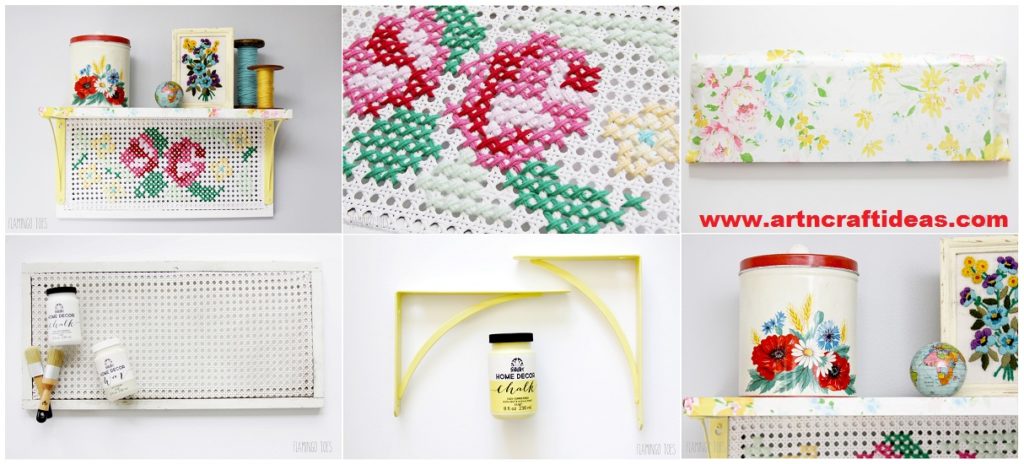
Posted onJuly 1, 2017inDIY, Embroidery And Sewing, Home Decor, Tutorial DIY Vintage Style Cross Stitch Shelf
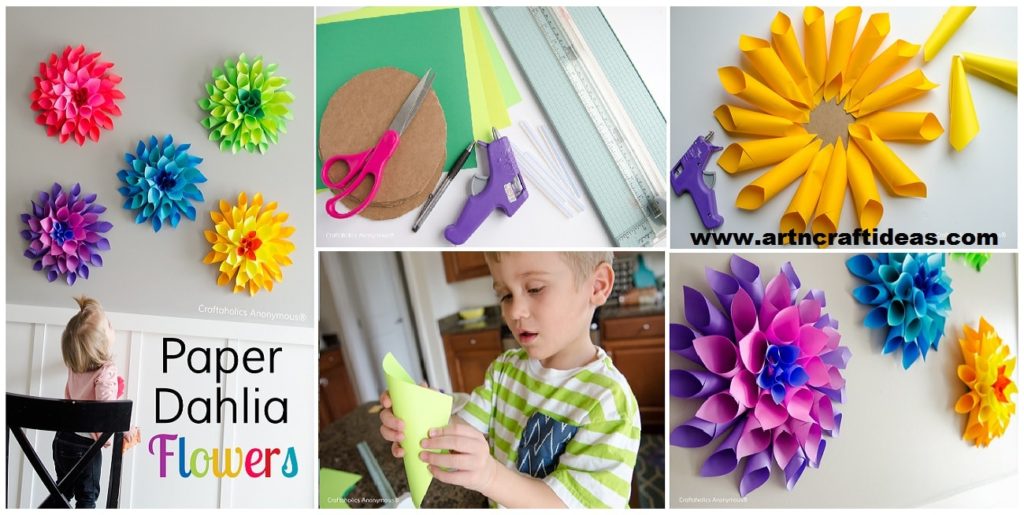
Posted onJuly 1, 2017inCraft, DIY, Kids Crafts, Paper Crafts, Tutorial How to Make Paper Dahlia Flowers
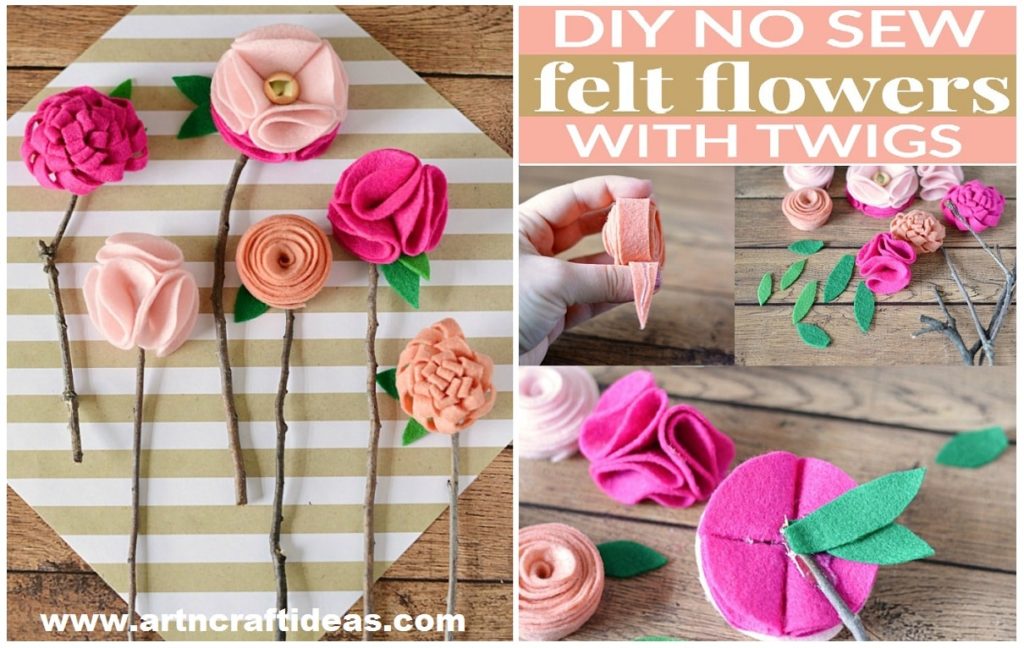
Posted onJuly 1, 2017July 1, 2017inCraft, DIY, Featured, Flower Crafts, Mother's Day, Tutorial DIY Handmade No Sew Felt Flowers With Twigs
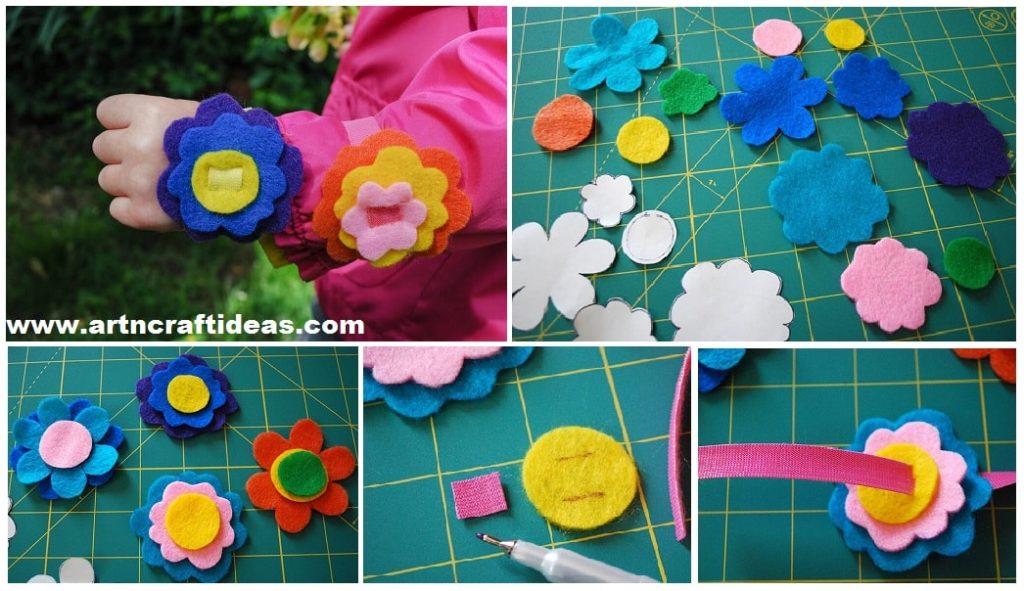
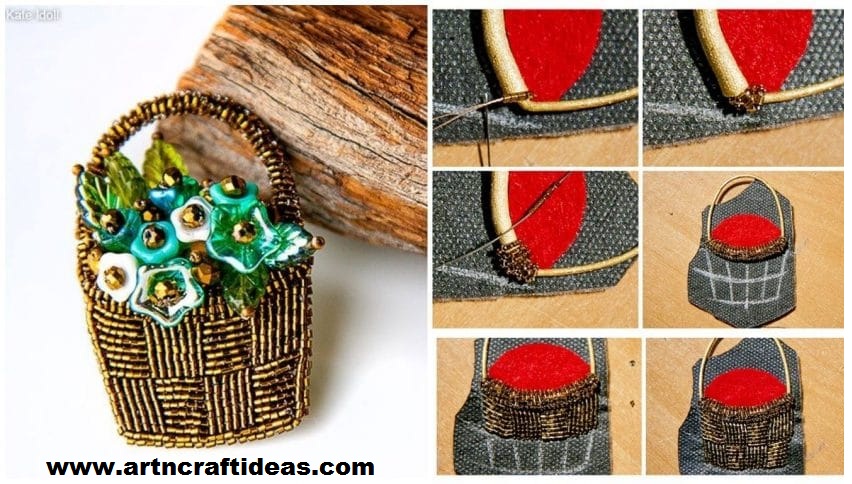
Posted onJune 30, 2017June 30, 2017inDIY, Jewellery, Tutorial DIY beautiful brooches “Basket with flowers”
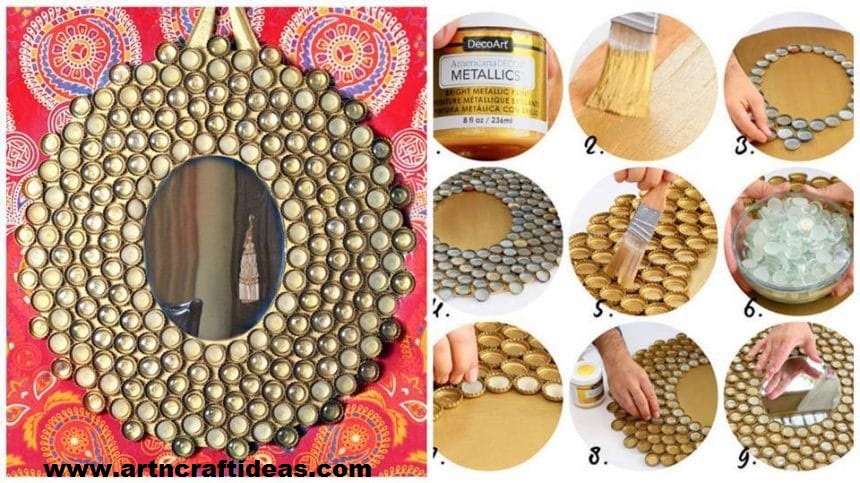
Posted onJune 24, 2017inBest out of Waste, Craft, DIY, Home Decor, Tutorial, Video How to make Boho Bottle Cap Mirror