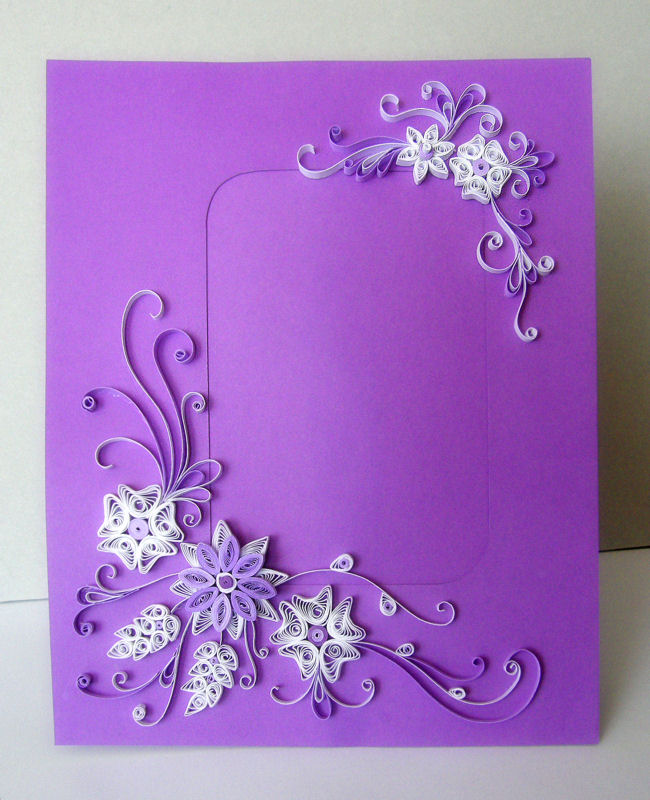
Easy Paper Quilling Photo Frame (Tutorial)

It requires the following ingredients:

  • A dense paper for background (at least 300g / m2)
  • Less dense paper for flowers (from 120 to 160 g / m2 – denser not desirable, tk strip of this size will not curl and smoothly obedient) two colors. In my case it is white, that will stand out, and a gentle shade of the background color, which will allow the flowers to our successfully combined with the main color and helps highlight the details.
  • Paper knife and steel ruler to cut strip. Use scissors to cut a tedious affair
  • PVA glue
  • A toothpick or other curler rolls

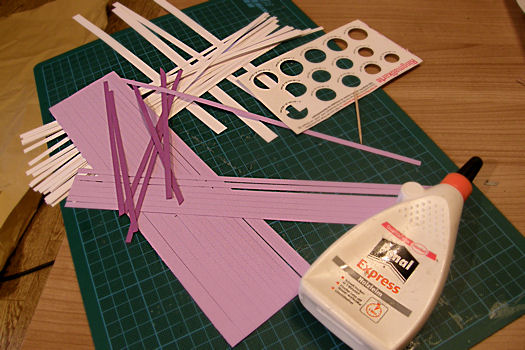
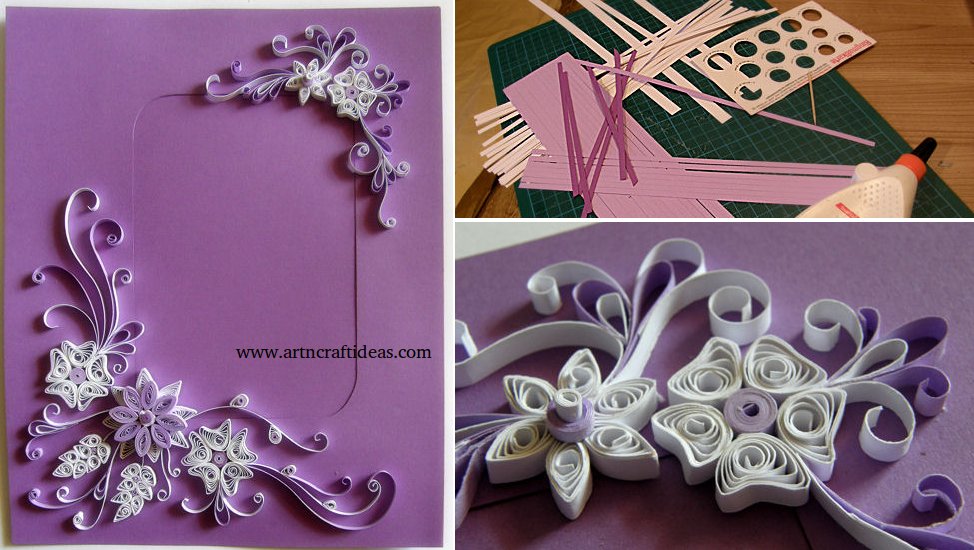
Cut into strips 30 cm long and 5 mm wide, the number pretends leaning on conceived plot. There are many clever ways to quickly cut, for example, cut a few layers of paper at a time, but this density (120 to 160), it is quite difficult. so long to not split hairs, I bonded with paper flowers tetrad piece of a cell and, Whack-Whack-Whack by moving the line of cells…

But first, make a frame, and best of all – for later.

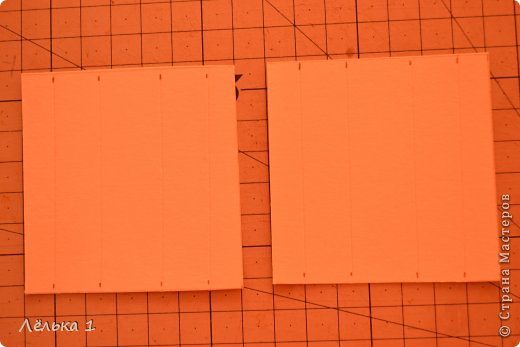
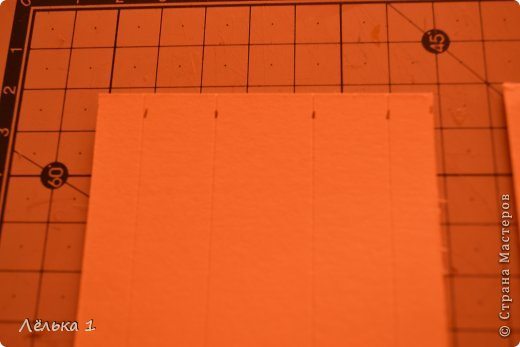
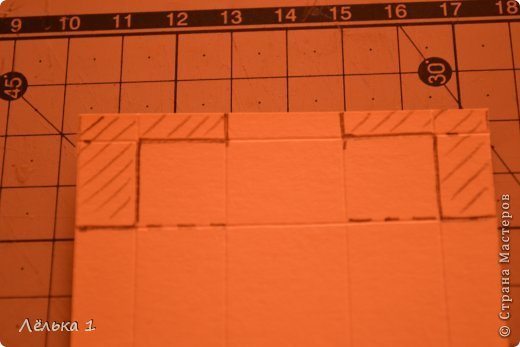
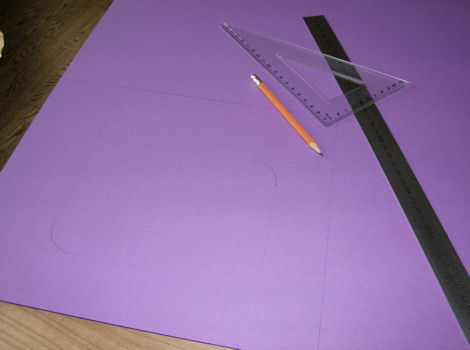
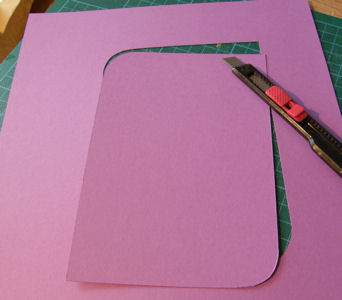
We mark up our most dense leaf. It is recommended to prepare a detailed shemku on paper, not to cut too much, take into account all the dimensions. I look forward to photos 13×18, based on these dimensions, select the width of the box, my left and from the bottom a little bit wider. Zakrnchiv layout, cut out window for the picture, which should be slightly smaller than the photo
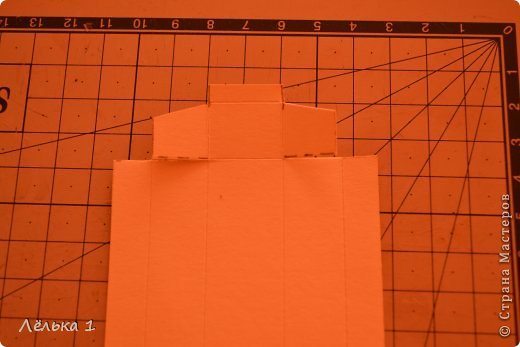
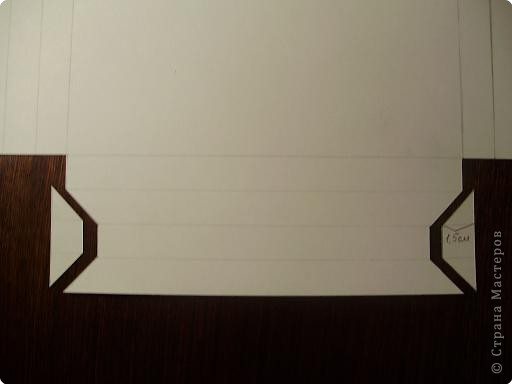
Now for the “pocket” into which the picture will be inserted. Photographic paper is very thick and has a substantial thickness, so that the frame is not deformed when it put them in the photo, we give the pocket a little bit width)) is glued to the back of the narrow strip of heavy paper, and now you can stick and “pocket” itself, which will not allow our shot to drop out of the frame.
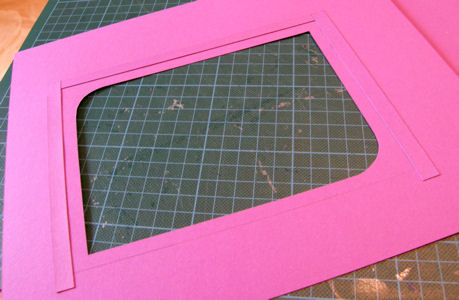
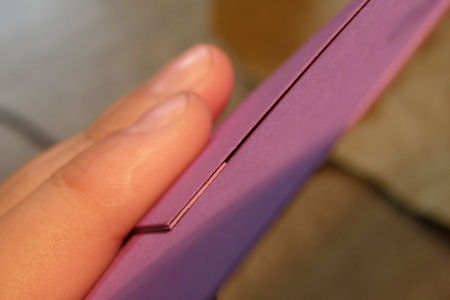
Basis is ready.
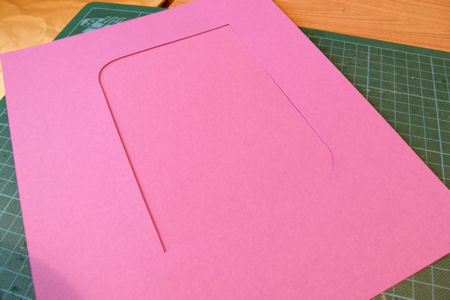
We turn to the flowers. As you probably already know, the Demi demisoffice.com.ua/news/news_around_the_world/104 have a whole bunch of examples and lessons, which explores in detail and scale of the basic quilling techniques.
So, for the manufacture of the petal we need a paper strip, which by means of a split toothpick (or more noble instrument) is rolled into a tight roll of. A roll in turn unwound to a certain diameter, and then the end of the strip is fixed with white glue rolls and formed into the desired shape with the fingers. my hands to avoid dark spots then hurt at work. Particularly easy to get dirty cuts strips for the white paper is a disaster, it is easy to give very poor appearance.
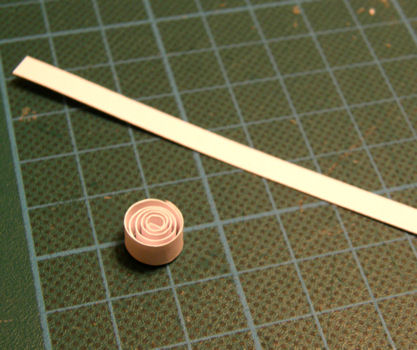
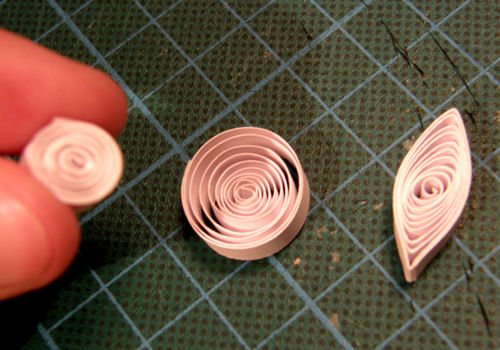
For the manufacture of identical petals useful template to unwind rolls up to a diameter. Here is my first flower
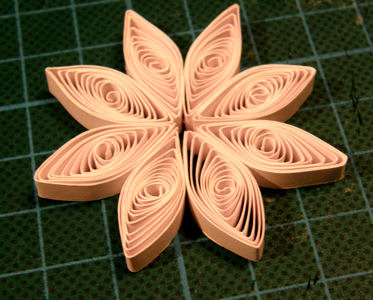
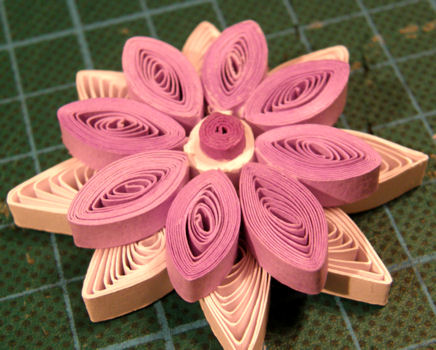
Mnoe still really like the flowers of this form
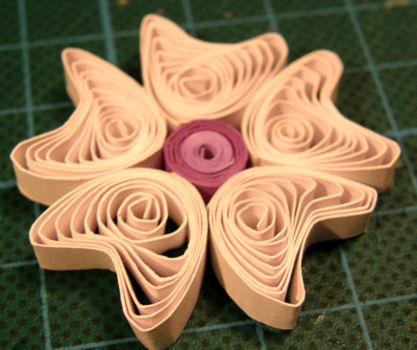
and leaves, of course
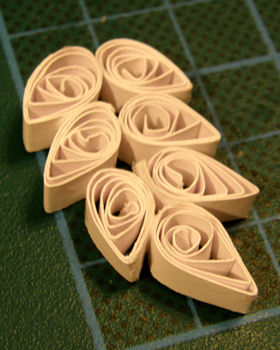
In general, we turn your heart’s content, do not forget to create a variety of flora dimensions))
when the basic elements are ready, dispose of on the frame and prileivaem.
This is not the final version, but the meaning is, I think, is clear.
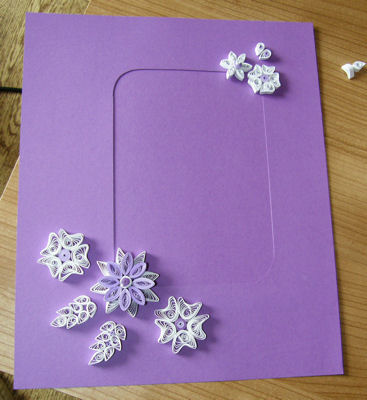
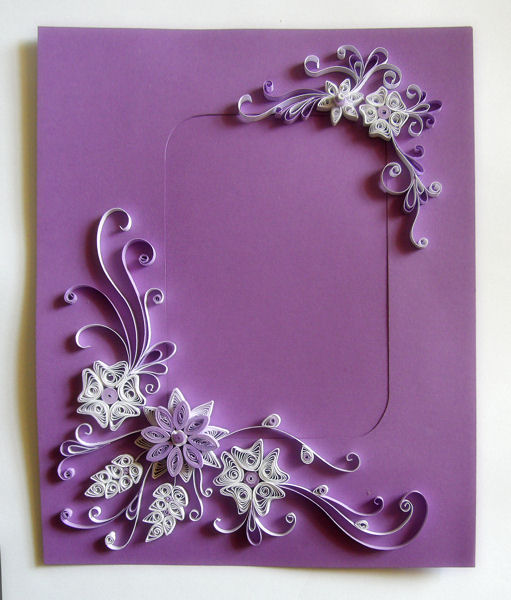
Now add the details and Circuits, until the composition does not seem quite complete
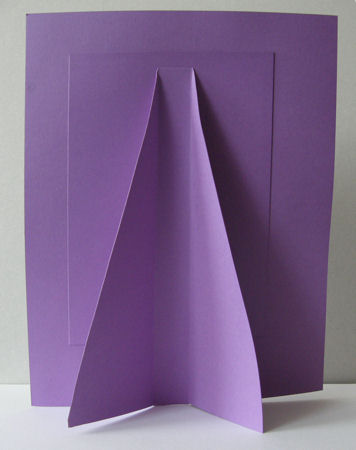
one last step – attach the back of the podstvku stability.
frame ready
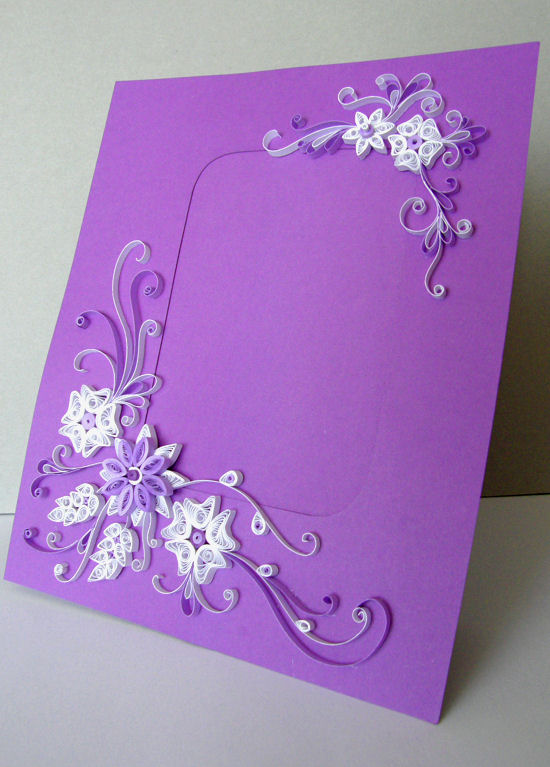
Thank you for attention. I hope you will come in handy malenkty my lesson. I’d be happy reviews!

DIY: Beautiful Pastel paper Photo frame

Pastel paper Photo frame 1

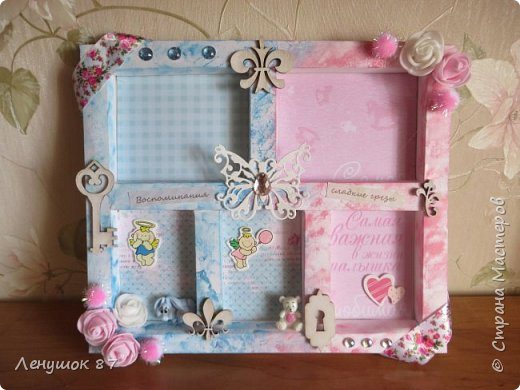
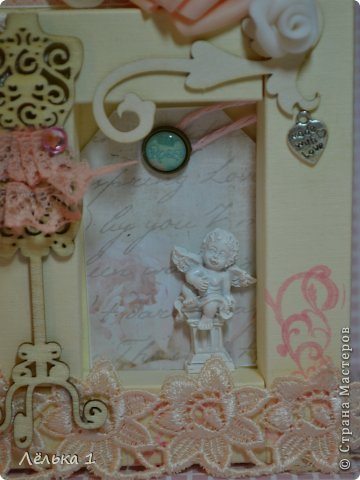
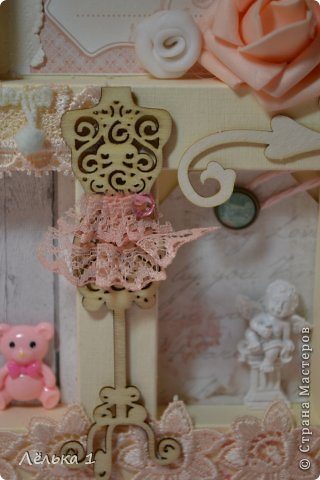
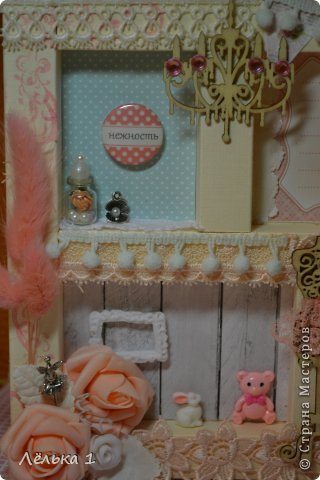
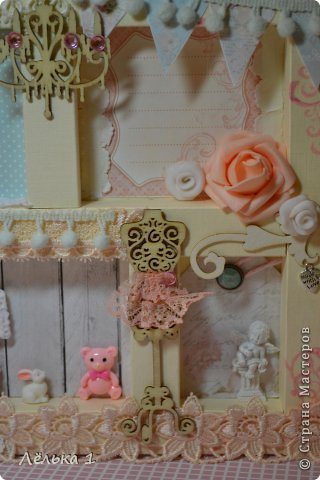
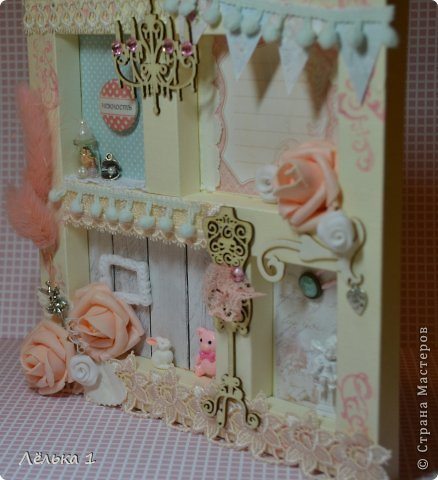
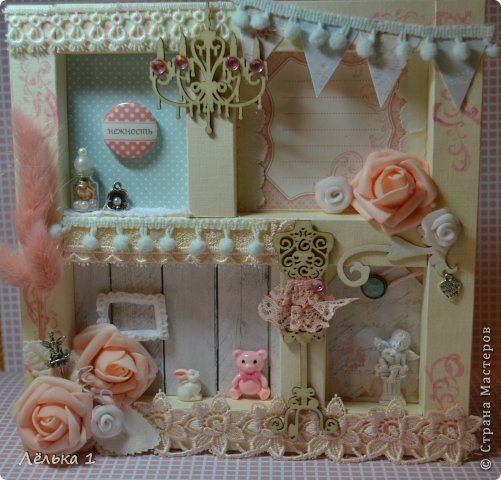
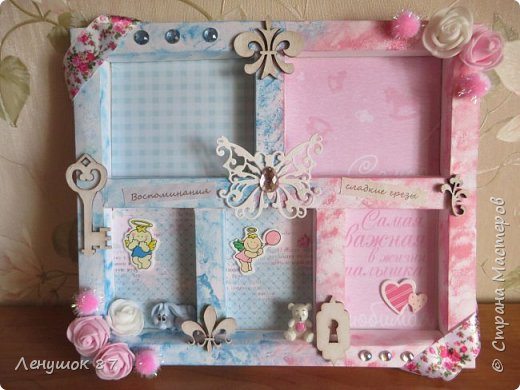
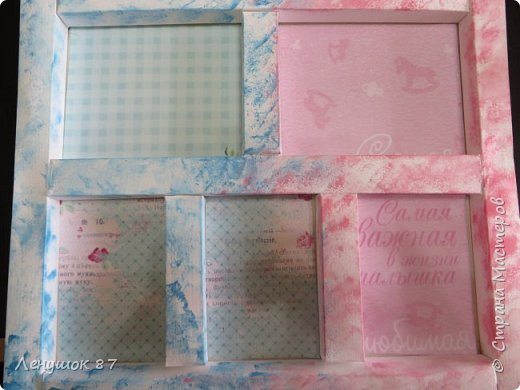
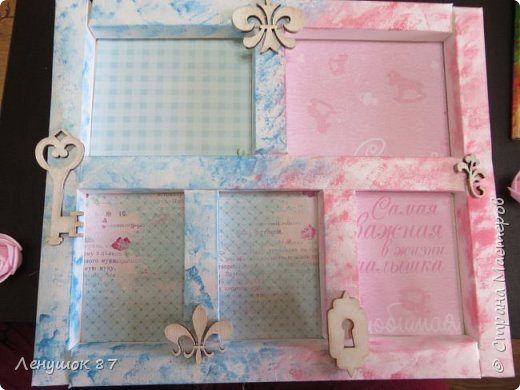
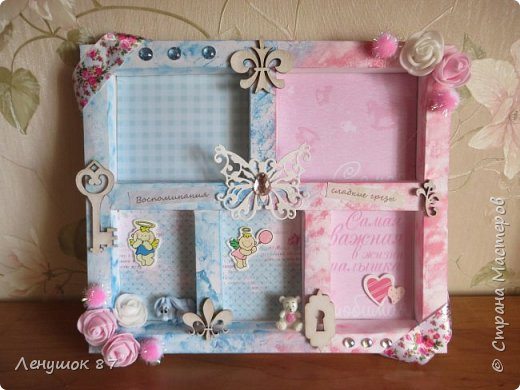
Today we want to show you photo frame, it’s for my little daughter !!! The process of creating a framework, I photographed, of course it is far from the present tutorial, but this is my first experience please do not judge strictly. It may be useful for beginners, my mini tutorial before buying ready boksiki can work out here on this, without any extra costs. Look what happened.
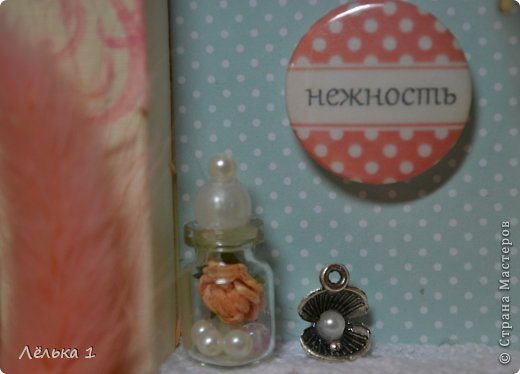
Buttons tender, very pleasant to me, hence the name of the entire product. In a jar, canned rose, and of pearl, embodies all the tenderness.
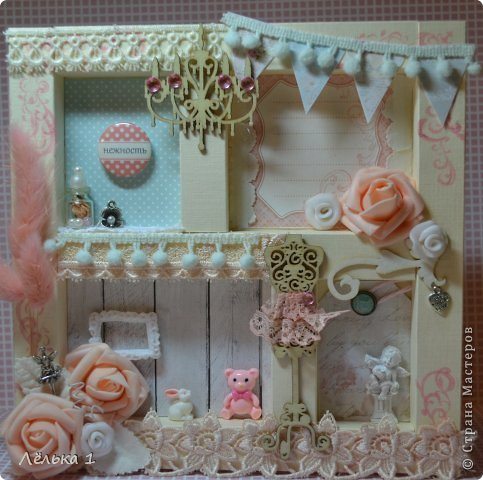
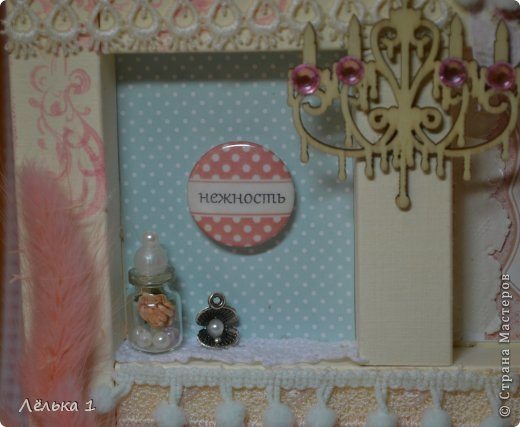
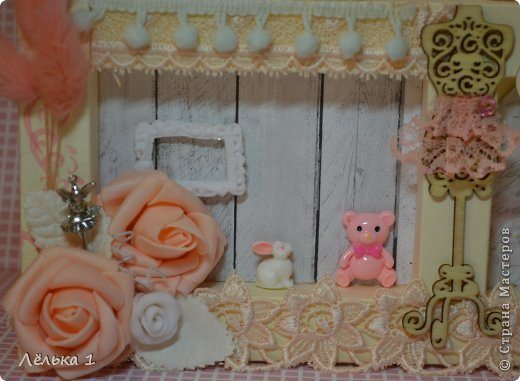
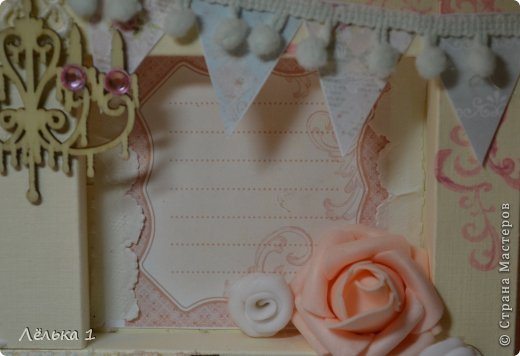
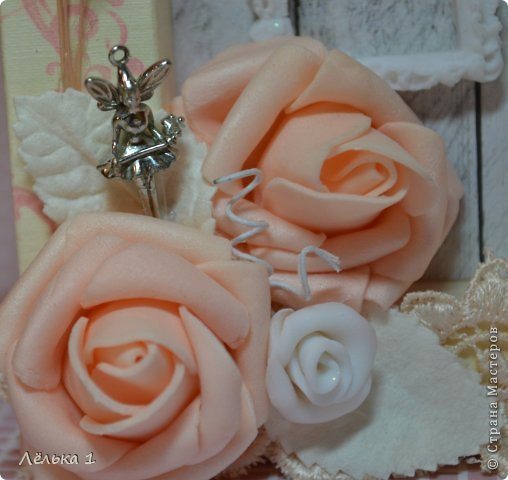
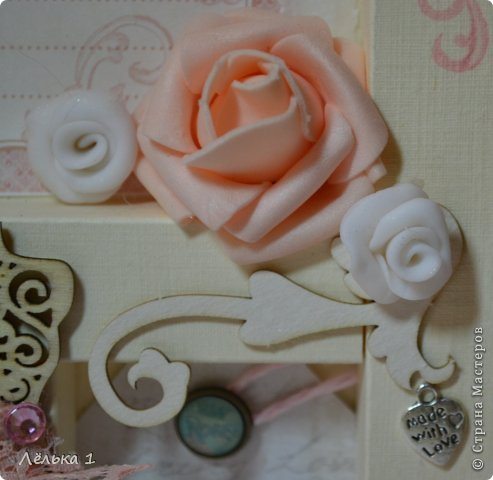
In this Frame, you can insert a photo or to make an inscription, the white roses of plastics, peach rose.

There angelok, brads with the name “Rose” heart “made with love”.

After design that you shows above, Now time to making.
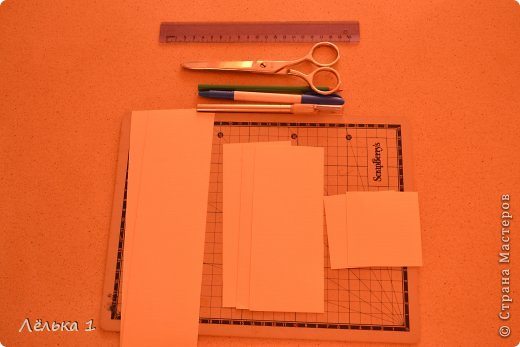
Required Material:
1. Pastel paper (or watercolor, or skrapbumaga) and a beer carton size 20×20
2. Line
3. Pencil
4. Cutter
5. Scissors
6. Tool for creasing (itself still use a pen that does not write))

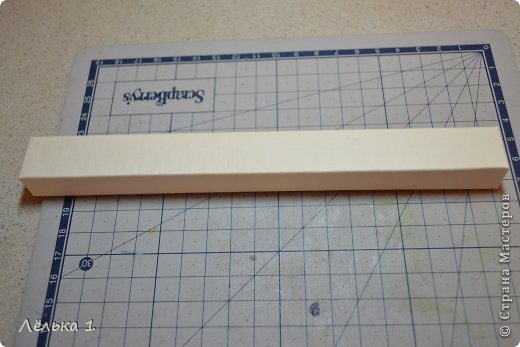
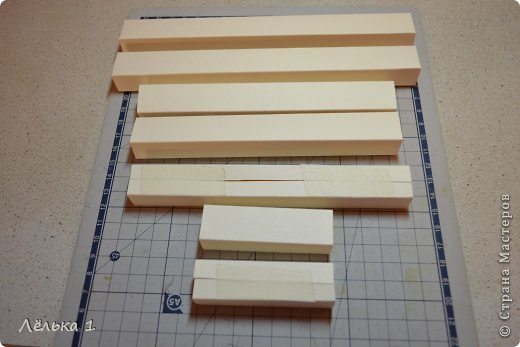
I sliced ​​7 strips of different lengths of paper for pastels, but the same width.

3 pieces of medium size length 16 cm width 7 cm (1h1,5h2h1,5h1).
Measure out and cut, then the width of each band beat (1h1,5h2h1,5h1) = 7 cm, then according to our size.

this small wall 7 cm x 7 cm, performed the same as the middle strips.

But two large, there are a few others, the width and 7 cm, only the length of 24 cm.

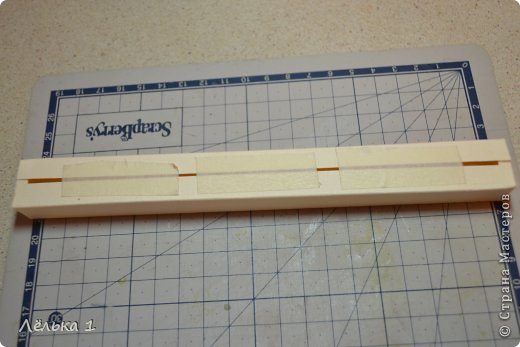
Here I have highlighted in pencil, then you need to cut the dotted lines indicate the slot to make. On a large wall (of 2 pieces) size 24 cm, top and bottom postpone 0, 5h1, 5h20h1, 5h0, 5

That happened to us when we probigovali long strips and cut along the lines of the previous photo.

Fold along the grooves.

coat with glue to one side, pressed against the inner walls.

So what should we succeed.

In order not to disperse the wall, then I strengthened mounting tape.

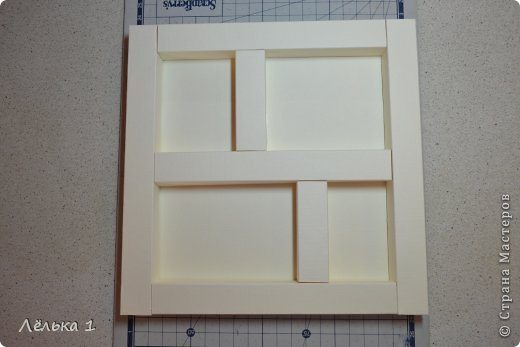
Then take a beer in my 20×20 cardboard pasted over his paper for pastels, as well as walls. We put the walls to the base and if you are satisfied, then all sticking. Here frame and ready !!! And then let the flight of your imagination and decorate to your liking.

How to Make Photo Frame with Corrugated Cardboard

Photo frame with corrugated cardboard 1

You can easily create a photo frame using corrugated cardboard. It’s easy to do and inexpensive too!

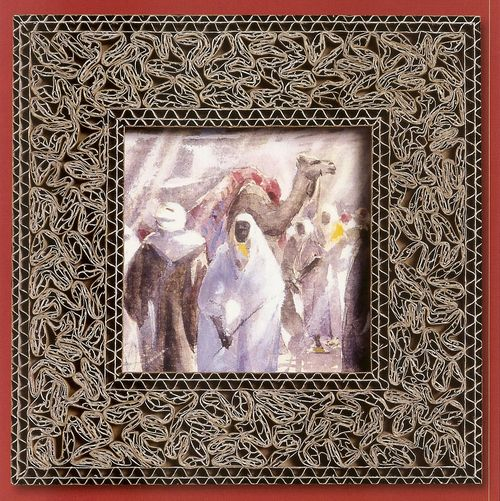
Let’s say you bought something big for the house, quickly gutted the box, all unpacked, put and rejoice. Wait, wait, Now Smiles will be more!  see some of the corrugated cardboard? Well considered? Do not dispose of this, not the beauty of it may happen Well at least this frame

Learn to Make Photo Frame with Cardboard

This photo frame is made from corrugated cardboard, which gives it a unique texture and look. The frame is simple and stylish, and would be a great addition to any room. It’s also eco-friendly and recyclable, which is always a bonus. To make a photo frame with corrugated cardboard, you will need: -A piece of corrugated cardboard -A sharp knife -A ruler -A pencil

Learn to Make Photo Frame with Cardboard

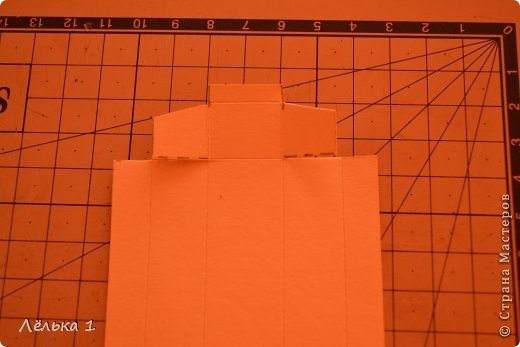
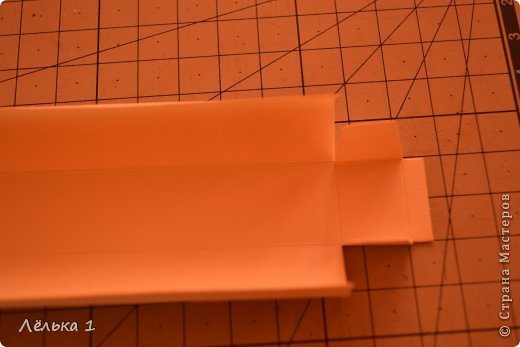
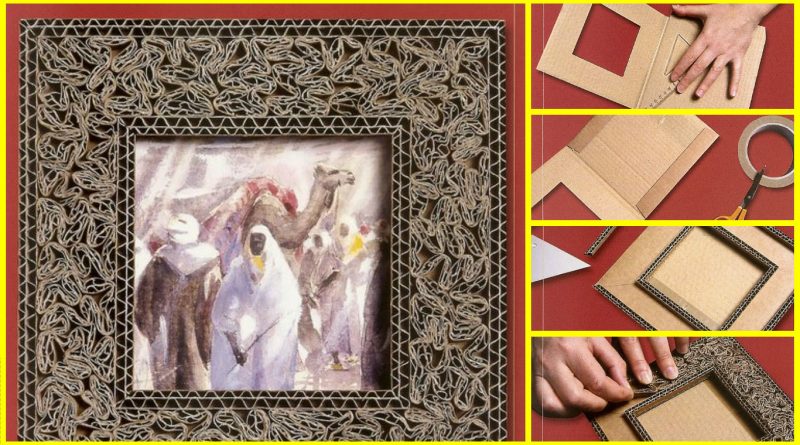
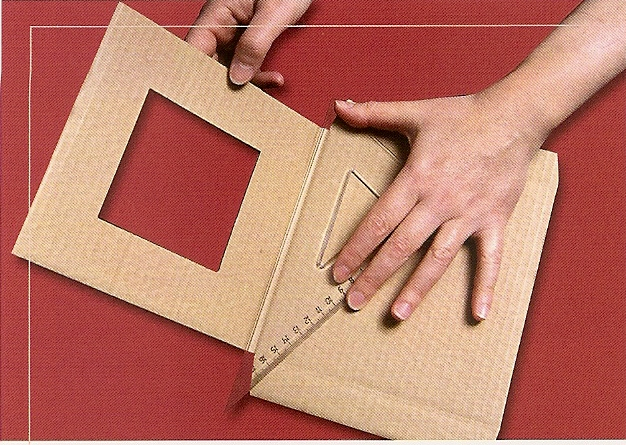
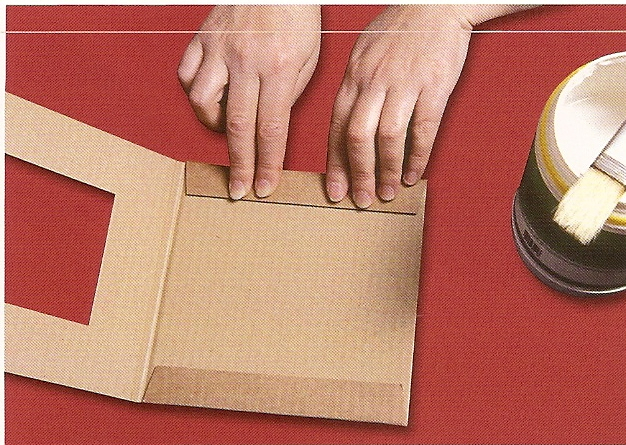
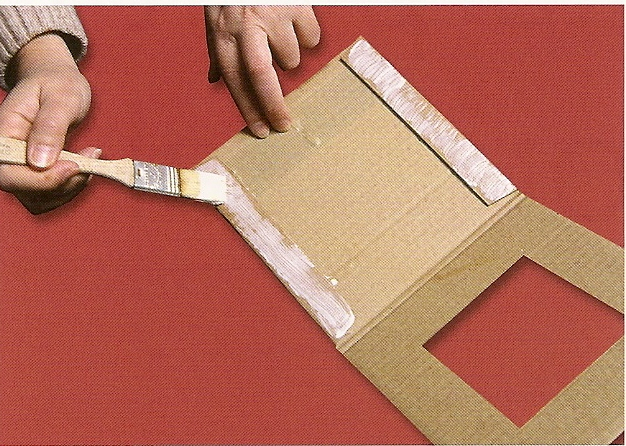
First, outline the size and cut out the shape. With the line forming a fold line and fold in half frame

Learn to Make Photo Frame with Cardboard

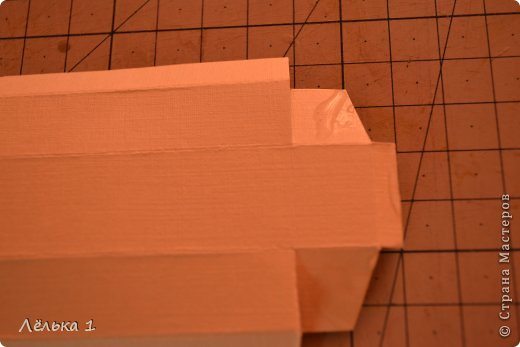
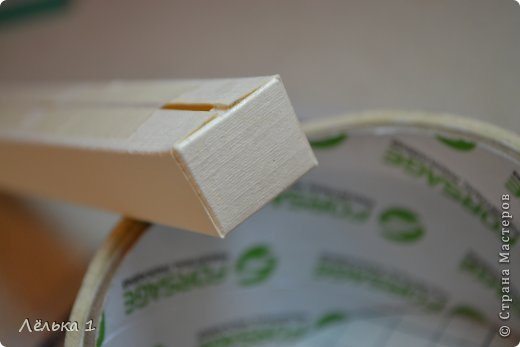
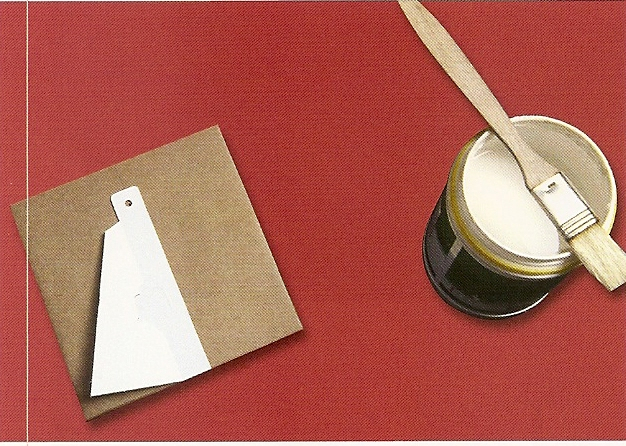
Glue the side parts

the back of the frame glue support leg

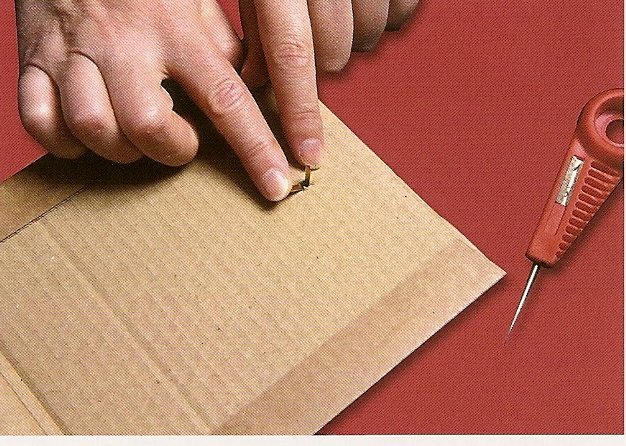
If the frame is intended to be placed on the wall, you will need a loop. Pierce the cardboard and turn down the antennae inside the

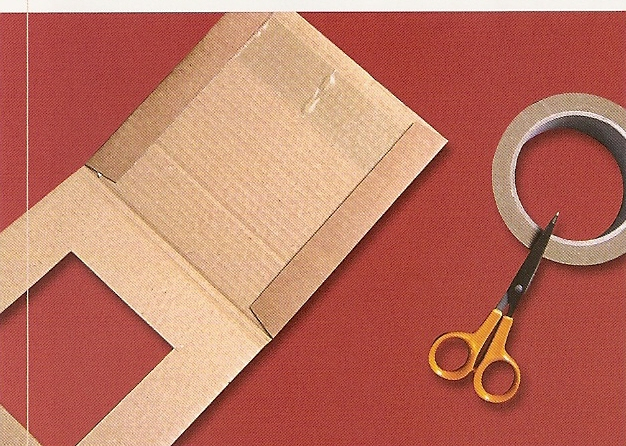
Secure them with a piece of adhesive tape

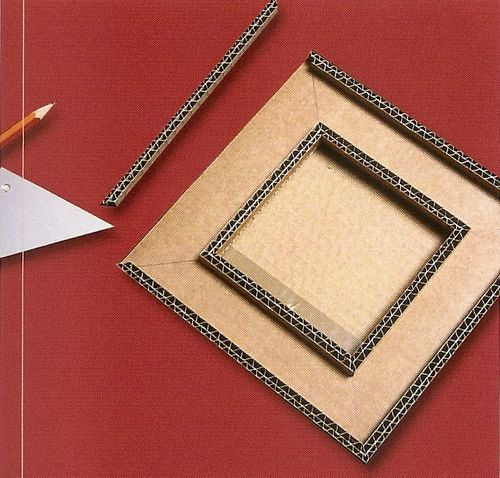
Now glue the two parts of the frame

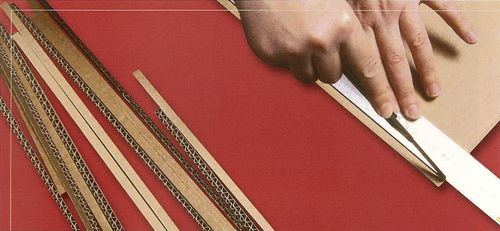
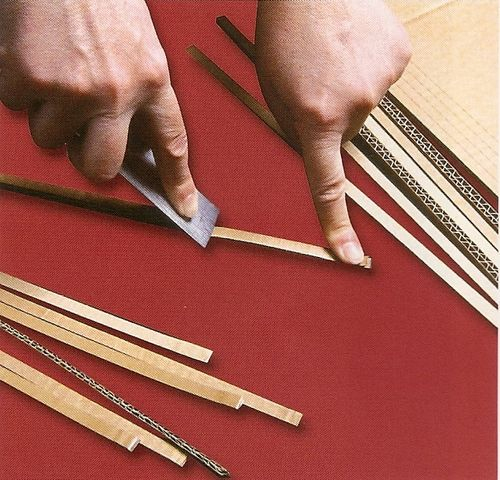
Prototyping knife chop the remaining cardboard into strips the width of 0.7 cm

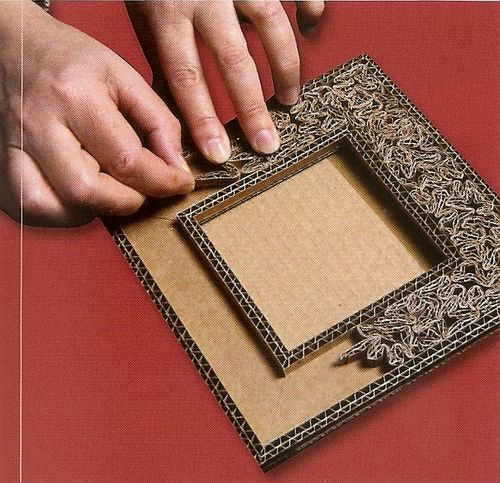
make out the edges and the inside of the frame. The edges of the strips should be cut at an angle of 45 °

remaining strips to flatten

bending and twisting the strip in an arbitrary manner and is glued to the support surface

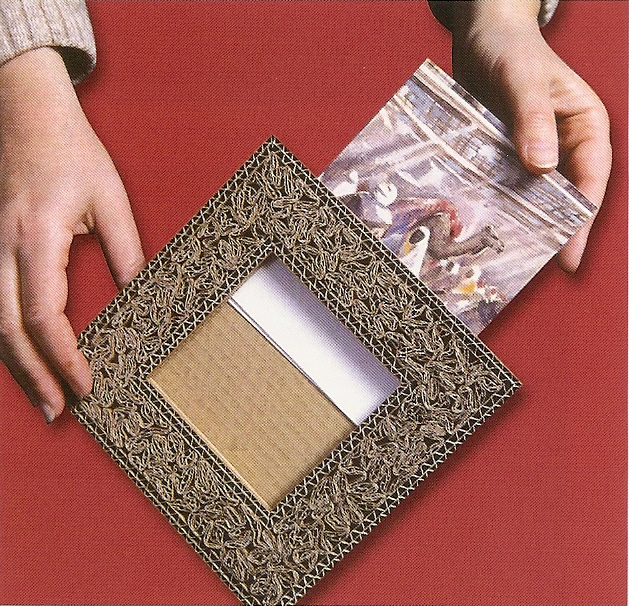
remains only suitable for framing pictures or picture (can be with glass)

How to Make Photo Frame with Corrugated Cardboard

Cardboard Box Activities & Crafts

A photo frame made out of corrugated cardboard that can be customized with different colors and designs.

A photo frame made out of corrugated cardboard is a great way to display your photos. You can customize the frame with different colors and designs to match your home decor. The frame is lightweight and easy to hang on your wall.

A corrugated cardboard photo frame that can be used as a bulletin board.

This corrugated cardboard photo frame is a great way to display pictures and also doubles as a bulletin board. Simply tack the frame to a wall or door and start decorating. It’s a perfect way to personalize your space and keep cherished memories on display.

A corrugated cardboard photo frame that can be used to display photos, artwork, or other memorabilia.

This corrugated cardboard photo frame is a great way to display photos, artwork, or other memorabilia. It’s easy to assemble and can be hung on a wall or displayed on a shelf. The frame is made of durable cardboard and has a clear plastic window that protects your photos or artwork. FAQs

What is the cardboard in a picture frame called?

The cardboard in a picture frame is called a mat. A mat is a piece of cardboard or paper that is used to highlight or emphasize a picture or other piece of artwork.

How do you make a picture frame out of cardboard?

To make a picture frame out of cardboard, you will need to cut a piece of cardboard to the desired size and shape. Next, you will need to cover the cardboard with fabric or paper. Once the fabric or paper is in place, you will need to glue it to the cardboard. Finally, you will need to add a hanger to the back of the frame so that it can be hung on a wall.

Do I leave the cardboard in the picture frame?

If you have a piece of cardboard that came with the frame, it is meant to be left in the frame. The cardboard helps to keep the frame sturdy and prevent it from warping.

Useful Resources

K4 Craft Kidpid Kids Art & Craft K4 Fashion


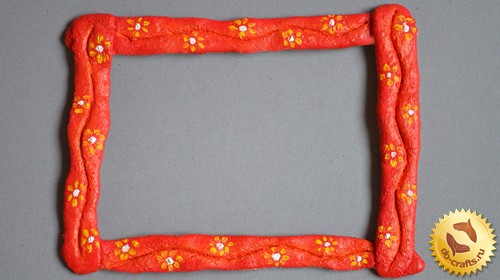
How to make frame of salt dough

Frame made of salt dough with your hands 1

Life – a variety of colors with a variety of shades. Sometimes some things we are trying to forget, and more to him not to return, and some long and anxiously keep in our memory, returning to them again and again. Meanwhile, individual events deserve not only to live in our minds or in the pages of the album but also to ensure that proudly show off in a pleasant and fun framed, which will give your past even more joyful and positive emotions.

To learn how to make a frame from salt dough with your hands with steps, you now know.

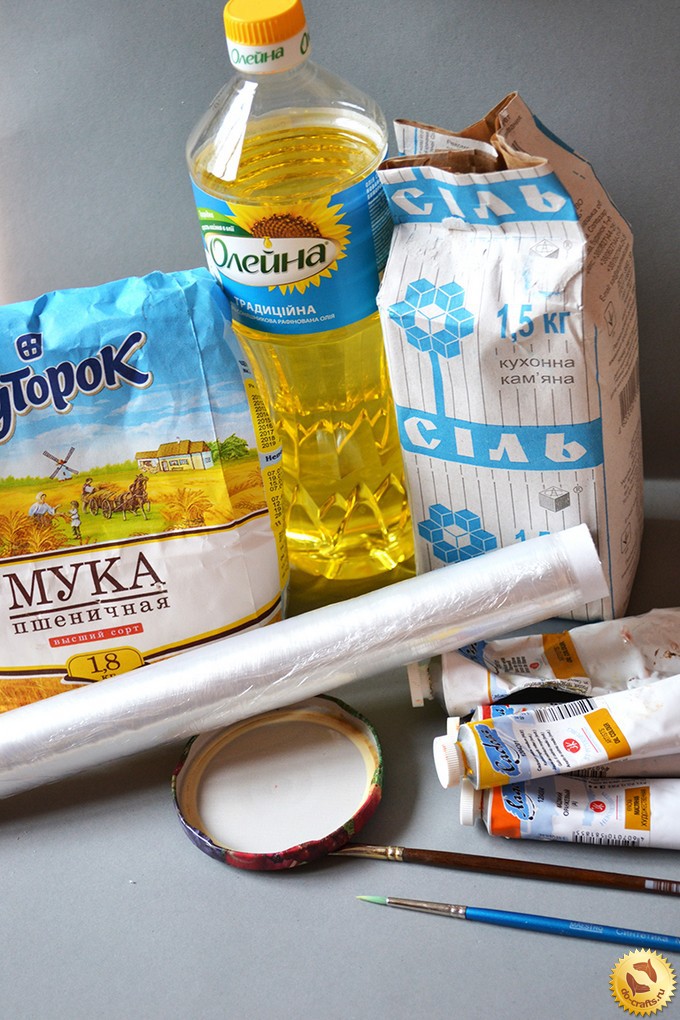
Required Materials:

1.Muka wheat;
2.Sol;
3.Marco sunflower;
4. film;
5.from under the banks (or any other small capacity);
7.(thin and wide);
8. paint (red, orange, yellow a

Now we start making a frame with his hands:

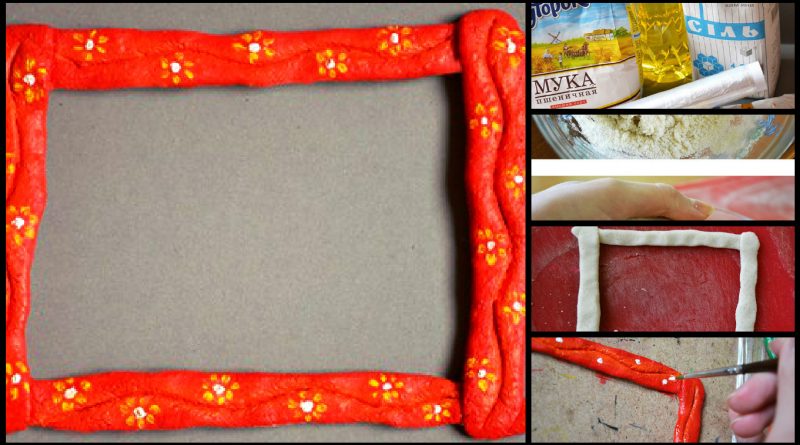
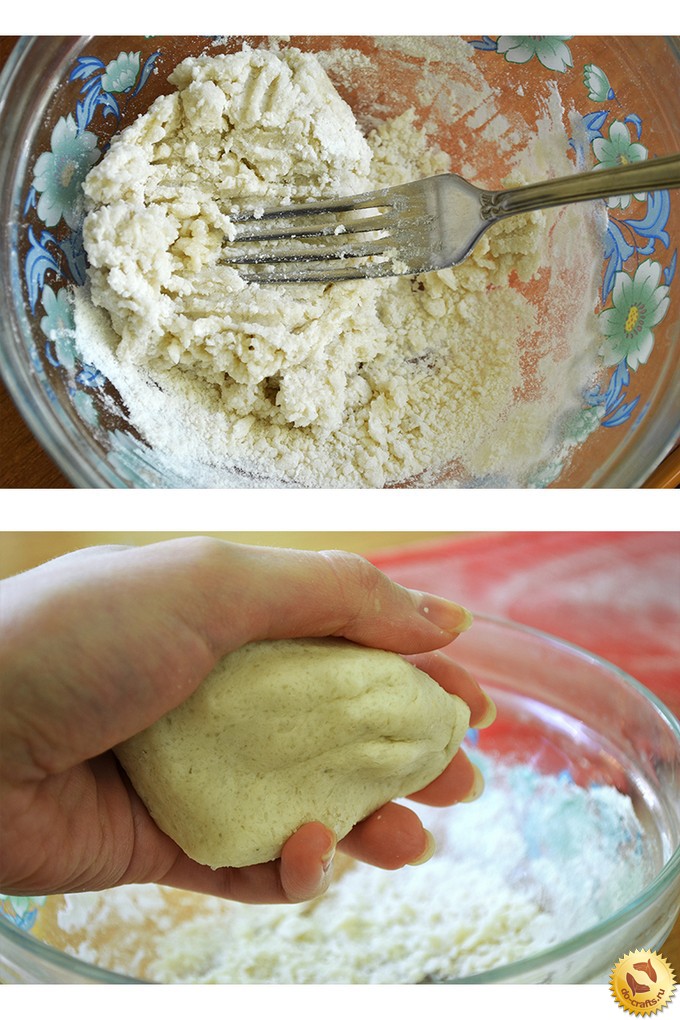
1. Take the salt and flour. Mix them in equal proportions (1/4 cup). Add a little water to form a plastic mass.
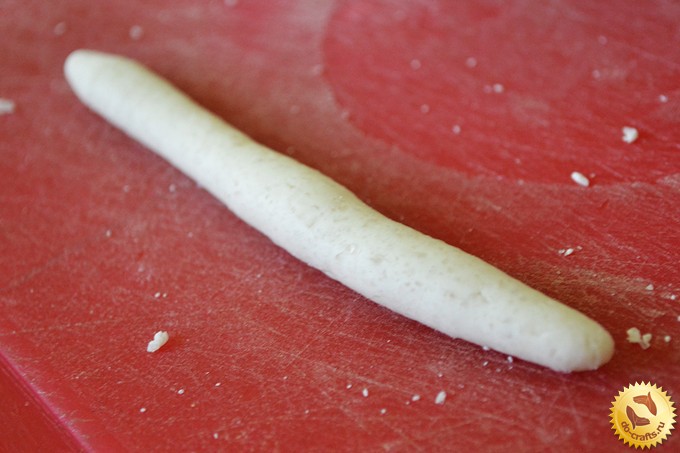
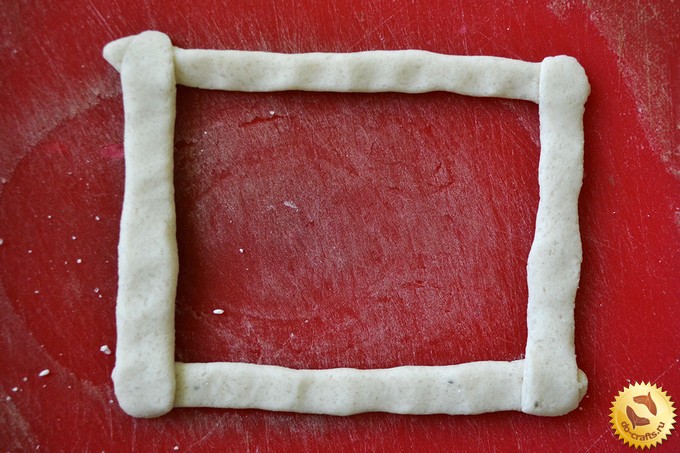
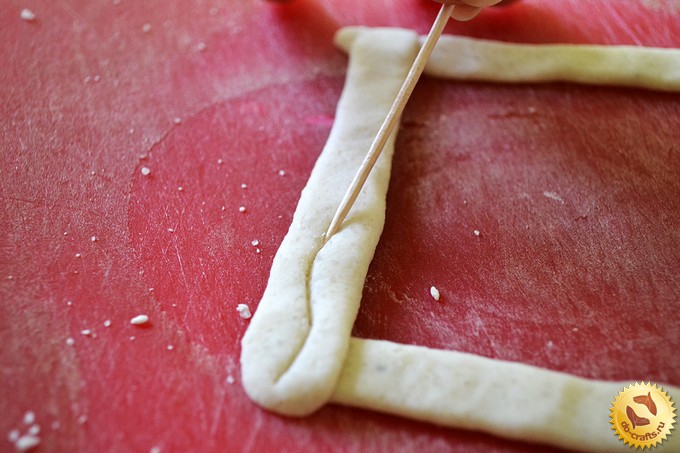
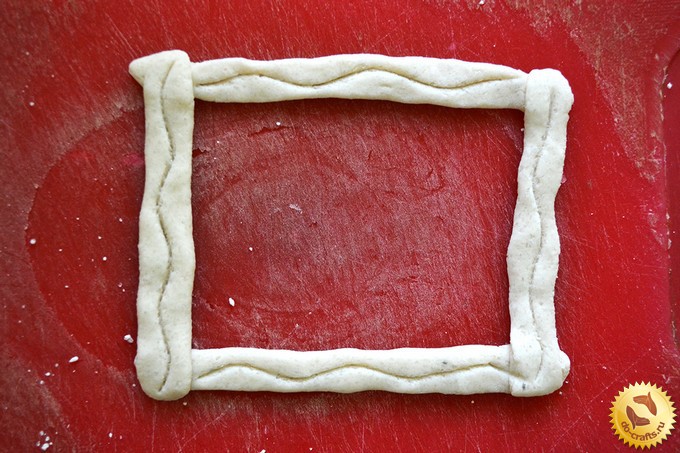
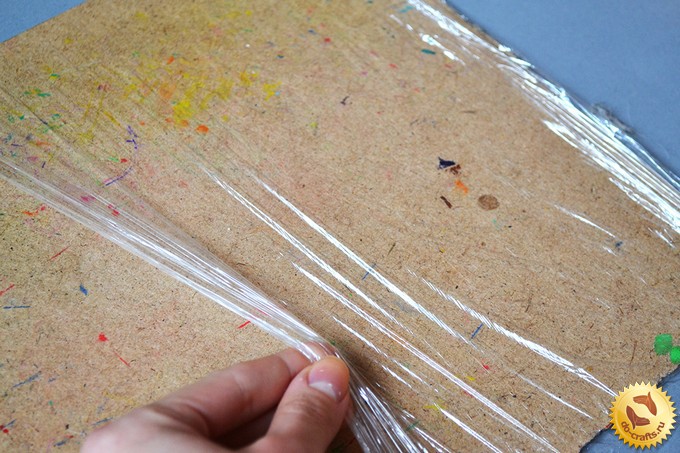
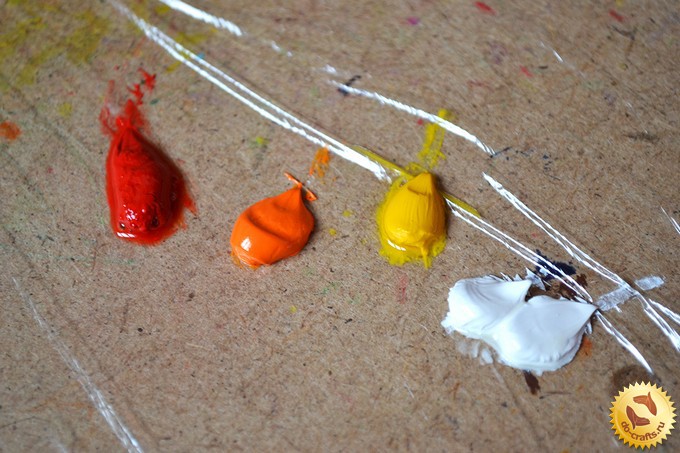
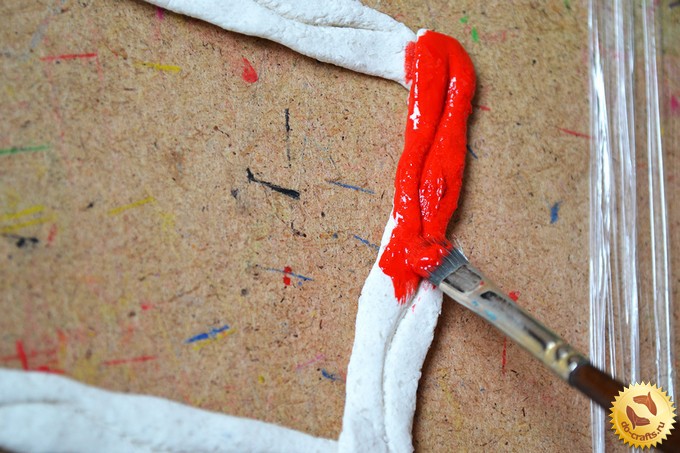
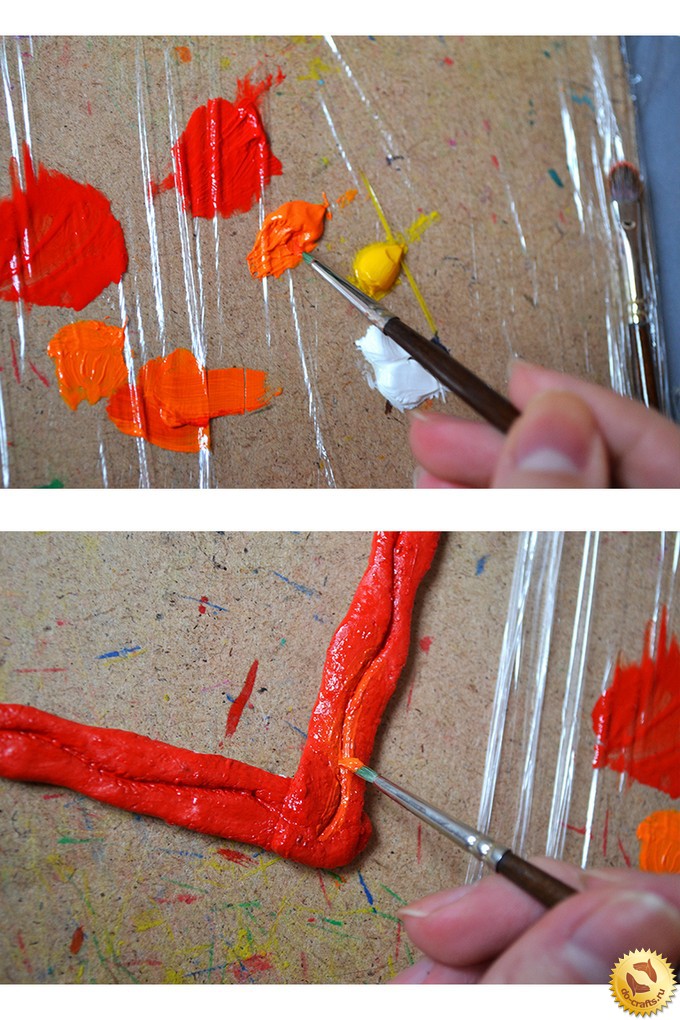
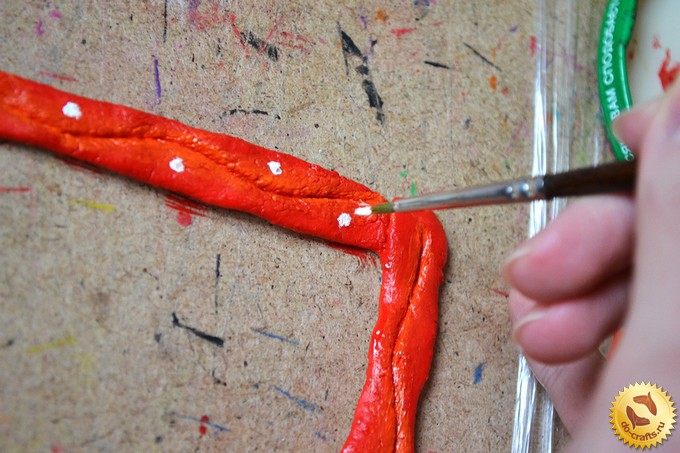
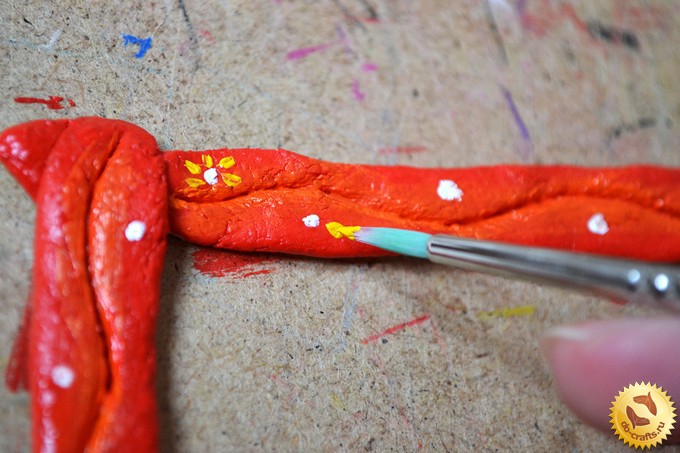
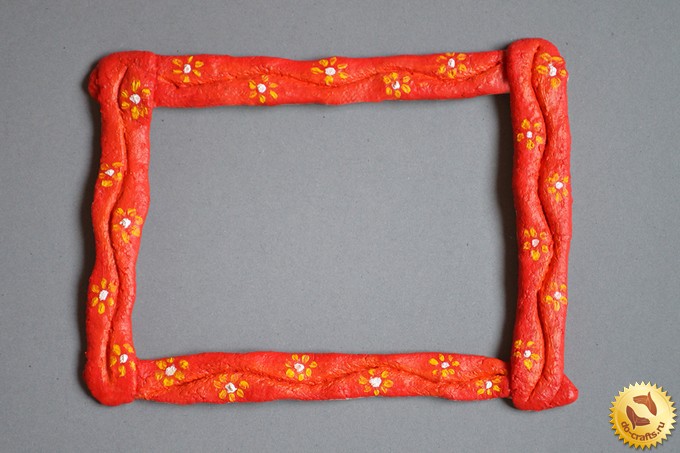
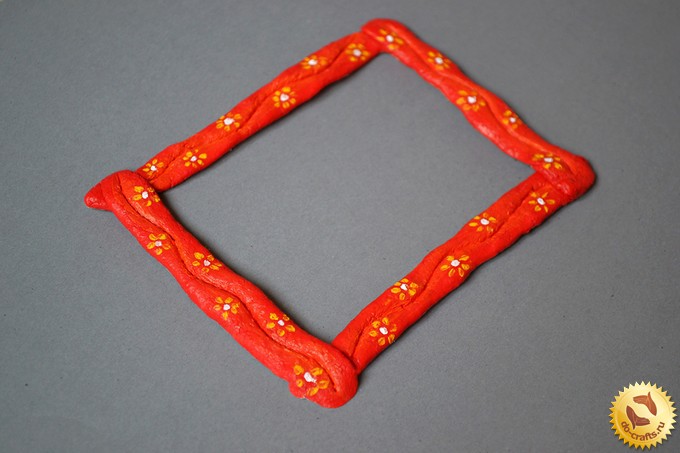
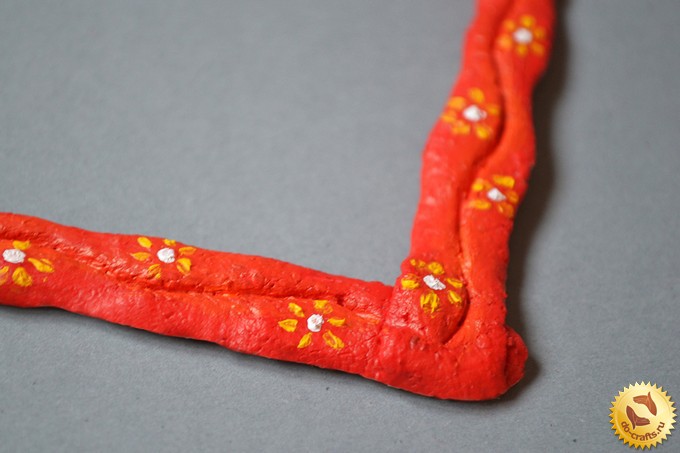
2. Further, the obtained sausage dough do four, two of which must be slightly shorter than the second pair. 3. Push the sausage fingers, thus making them thinner. Thereafter applying them perpendicular to each other. 4. Take a toothpick and cut through the wavy pattern along the sides of the frame. 5. We reserve the photo frame in the window until the next day (so it dries and becomes hard). 6. Now wrapped with cling film surface on which we paint the picture frame. 7. squeezed from tubes of red, yellow, orange and white paint. 8. We take a broad brush and paint the frame in red color (occasionally damp brush in sunflower oil). 9. We look to have been painted over all the edges. 9. We look to have been painted over all the edges.
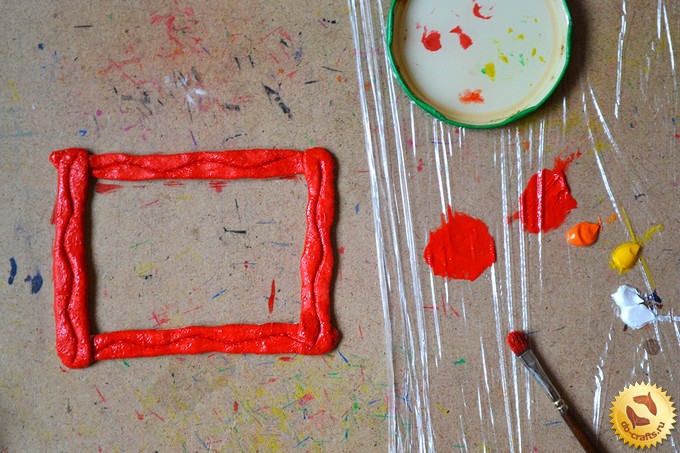
11. Wait until the frame is dry (for several days). To expedite the process, you can bring a table lamp.
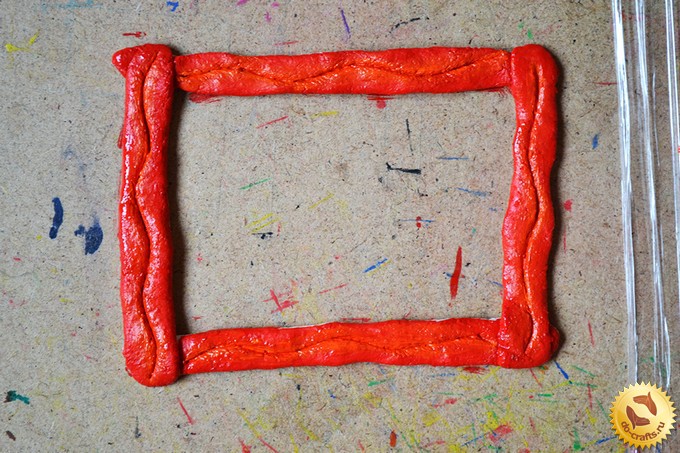
12. Further, the thin brush set white spots along the wavy pattern. 13. After that, take the yellow paint and paint the petals of flowers. All the work is done. We are waiting for a couple of days, then you can paste a picture framed.