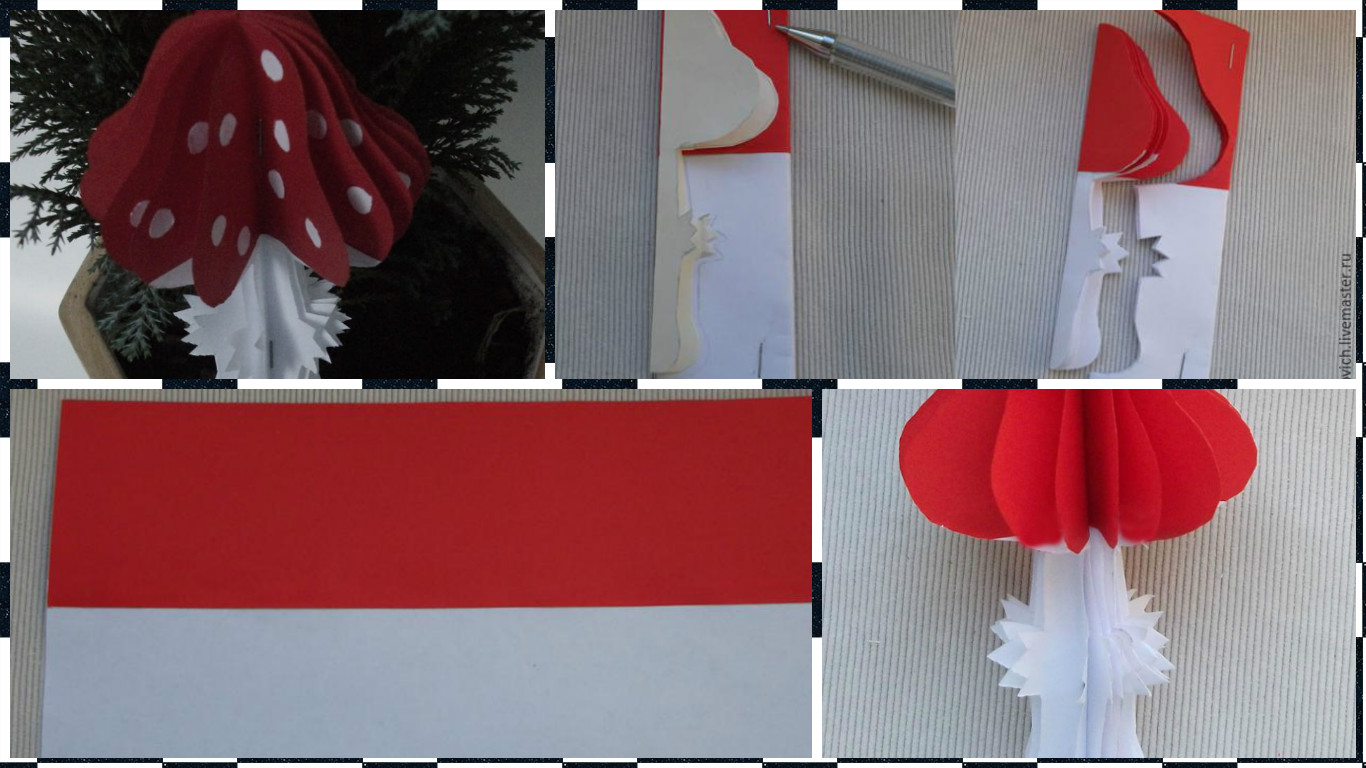
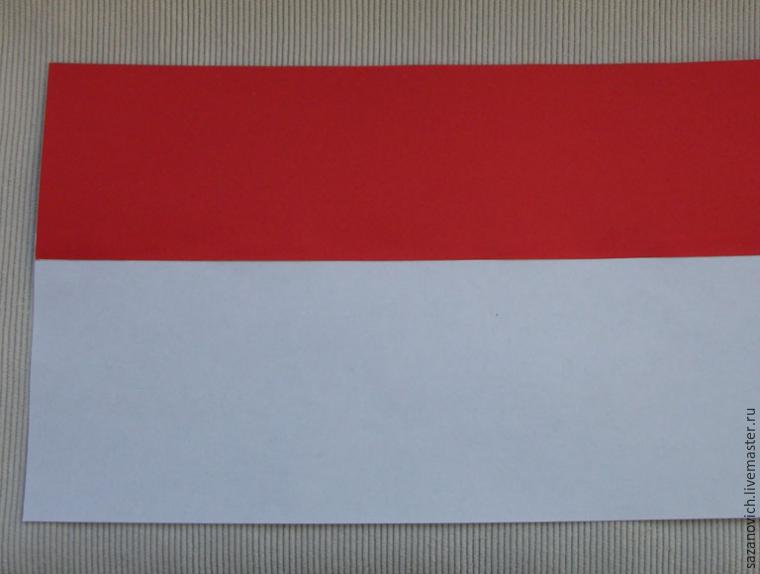
1. From a sheet of white paper on the long side, cut two strips 8 cm wide, and from red paper – two strips of width by 6 cm (red paper must necessarily be two-sided). 2. Red and white stripes of glue pairwise (width allowance of 5 mm) and fold each blank three times in half (width).
 Pattern (full size)
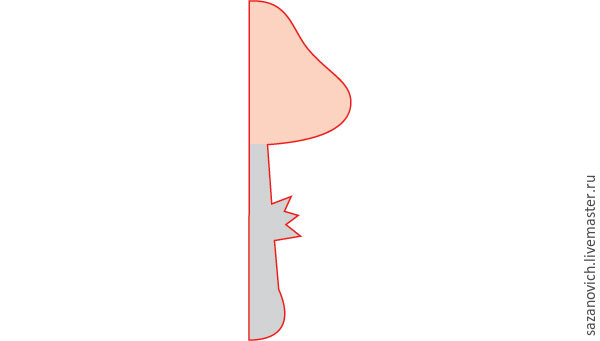 3. Pattern mushroom attaches to the fold of the resulting “little book” (hat – on a red field, foot – on white) and draw. To make it easier to cut several layers stapled divergent corners of paper, then cut along the contour.
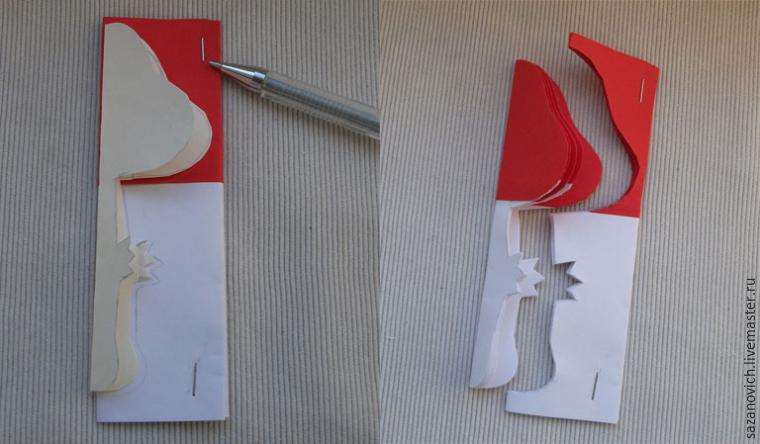 4. Get two piles, each with four mushrooms.
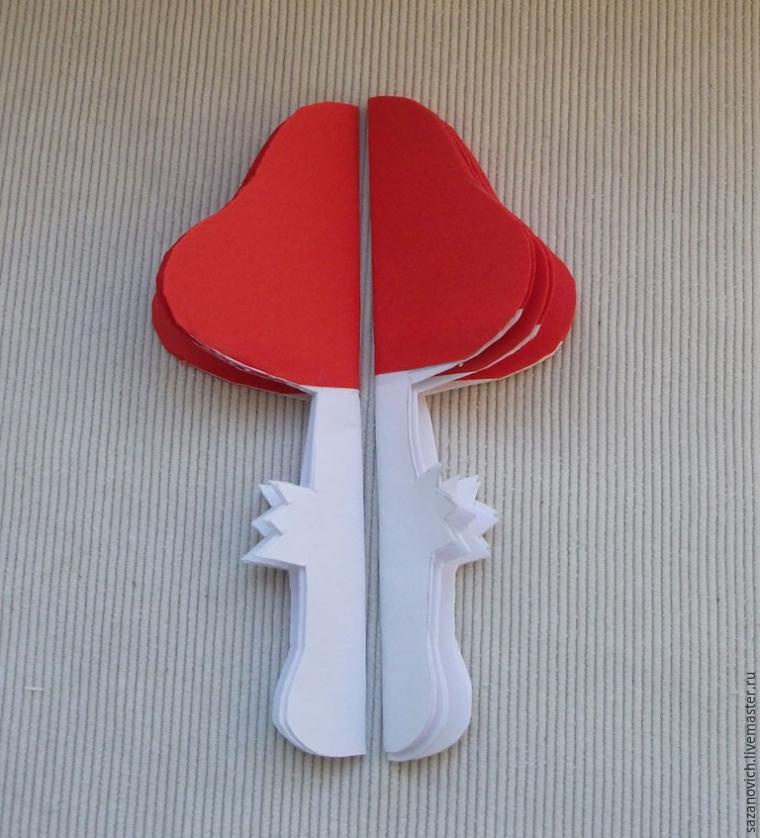 5. pile straighten, fold together and stapled to the leg and a hat.
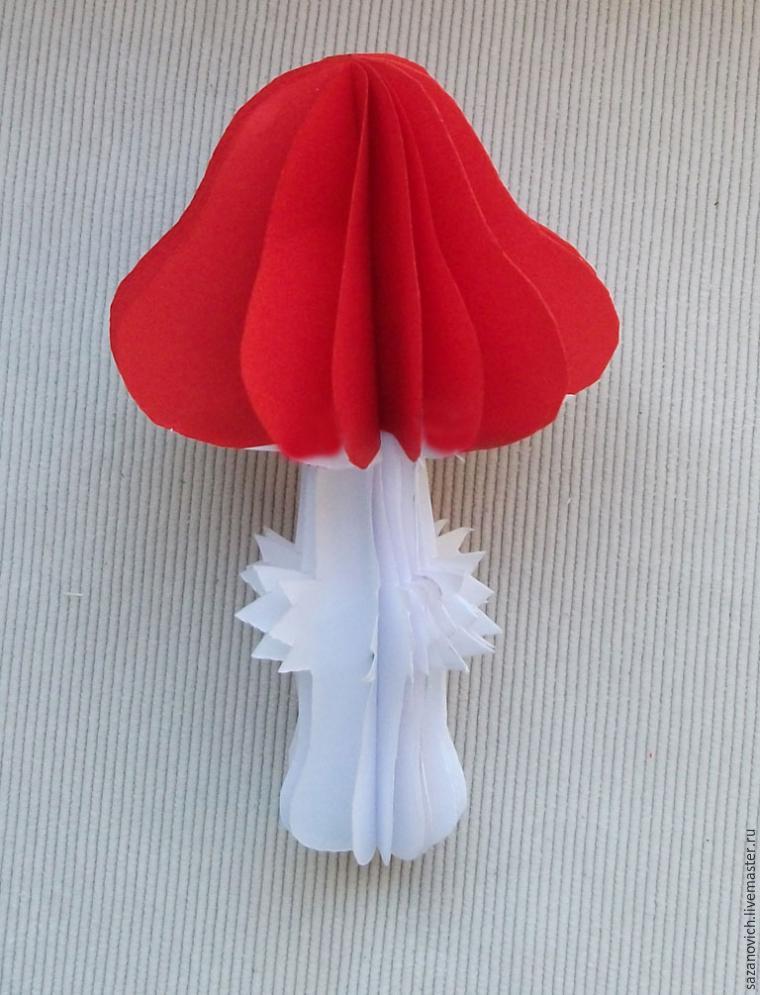
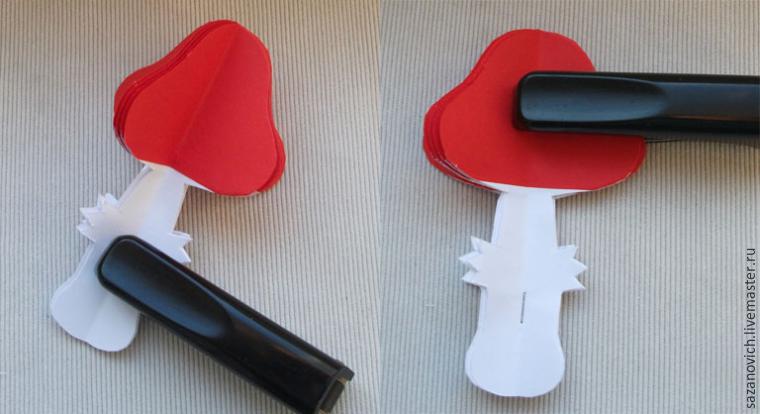 6. It remains only to volumetric spread all the layers stick white peas, paste skewer and put our mushroom grow under the Christmas tree.
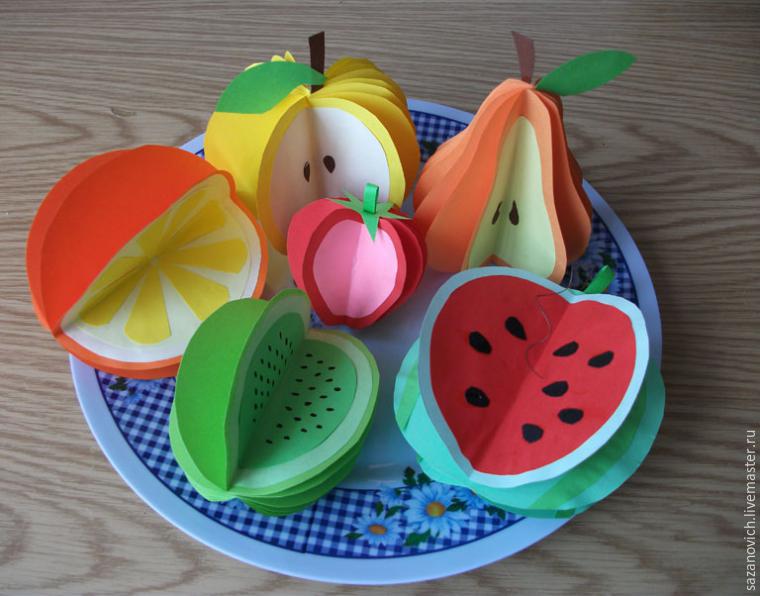
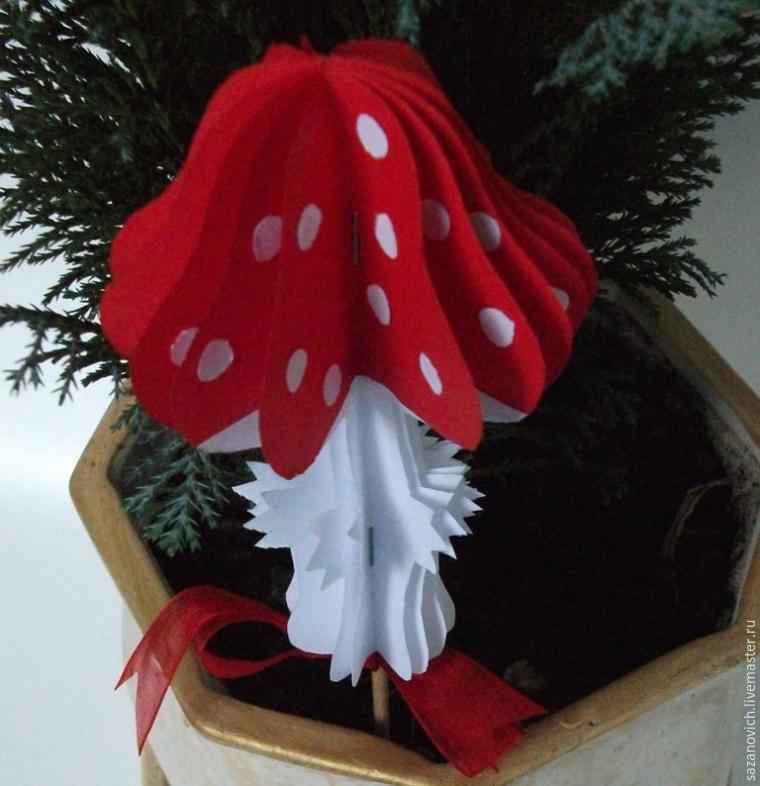 The same principle can be made bright and juicy fruity.Tolko to uncover an interesting way to do applique “in the context of” closing its metal parenthesis.
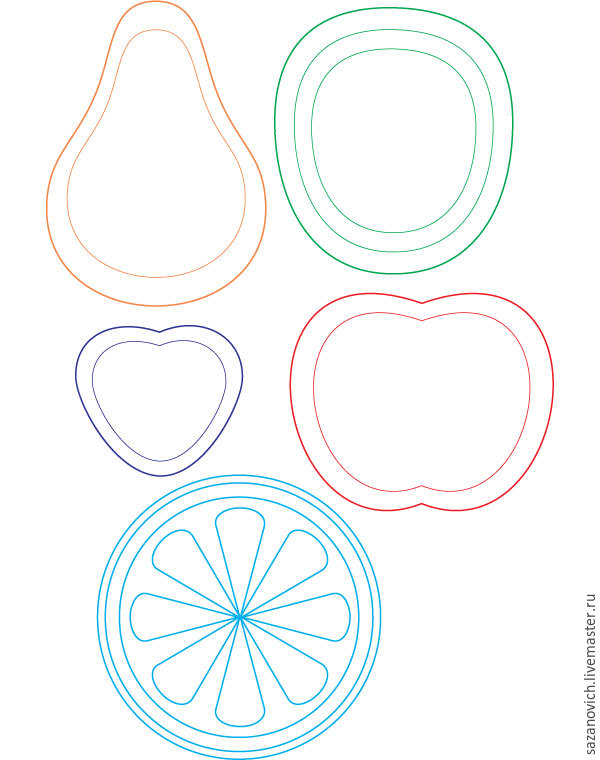
 That pattern (full size):
DIY: Beautiful Quilling Bird


How to Make a Tissue Paper Heart
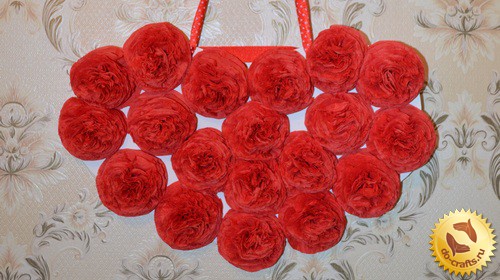
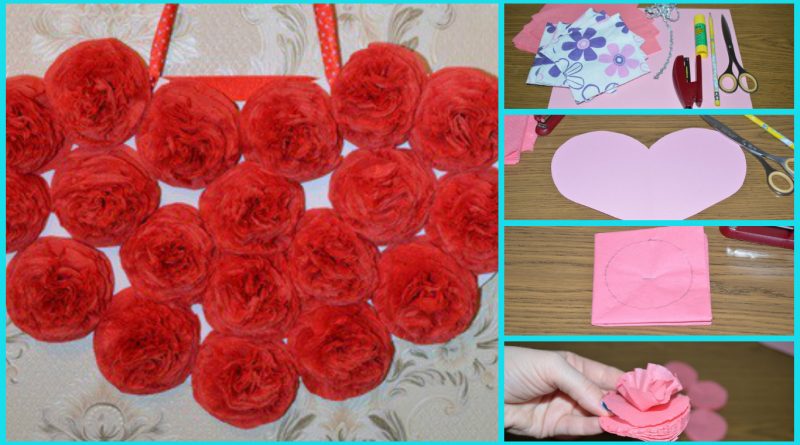
Hearts pendants of napkins will make a romantic touch to the atmosphere of your apartment. Hearts may be a different color and any size. Suspension of napkins can be decorated with any door, hang at the head of the bed or simply on the wall, finding the right place. Homemade will be a great addition to your interior and bring a lot of enthusiasm and excitement around. How to make this creature with his own hands, you will learn from this master class.
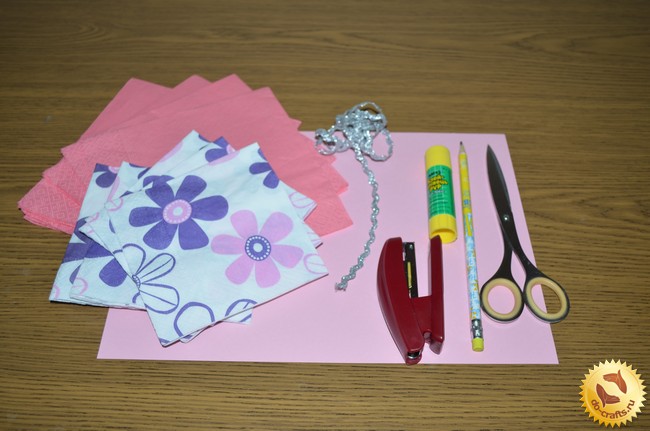
For the suspension of napkins Materials needed:
– Paper napkins two- or three-layer
– glue stick
– Cardboard
– A pair of scissors
– Simple pencil
– Stapler
– colored ribbons
Completing of the work:
Step 1. We select the size and color of our bases for the heart. For this, we need cardboard and scissors. Drawing on cardboard image size required us to the heart.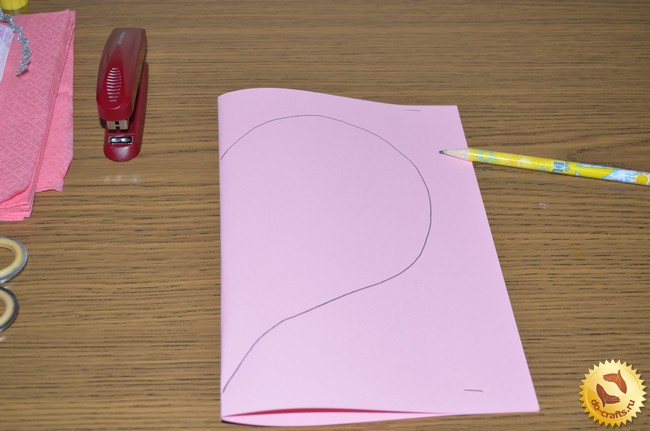
Cut it to the intended line.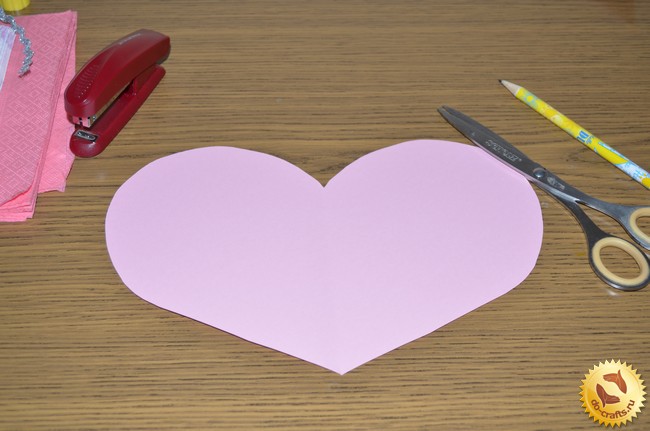 Step 2. Making flowers from napkins. Take a paper towel and fold it four times to get one box.
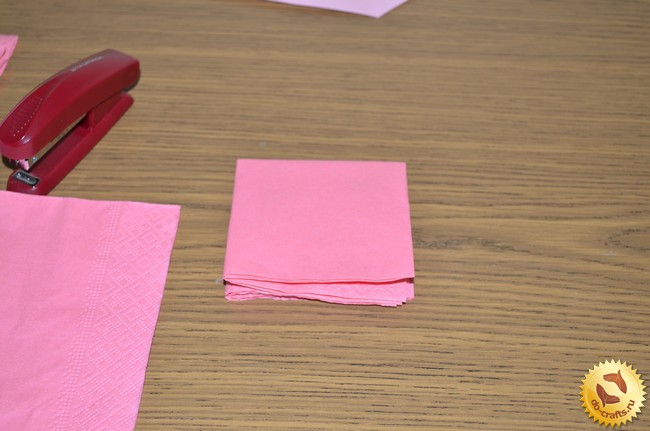 In this box draw a circle, a circle can be described any suitable size.
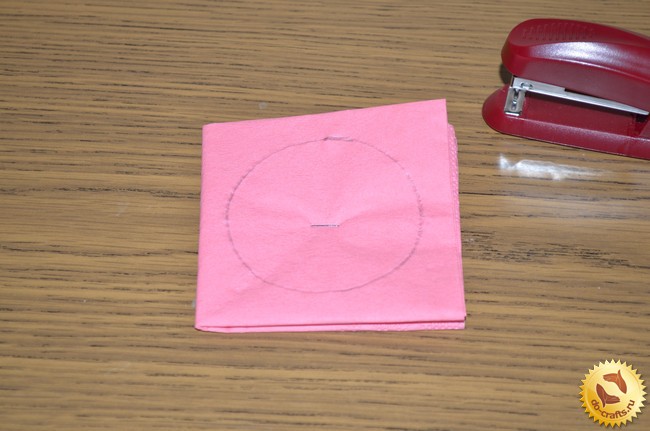 Staples for fastening the middle, napkin, and then cut along the contour of the circle. Such preforms flowers can be done by 10 – 20 units, in accordance with the size of the heart base.
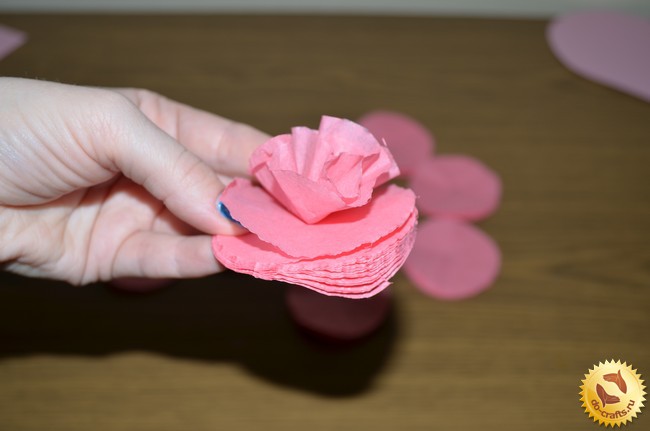
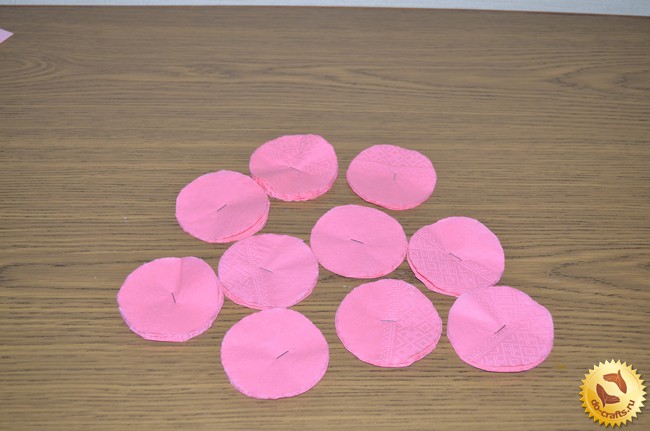 Step 3: For the manufacture of the flower, it is necessary to take a ready-made circle of bonded wipes and gently remove each layer of tissue in the center. The more layers of cloth have, the more luxuriant will flower.
 Step 4. The next step is to mount the paper on the basis of color. It is necessary to take a glue stick and spend some time on the back of the flower and glue it to the heart.
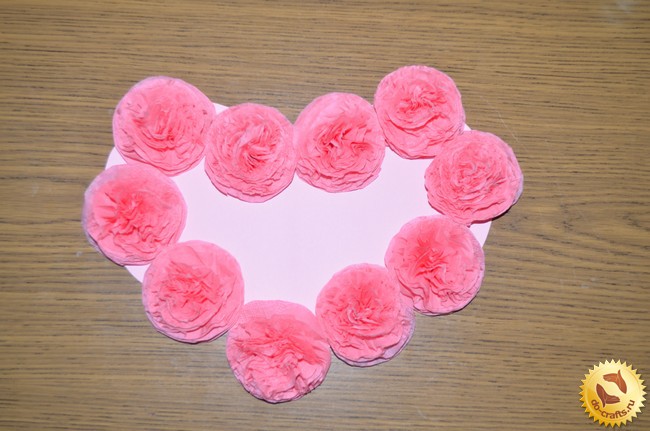 For a better and rational distribution based on space, fill in the first edge of the heart, and then the very middle.
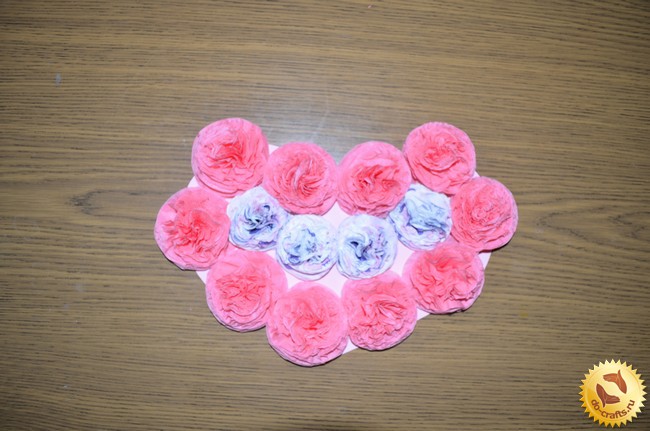 Step 5. Once all the flowers pasted on the base of the heart attach stapler ribbon for hanging on the highest part of the back of the heart.
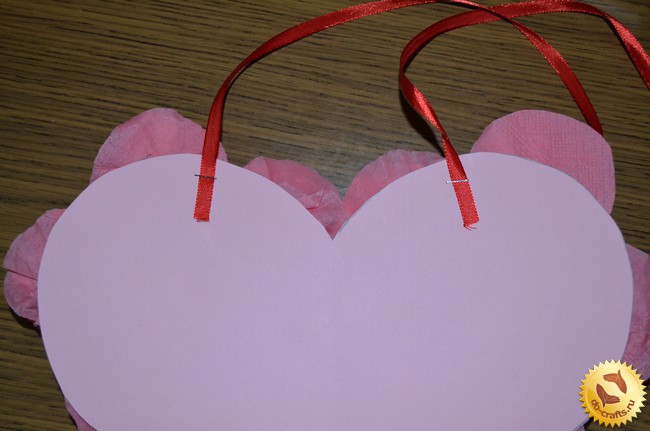 After that, cut the ribbon and tie in the middle of a beautiful bow.
The suspension is ready!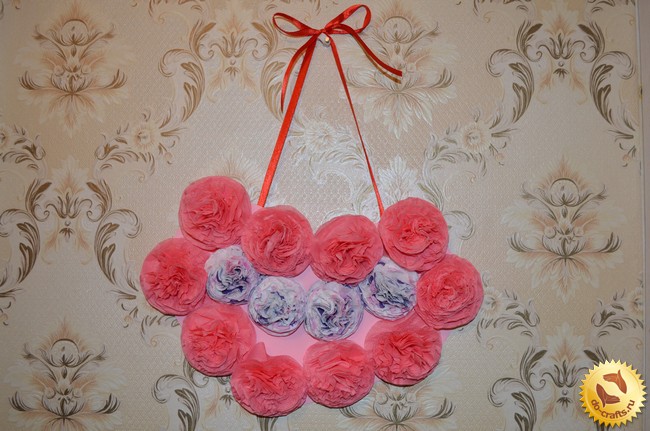
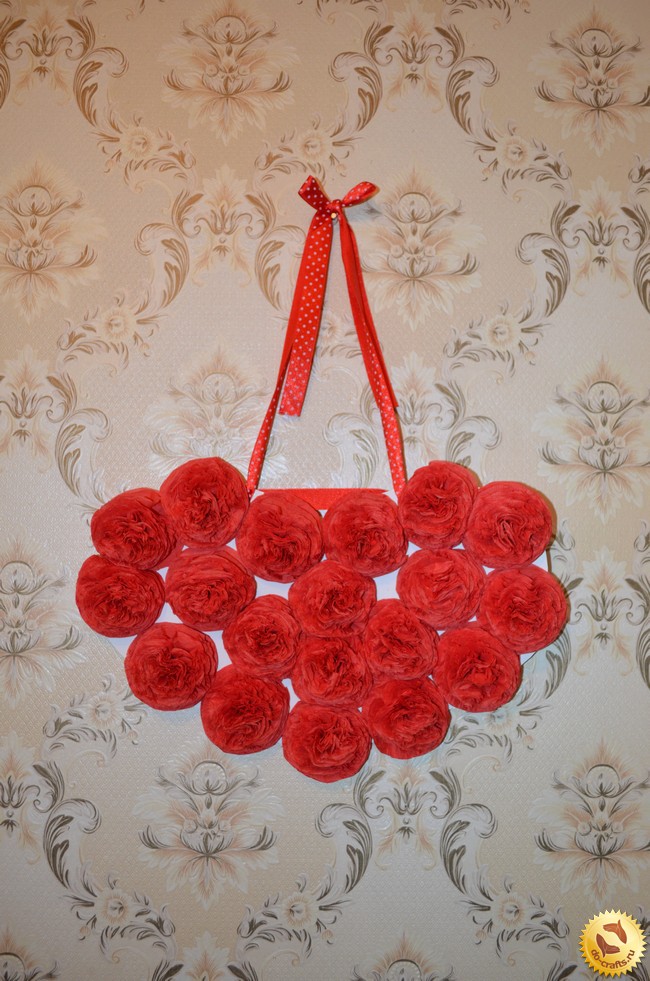 The suspension can not only hang in his apartment but also give a loved one. This decoration will always be a symbol of your love and care. This decor will not require large financial costs and can be done in several different ways for any holiday.
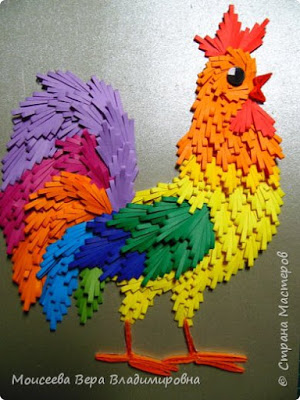
How to make cock from quilling paper
Time is already late, but tomorrow it will be exactly once! It would like to see our young talent and handicraft have seen this work. It is a pity, of course, it’s too late, I did it, but the astrological Year of the Rooster begins not on January 1, but much later, so that we can try to do more!
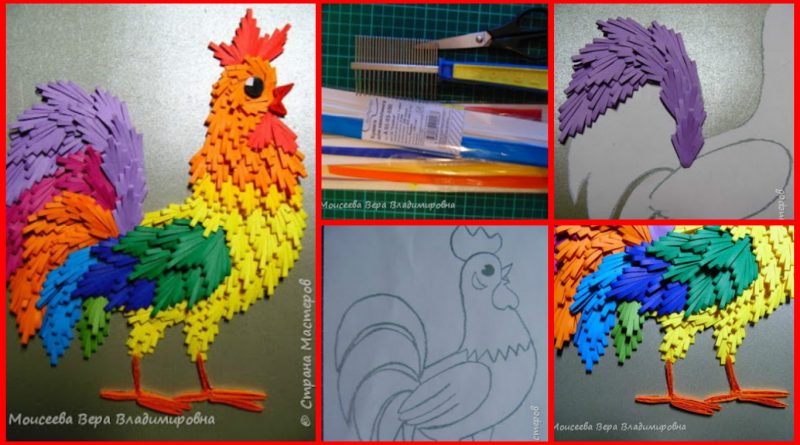
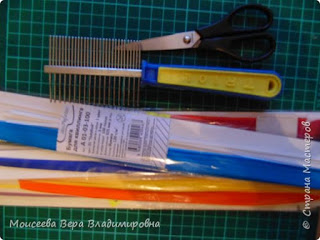
Getting Started: quilling we need – strip – raspberry, orange, blue, blue, green, black, yellow and red; hot glue (or glue Titan), pattern, light-colored cardboard, comb.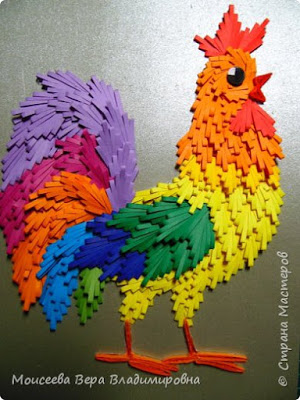 I chose here this cock. I took a picture on the Internet and print, but it did not work for me a bit and I did “simplified”.
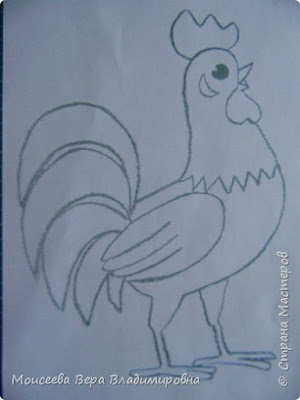 So I was more arranged.
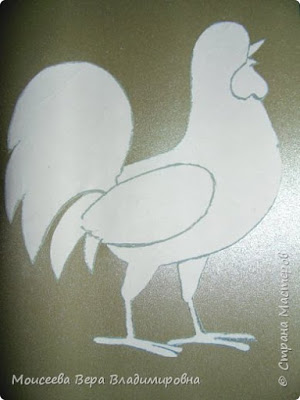
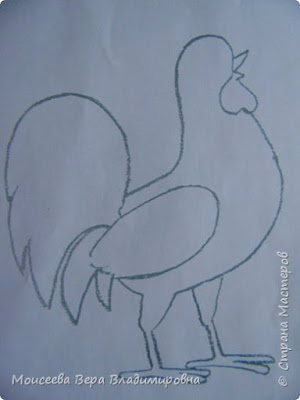 Cut and paste the template.
 So I worked on a hairbrush. How to make feathers look in my other works, everything is very detailed written.
 Begin to make the tip of the tail and glue series to tulovischu.Pёryshki similarly placed in the “Firebird” (tail)
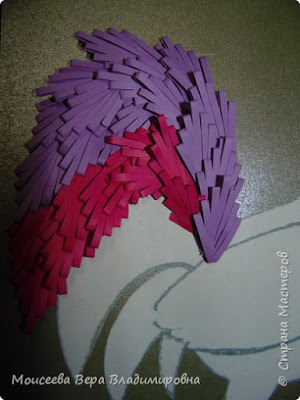
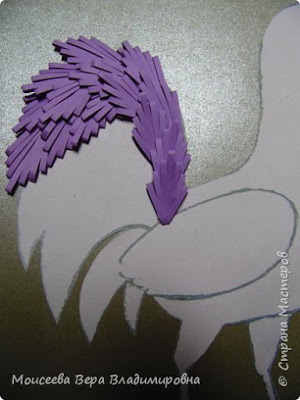 Then the crimson feathers.
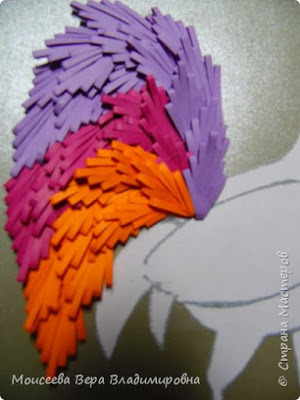
 Orange, etc.
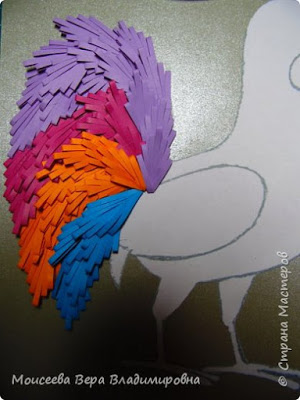 The tail end. Now we start to lay out the body.
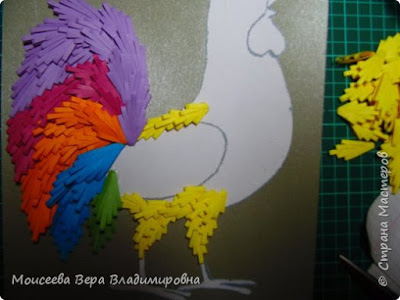 Making the wing. First, sticking blue feathers, and then spread. torso. Please note that the below little feathers, and the higher more than larger ones.
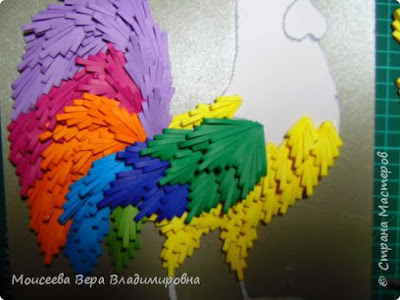 Again, attention! See how a circle around the eyes, feathers are arranged on the head. Scallop I made very simple. It does not become complicated.
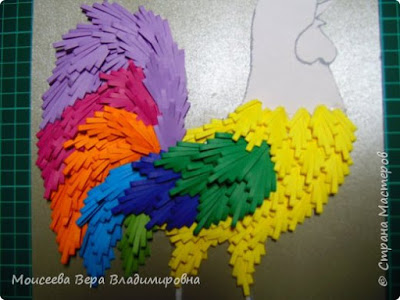
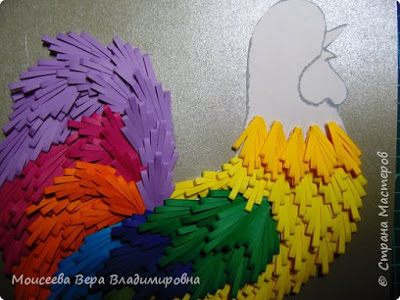
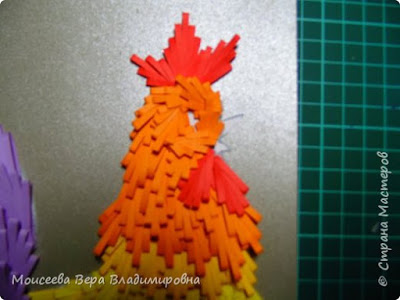
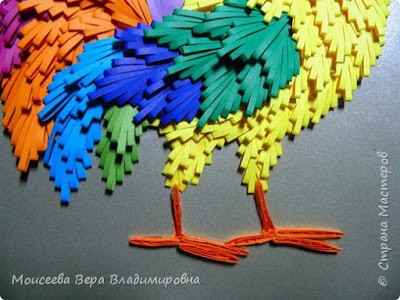
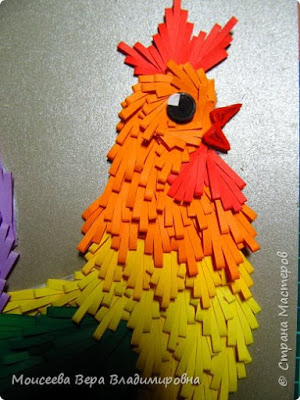
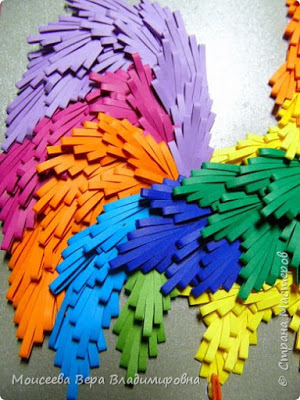 Wonder Cock ready! I did not write much. On the picture. I placed all very well seen!
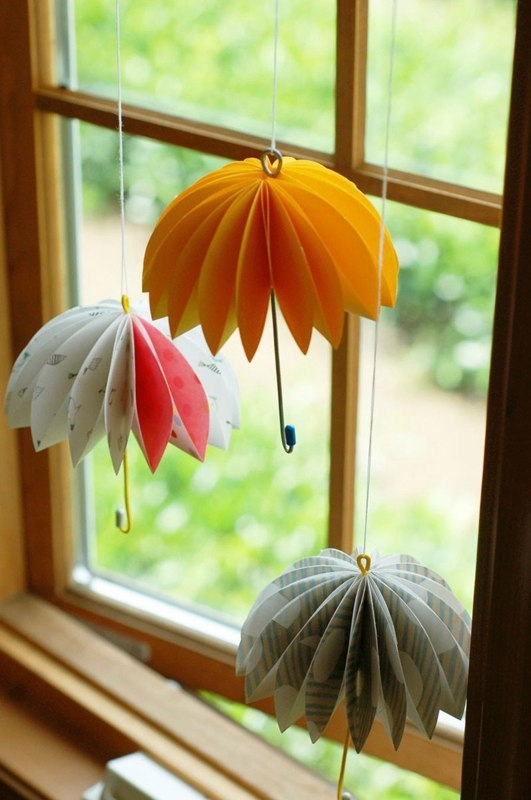
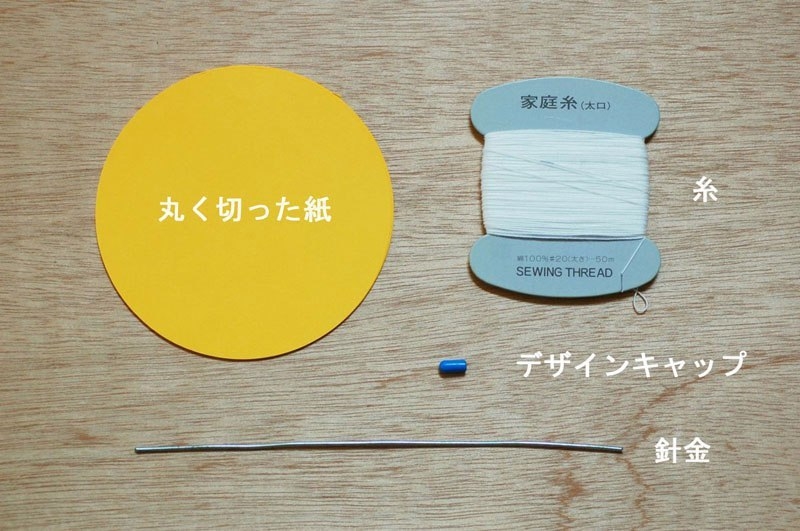
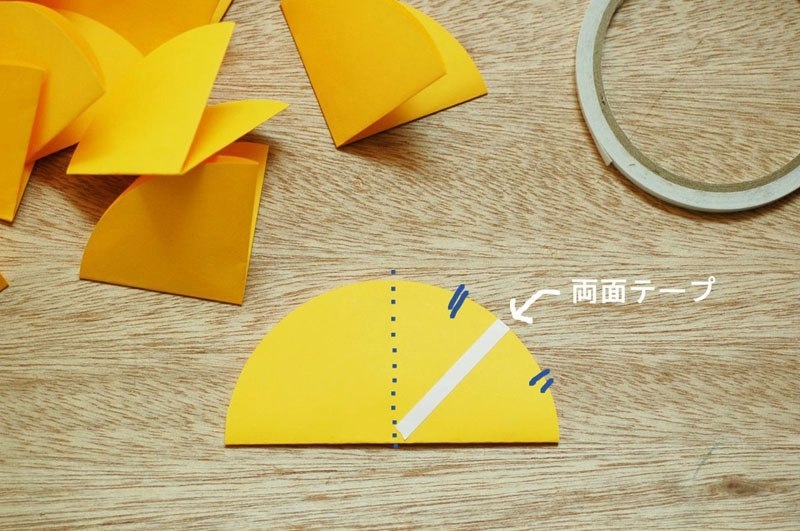
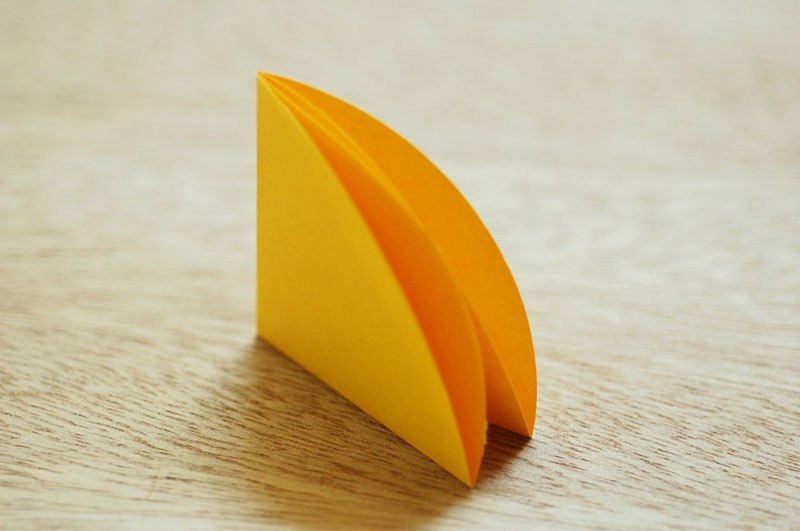
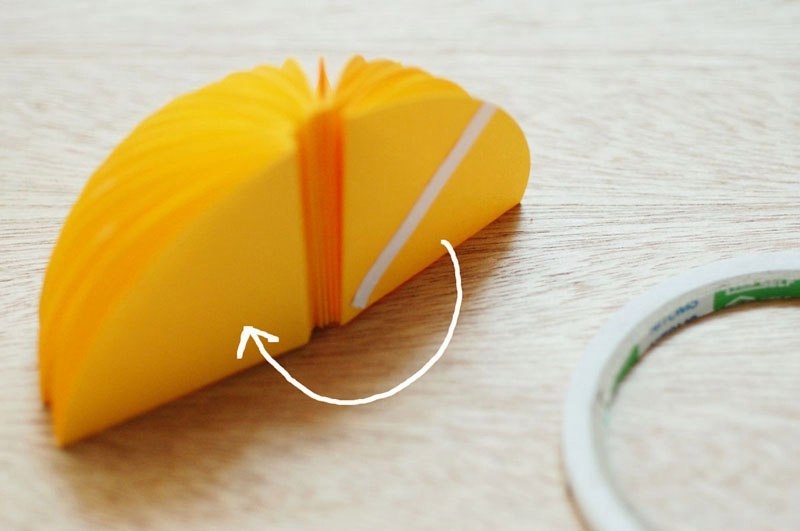
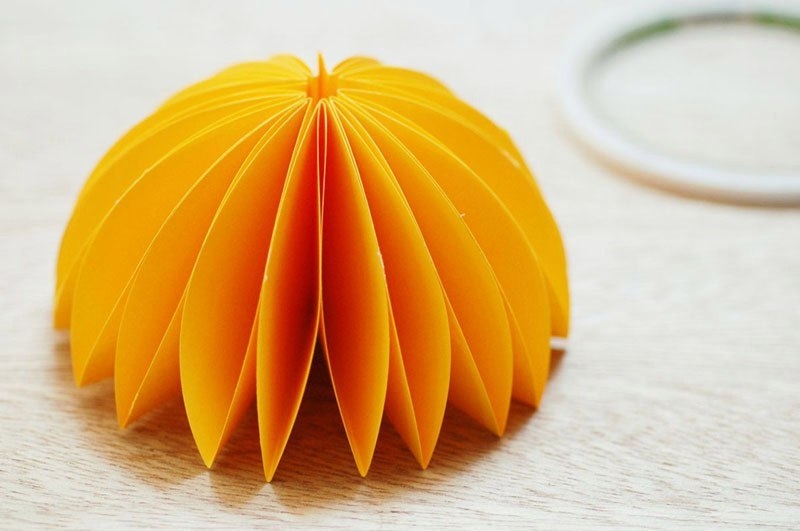
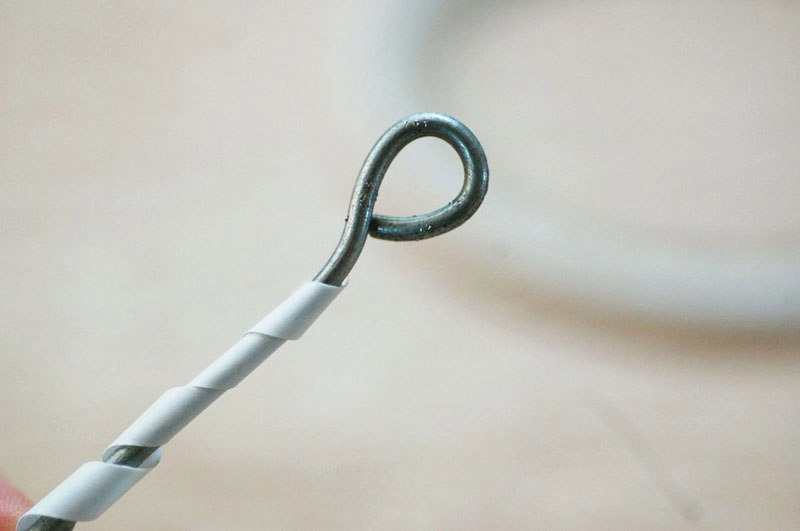
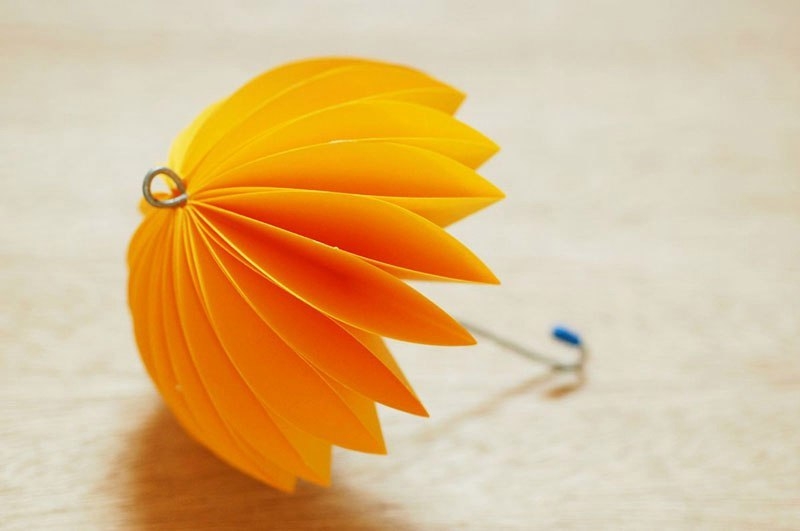
How to make a paper umbrella
Beautiful and simple cardboard chest
For storage of various household items, valuables, and other items used chest. From ancient times, people have become accustomed to such a container for storage. Produced most of the trunks of wood and decorated with various metallic elements. In the same master class, you will learn how to make a wonderful chest improvised with minimal cost.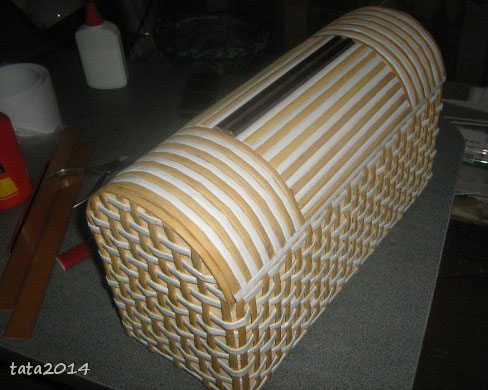
Required Materials:
• Cardboard.
• PVA glue.
• Ducts of consumer paper.
• «Moment” glue.
• dressmaker pins.
• Decor.
• pliers.
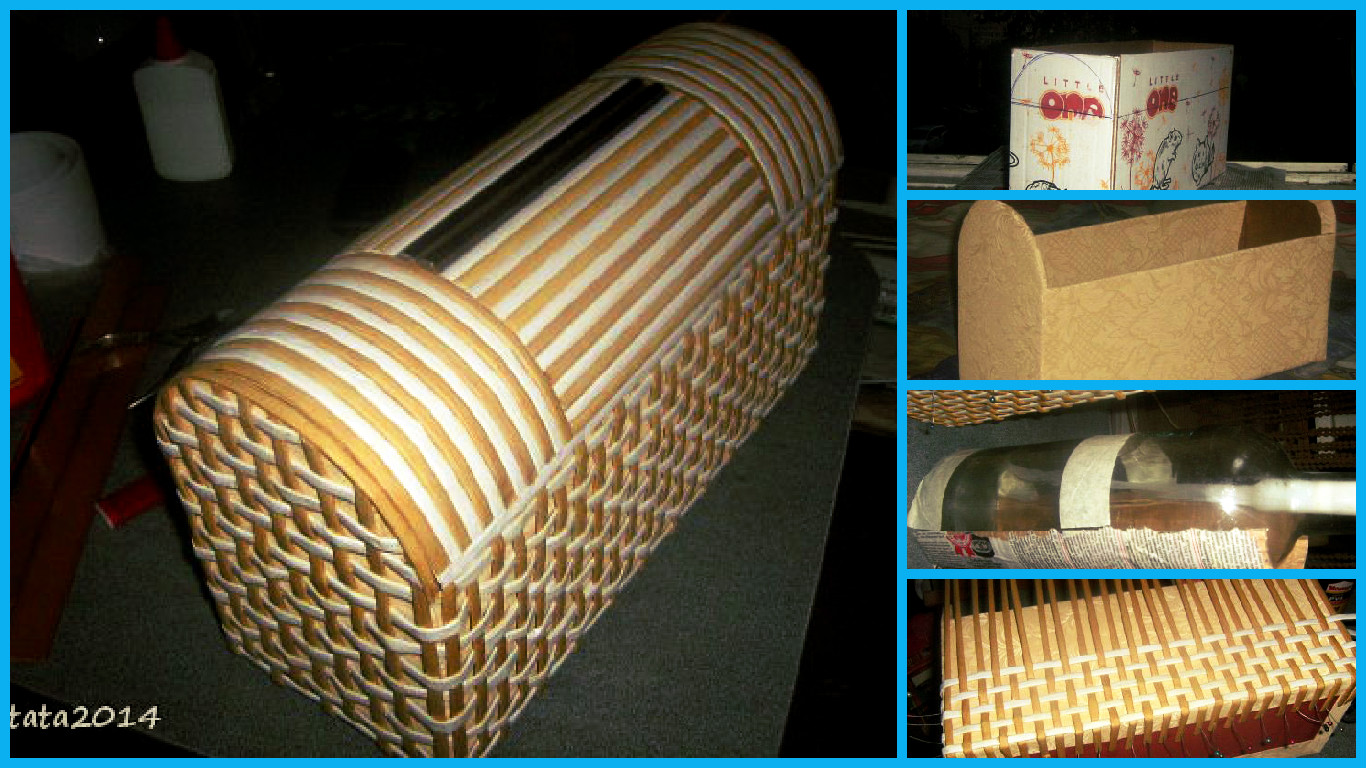
Stages of manufactureOn any trunk box make markup. Cut.
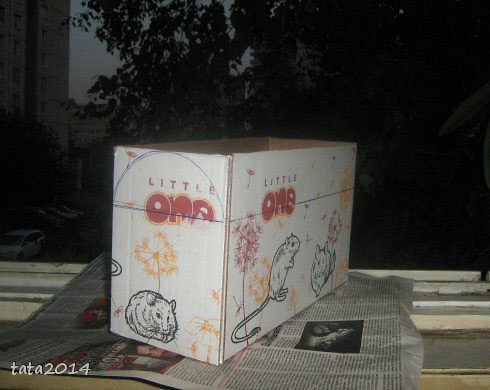
• paste over the outside of the box main background, the space into about 6 cm.
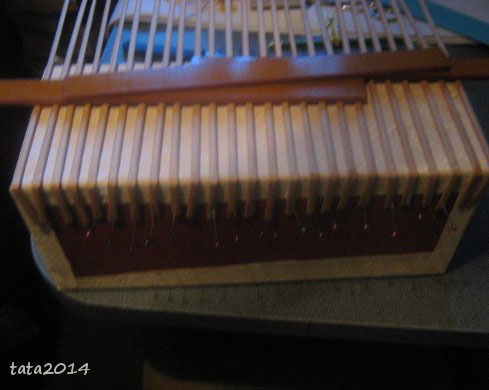
On the long side of the trunk, layout attaches dressmaker pins flattened tubes as in the photo.
Now take a long strip of a different color. Secure the ends of the pins on the left side. Now do the weave, the distance can be taken equal to the width of the tube.
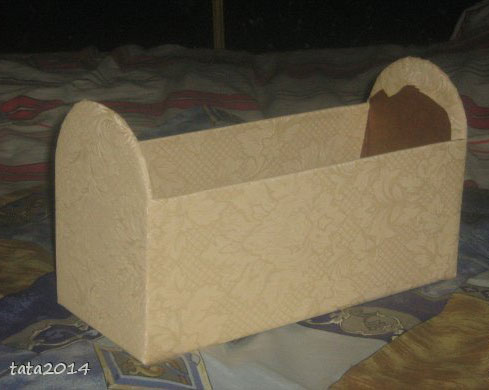
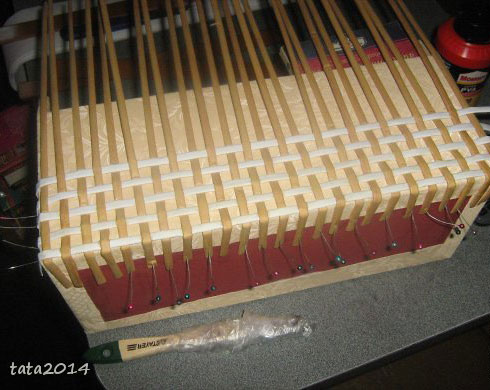 When depleting to the top, fold the ends of the strips and glue them inside.
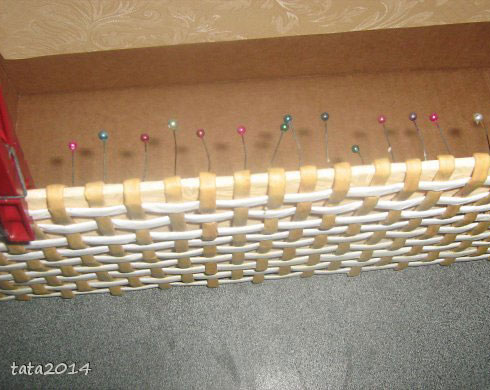 Here is the inside
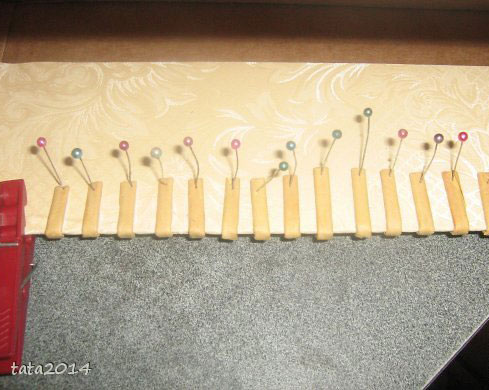 • While the glue dries, get the trunk lid. This MK bottle width equal to the width of the chest, so there is nothing to adjust the size is not necessary. Wet the cardboard and attach it to the bottle using adhesive tape. When the board is dry, it should be several times Procrit PVA glue.
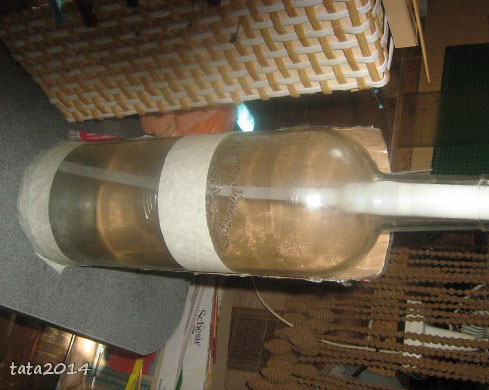 For greater reliability, you can glue the paper.
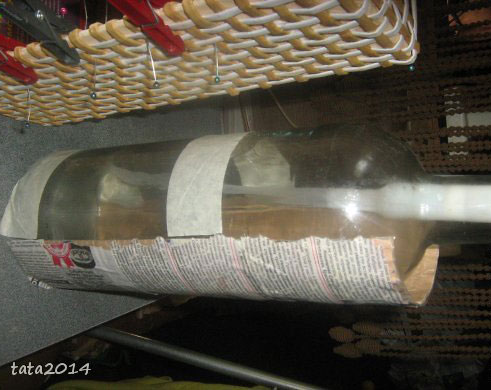 • As long as dry cover, continue to braid the side of the trunk. Where should you need to build a strip?
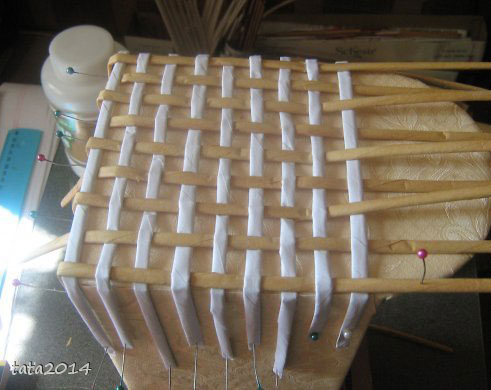 High lateral part is ready. Trim the excess from the strips and glue well.
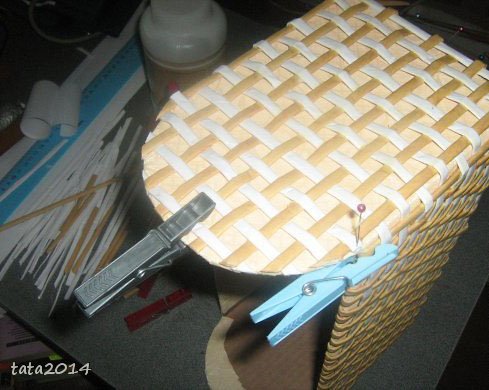 Continue to braid the trunk. Remember to stick to the bottom of the strip, the strip MK yellow.
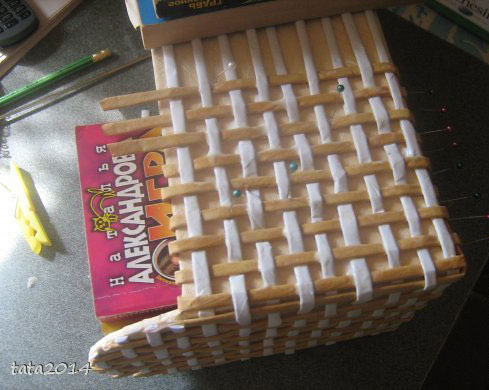 As a result of your labors get here is a neat and beautiful chest.
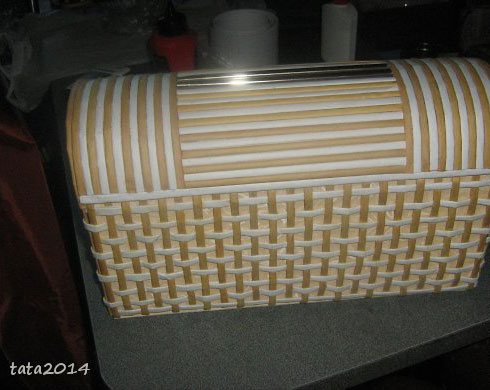 We admire? Now continue to work.
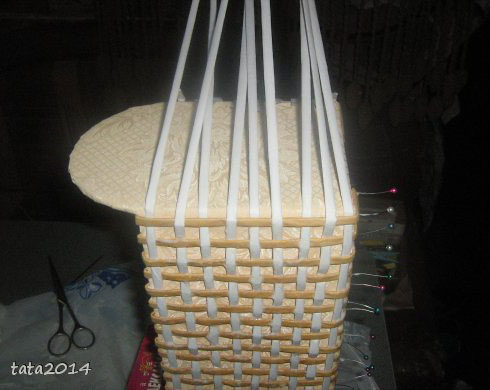 Edges to look neat and beautiful.
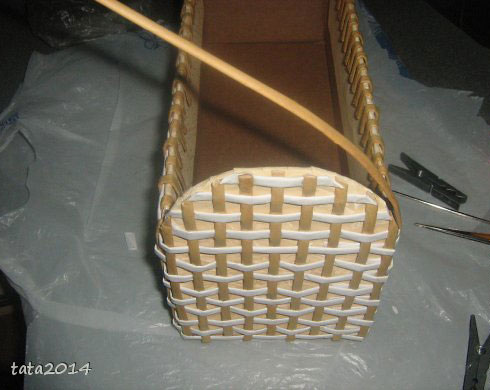 The lid of the chest the same color as the trunk itself, going upstairs to 6 cm.
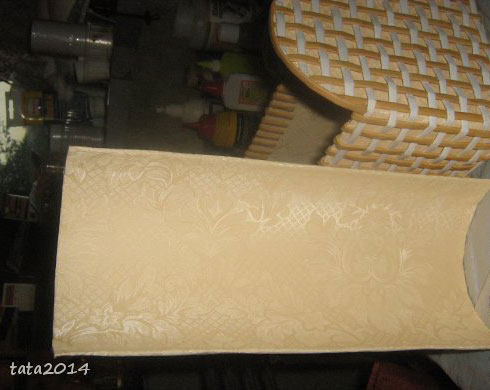 Try to design converged smoothly.
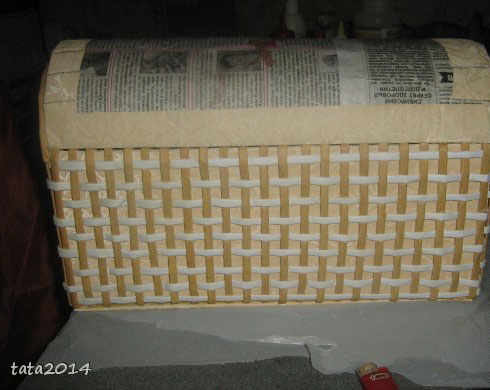 Arrange the cover as desired. Connect your imagination and forth.
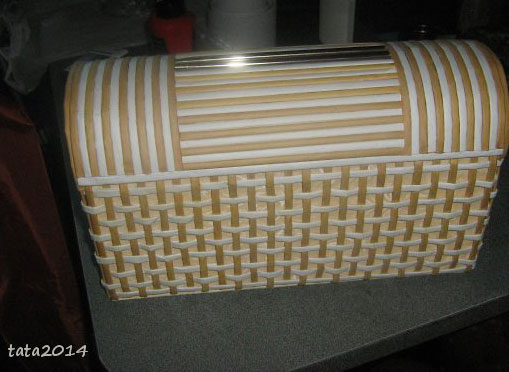 As a result of this work should be the following.
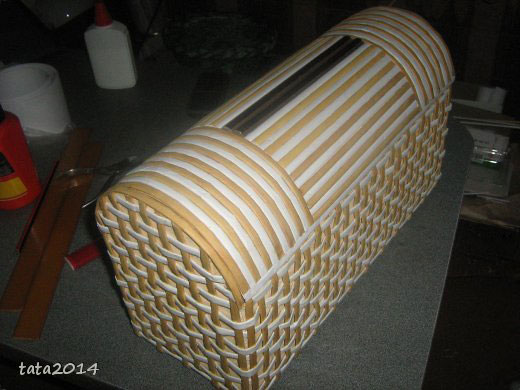 But, of course, calls for a chest decoration. Be creative and create. Let things made with their own hands, endows you with kindness, beauty, and warmth.
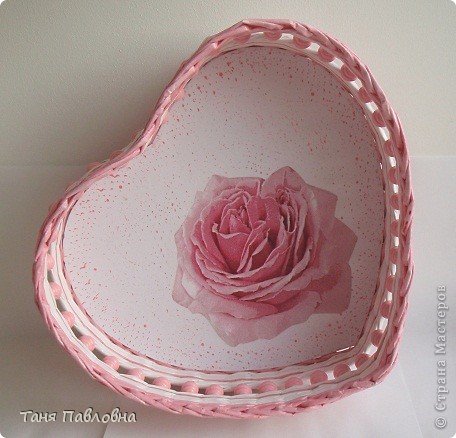
How to make casket in a heart shape
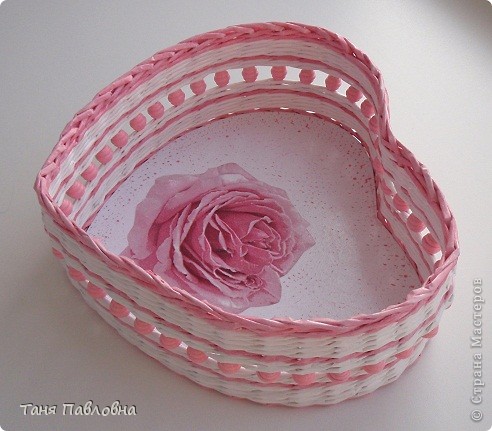
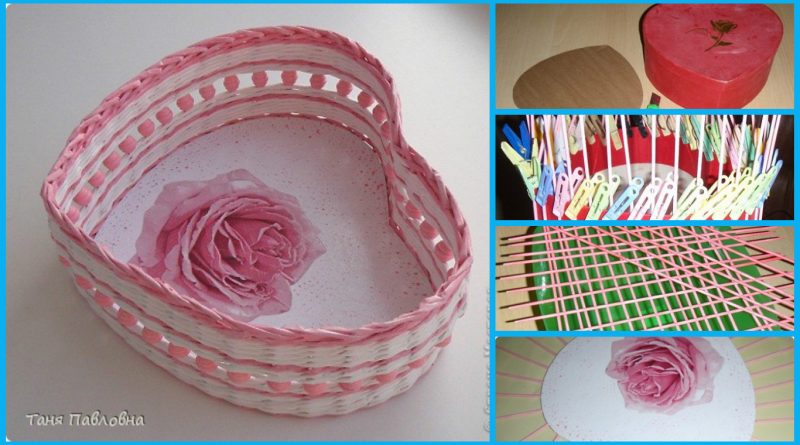
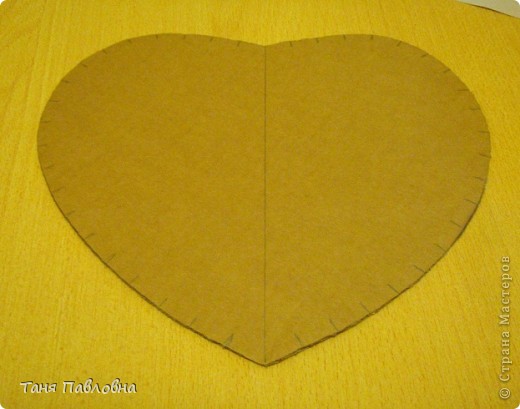
Belt width 5,8sm, 40cm length, twisted on needle 1,5. tube paint for the eggs. Two coats of an acrylic clear coat. At the bottom of decoupage and varnish. Dimensions: 30 * 22 * 10.Businy wood. However, everything in order.
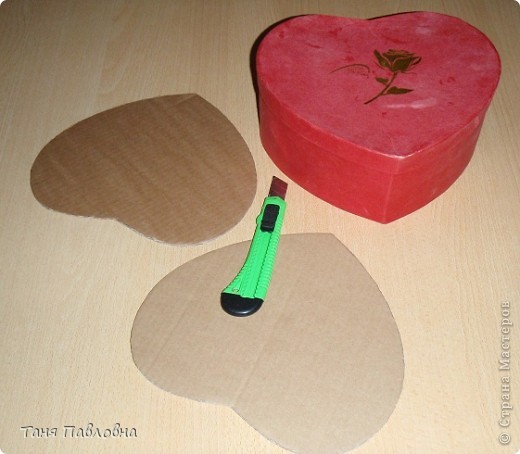
Well, something to help beginners. It said loudly, that it will be a master class. I share what I can. Photographer I useless. Well, what happened, what happened. So … cut to form two cartons
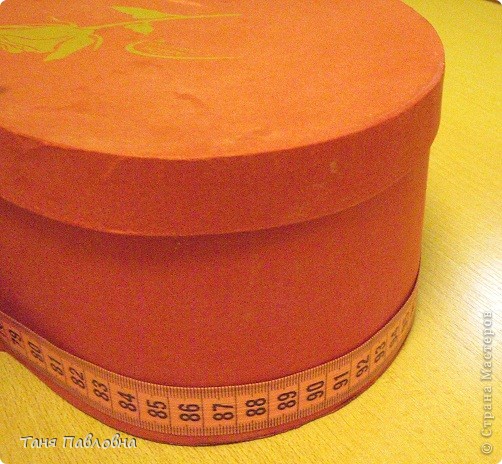
 Measured basis, divide the desired distance between the stanchions. If you can not without a trace, corrects the distance. I got 1,8sm. Normally, less is better.
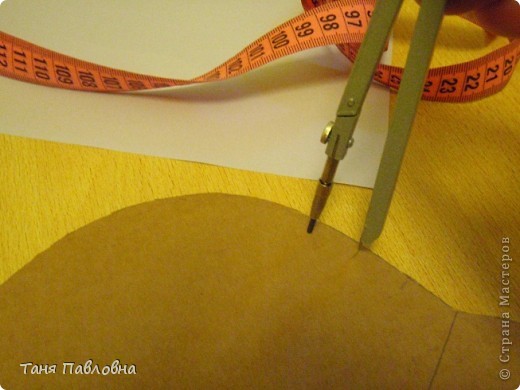
 Postpones 1.8, starting from the center of the “heart”
 It turned out this way …
 I prepare the paper
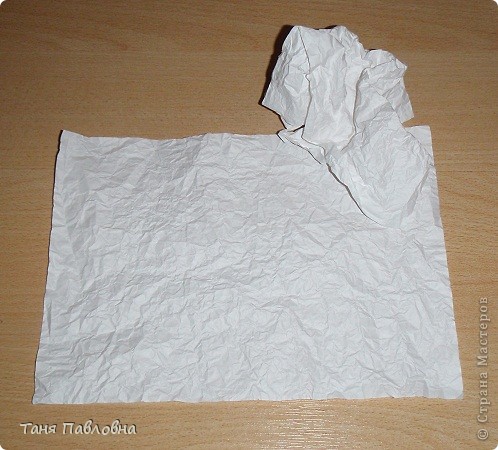
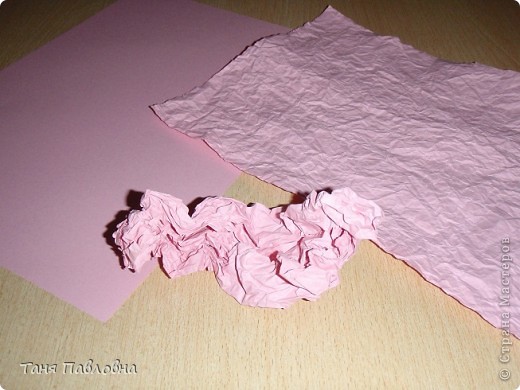 and more … The paper pasted on cardboard with white glue and left to dry. A bit dry and put under load, so as not curled hours on 12. The process of bonding is not removed, fascinated.
 While the bottom of a dry, paint tubes.
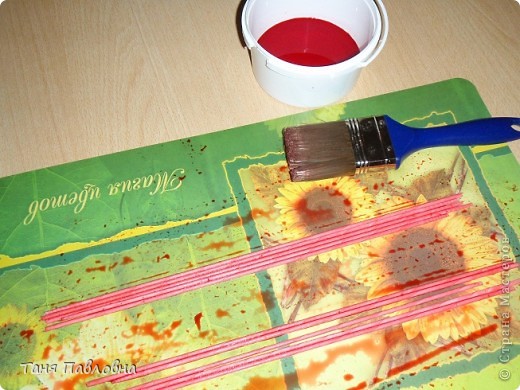 Expanding to dry and leave everything until the morning.
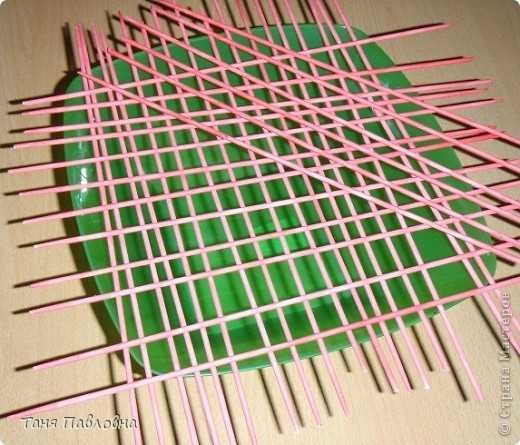 And in the morning for a surprise. That such a result is obtained. Apparently, the tubes were caught from different parties. I hope that will be enough of a color.
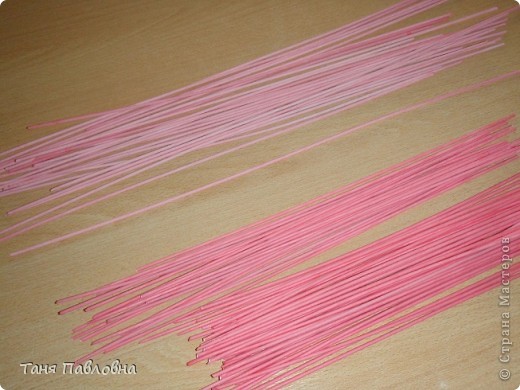 Clay “Titan” pasting tube
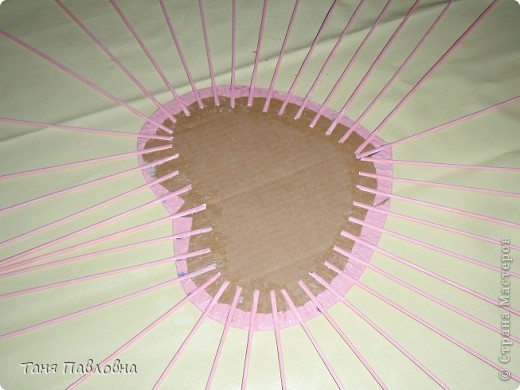 Top pasting the front of the bottoms. The process of gluing napkins too missed. Well, not all at once. Decoupage do with the file. I put the napkin “face” down at the file, pour some water into the center of a little and start to lift the edges to Vodicka gradually distributed on a napkin and no wrinkles. I add a little brush continue to keep raise for all parties. Try to keep the water before the time has not got to the edge (tear). When there is only the edge unglued, helping brush. When the napkin is flat, without wrinkles on the file, carefully poured the water and turn on the bedplate, smoothes. I remove the file from top to drip screed and PVA brush. Land.
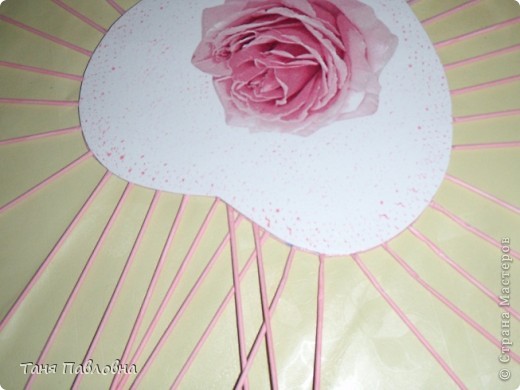 Yes! Two hearts are glued together, too, putting under pressure until it sets. It is better to wait a little longer. Clay grabbed. I begin to braid rope bottom of a single row.
 I lift the rack and begin to weave a rope in the two tubes.
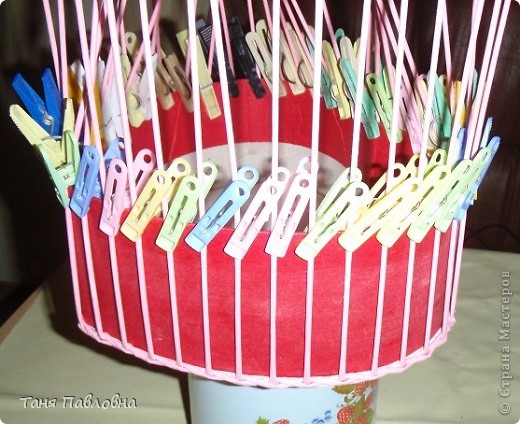 Get out of shape, that’s what happened. The result is not pleased with what’s nose turned out. It was necessary to equate the braid after varnishing.
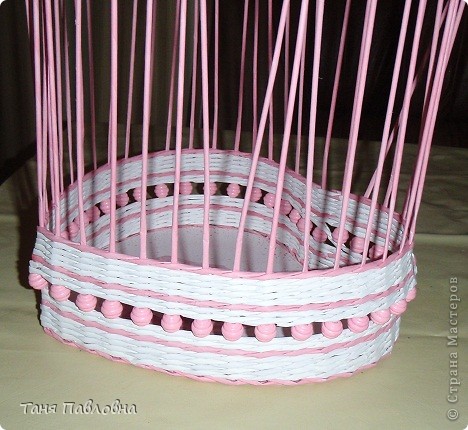 close: in front of the two, in the third
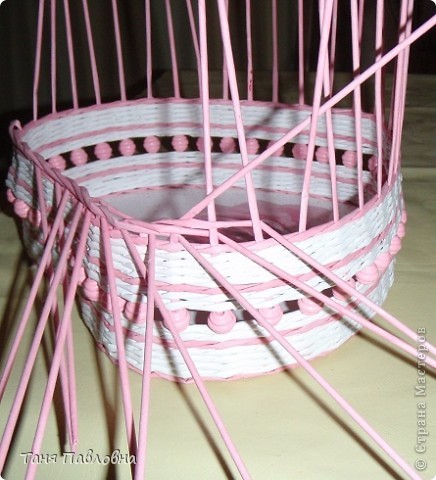 It remains the last three tubes. The first of them is bent before the two and slips under the first rack start crisscrossing.
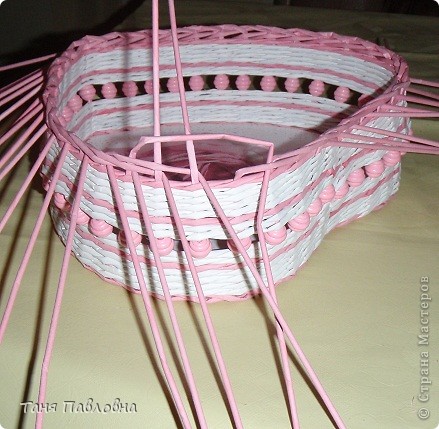 Second-on rising: before the third and the inside of the first braided basket
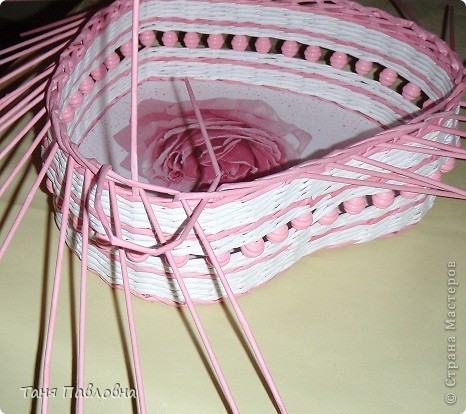 for the second braided out
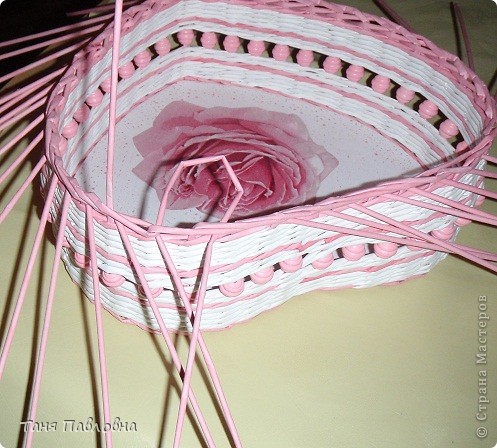 by drawing
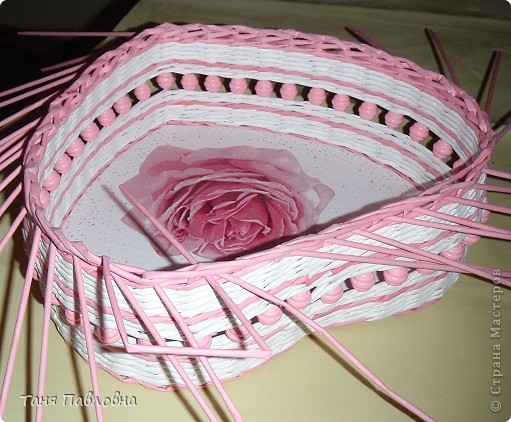 Fotik agreed to work only to that frame. I had to finish without him.
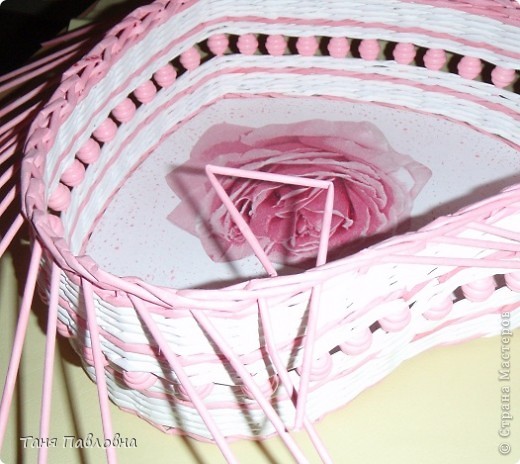 And it is you! This beauty blossomed in my yard, and I am very pleased.
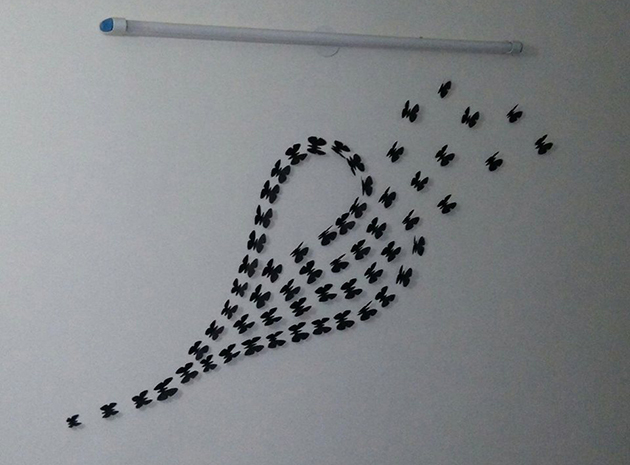
Beautiful butterfly wall art
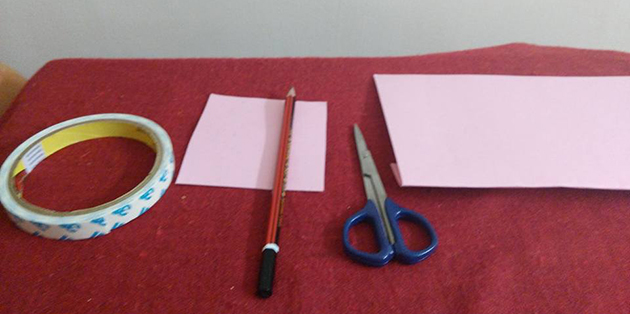 Items we need Double side tape, Pencil, Scissor, Chart paper of any color or as many colors as ur wish. U can make it colorful too.
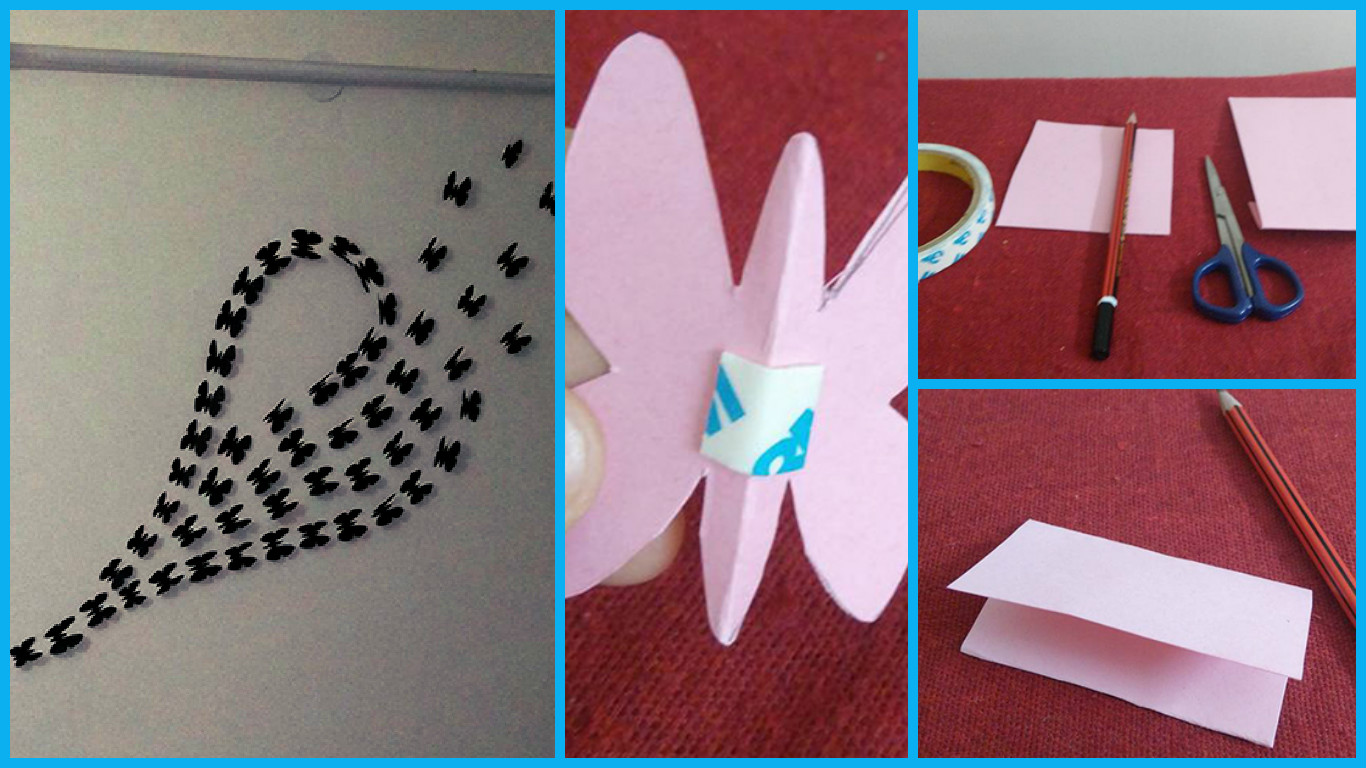
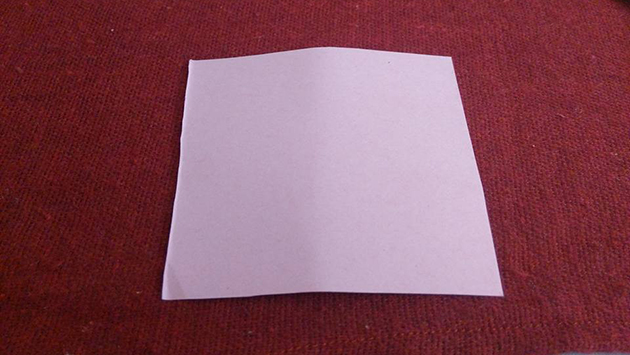 Here I m showing u method of a bigger butterfly.Cut a piece of chart paper 10* 10 cm.
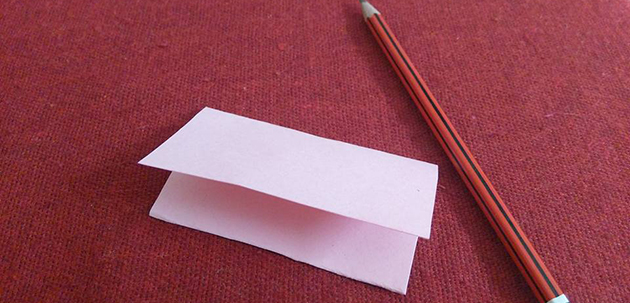 Then fold it from middle
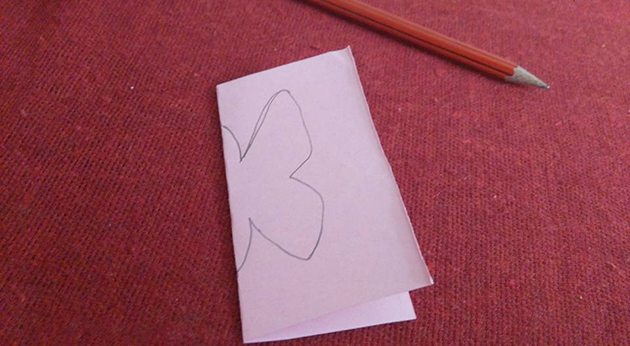 Then draw half of butterfly design using a pencil. It will be the back portion of a butterfly.
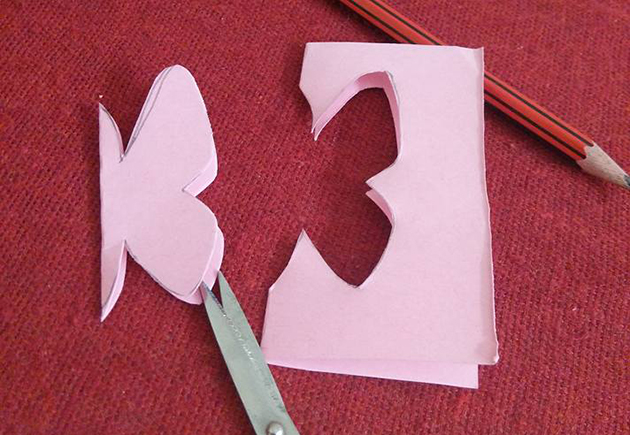 Then cut like this.
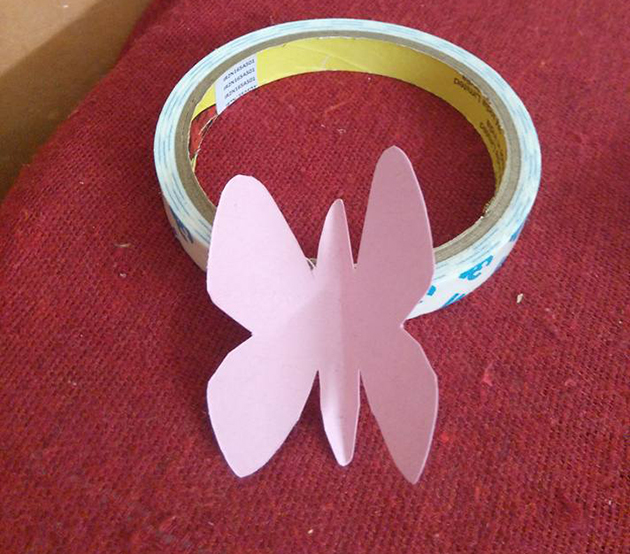 Open the butterfly, n do finishing.
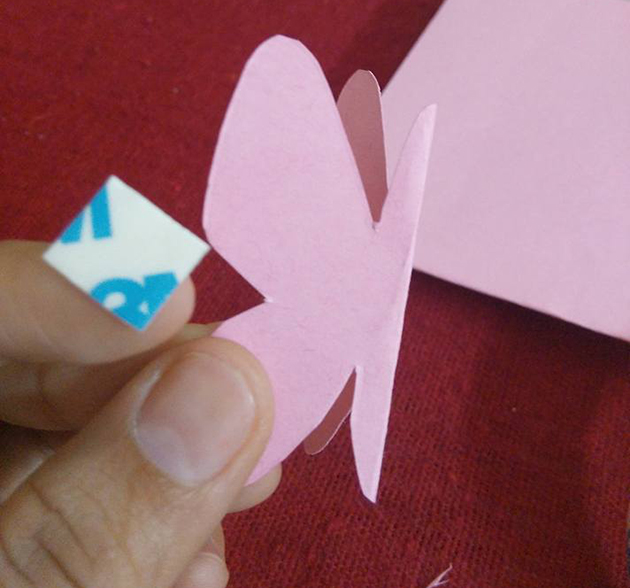 Take 5 cm double side tape
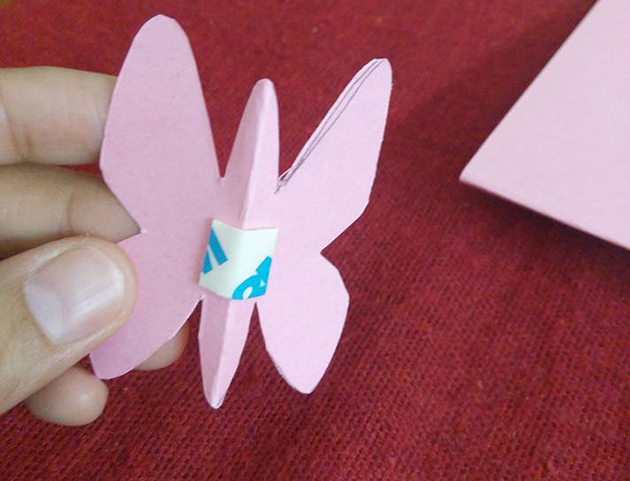 Stick this double sided tape on back part of butterfly like this, covered double side tape should be used to stick this butterfly on the wall. Once u make all the butterflies. Then u can paste these on the wall at one time.
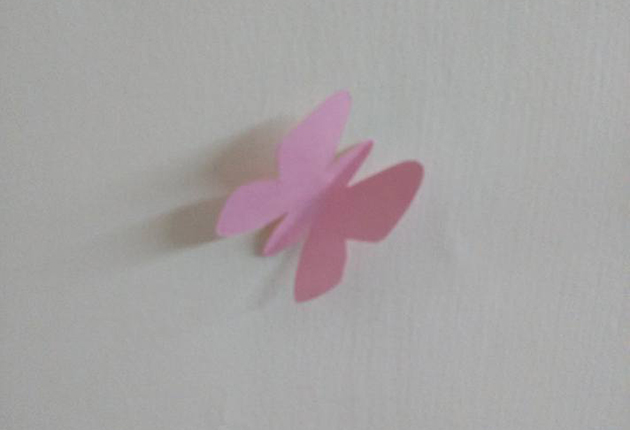 Make any design using these.
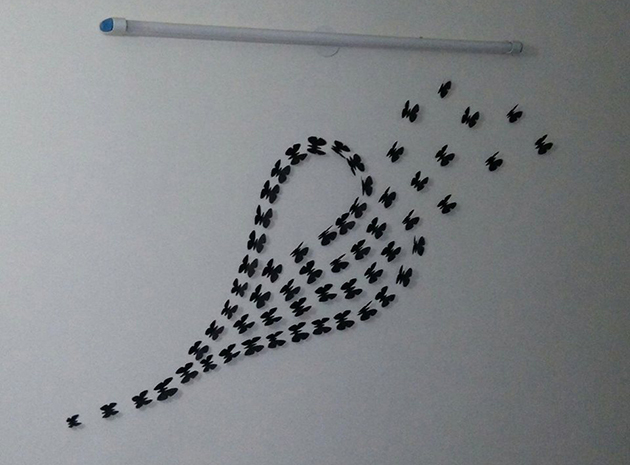 Butterfly wall art, around 60 butterflies of different size. I used smaller butterflies in making the tail of heart. Then remaining used in ascending order.
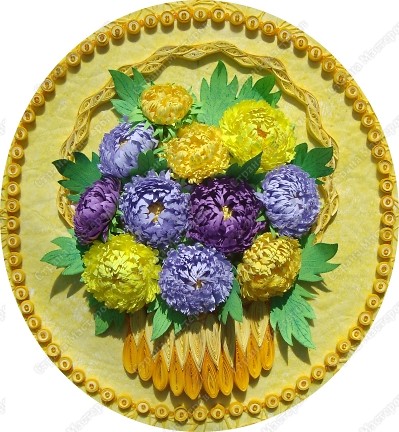
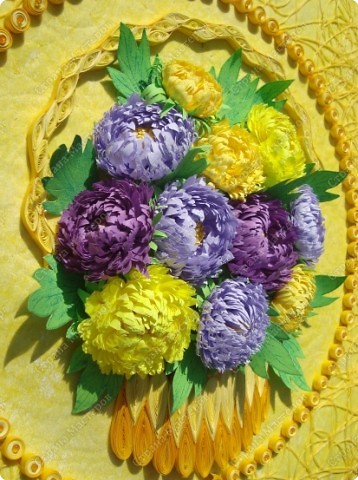
Beautiful asters quilling
 Side view.
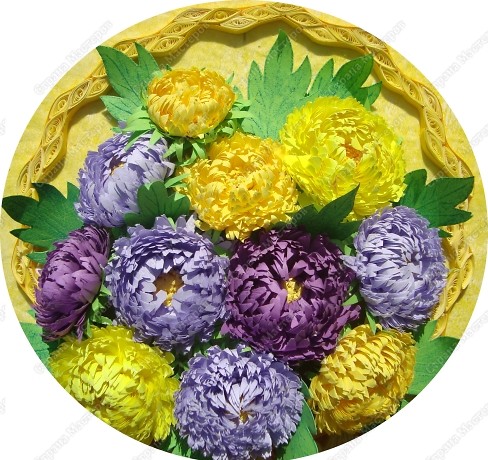
 Flowers closely.
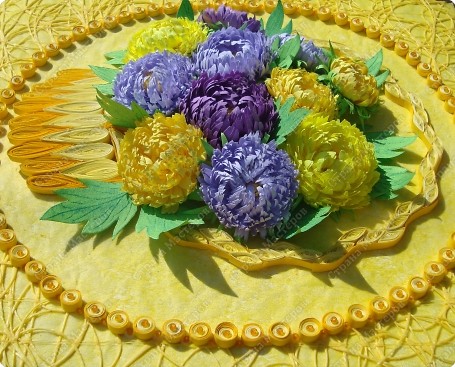
 Work on gathering silikon.
 “How fast shear” teeth “and make “.
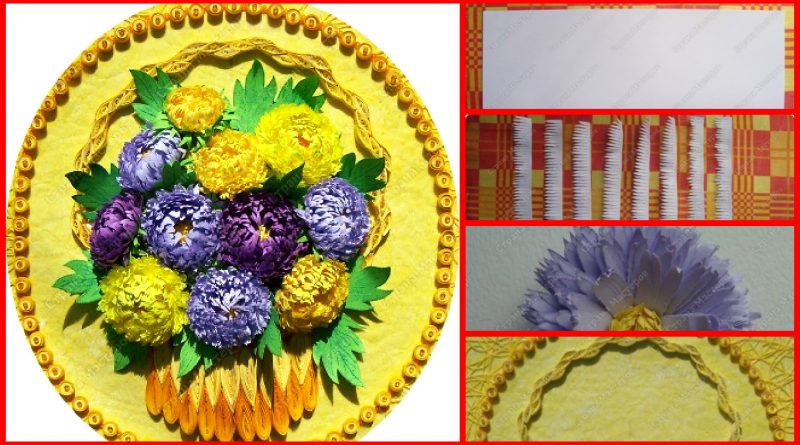
Take 1 sheet of paper, folded along.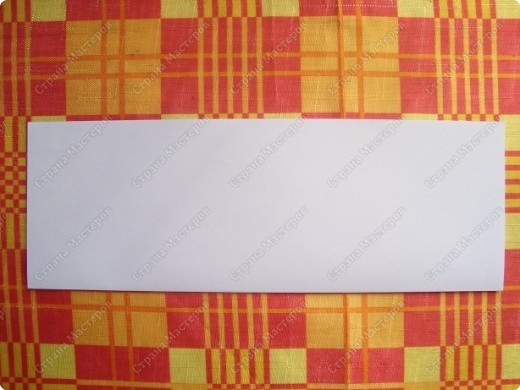 Once again along.
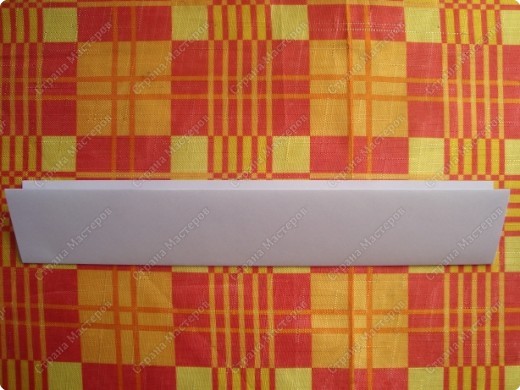 The last turns of the strip .Shirina 2.5 cm.
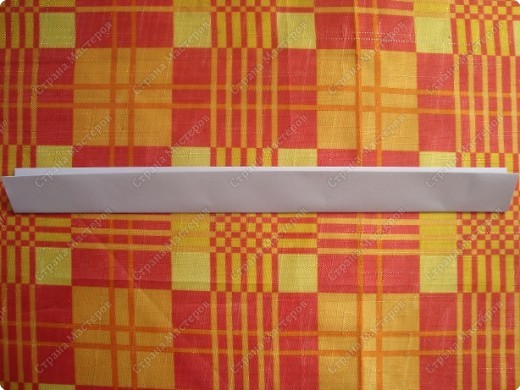
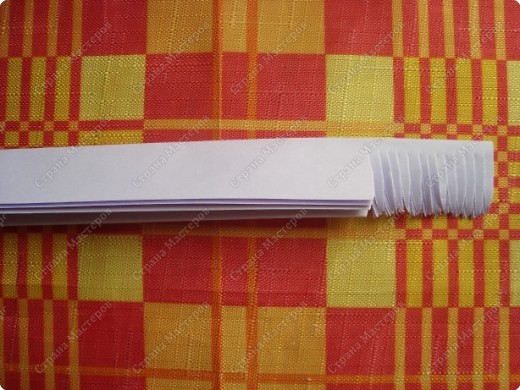 Cut the fold
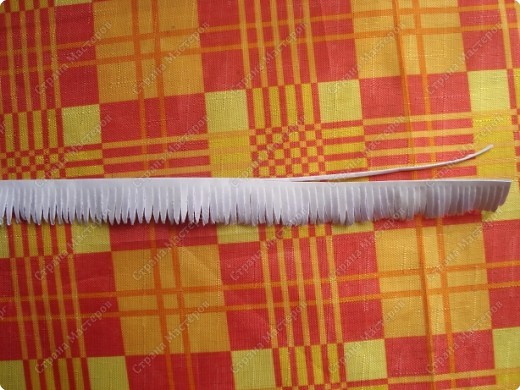 And just 8 pieces set!
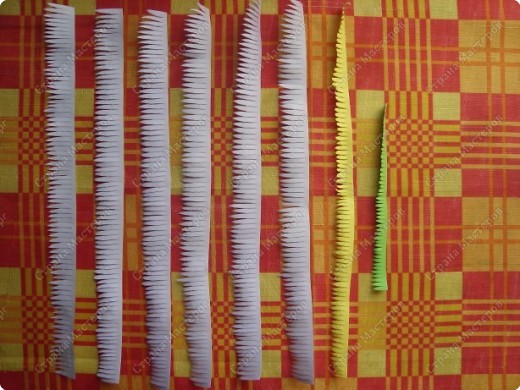
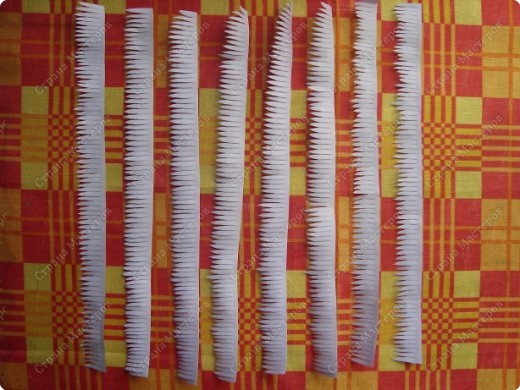 Because so many pieces I made one . them one after the other: 1 yellow, purple and green 6.
 Screw, periodically spreading glue.
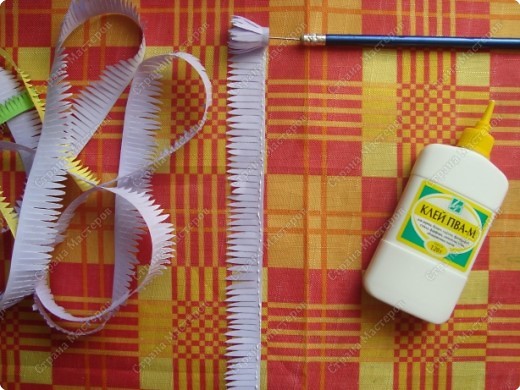 hen turn down the center of his fingers.
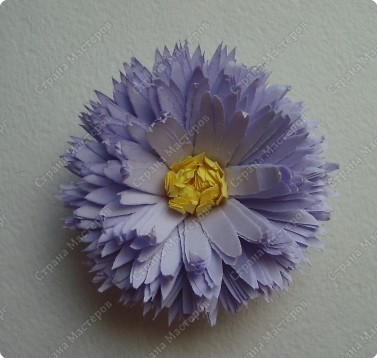 Then tighten up the scissors to the center.
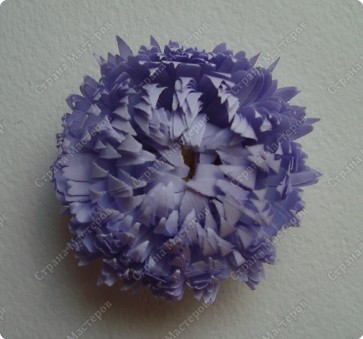 Side view.
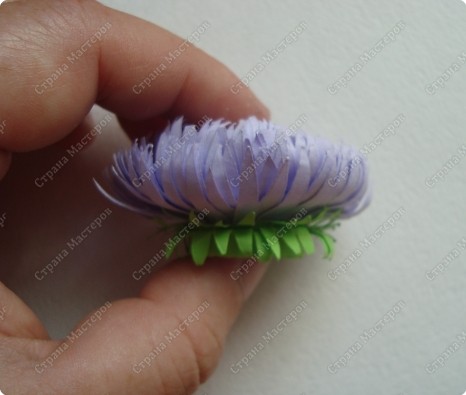 Tip: To get the back straight, the yellow strip, I Screw on the needle, and then all rukami.Roll then turns denser.
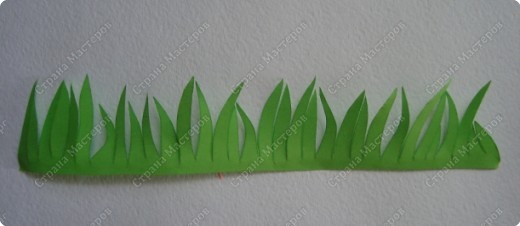
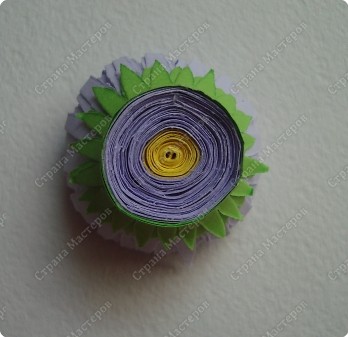 Changed the green strip on a lush grass. The flower aster below lush sepal.
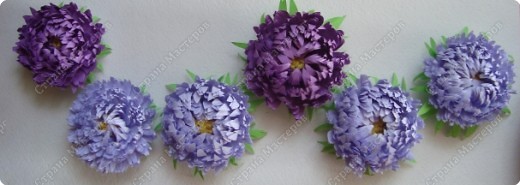
 That purple , they are ready for placement in the basket.
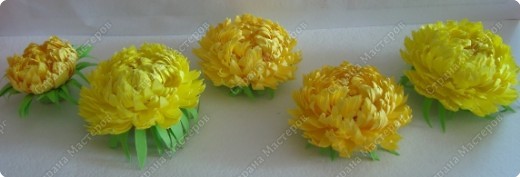
 And zhёltenkie also ready.
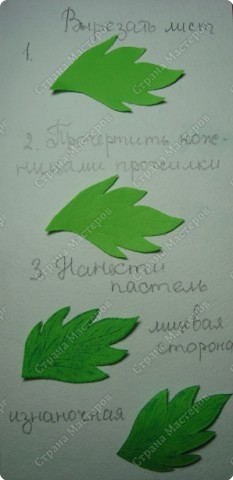
 in the form of TC on manufacturing listikov.Esli something is not clear write.
 Basket on a basket fone.Pobodnuyu saw Ina in her blog in July rabote.Ochen she sunk into my soul, and that’s done in his own way.
THANK NAIS, HUGE!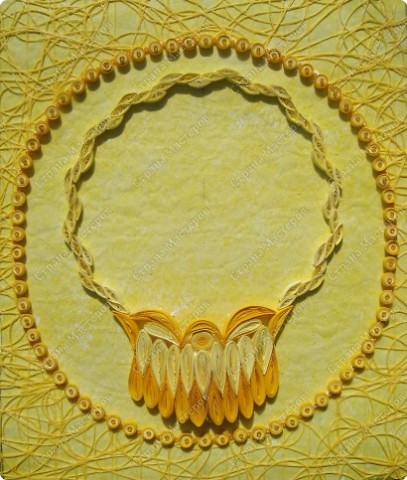 Work ready!
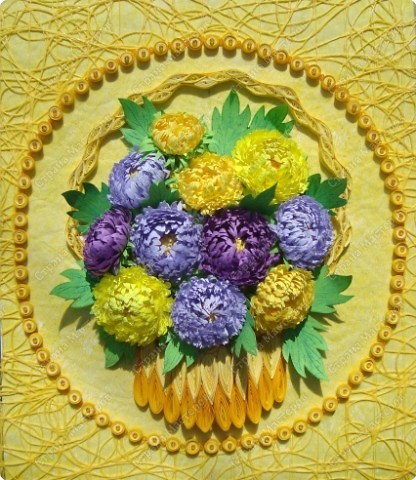 Oh, like a bouquet of asking in a round picture frame! But no!
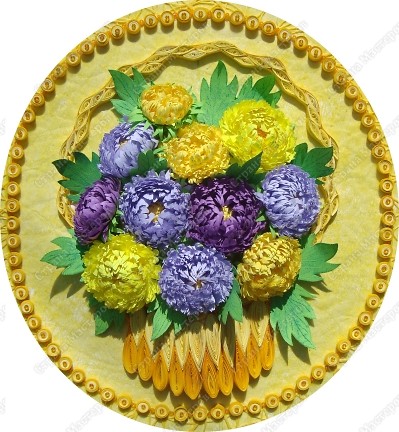 It will live long in this!
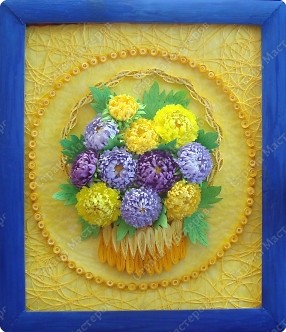
Paper Embroidery Step By Step
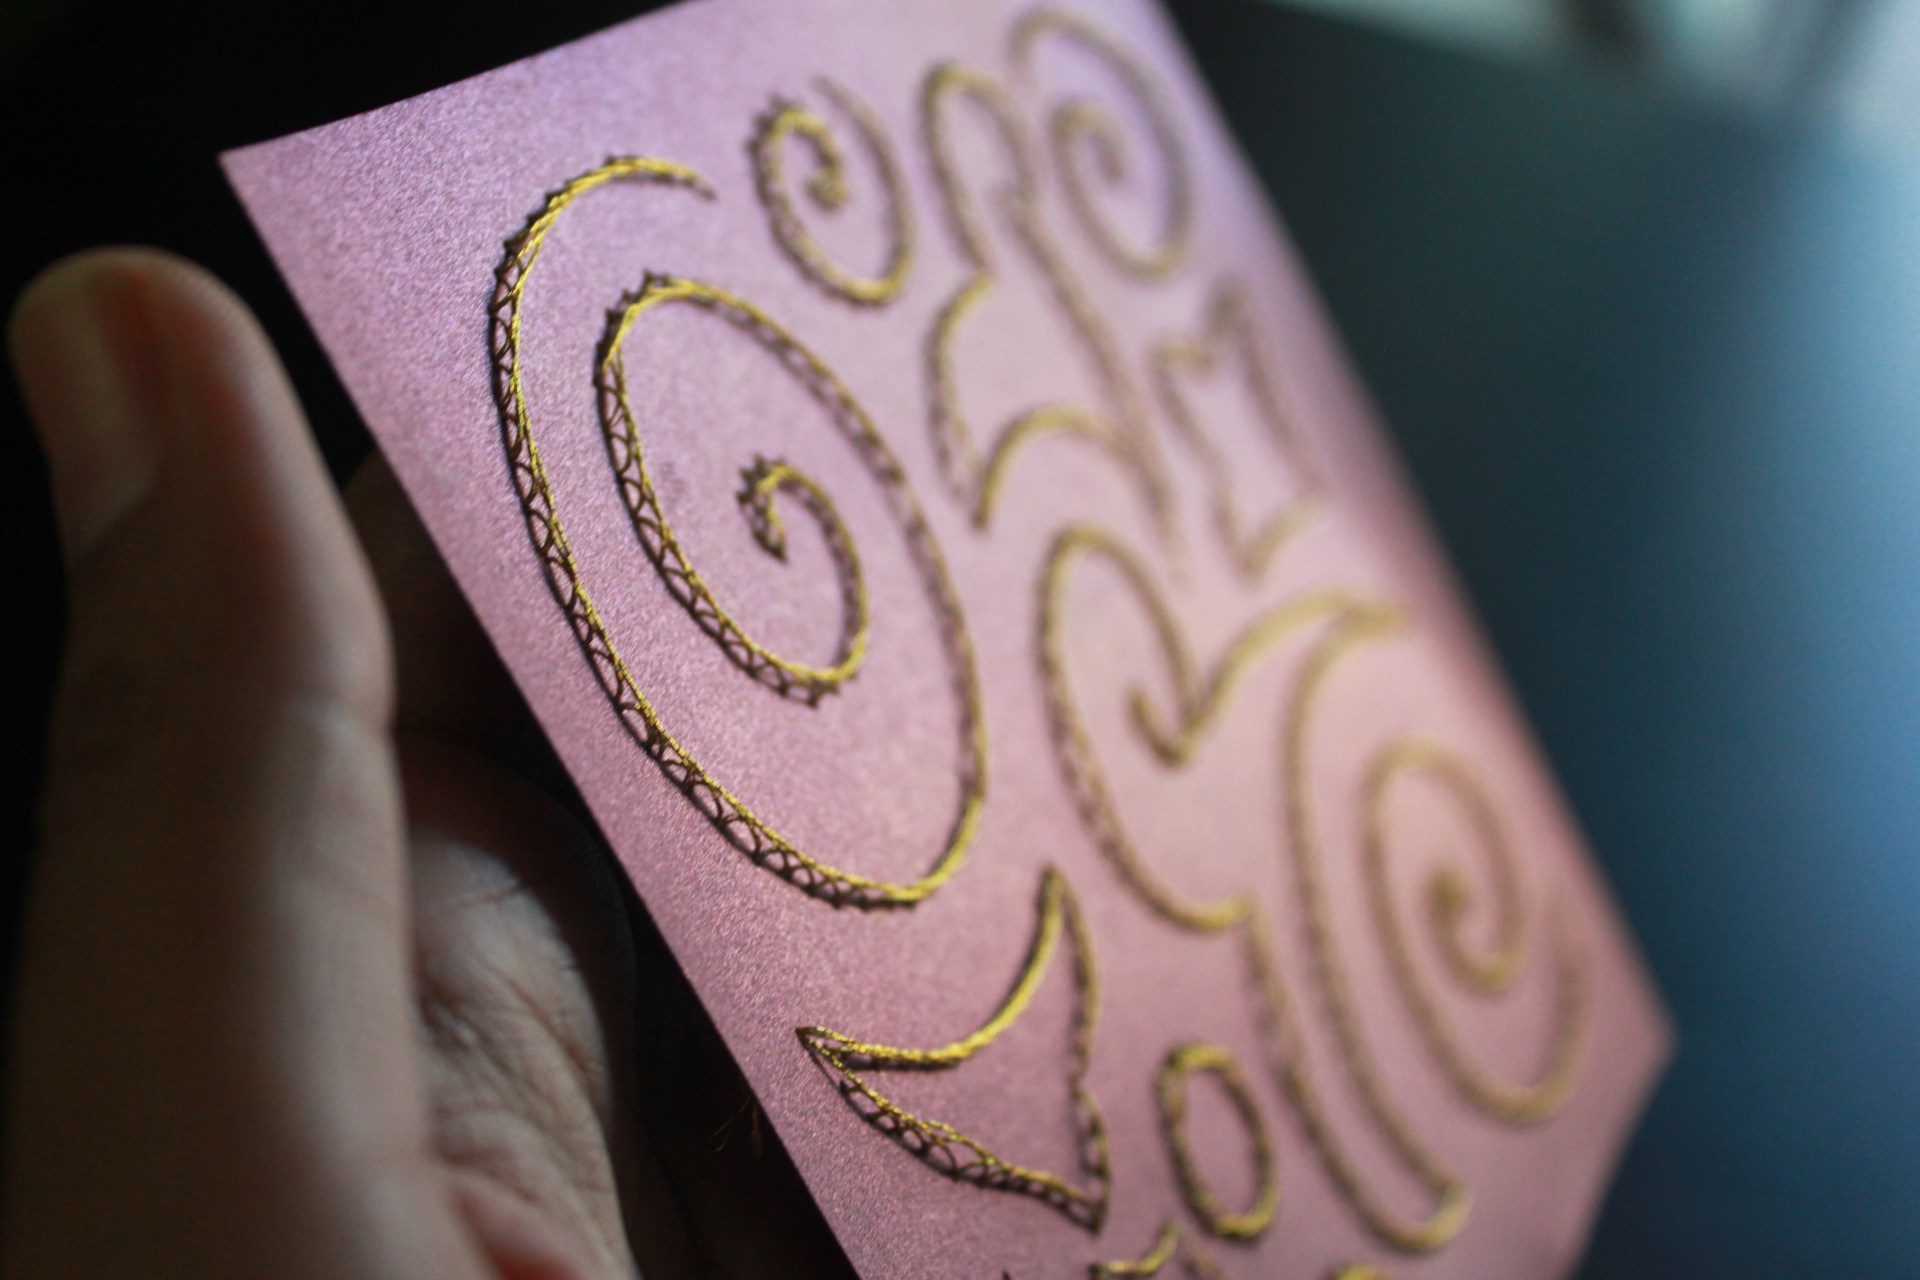
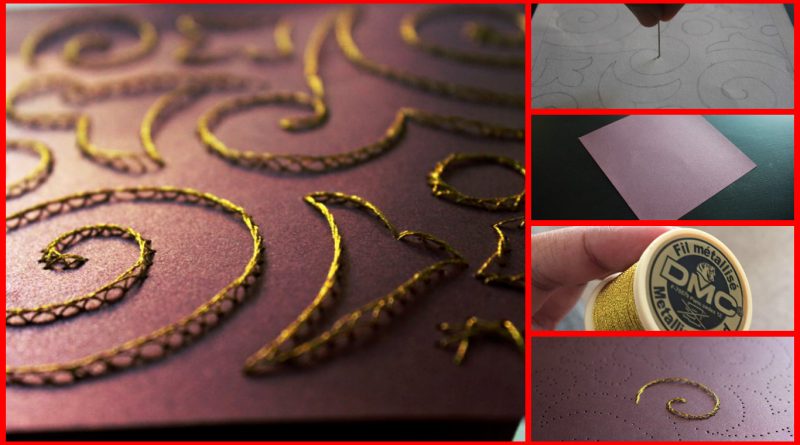
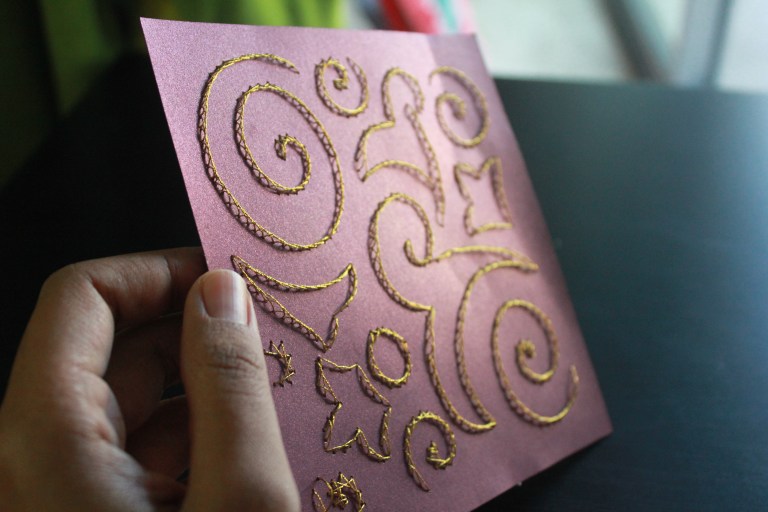
For today’s paper embroidery project I have used a wine colored card stock paper with shimmer and a metallic gold thread to embroider on it. This embroidered piece of paper can be used to make beautiful holiday cards. Slightly shiny paper and metallic thread give a holiday effect to the card. It is definitely not a quick project, it took me almost 3 days to embroider a 6″x6″ piece of paper. But when I looked at my little masterpiece, it was a moment of pure joy!
Make it for someone dear, show them you care!
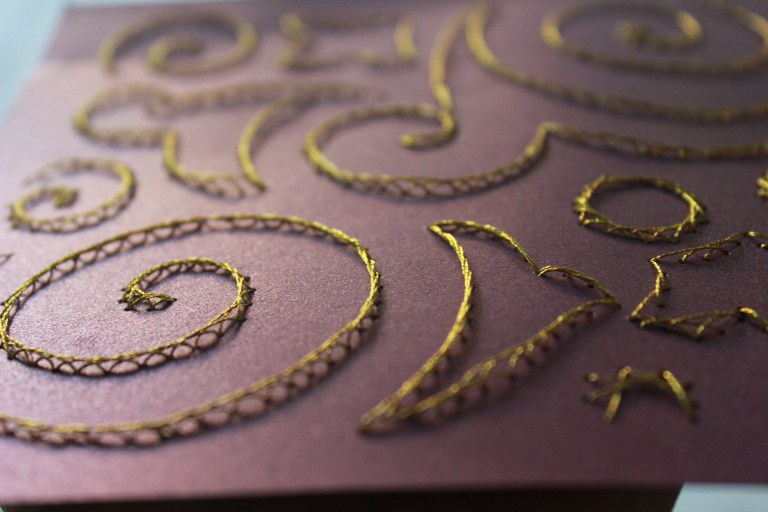
Material:
- Wine colored card stock paper with shimmer
- Metallic gold thread (You can use any embroidery floss)
- Needle
- Foam board
- Design pattern
- Adhesive tape, scissors
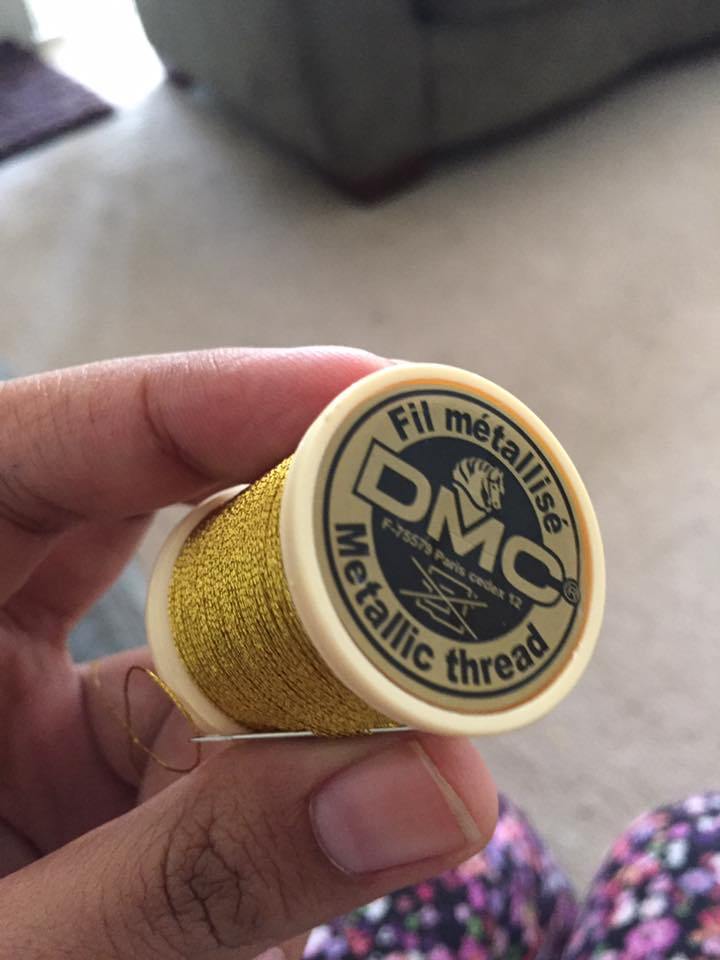 Procedure:
Cut a 6″x6″ square from wine card stock paper. You can cut any size you like.
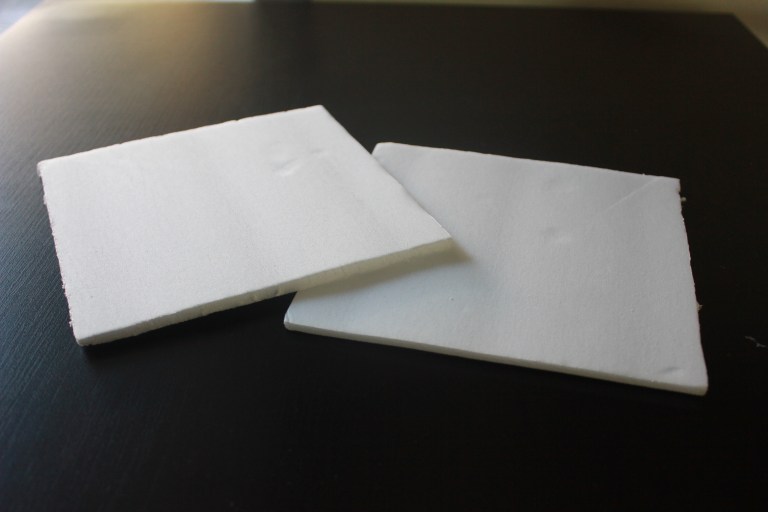
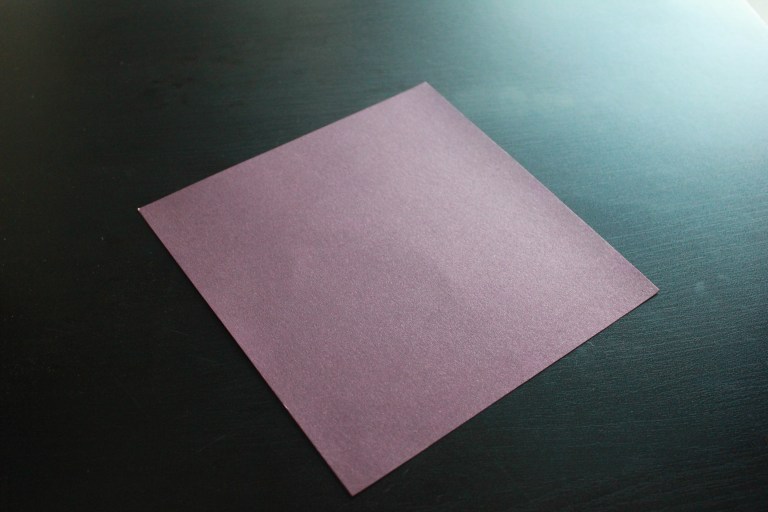 Cut 2 squares of equal size from foam board
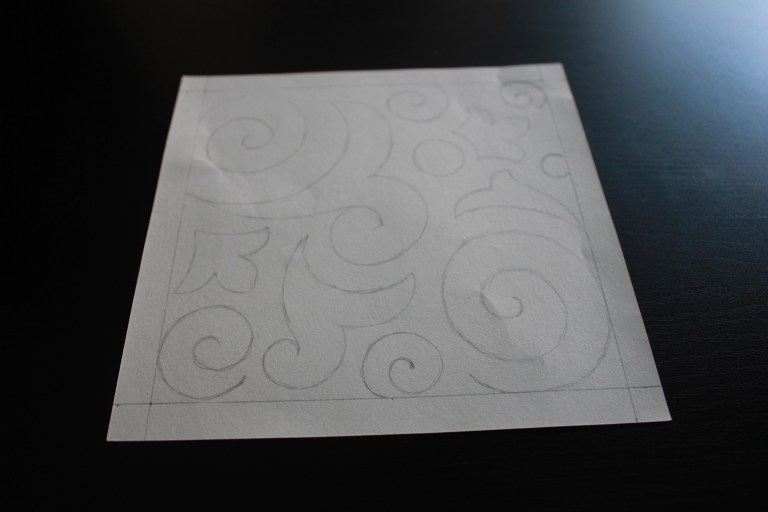
 Draw a pattern to be embroidered on a paper. You can find patterns online. A lot of holiday patterns are available for purchase on Etsy. Some designer craft papers also come with beautiful printed patterns.
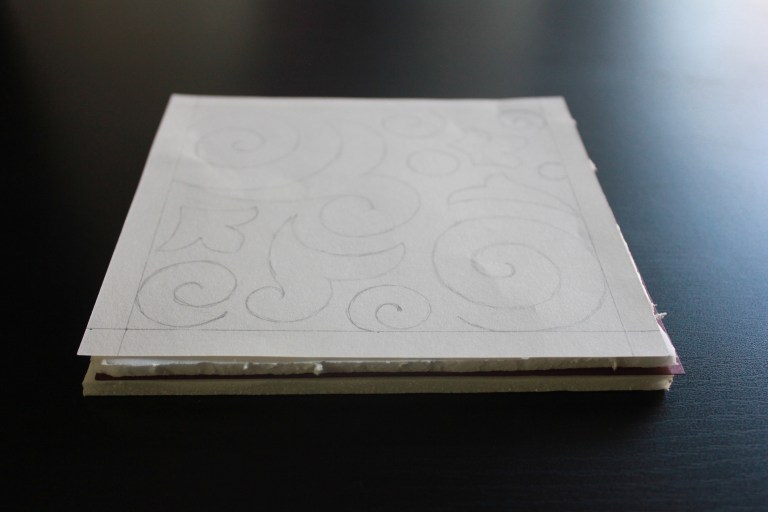
 Stack up a foam board square, wine card stock paper and another foam board square on the top. Place the paper with design pattern on the top of the stack. Make sure everything is aligned and use adhesive tape to secure everything in place. This makes a perfect piercing mat!
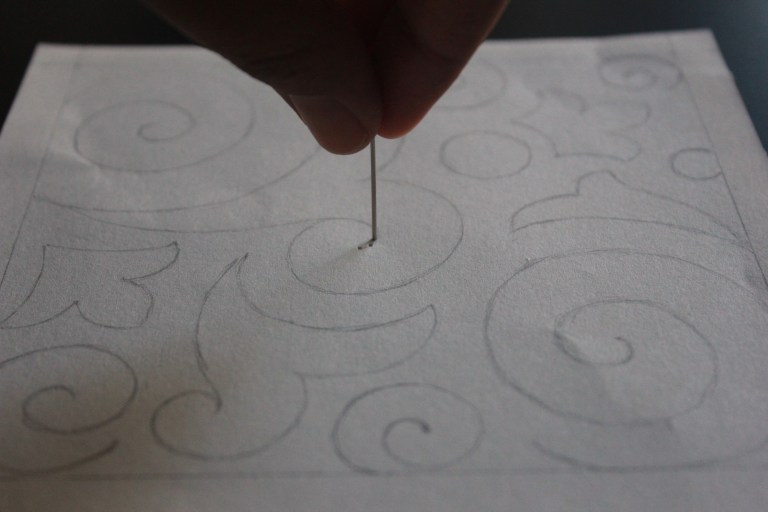
 Start piercing along the lines using a piercing tool or a needle. If you are using a needle, protect your fingers while piercing.
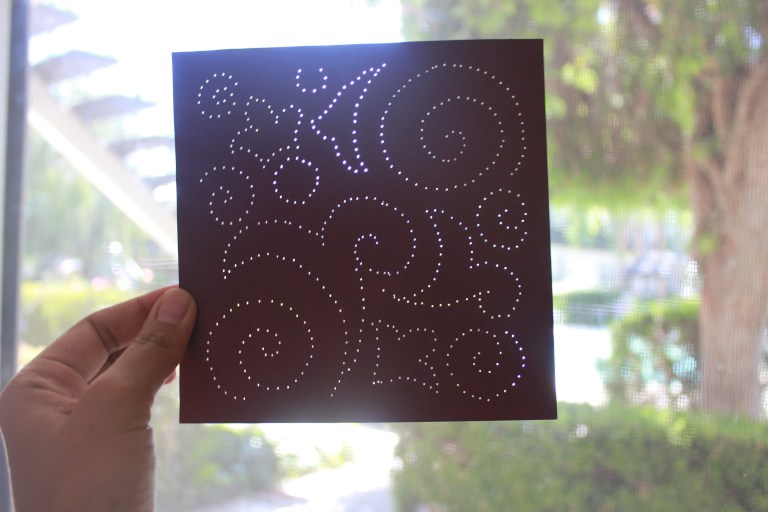
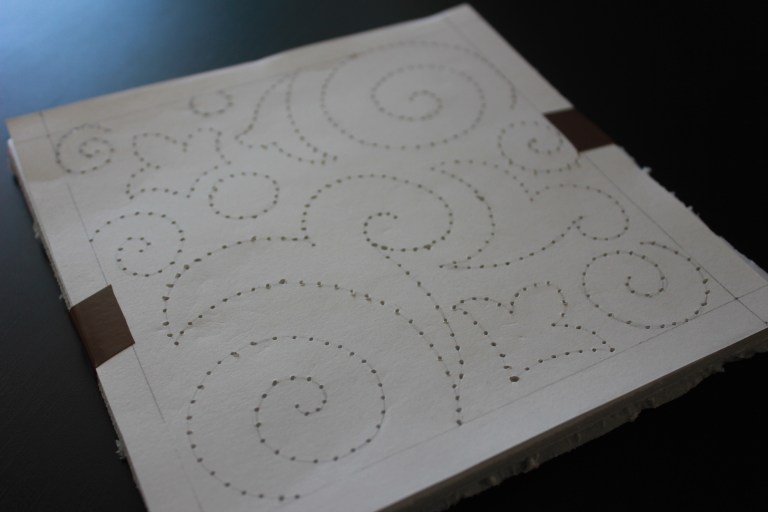 Once the complete pattern is pierced, open the adhesive tape and separate the perfectly pierced cardstock paper. Hold it against the source of light to make sure you did not miss any part of design.
 Next, we need to stitch on the paper. There are several different ways to stitch on paper. I am not an expert in stitching, so I have used a very simple stitching method. Start by threading a strand of floss into the eye of a needle.
Insert the needle from the back of the card to the front and pull the thread through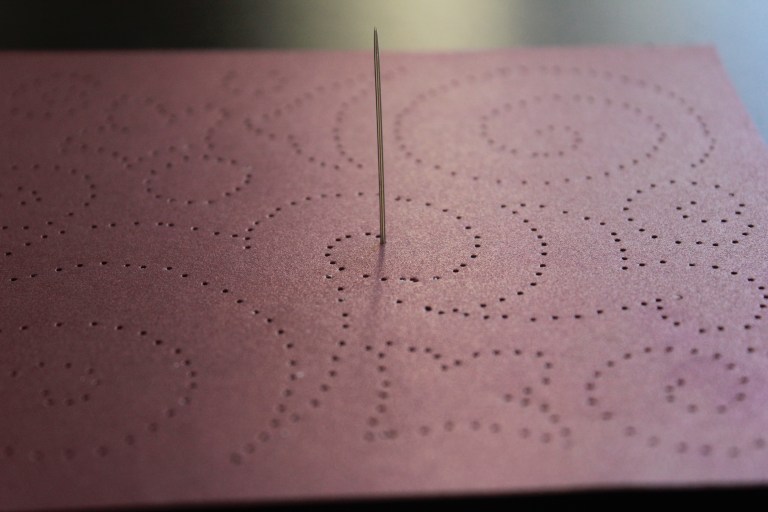 Skip next two holes and go down from the third hole.
Flip the paper. Go in the backward direction. Skip one hole and come up again from the next hole.
Go down through next open hole and repeat the previous step.
The tutorial video (posted above) might make it more clear
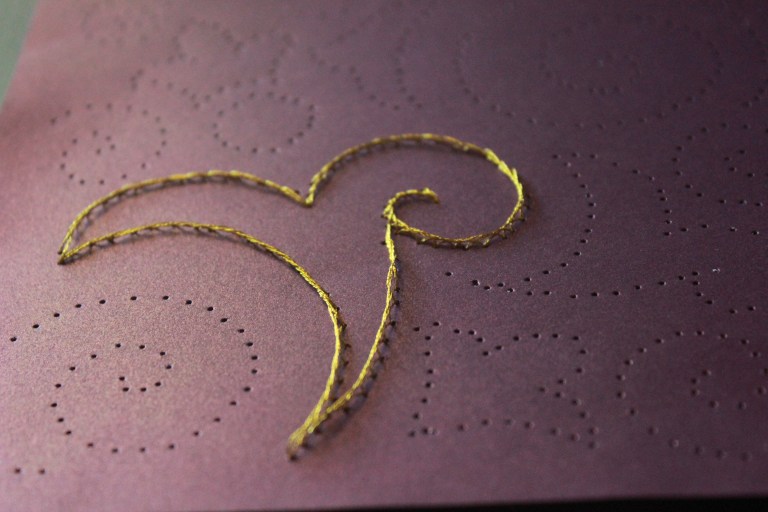
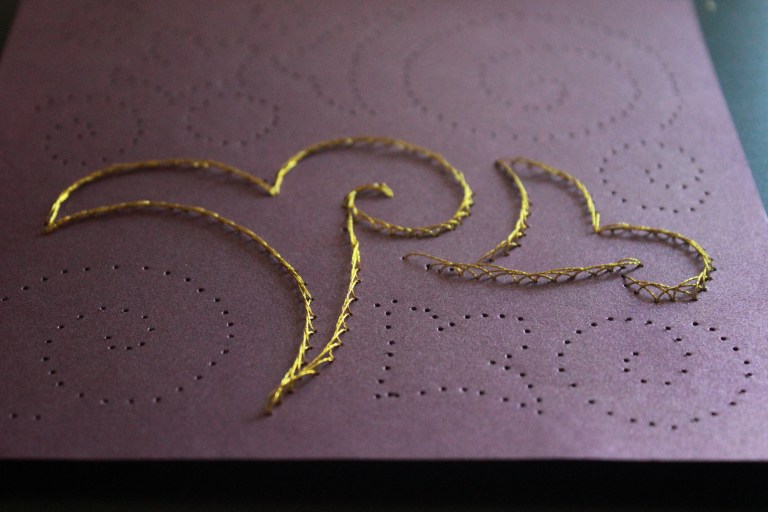
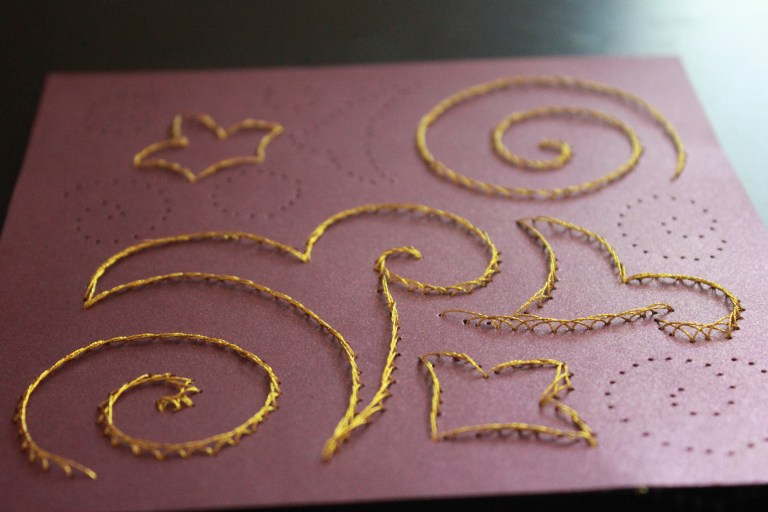
Here are some more pictures of embroidery in progress: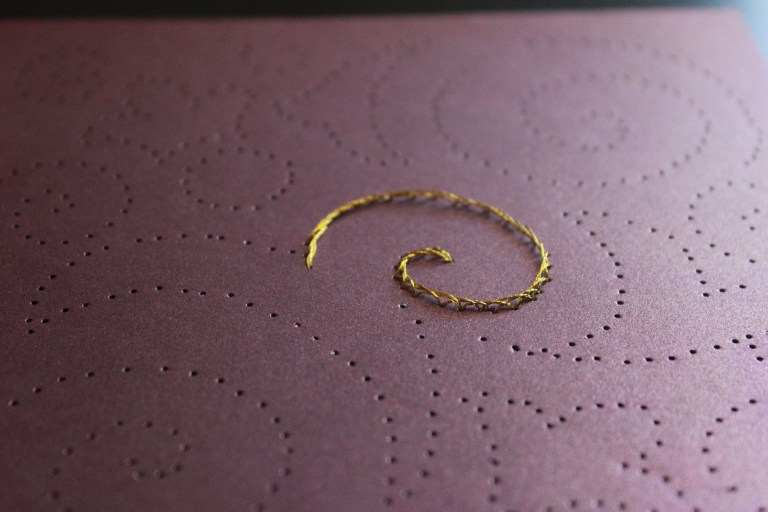

 Thank you for visiting! We really appreciate
