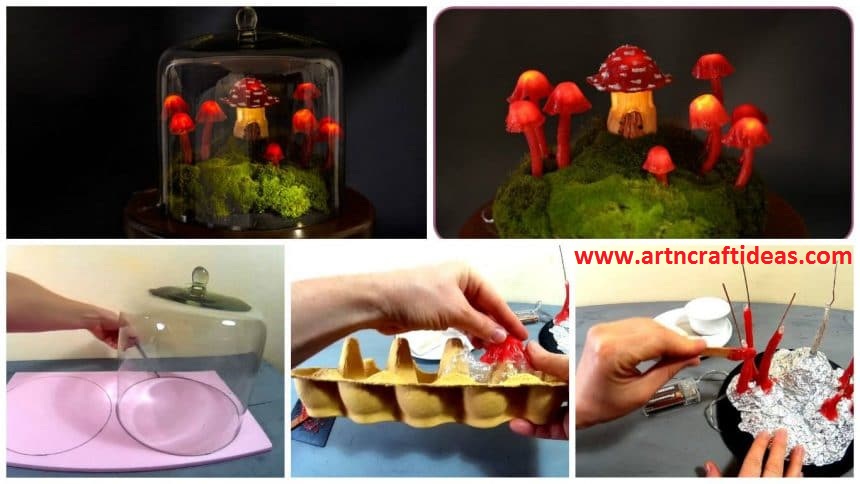
Posted onJuly 8, 2017inCraft, DIY, Home Decor, Tutorial DIY Miniature Fairy Garden Terrarium – Enchanted Mushroom Lights
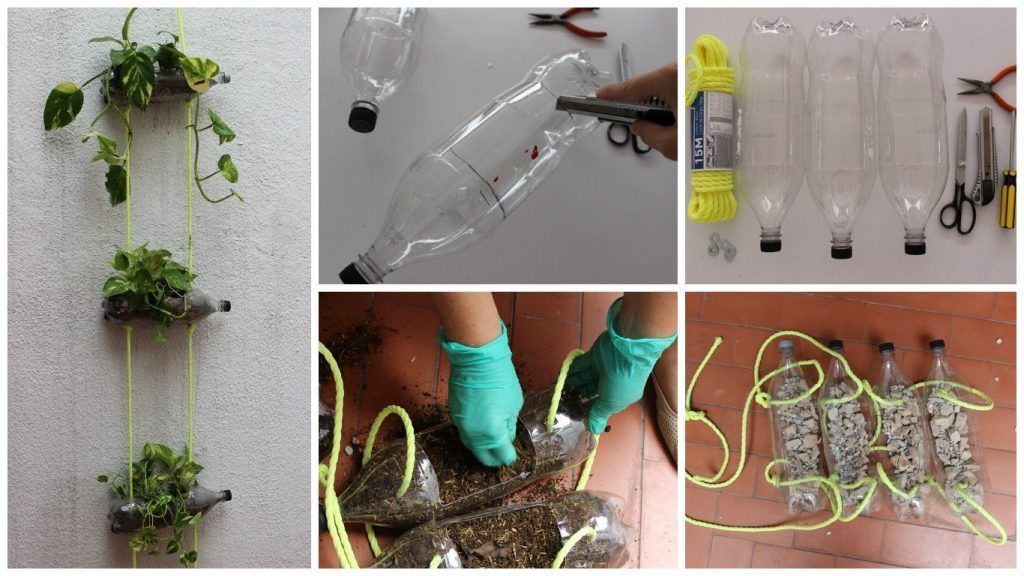
Posted onJanuary 27, 2017inBest out of Waste, DIY, Home Decor, Step by step, Tutorial How to make hanging garden grass roots upwards
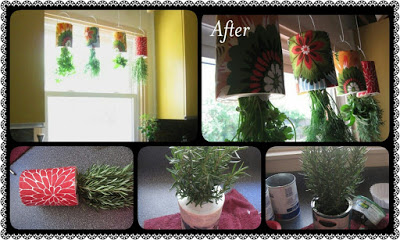
Posted onJanuary 22, 2017inBest out of Waste, Step by step, Tutorial How to make a miniature garden terrace
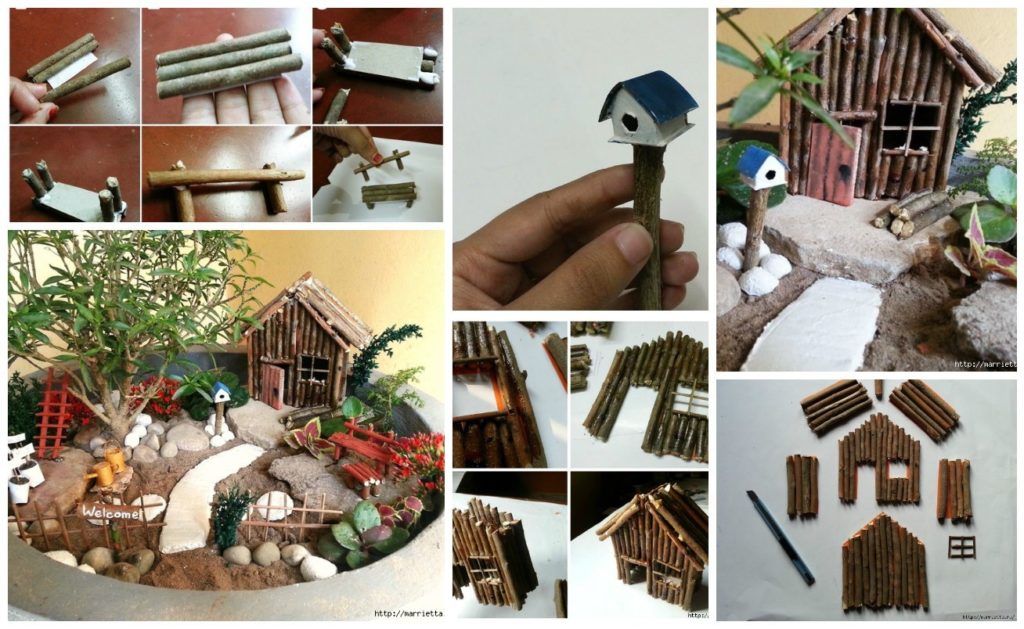
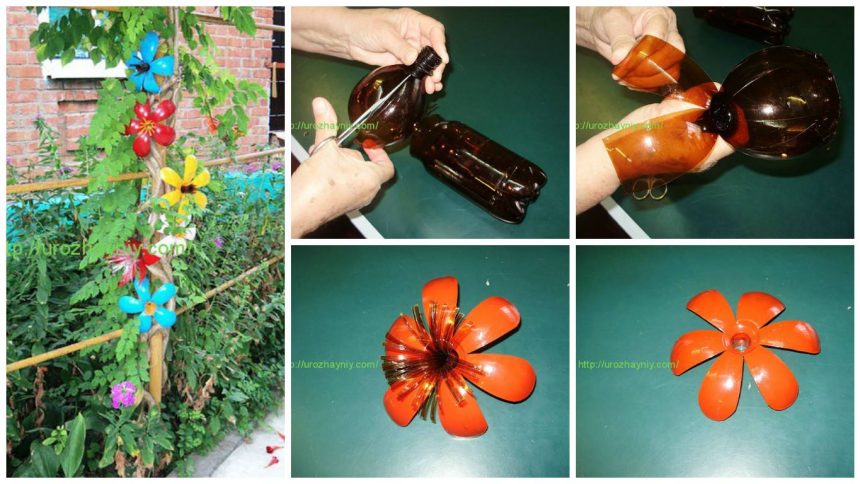
Posted onJanuary 19, 2017inFlower Crafts, Step by step, Tutorial How to make beautiful garden flowers from plastic bottles