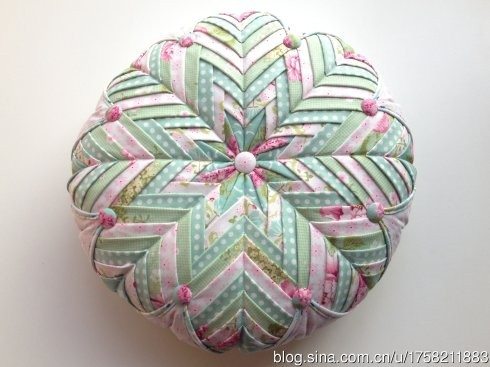
Posted onJanuary 9, 2017inDIY, Featured, Home Decor, Patchwork Crafts, Step by step, Tutorial DIY Handmade Cushion of patches
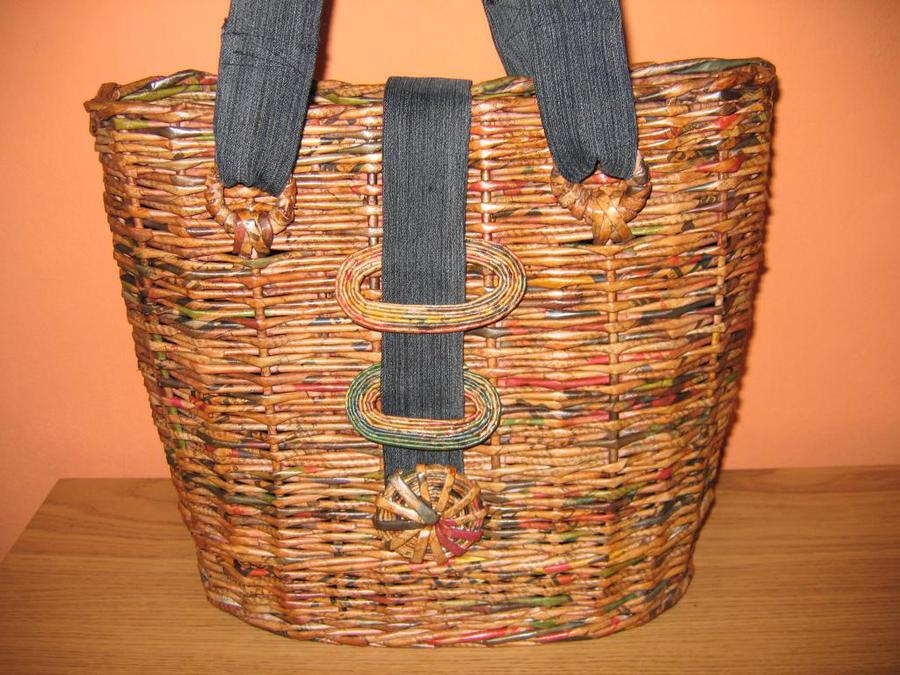
Posted onJanuary 9, 2017January 9, 2017inBest out of Waste, Featured, Newspaper Crafts, Step by step, Tutorial DIY Recycled Newspaper Craft Handbags Making Tutorial
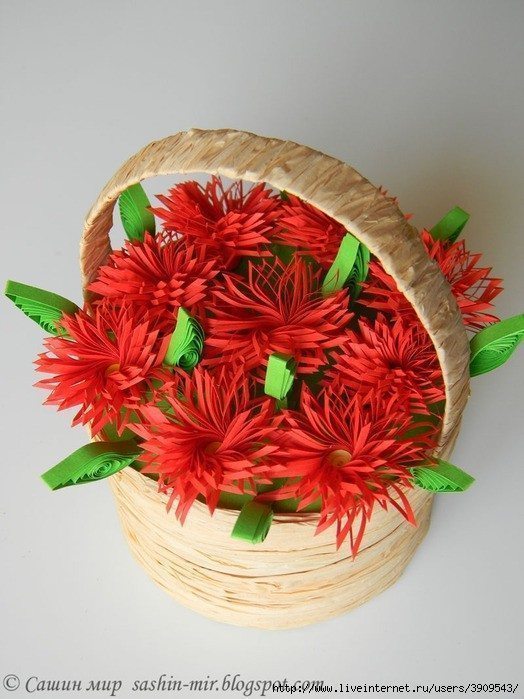
Posted onJanuary 8, 2017January 8, 2017inDIY, Paper Crafts, Step by step, Tutorial Beautiful Spring Basket
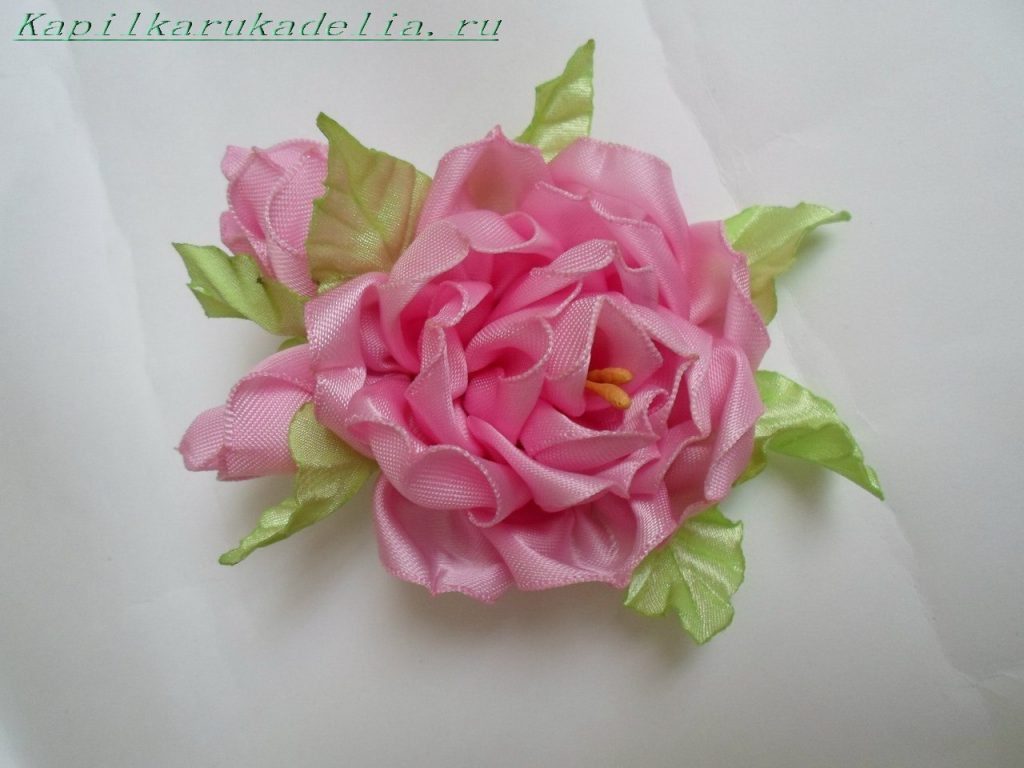
Posted onJanuary 8, 2017inDIY, Flower Crafts, Paper Crafts, Step by step, Tutorial How to make a rose of corrugated paper
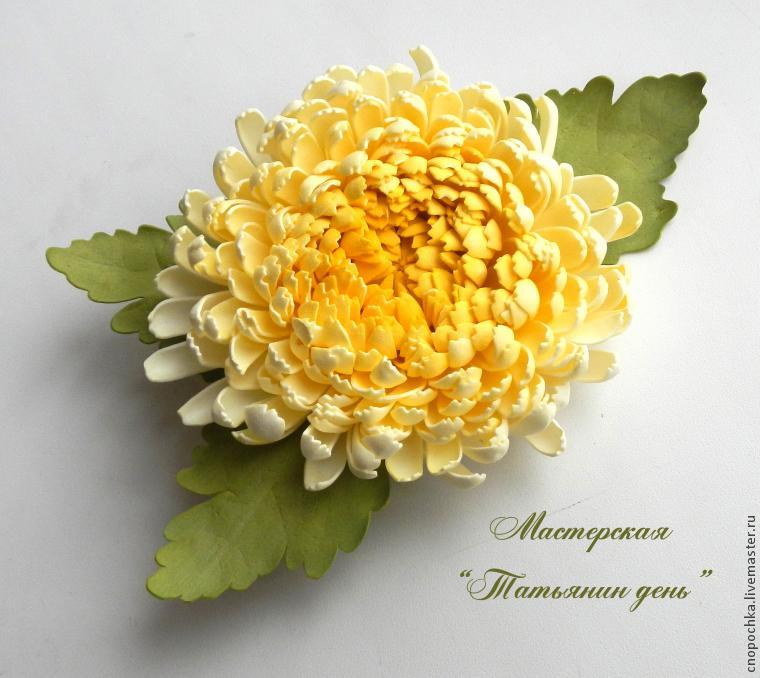
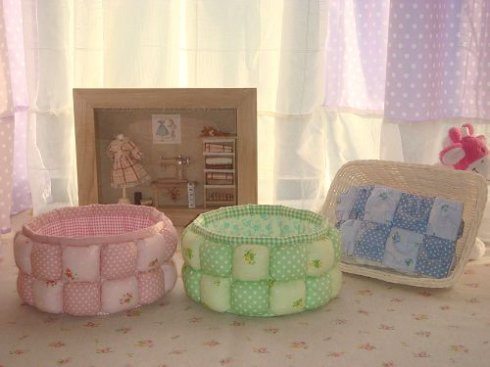
Posted onJanuary 8, 2017inDIY, Home Decor, Patchwork Crafts, Step by step, Tutorial Stash for needlework patchwork