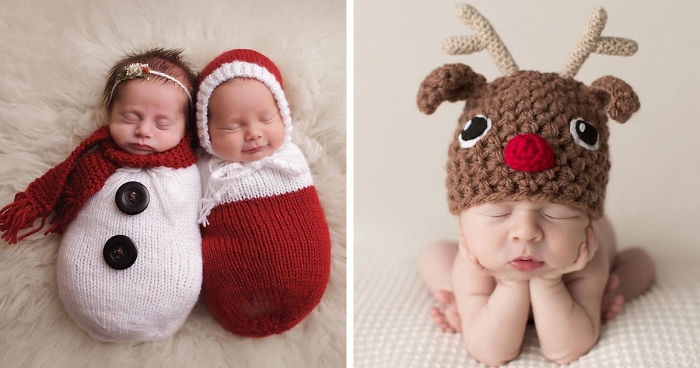
Posted onNovember 13, 2017November 19, 2022inChristmas, Featured, Ideas, Kids Corner 10+ Christmas Photoshoot Ideas For Your 1 Year Old Baby
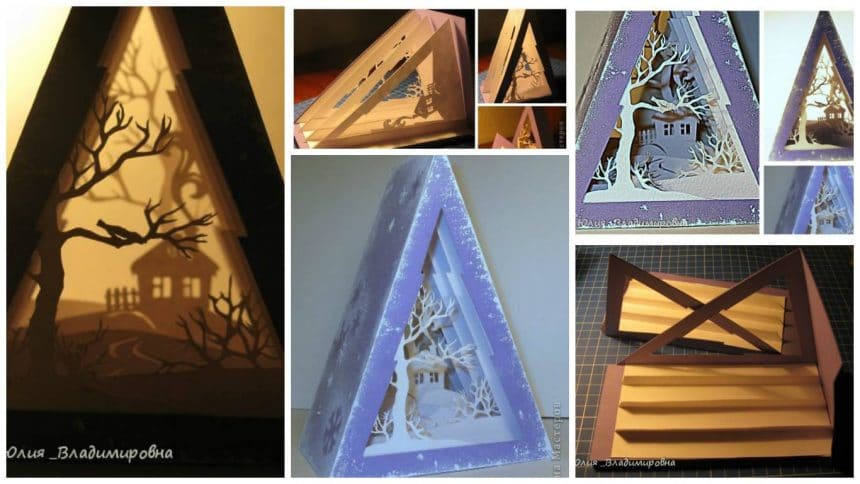
Posted onSeptember 14, 2017September 8, 2025inHome Decor, Paper Crafts, Step by step, Tutorial How to make herringbone tunnel – Step By Step
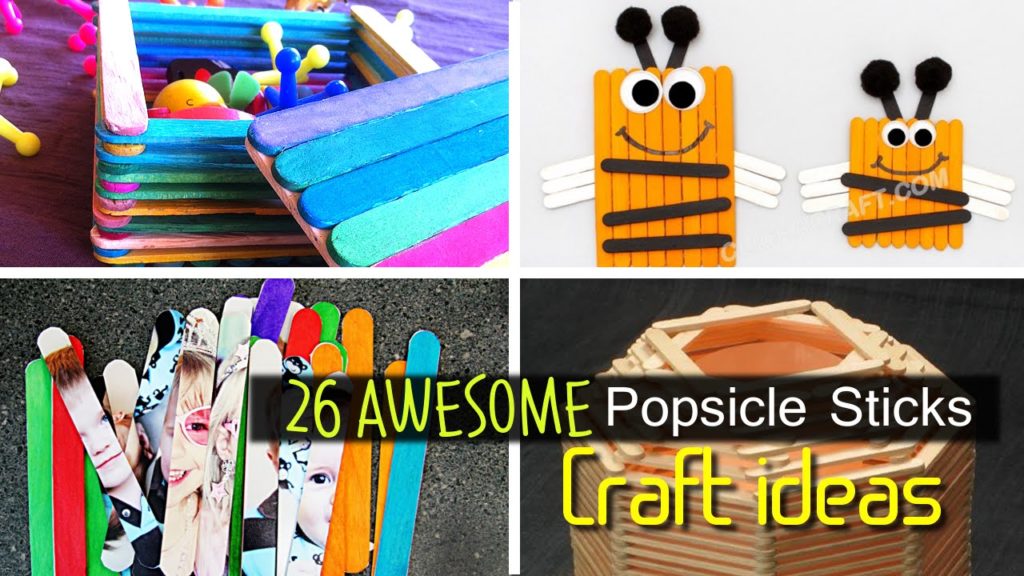
Posted onSeptember 14, 2017September 14, 2017inCraft, Ideas, Kids Corner, Kids Crafts, Popsicle Stick 26 Lovely and Fun Popsicle Stick Crafts for Kids!
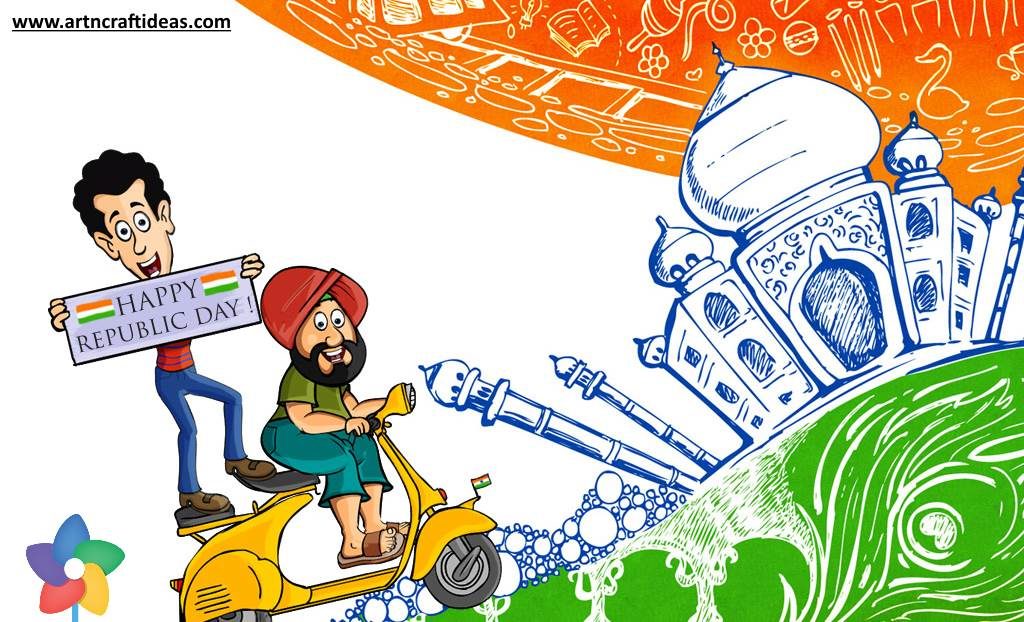
Posted onSeptember 14, 2017January 19, 2018inDecorations, Ideas, Republic Day 20+ Decoration Ideas for India Republic Day Celebration
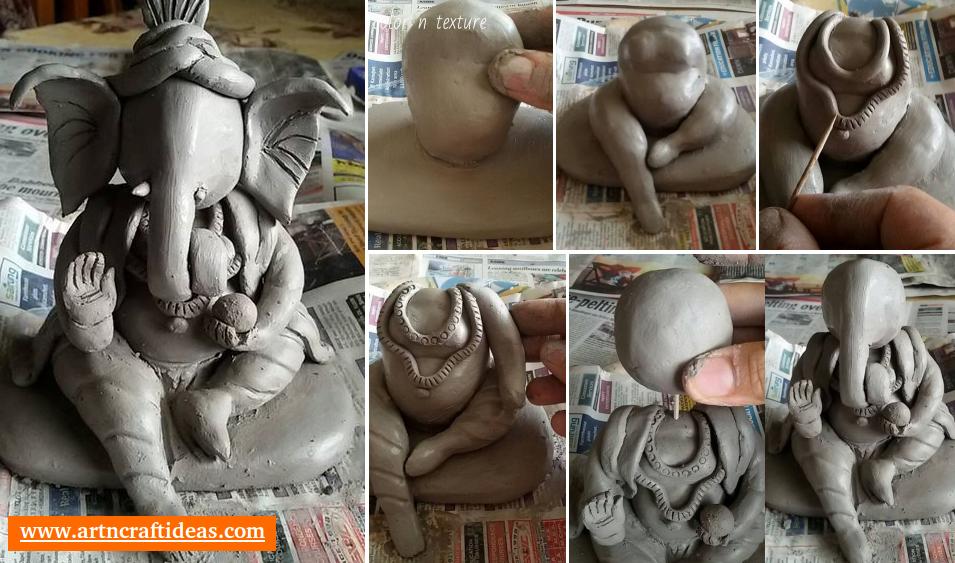
Posted onAugust 24, 2017August 21, 2025inCelebrations, Clay, DIY, Ganesh Chaturthi, Step by step, Tutorial How to make Eco-friendly Ganesh Idol at Home – Step by Step Image Tutorial
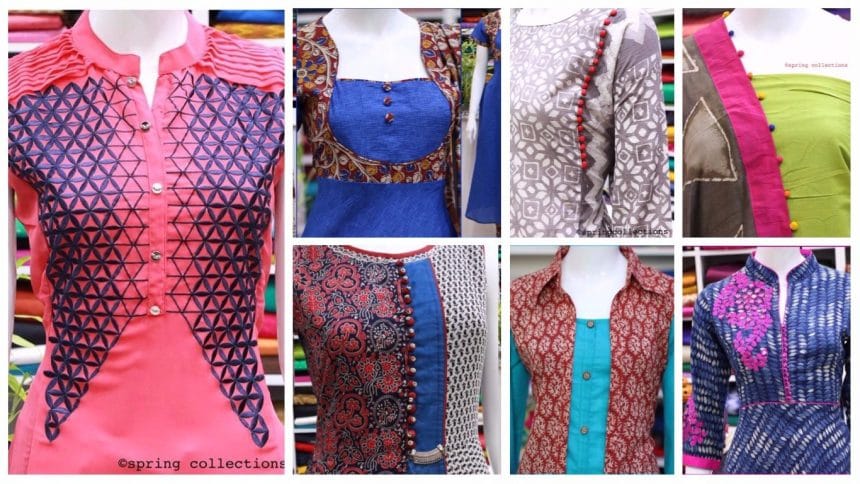
Posted onJuly 22, 2017August 16, 2023inClothing, Embroidery And Sewing, Patchwork Crafts Different Types of Kurtis Designs For Girls
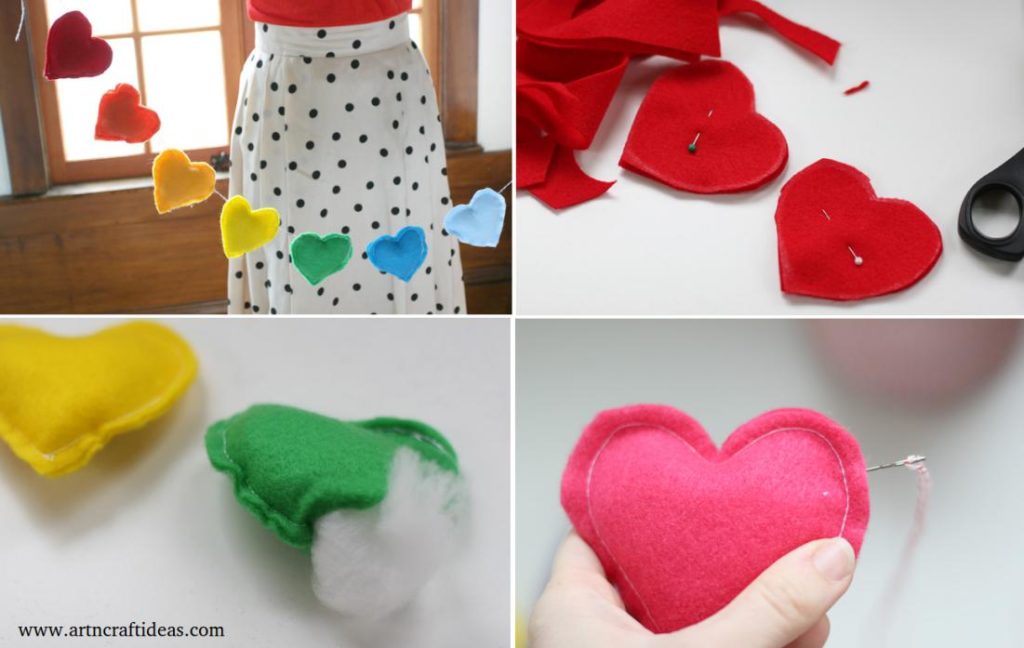
Posted onJuly 17, 2017inCelebrations, Decorations, DIY, Home Decor, Tutorial, Valentine’s Day DIY: Valentine’s Day Rainbow Banner
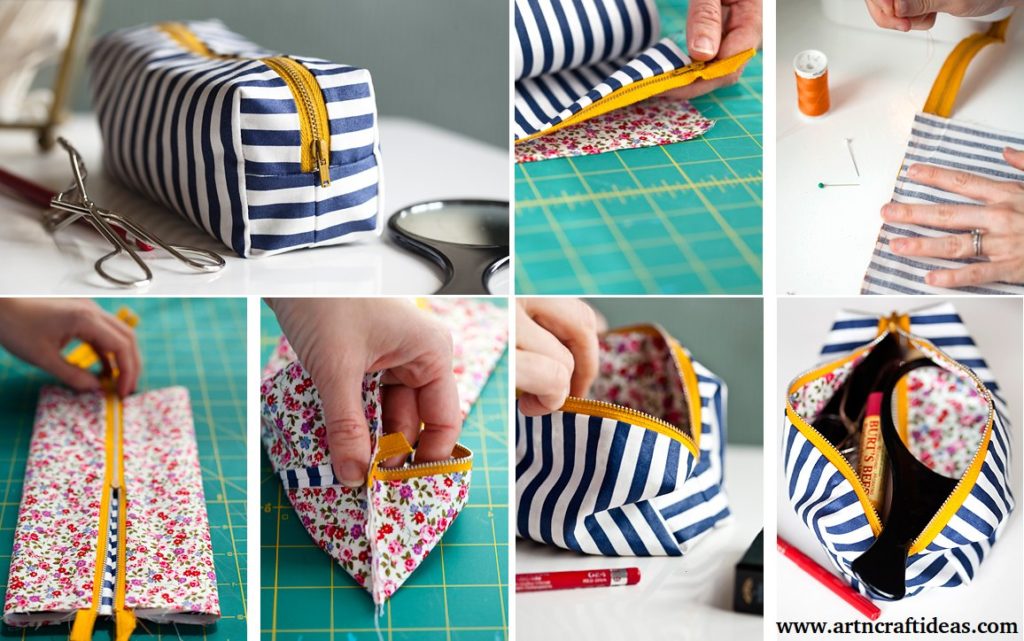
Posted onJuly 17, 2017inClothing, DIY, Fashion, Tutorial DIY Tutorial: Make Your Own Mini Boxy Makeup Bag