Posted onJuly 13, 2017November 19, 2022inClothing, Embroidery And Sewing Different types of kurtis neck designs
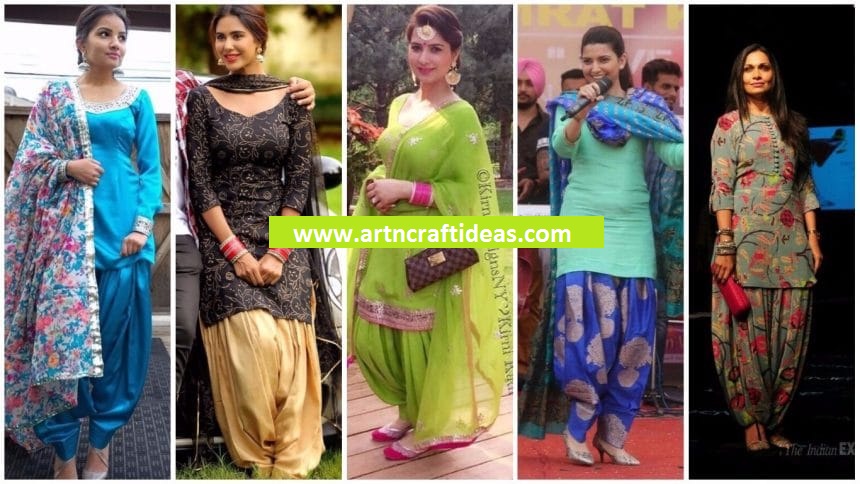
Posted onJuly 13, 2017inClothing, Embroidery And Sewing Different Types Of Best Designer Punjabi Salwar Suits For All Time Pretty Looks
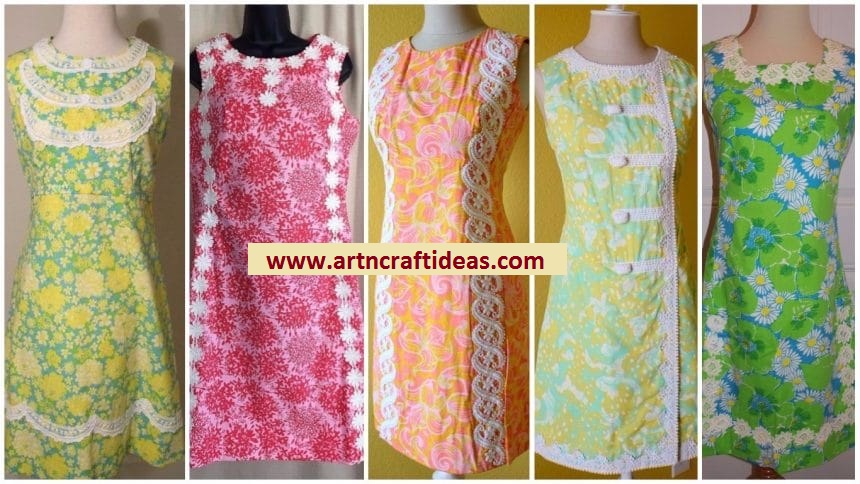
Posted onJuly 13, 2017inClothing, Embroidery And Sewing Different Types Of Kurtis Which Suits Your Body Shape
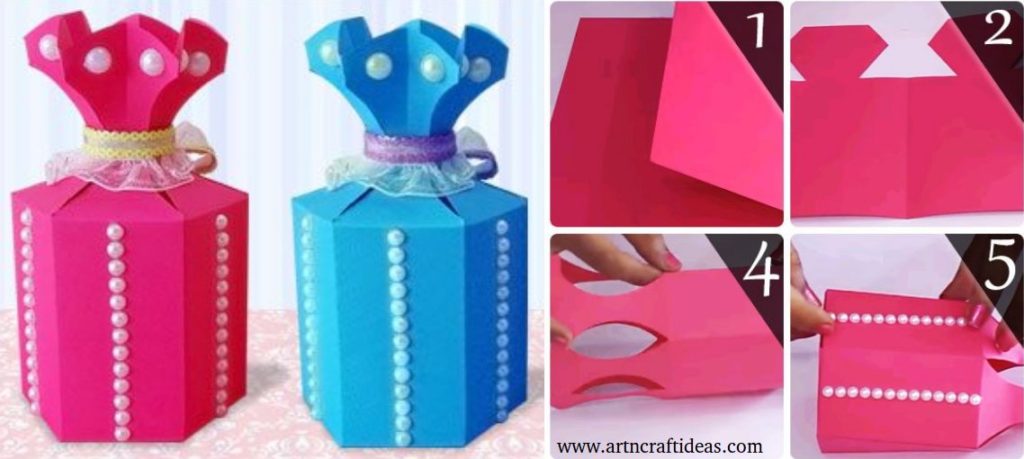
Posted onJuly 13, 2017July 13, 2017inDIY, Paper Crafts, Tutorial, Wedding DIY Paper Craft: Paper Gift Bags/Goody Bags
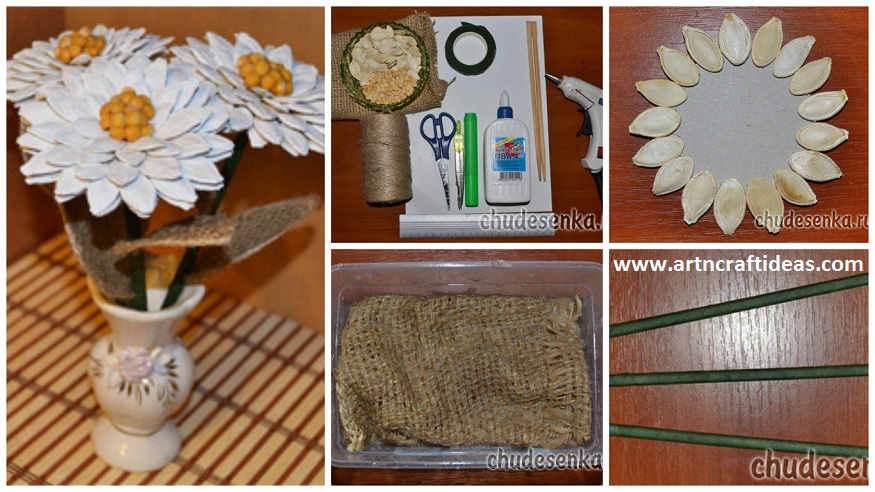
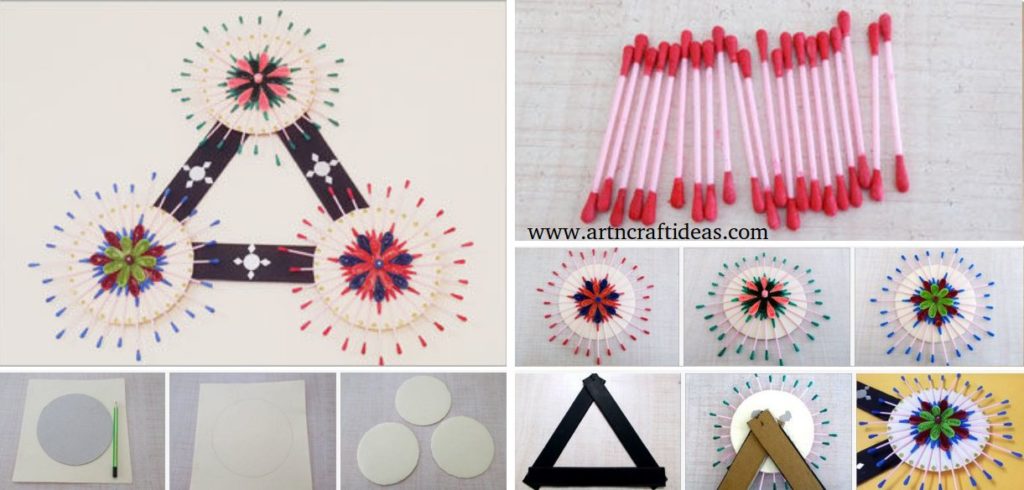
Posted onJuly 13, 2017July 13, 2017inDIY, Home Decor, Paper Crafts, Quilling, Tutorial How to Make Quilling & Earbud Wall Hanging
Posted onJuly 11, 2017inEmbroidery And Sewing, Tutorial, Video Mirror work embroidery designs for blouse and kurtis
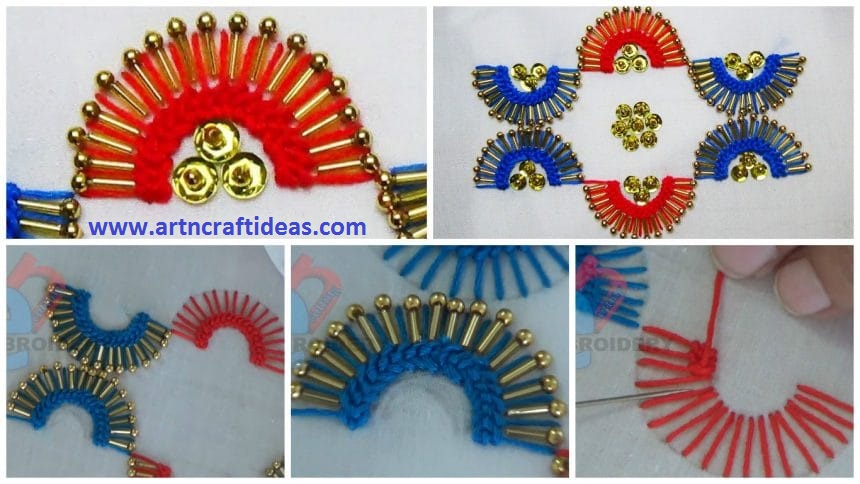
Posted onJuly 11, 2017inEmbroidery And Sewing, Tutorial, Video Hand Embroidery: Raised Chain Stitch (Bead Embroidery)
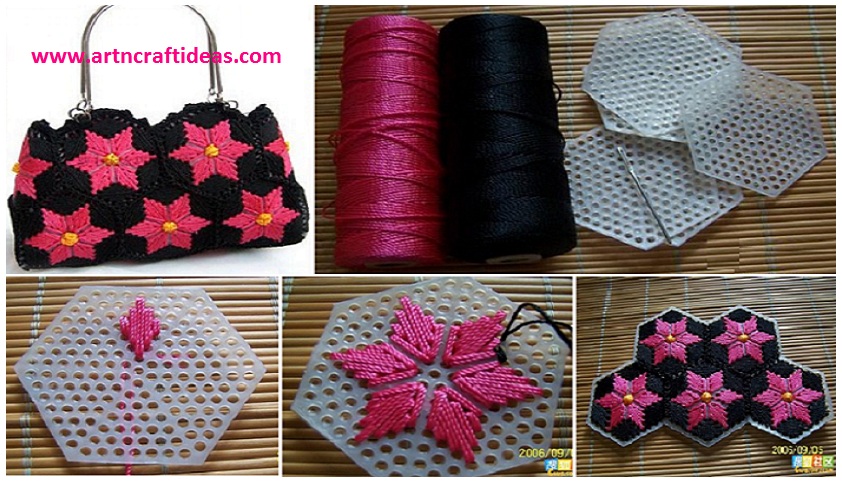
Posted onJuly 10, 2017July 10, 2017inDIY, Fashion, Tutorial How to Make Pretty Hand Bag from Stitch on Plastic Canvas