DIY Beautiful Beaded Curtain

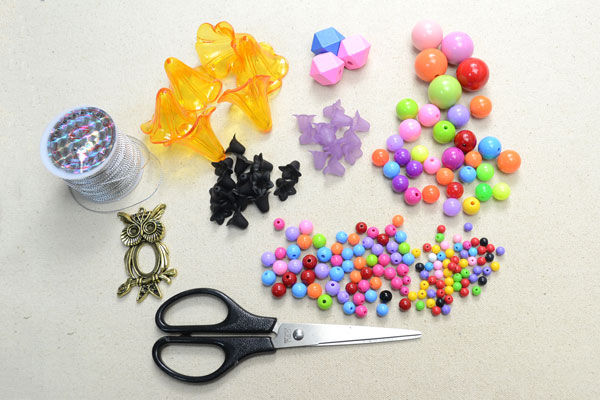
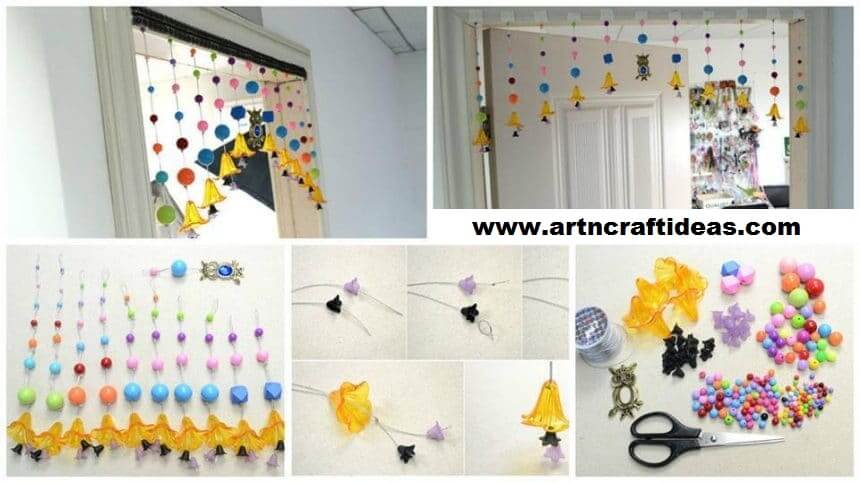
In this project, you’ll learn how to make a beaded curtain for home! This simple yet sparkling beads curtain design has just added splash of colors to your room and it’s really easy-to-do! Required Material:
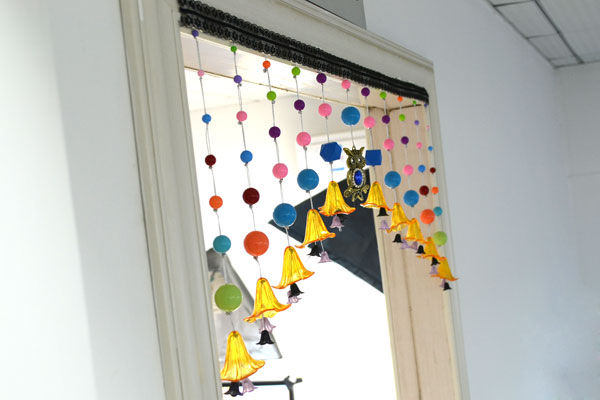
  • Transparent Acrylic Beads
  • Round Colorful Acrylic Beads
  • Gengon Wood Beads
  • Owl Pendant Cabochon Setting
  • Acrylic Rhinestone Bead (not shown)
  • Metallic Cord
  • Scissors
  • Lace Trim (optional)
  • Double Faced Adhesive Tape (optional)
  • Mark Pen (optional)

Make the Central Owl Pendant Bunch:

1st, cut a 34cm piece of cord;

2nd, attach the owl pendant to 1/3 location of cord by using a Lark’s Head Knot;

3rd, loop the cord by tying an Overhand Knot;

4th, tie another 3 Overhand Knots about 2cm away from the owl pendant. Then, string one largest (24cm) blue acrylic bead;

5th, tie the same Overhand Knots 2cm away the blue pendant and then string one smaller (20cm) bead;

6th, glue the selected rhinestone bead into the owl pendant cabochon setting. Now, you’ve finished the central bunch.
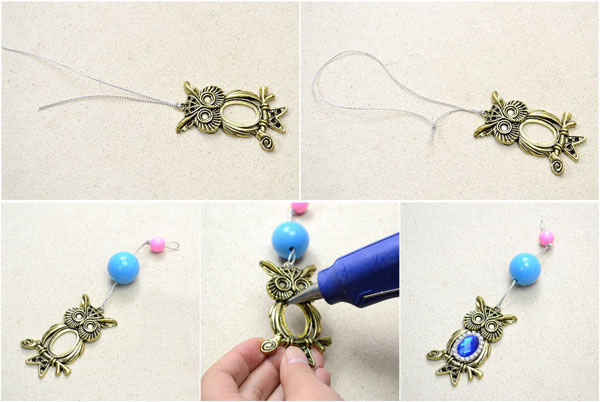
Make the Rest Beads Bunches in Varying Lengths:

1st, cut a 68cm piece of cord;

2nd, string one purple and one black on two ends of cord. Secure by tying two Overhand Knots;

3rd, tie 3 Overhand Knots to secure the large-sized flower bead upon the two small-sized ones;
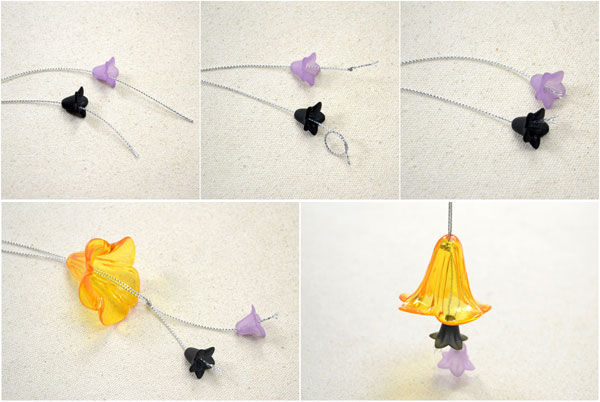
4th, in the following work, you’ll just need to repeat tying Overhand Knots to stop right beads in proper place. In my beads curtain design, I made five couples of beaded bunches extra and the lengths of needed cords are: 68cm, 76cm, 84cm, 92cm and 100cm.
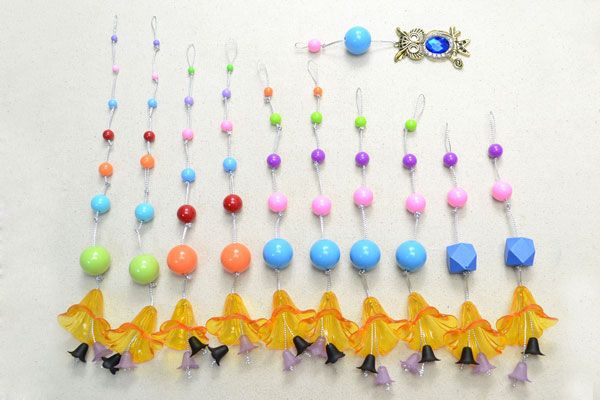
Hang Them on the Door:

1st, find the center of door and then stick the owl pendant bunch;
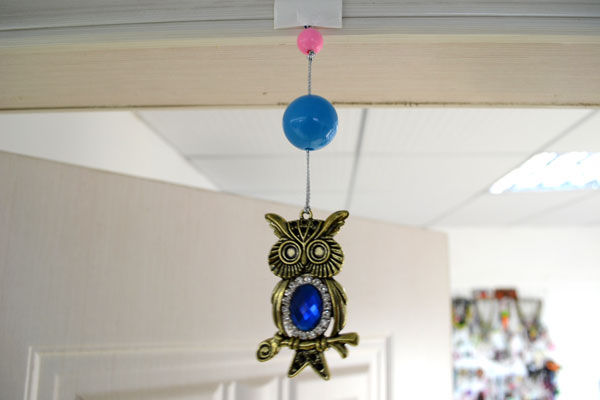
2nd, divide both sides into 5 equal parts and then attach the rest bunches by using double faceted adhesive tape; 3rd, cover the other face of tape with a lace trim.
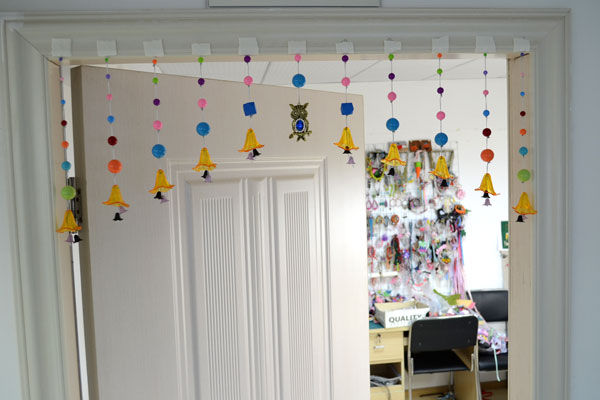
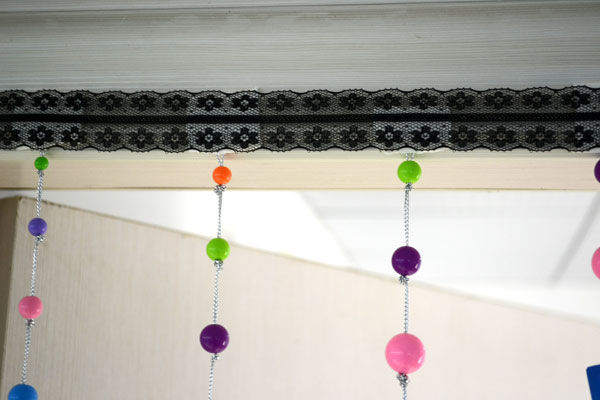
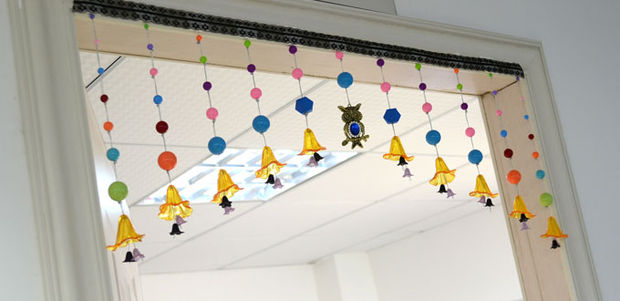
courtesy: instructables

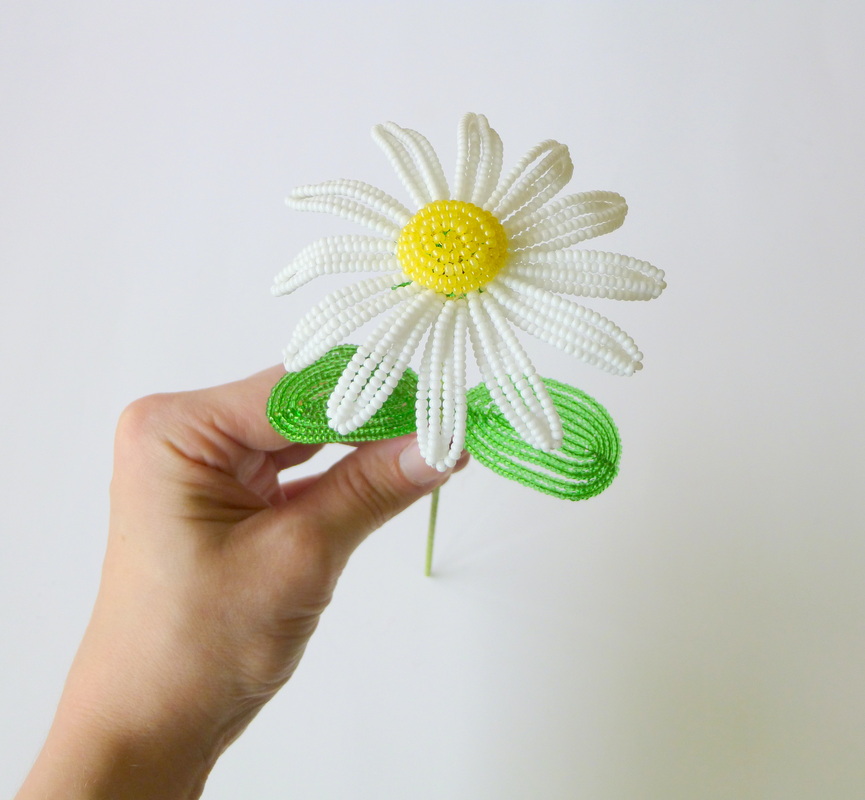
How to Make Daisies Bead

Weave Color Beaded One of the most popular destinations in the beading. These flowers will never wither, and the flower bouquets and arrangements will serve as an excellent decoration of the interior needlewoman! In this master class on beading, you will learn how to make daisy beads.

Required Material:
wire
white beads № 11 (10 g), yellow (2 g) and green (7 g)
coli stalk (wire)
nippers
teip Feed
Weave a daisy can using the steel wire of color, but the result will be better if you have the color bead wire.
Petals:
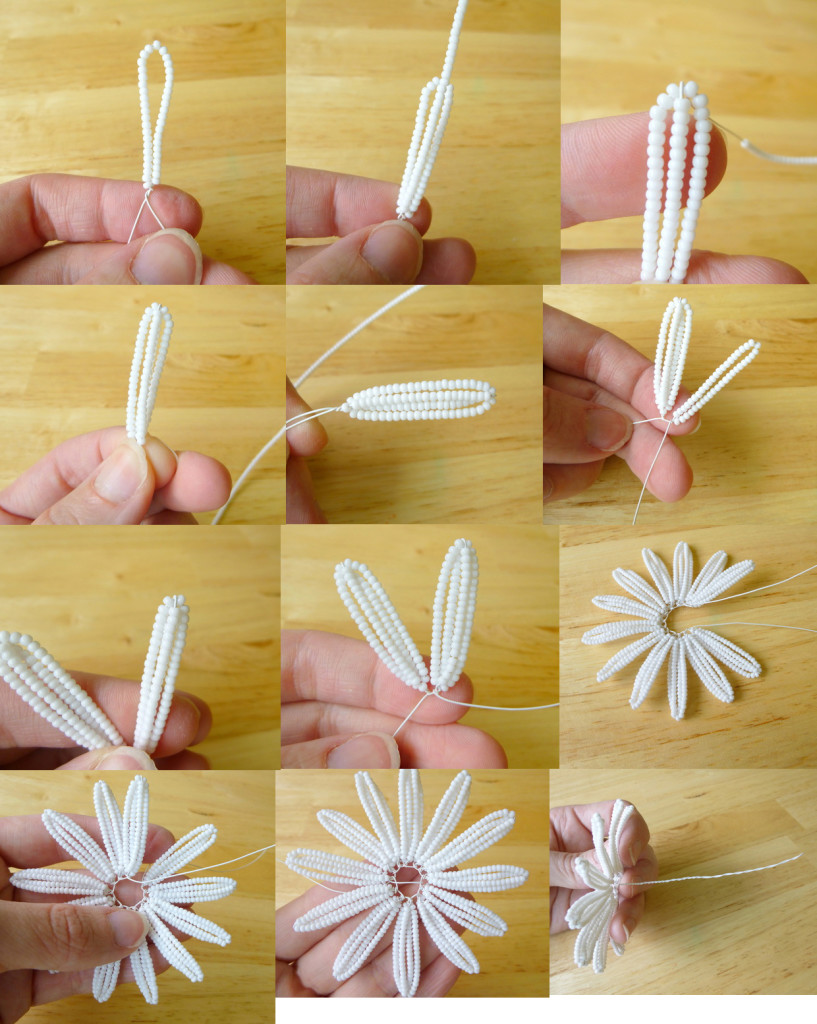
It starts weaving with petals. In total, there are 12 flowers, each petal is composed of 4 rows.
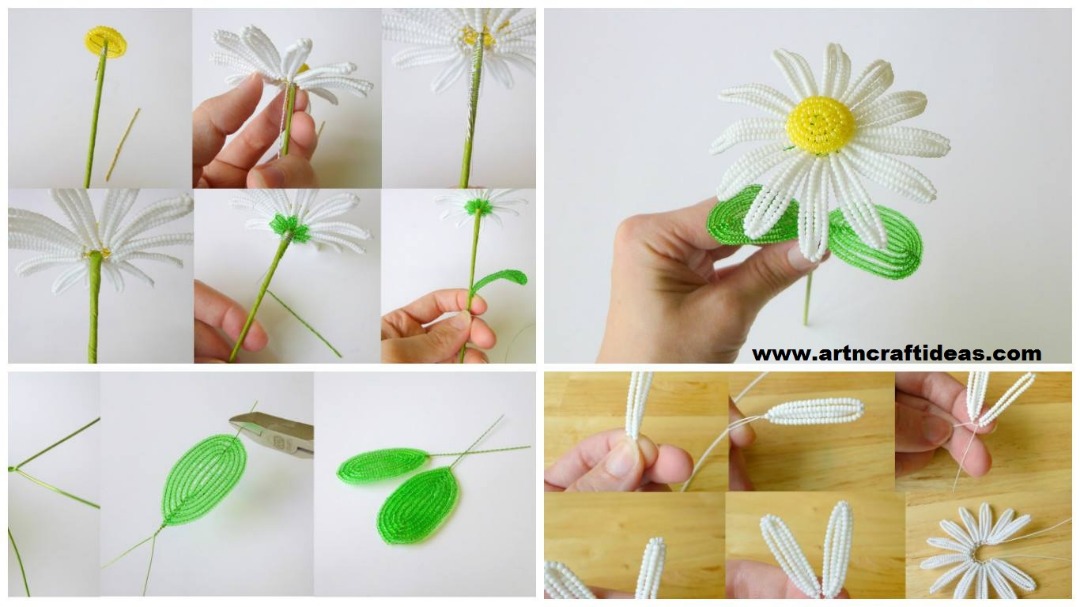
Dial white beads on the wire. Move to the edge of about 6.35 cm (2.5 inches). Bend the wire, making a loop of beads, and tighten the loop. At the end of the wire to leave a free tip of 7-8 cm. Slide the coil even beads, a column height of how to make a loop in the previous step. Bend the wire over the first loop, wrapping it, and slide the coil even beads to make the fourth row of petals. Make a couple of turns of the wire at the base, securing tab. Use your fingers to align the rows of beads, giving petal neat appearance. Then again pulls the beads on the first two rows of the second lobe. Braid all the petals as well as the first.
When all the petals weaved, cut off the wire from the coil, leaving 8.9 cm. This end thread between first and second lobe wrap, spinning and collecting loop pitch circle. Then, the tip of the wire to pull the other end of the flower wrap and the loop between the petals. You will get two tips of the wire opposite to each other. I will bring them to the center and twist together. Put the flower on the side.

Sepals:
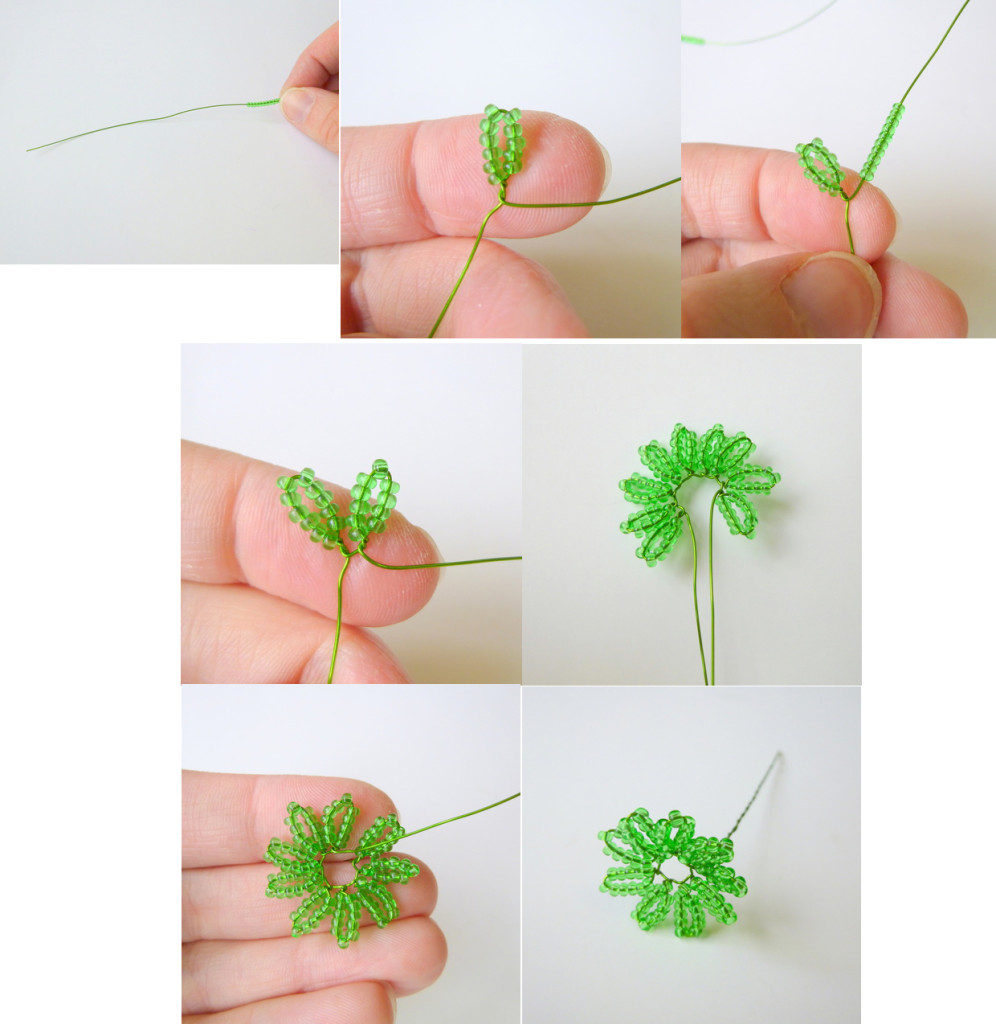
Nanizhite green beads on the wire. Tighten the beads 11 by the end of the wire, leaving a tail of 7-8 cm. Fold in the loop and make a couple of turns fixing. Tighten another 11 beads and again make a loop. Likewise do sepals further (9 leaves). Cut the wire, leaving 9-10 cm. Attach in the ring, passing the wire between first and second sepals. Twist the ends of the wire together. Put preform.

Leaves:
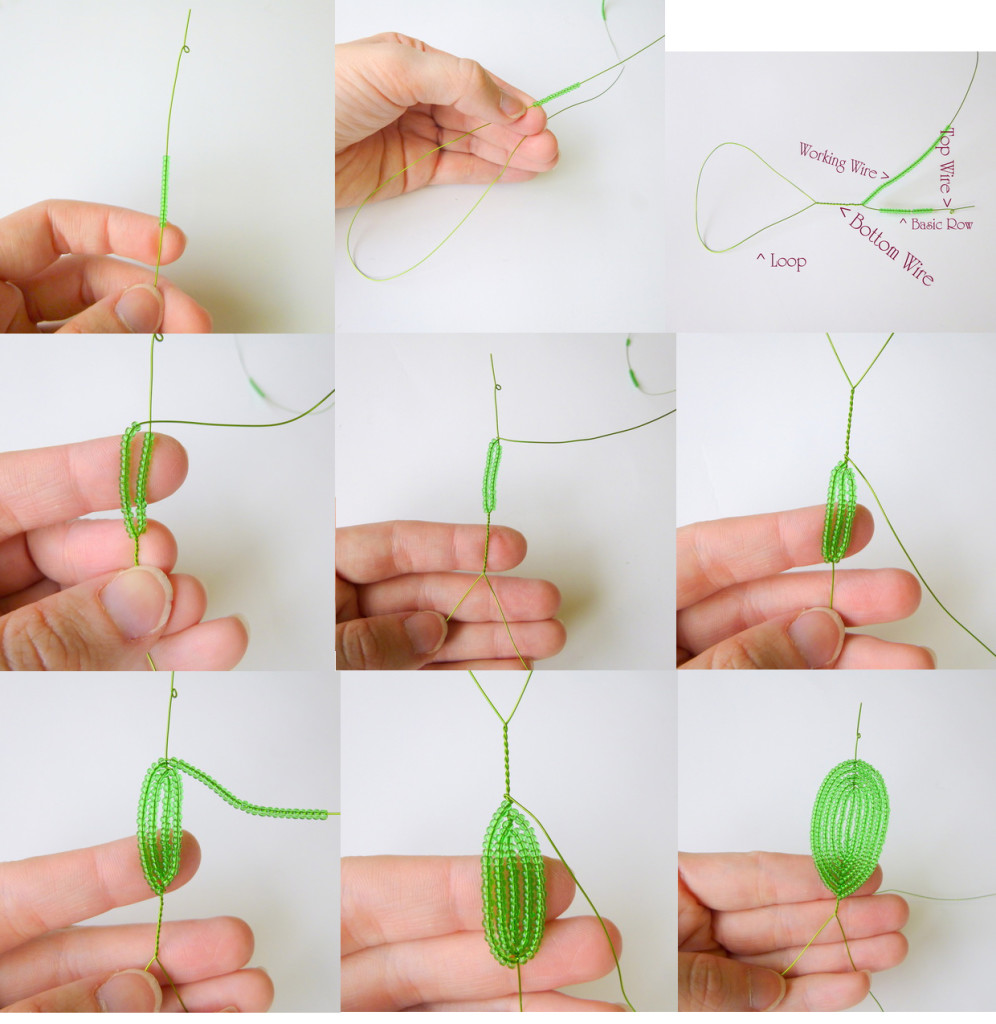
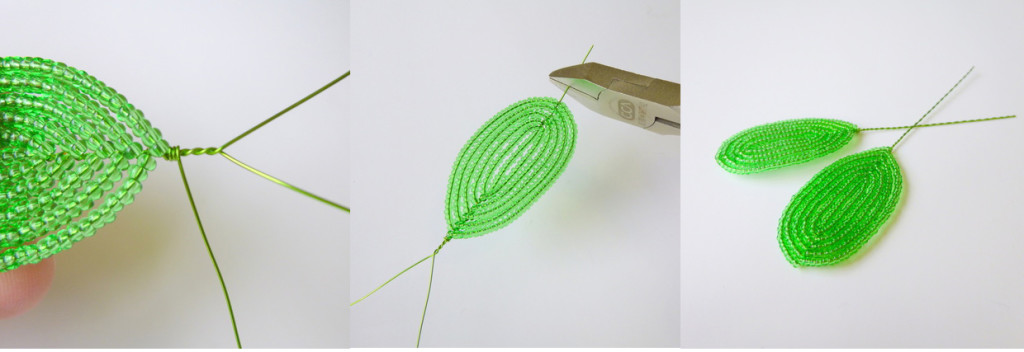
Nanizhite beads onto the wire. At the end make a small loop, it will prevent the beads from sliding. Tighten the beads 16 to the loop before reaching her 5-7 cm. Below beads move up a twist wire loop. Slide the beads in an amount necessary to make a number of slightly more than the height of the first row of the 16 beads. Wrap the wire loop over the top of the first row. Slide the beads as much as in the second row, and again make a loop, already at the bottom of the first row. This petal edge should be sharp, so when you make the turns in the province, put the wire at an angle of 45 degrees.
Continue braiding leaf, pulling beads and making turns of wire around a central axis. The leaf consists of 11 rows – one central and five rows on each side.
Work wrap tip at the base 2-3 and the coil cut by cutting pliers. Wire on top of a leaf cut, leaving a tail of 5-6 mm, and bend the tail down. Loop at the bottom of the leaf, twist in the strip.

Take the second leaf.
Core:
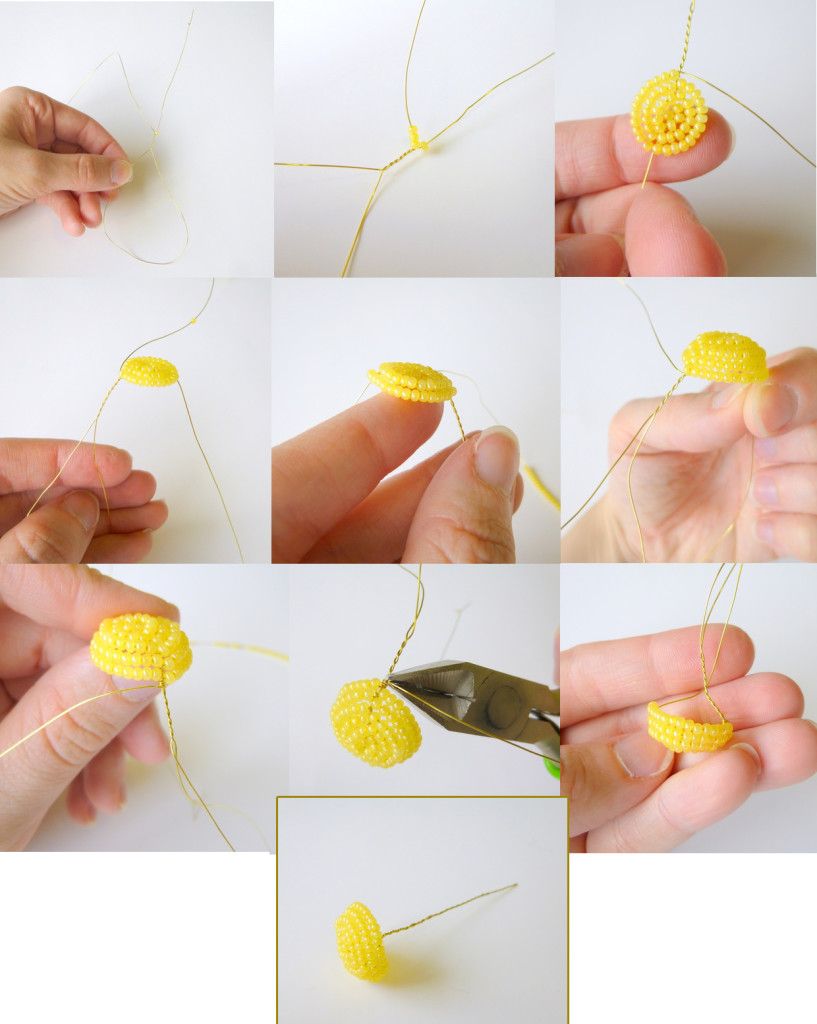
Nanizhite beads onto the wire. Start weaving like a leaf – a loop on the end of the wire, pull 1 bead and beneath it make a big loop. Make a number 2 is similar to the second row of leaves, use 3 beads for him. Take the 7-series, forming a circle.
Now you need to give volume. Bend the ends of the wire (the end with a loop and a big loop) downwards. And the Scourge has 4 rows.
The working end of secure 2-3 turns and cut. Finished with a loop and large-loop twist with each other.

Getting to the assembly:
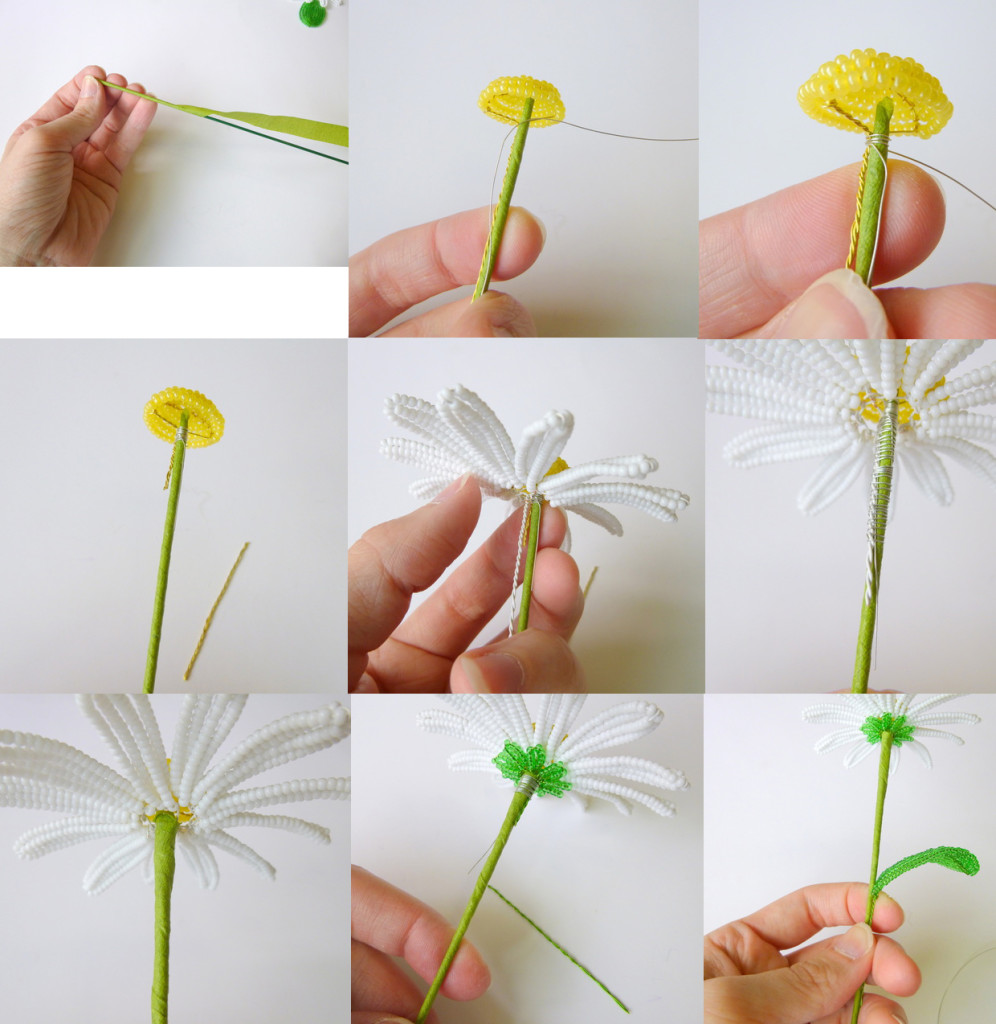
Wrap the wire or rod, adapted to the stem, tape.
Take heart and attach to the stem, slice its thin wire. Trim the excess wire from the core.
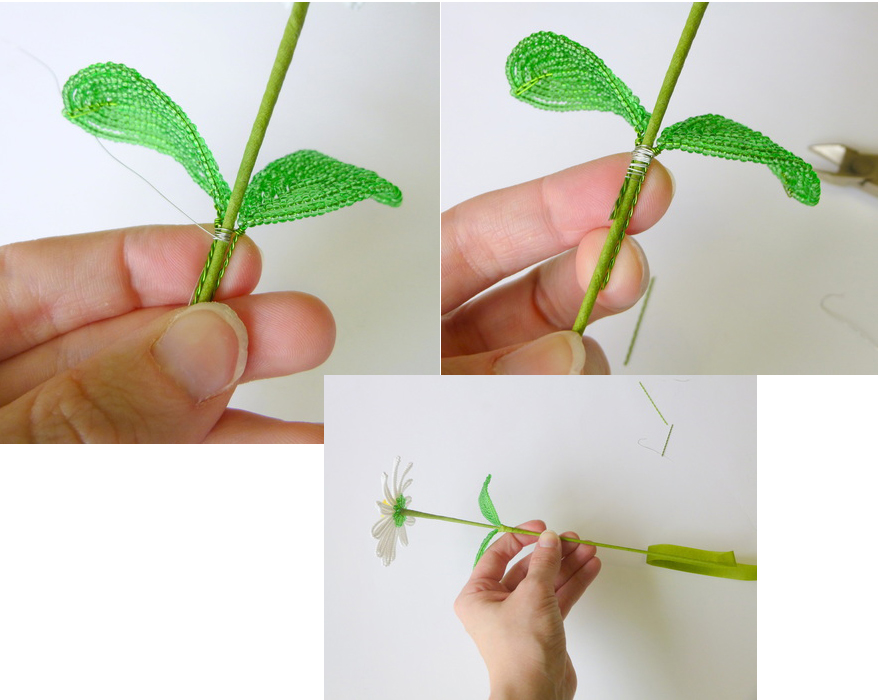
Put the petals and are also strapped to the stem. Wrap teip-tape. Put sepals, and secure, and once again wrap teip-tape. Continue winding teip-tape to the point where the plan to strengthen the leaves.
wire leaves. Wrap-teip ribbon stalk residue. Curl it slightly toward the leaves, giving them a nice shape.

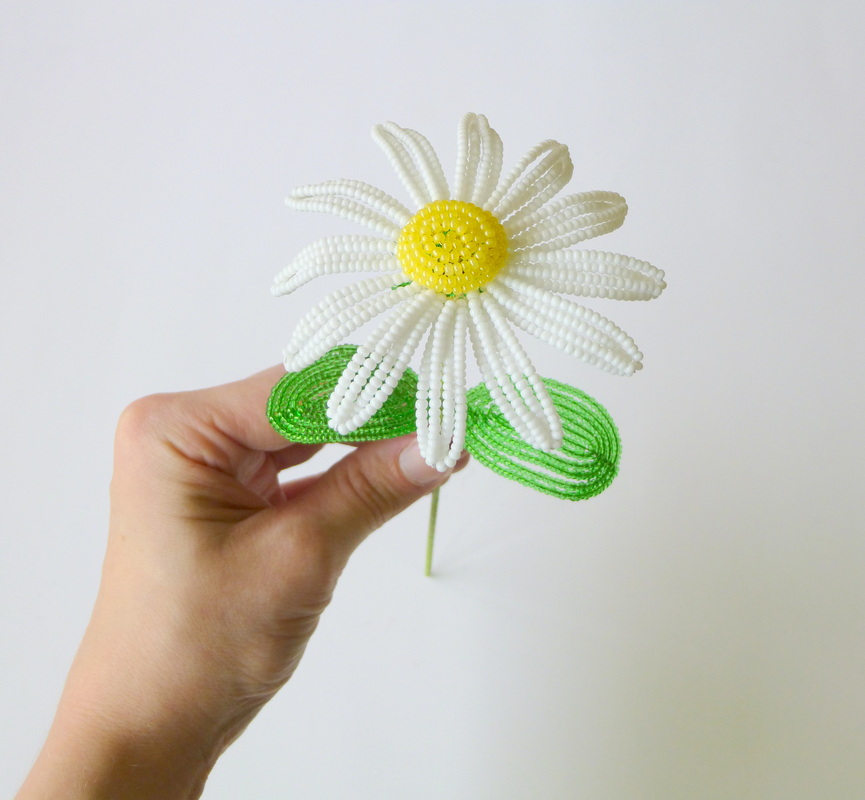
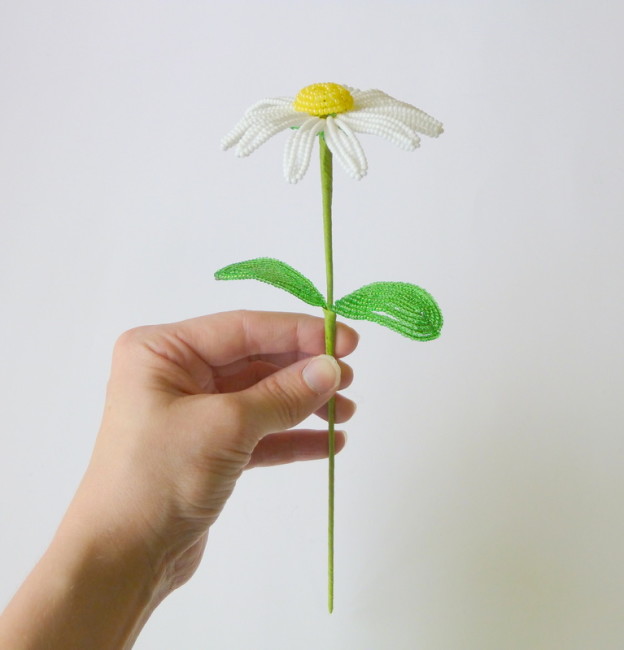
Chamomile is ready! It remains to weave a few flowers to make a bouquet.
courtesy: Lauren’s Creations

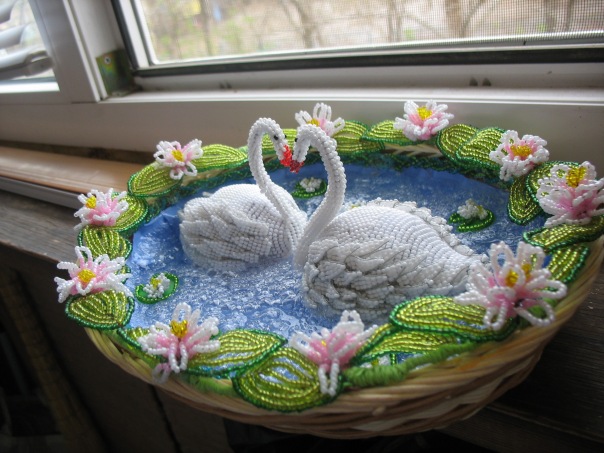
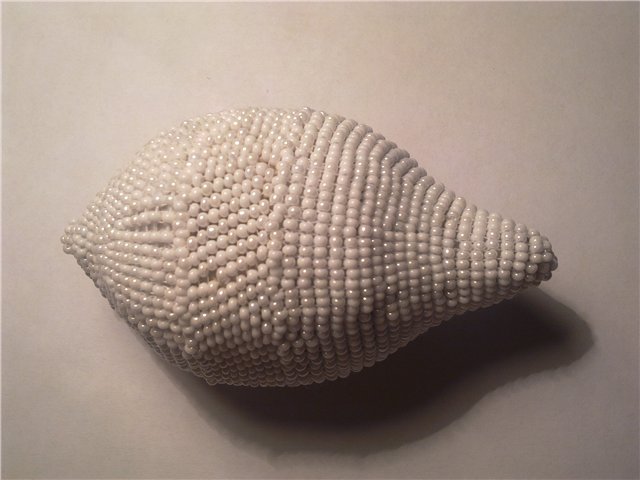
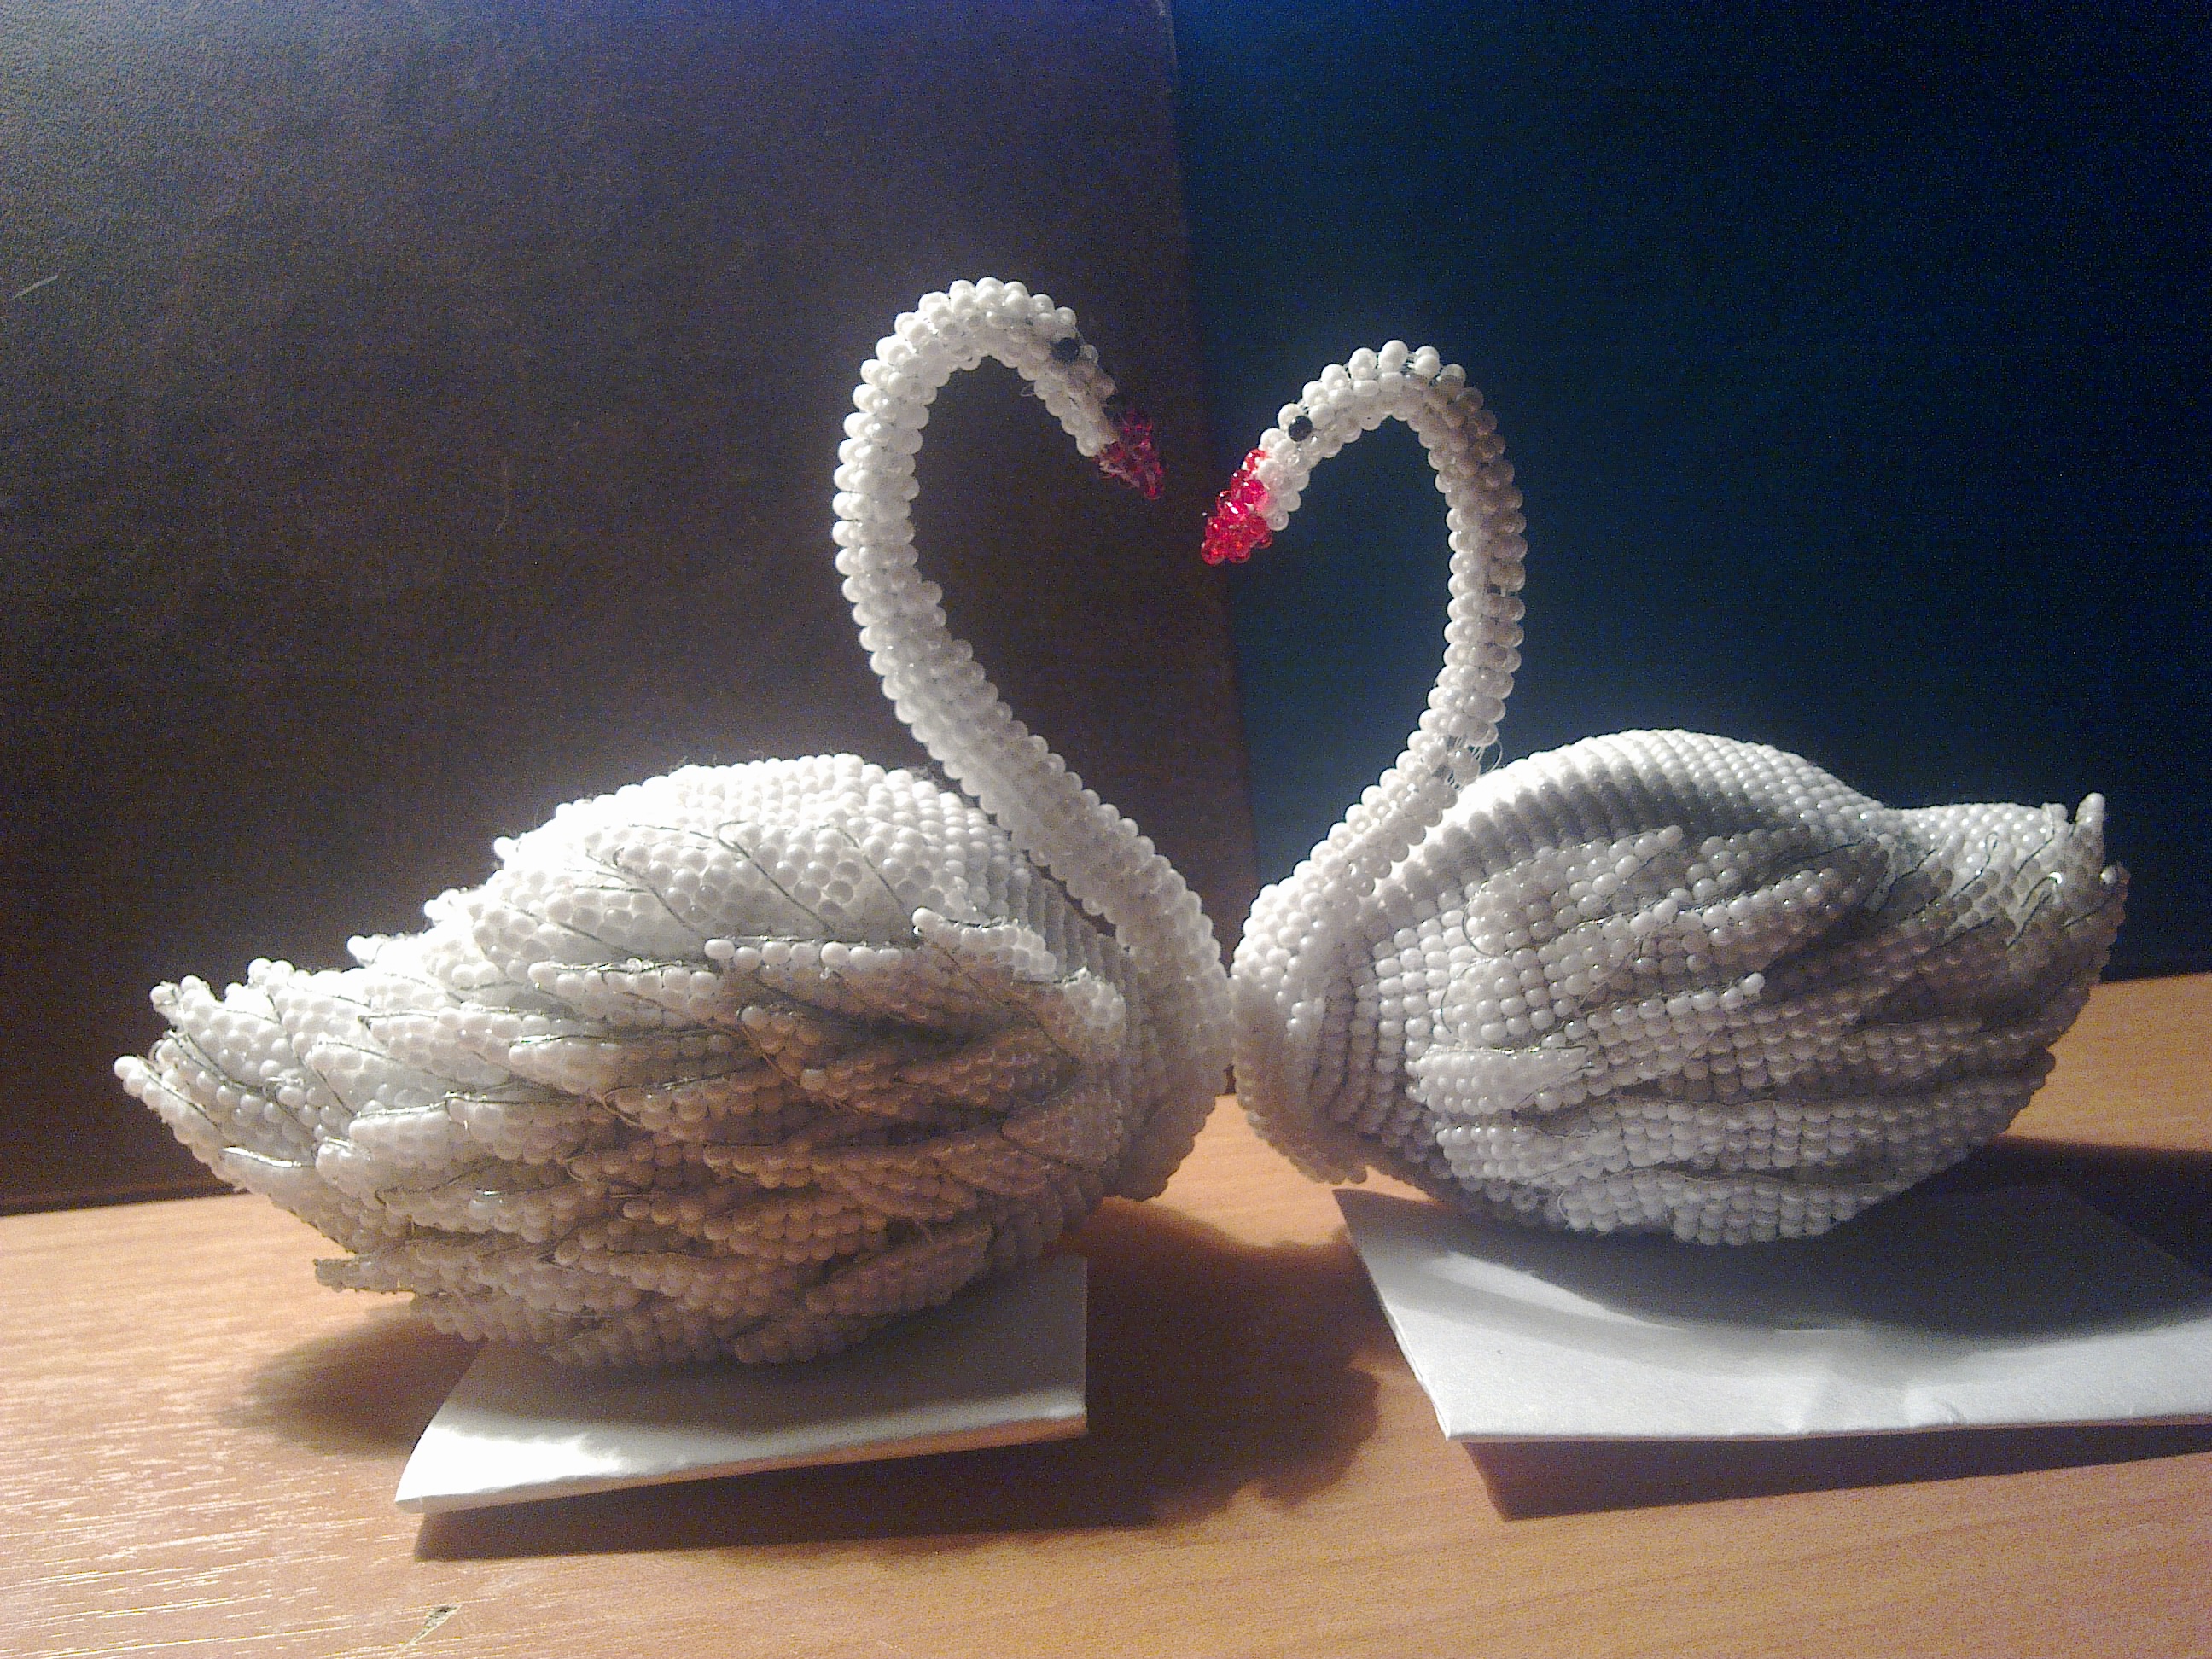
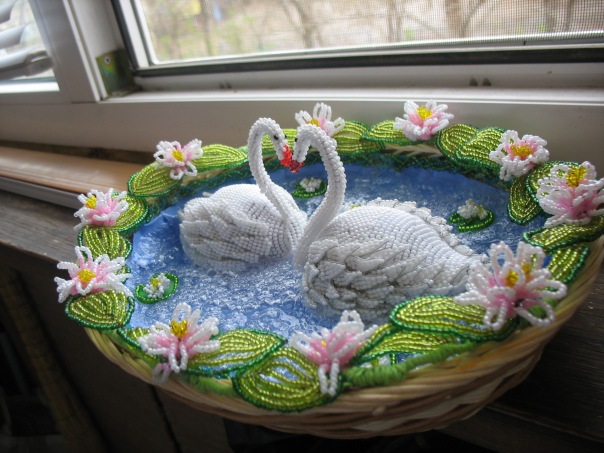
DIY Beaded Swan Tutorial

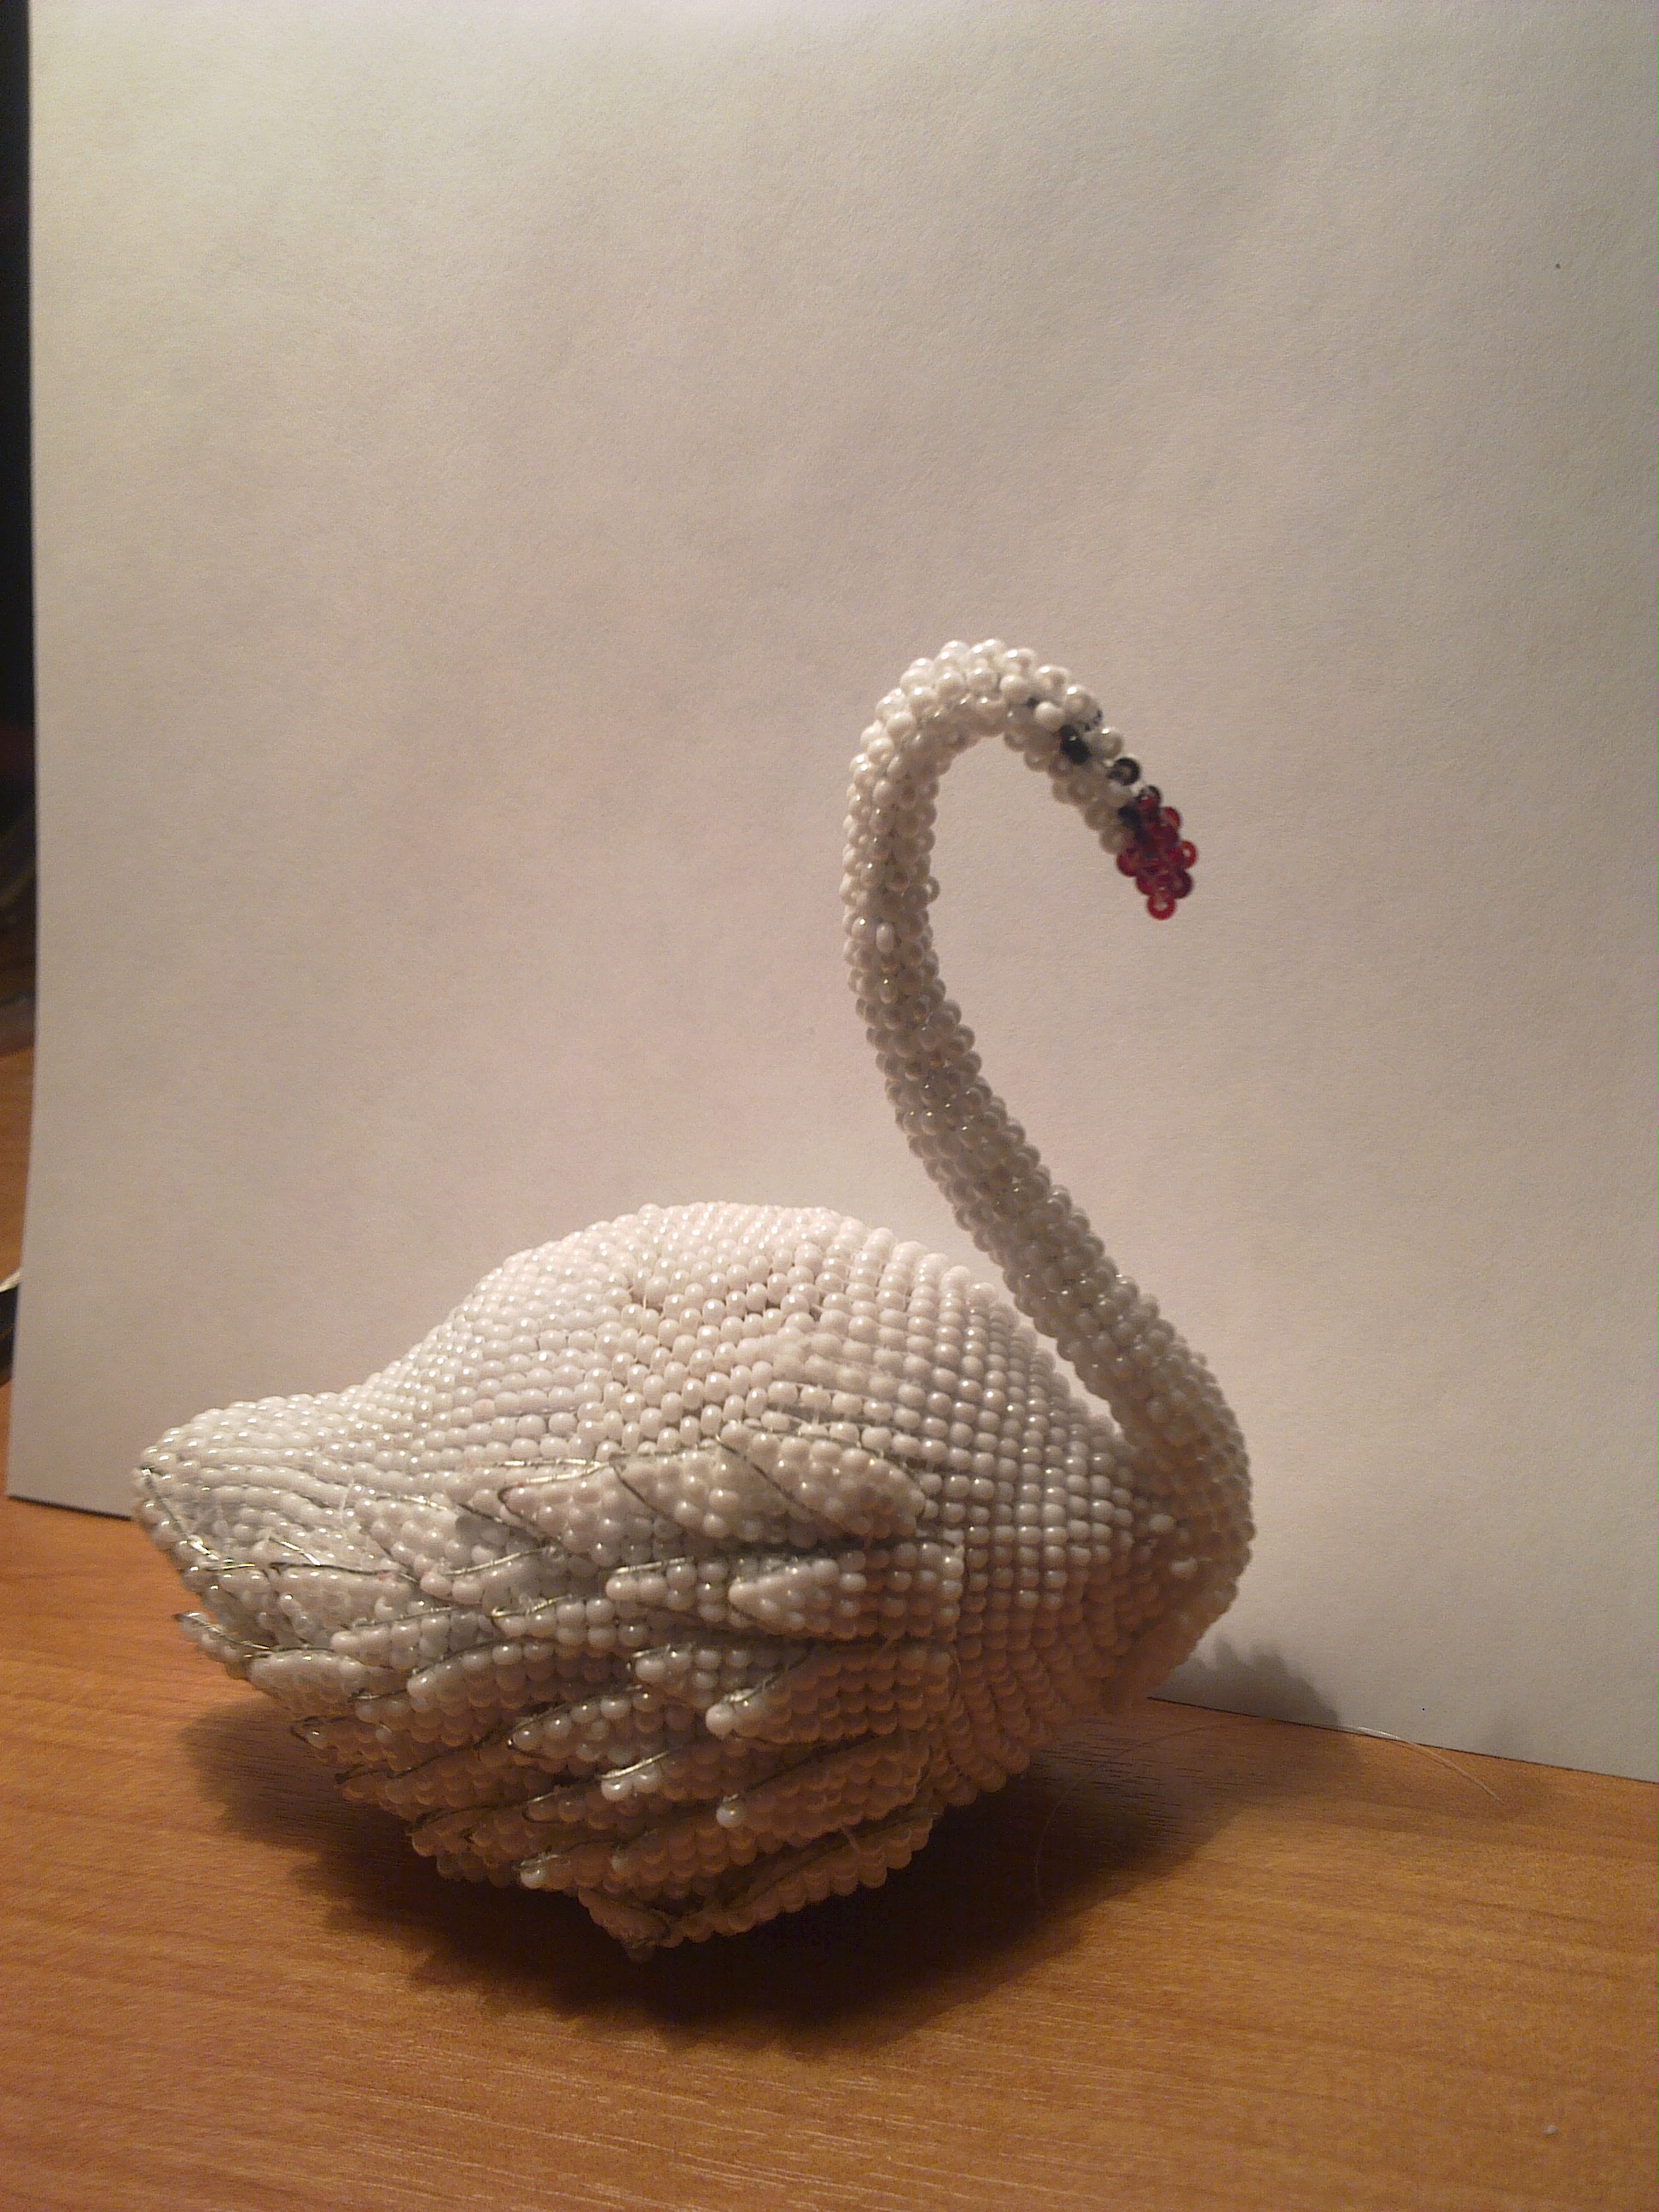
Hello! friends, today I am going to make Swan from beads. Very simple but more beautiful.

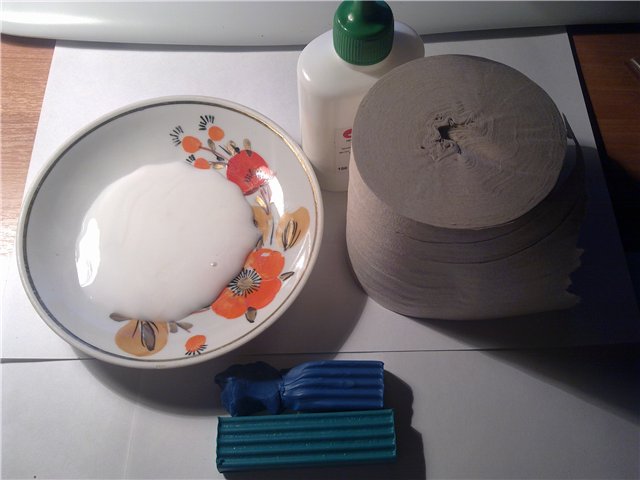
Required Material:
packing plasticine
paper (I took the toilet, as these are more convenient glued and dry.)
PVA glue
beads (white, can be matte, shimmer can be black and red.)
Wire (copper thickness 2-3mm.)
Adhesive ( Super glue)

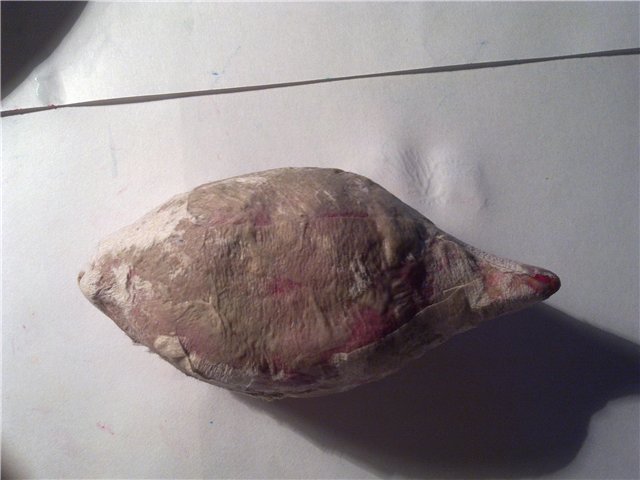
We form the shape of a swan out of plasticine torso. Then, paste the paper and leave to dry (day or two).

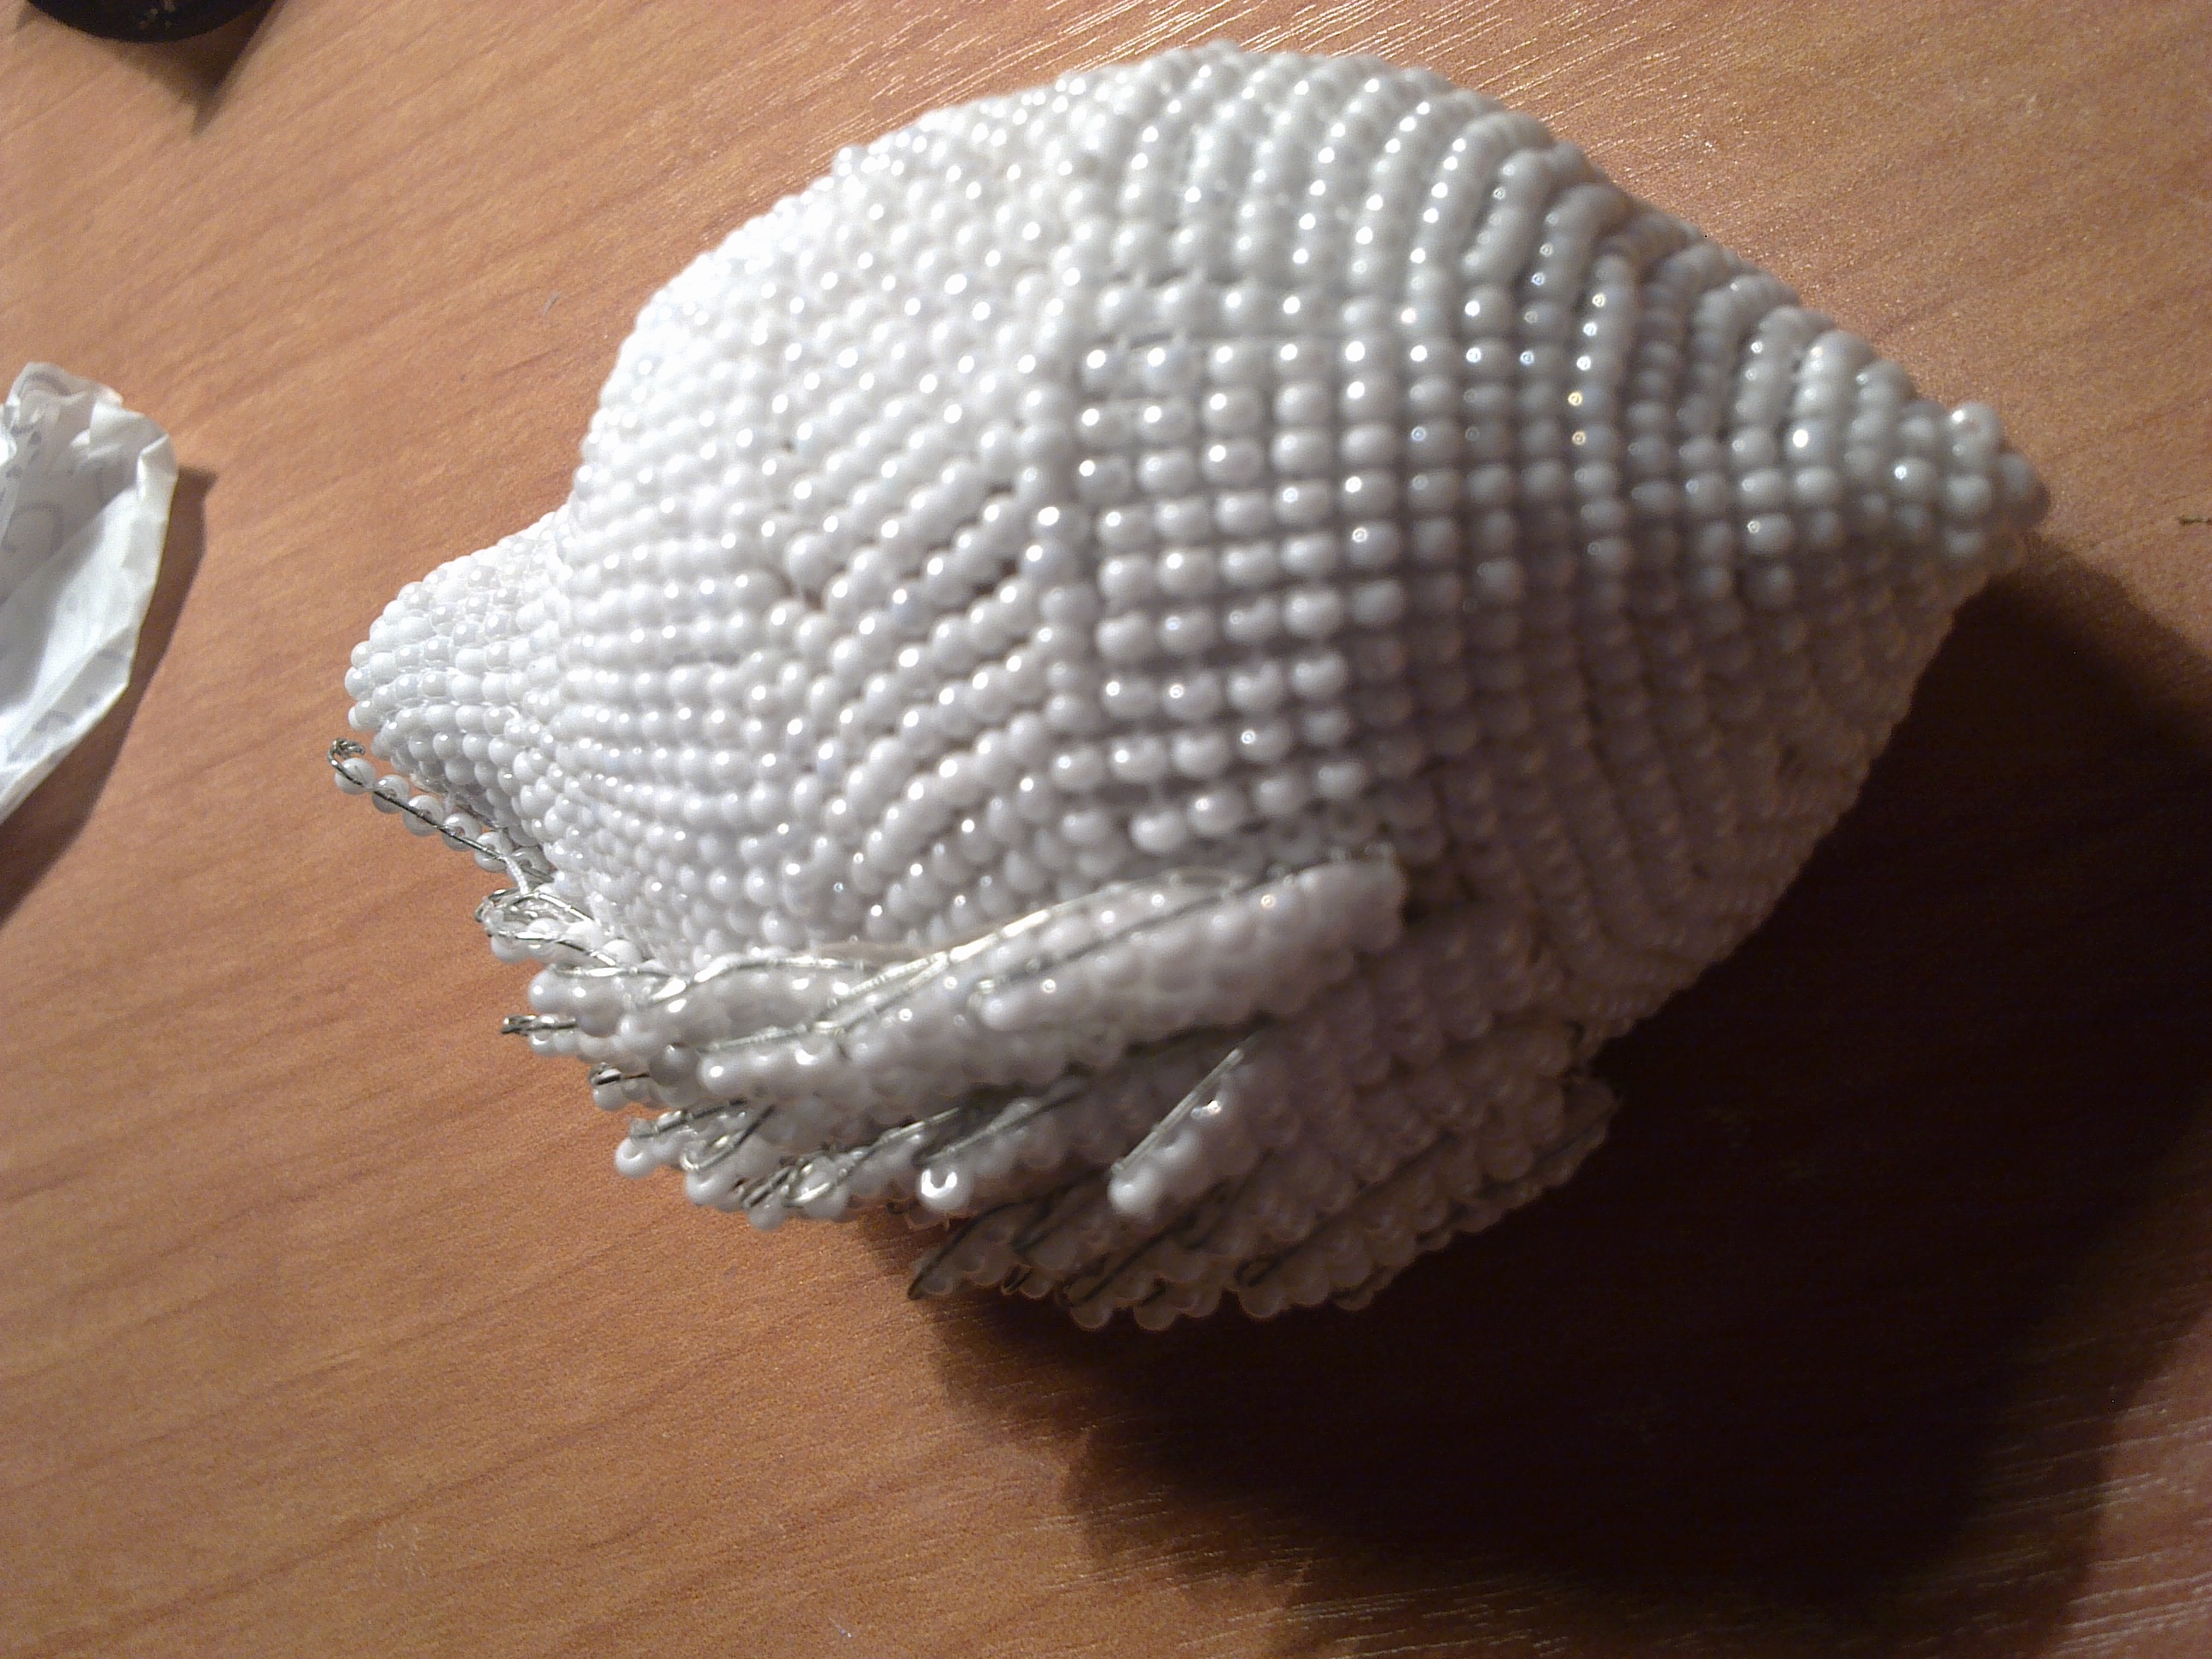
Then sheathes shape like an egg, first do the belt, then to both sides of the edges of the weaving. I have to say that both swans steering me in different ways, t.k.na first I just practiced and some did not consider in which direction lie beads. I have to say that the part where the head is better to leave some space at the end, and do not bind, t.k.zatem beads is inserted under the neck.
there you are

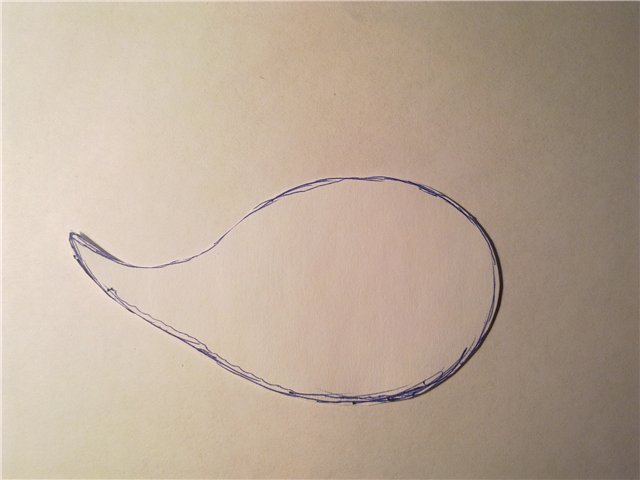
Then we start manufacturing swan. Draw a sketch, cut better cardboard and do form.

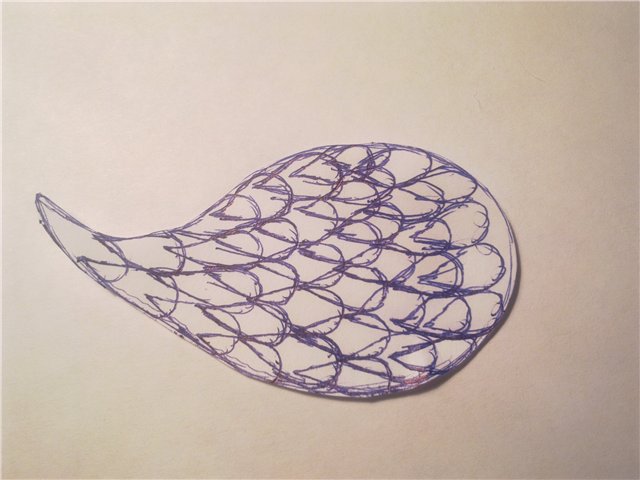
Then we put pen drawing.

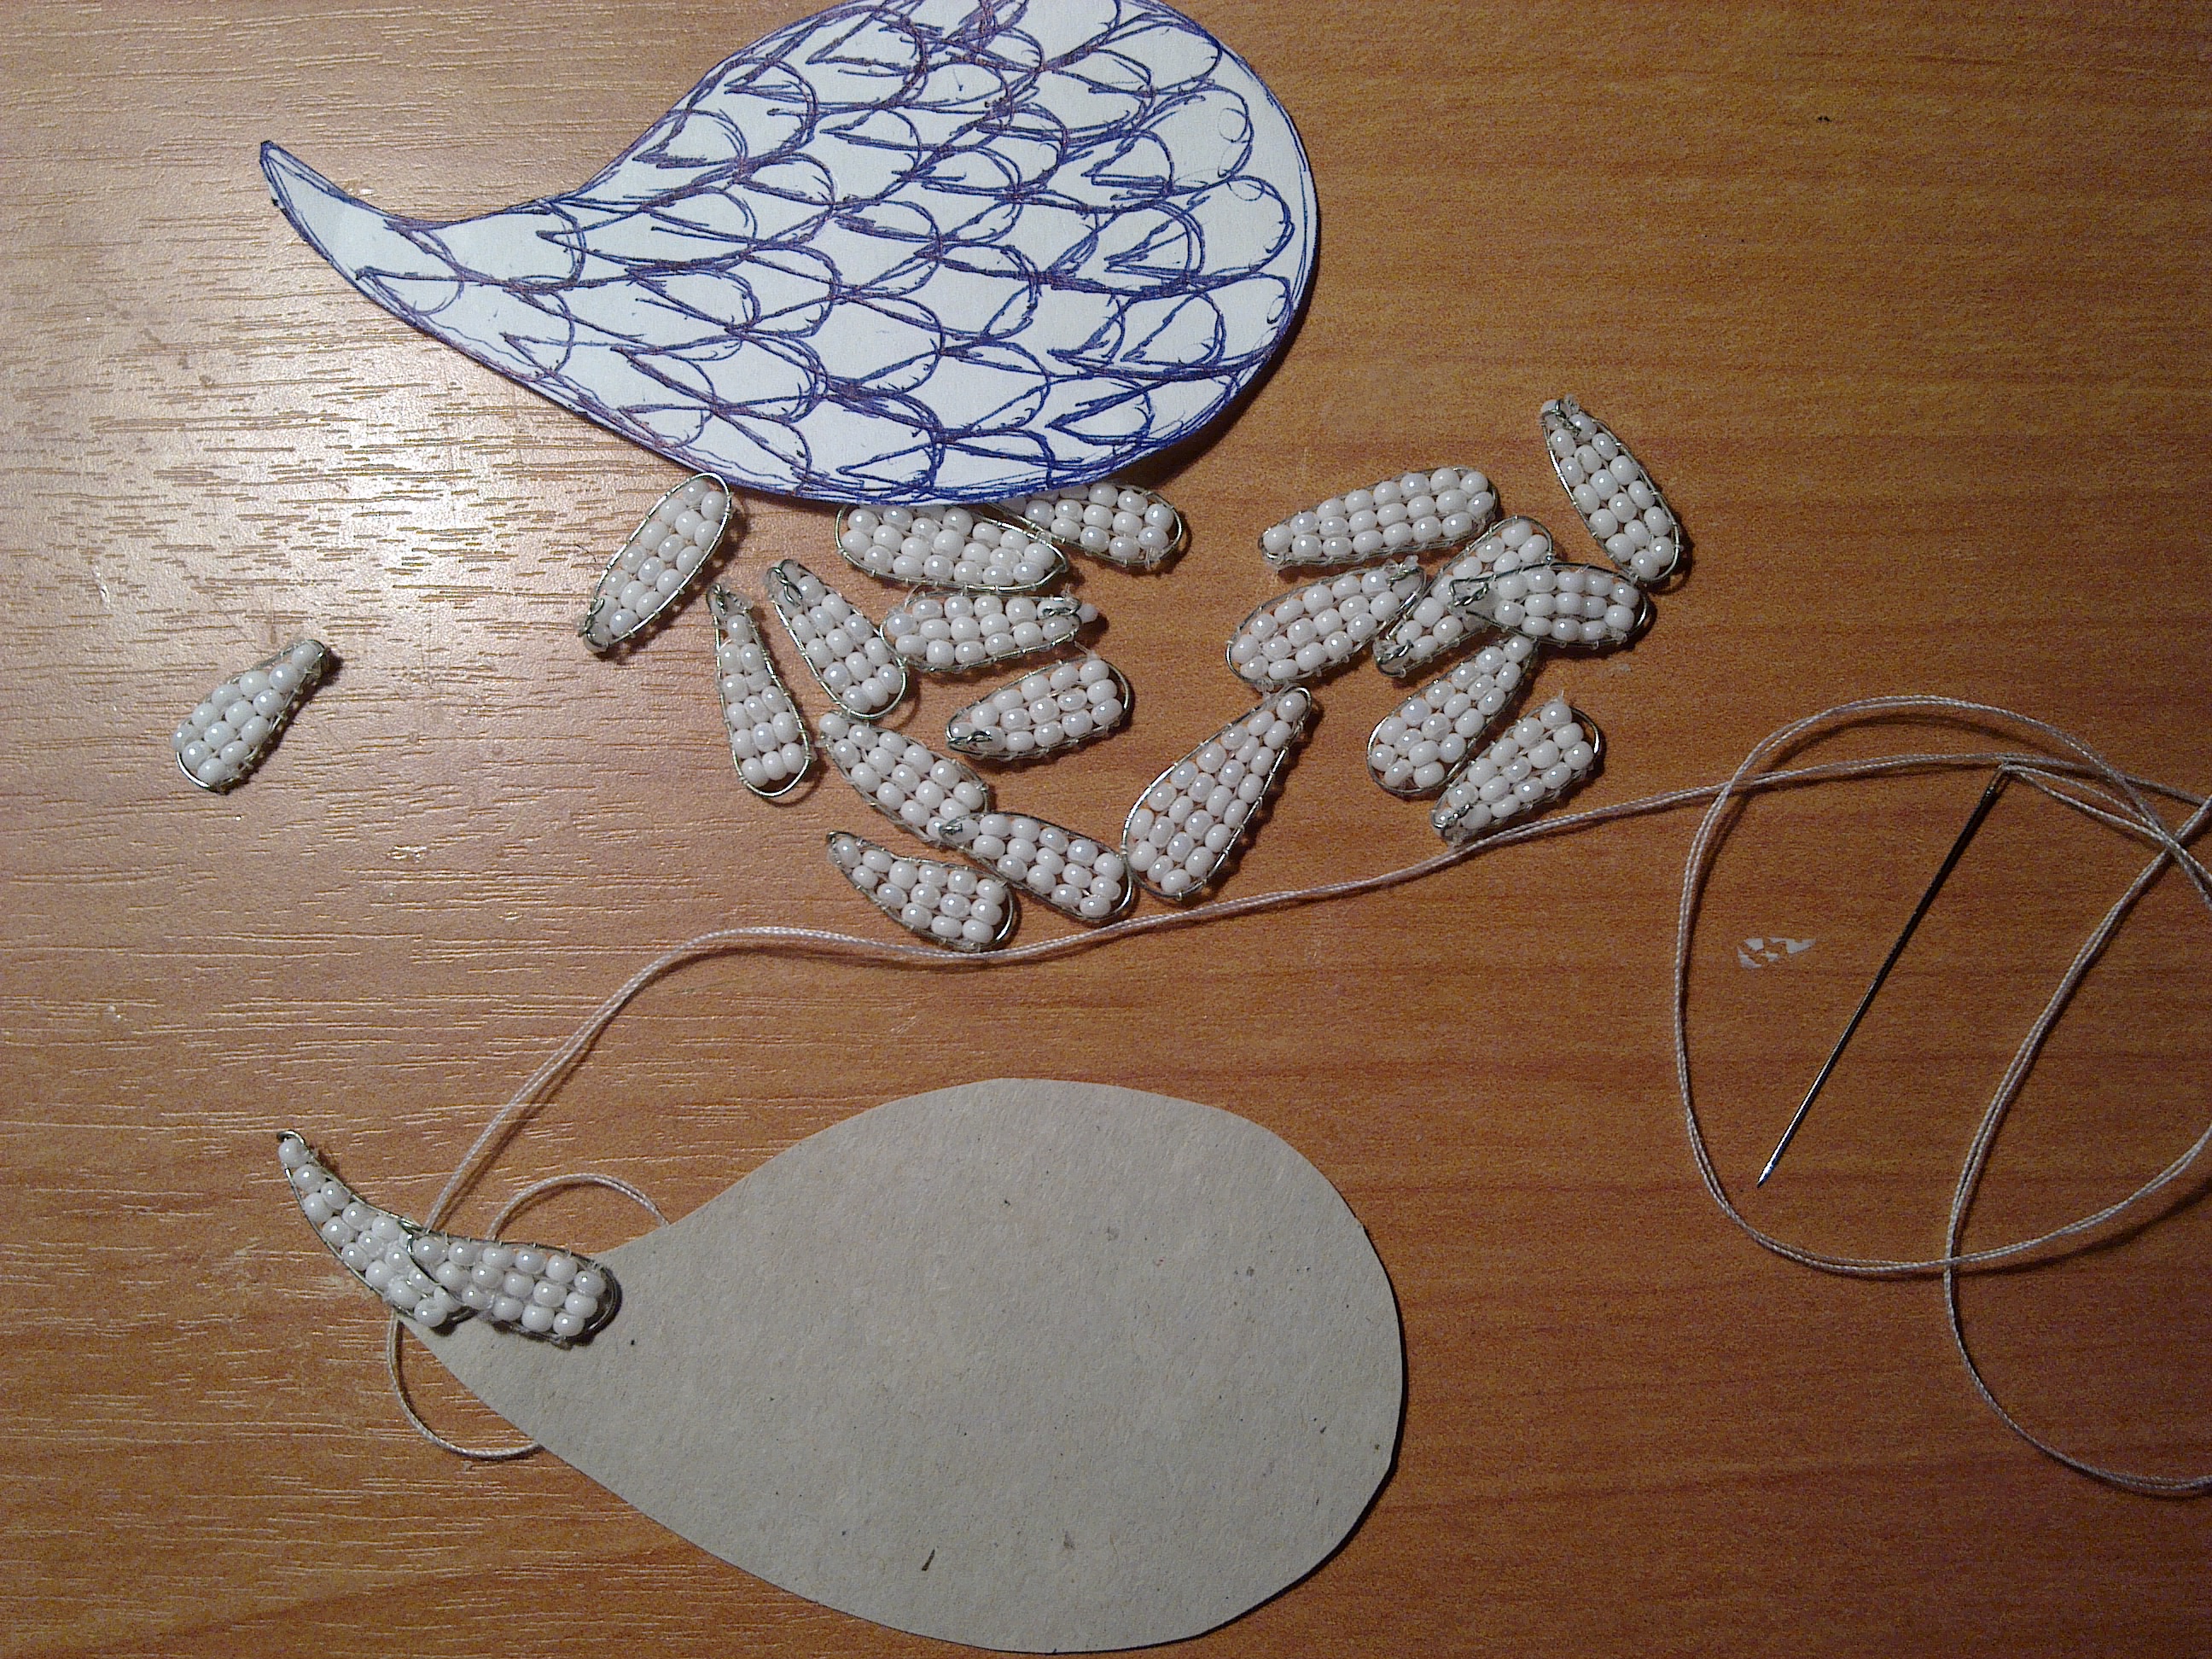
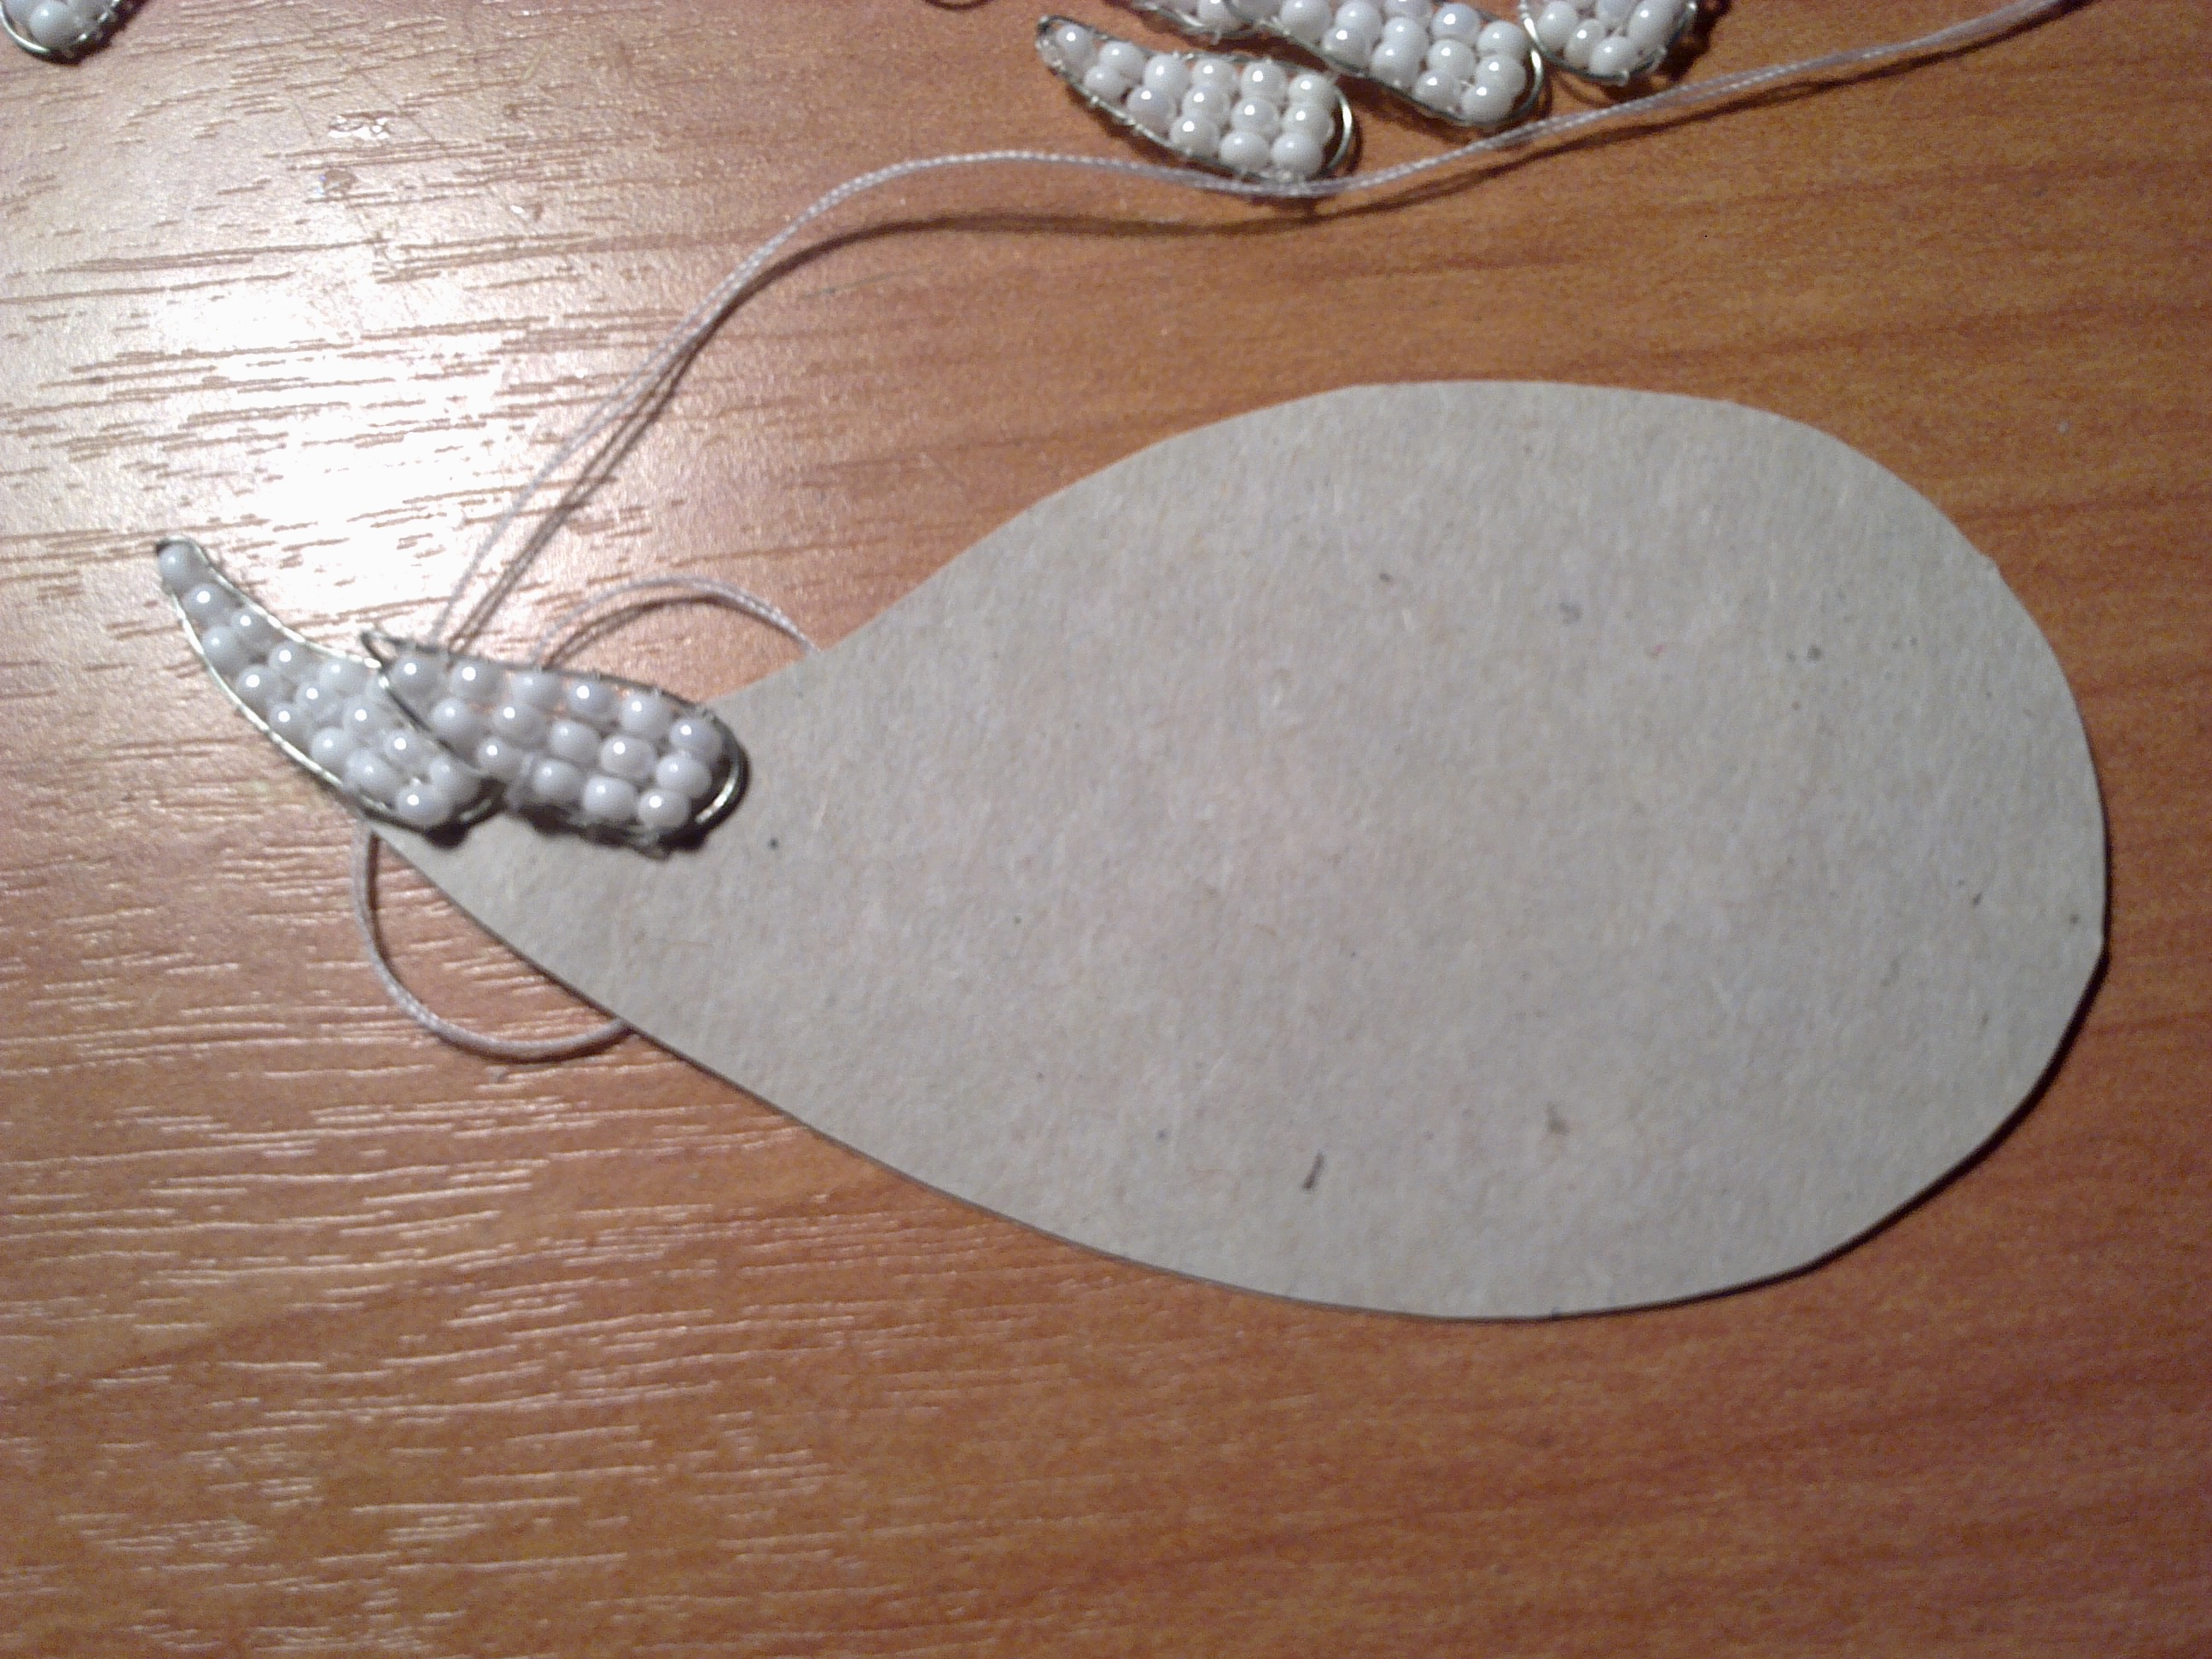
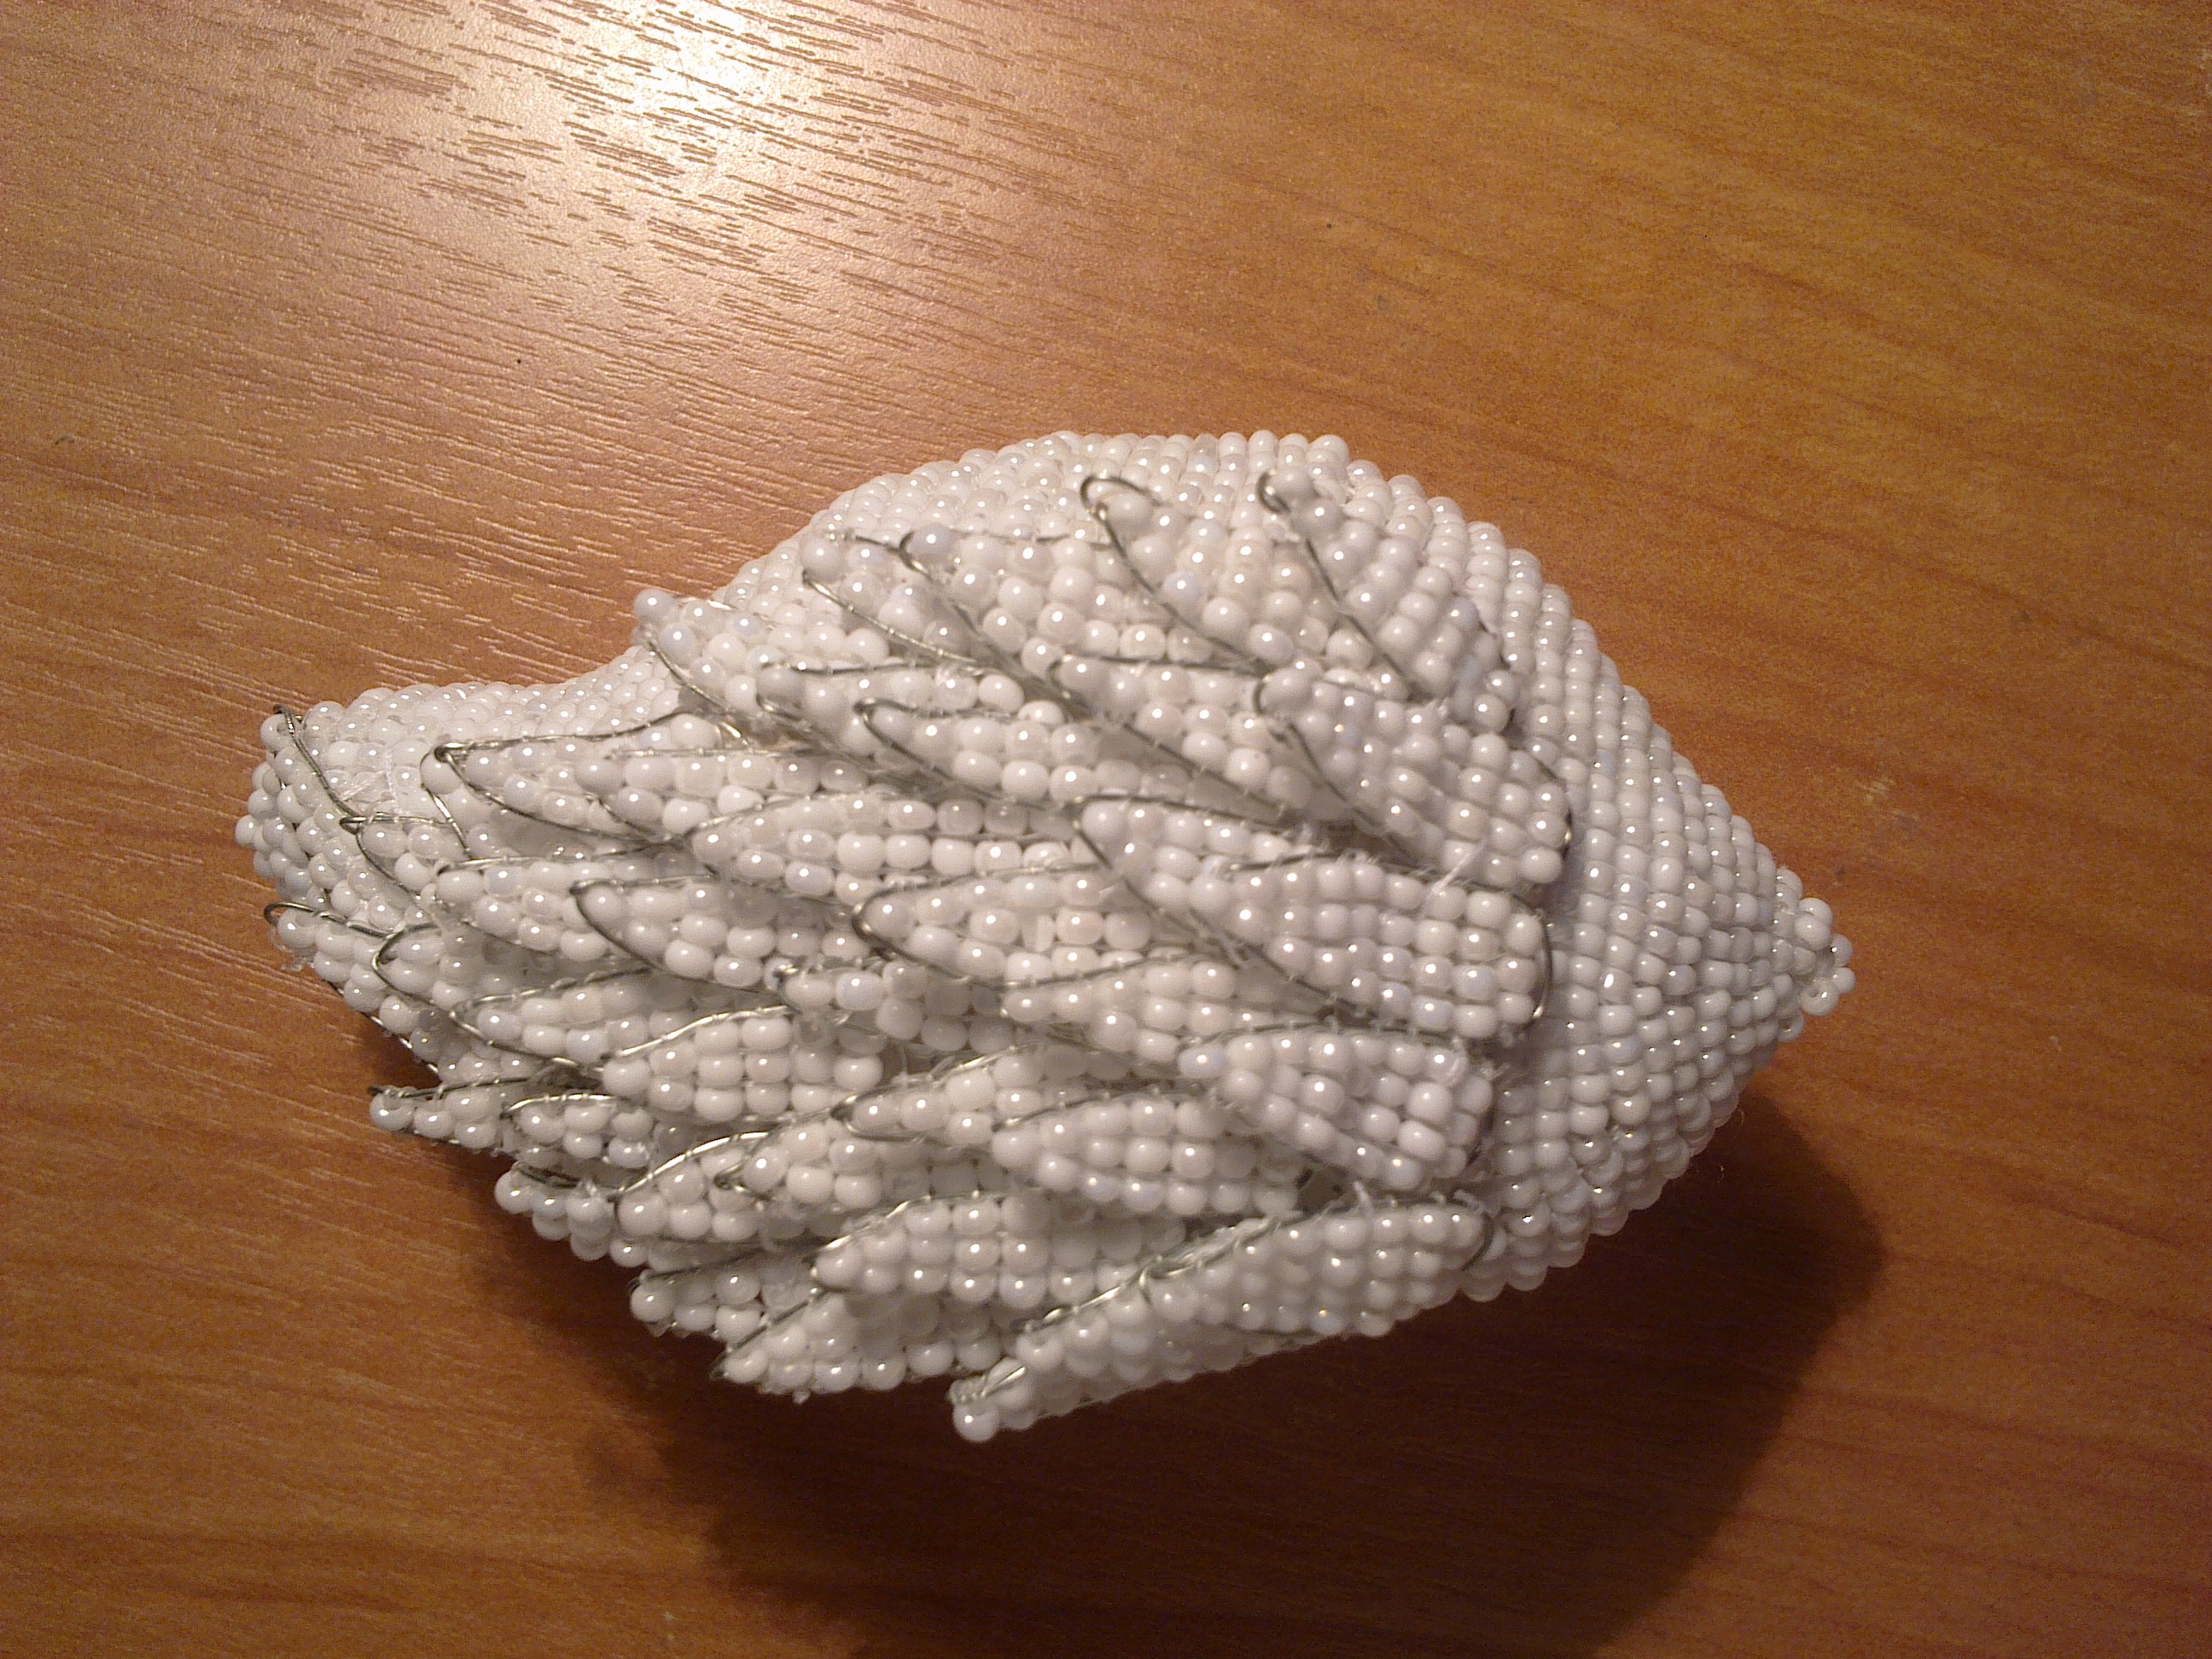
Next, do the feathers. I have on each wing had an average of 25 wings. they certainly do better for longer.

Then sew (or glue) wings.Tut main squeeze so that the edges, and lying on their sides.

Then proceed to the manufacture of the neck, unfortunately, no pictures.Thick wire, and bends the shape of the neck of a swan, then sheathe beads, while the end is best to reduce the number of beads. Potom take and stick your neck under the head. Well, that’s basically it! Thank you for attention!

Source

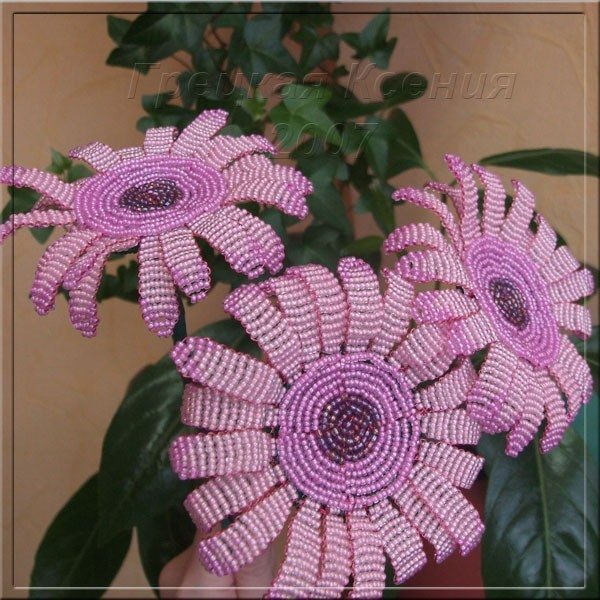
Beautiful beaded gerbera flower

Make a beautiful beaded gerbera flower: In this tutorial I have tried to show how to make a beaded gerbera flower. Flower made with beads – tutorial handmade beading a gerbera flower. 

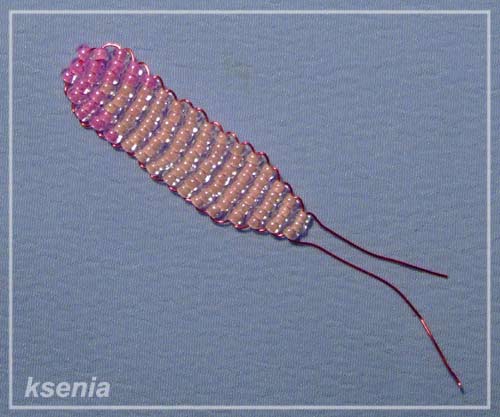
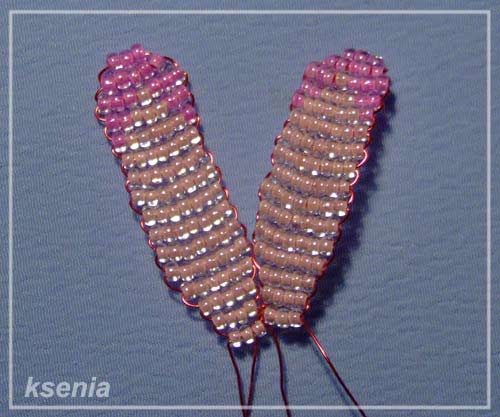
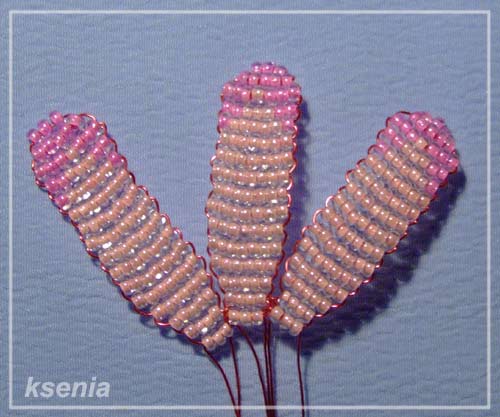
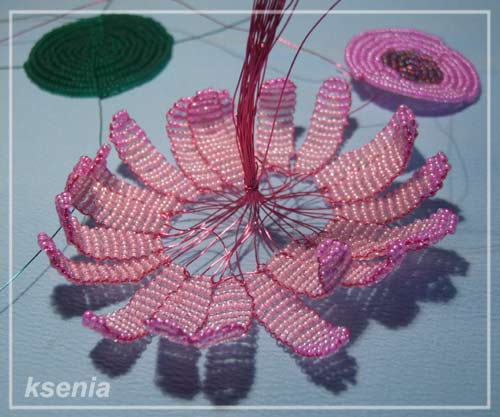
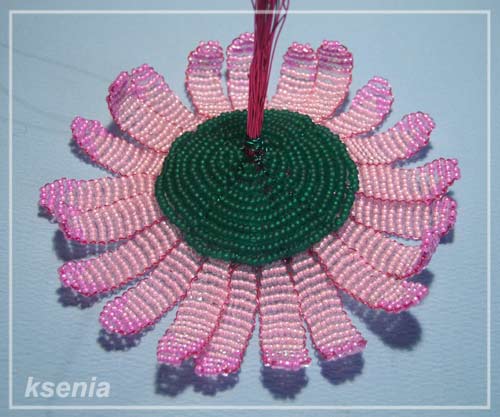
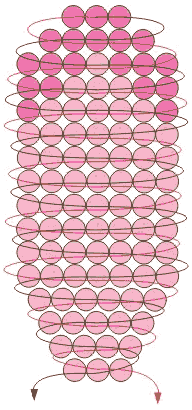
Gerbera-a flower that is deservedly popular. His big, beautiful and bright colors attract attention. Plaiting single flower beads you will need approximately: 15 gr pink beads 10 grams of dark pink beads 3 grams of green beads a little dark cherry or dark purple bead wire, monofilament fishing line or a hard core, crepe paper and PVA glue. The calculation of the number of material produced for the Czech beads small number 11. PETAL Cut 50 cm wire. Dial the wire 3 dark pink beads and place them in the middle. Dial one end of the wire 5 more beads and thread them through the other end of the wire to meet. Continue further weaving scheme according to the petal. To fabricate flower petals 20-25 (in gerbera on the photo tab 21). Connect all each other, letting the ends of the wire between the last rows of adjacent lobes (photos 2-3). lobe diagram 1.

Midway
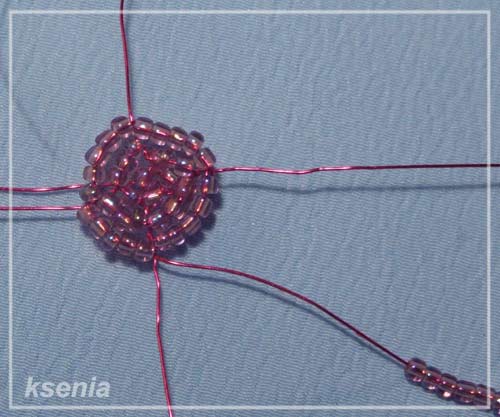
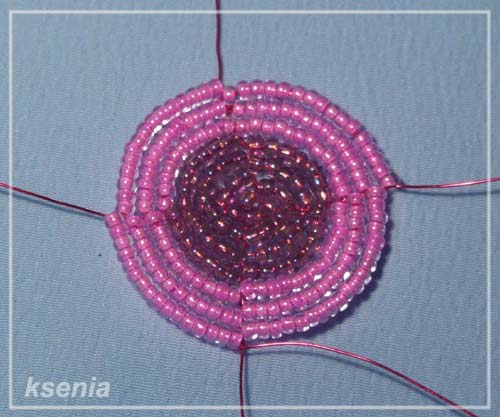
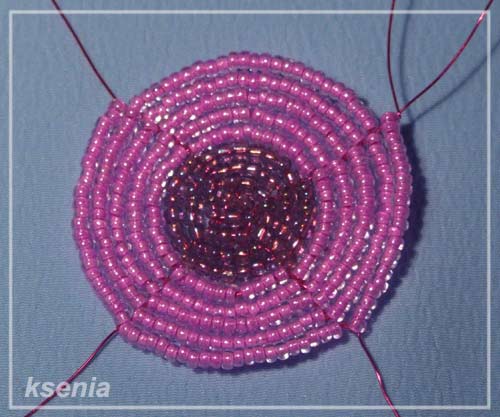
Cut 2 pieces of wire 10-15 cm, connect them together in a central point, the ends of the wire, spread to the sides, forming a cross (the axis midway). Nanizhite 11 cm dark cherry (dark purple) Bead for midway. Secure the end with low beads in the center of the connection wire segments. Lower bead wrap around each of the axes 4, having between them two beads in each row. Continue in this manner to perform rounded arc between the axles in each row increasing the number of beads, until you make the middle of a diameter of 4 cm. (Photo 4-6) The first 4 rows of beads, perform dark cherry (dark purple) color, strung on a dark pink beads (low 55-60 cm). 1. LOWER
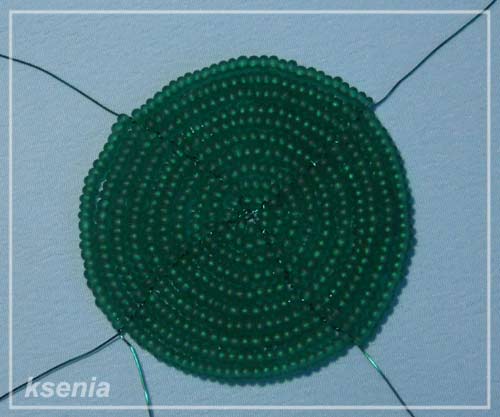
lower part of the flower is configured similarly to the middle, using beads green. For its weaving require low around 70 cm. In the first row, use 3-4 beads to the center of the bottom of the hole to get a small (7 photos when I spun the first flower, it is in the photo, the hole did not and then had some work to do ). The diameter of the lower part of do a little more midway. 1. ASSEMBLY
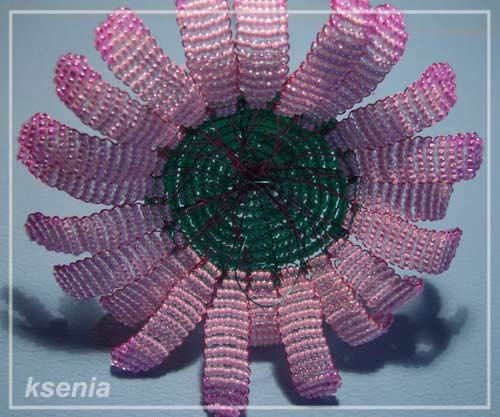
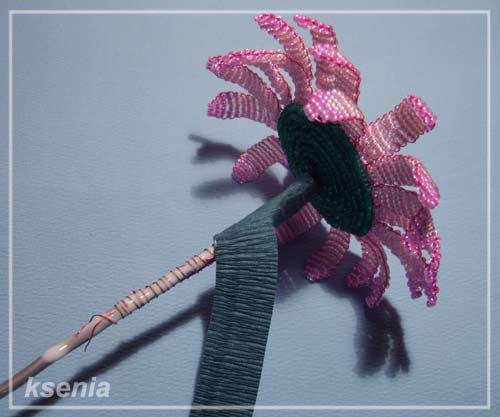
ends of the wire to connect the petals gently, 2-3 coils wound one of them all the rest (photo, trying to create a perfect circle of petals. Skip bunched ends of the wire through the hole in the lower part of the flower (photo 9) and is connected by wire or transparent line (and line connection will be imperceptible). On top of this will look like in the photo 10. 1. Attach the middle of a gerbera and carefully attach it with twine. Attach the flower on the hard rod tightly strapped to his ends of the wire from the petals (photo 11). Cut the crepe paper strips 1-1.5 cm. Spread glue and wrap the rod of his crepe paper, starting from the top (photo 12). To stem is smooth, you can wrap the rod twice. When the stem is all wrapped
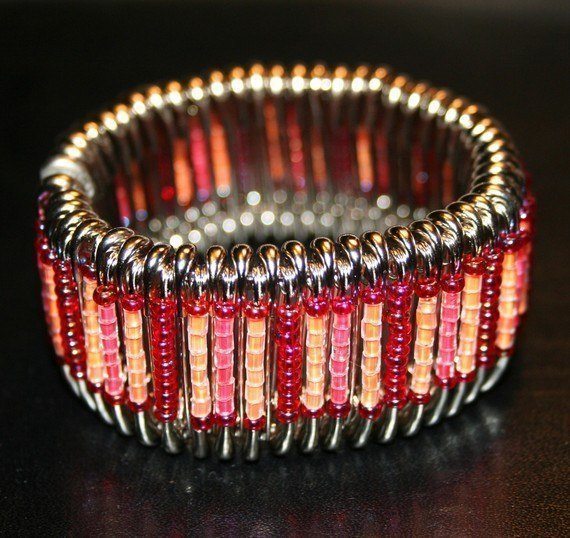
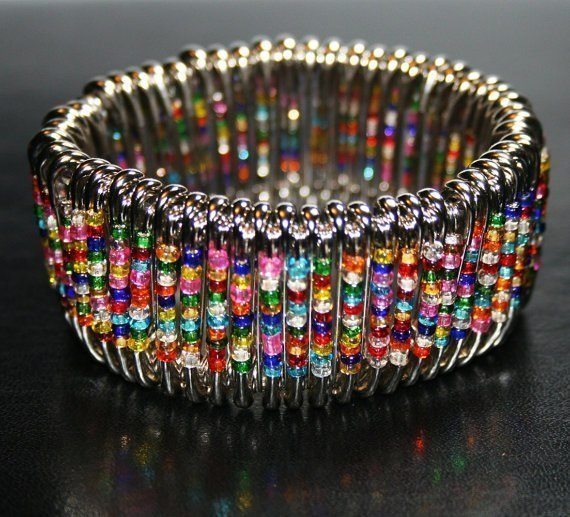
Beautiful Elegant beaded pin bracelets

Elegant beaded pin bracelets featured

Jewelry has attracted women of all ages since the ancient times. Few girls in the world can pass by a jewelry store without looking at the sparkling showcase of bracelets, pendants, or earrings. And even if they can’t afford anything, they at least want to try on one of those beautiful things. However, if you use a little effort and patience, you’ll be able to create a worthy alternative to store-bought jewelry.

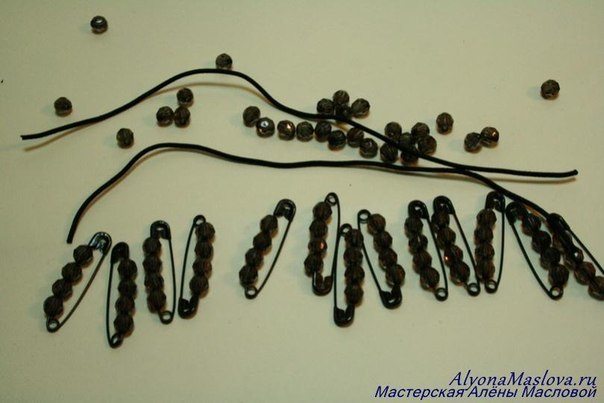
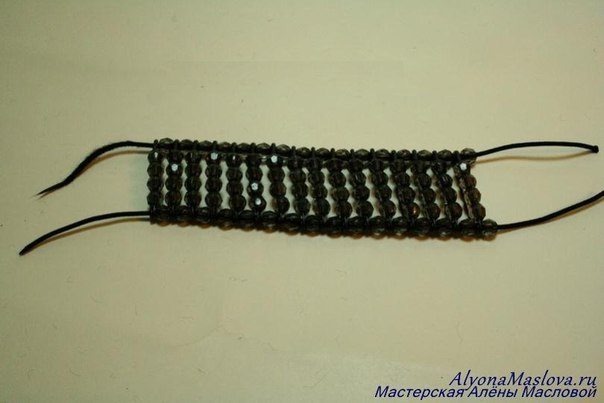
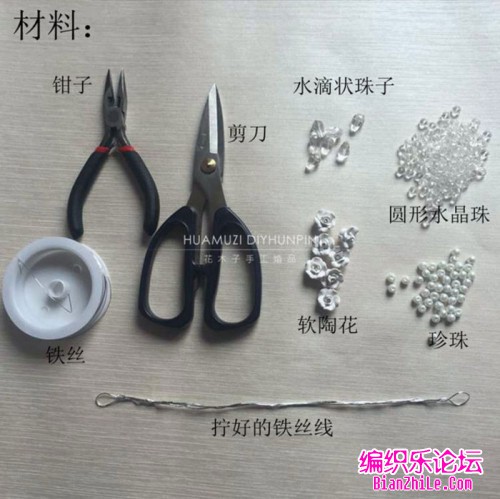
Required material for Beaded pin bracelets:

  • safety pins
  • beads with a large hole
  • hat elastic

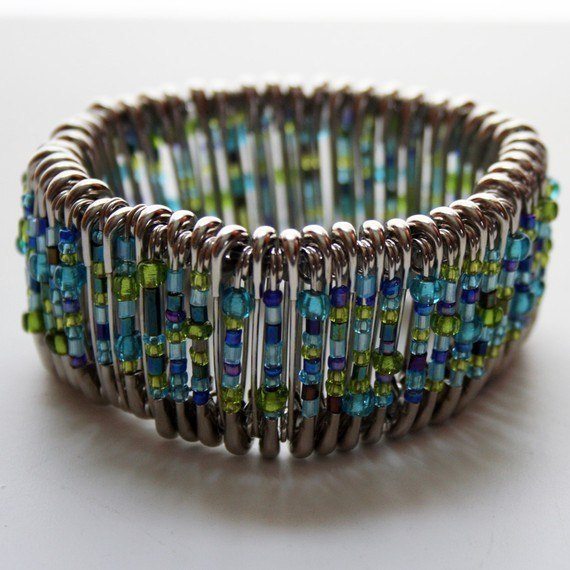
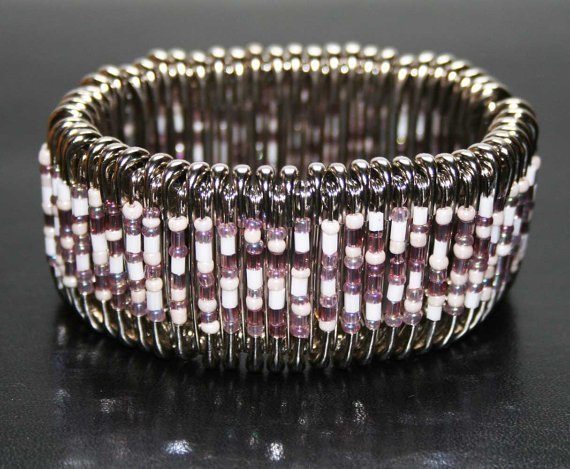
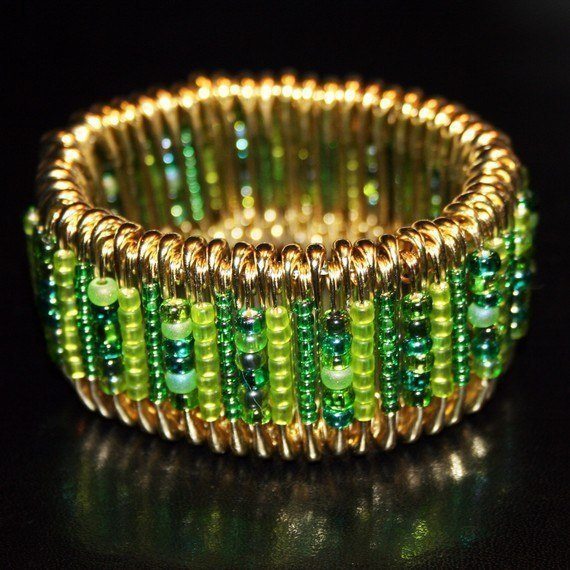
Take a look, what beauty is derived from such a simple material.