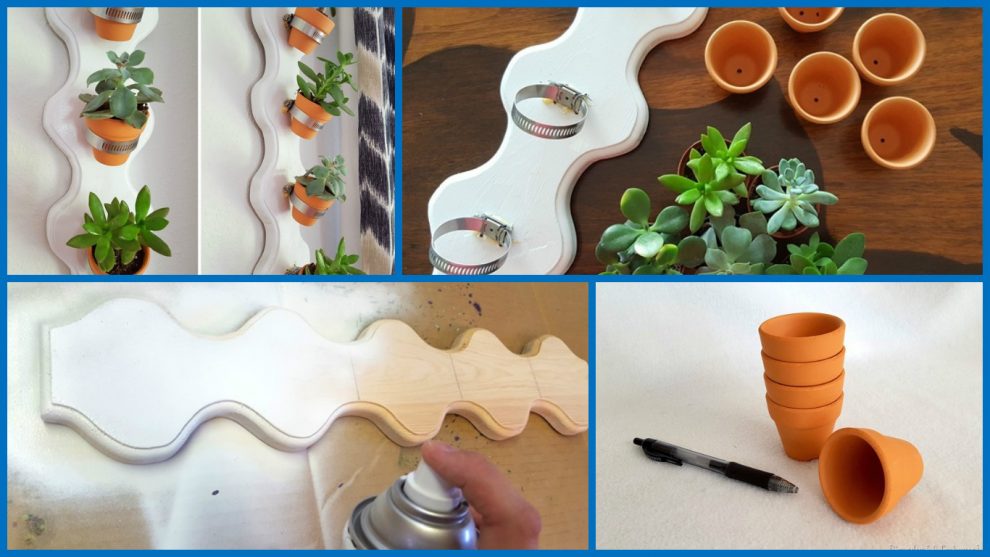
Posted onJanuary 31, 2017inDIY, Home Decor, Step by step, Tutorial DIY: Vertical succulent planter tutorial
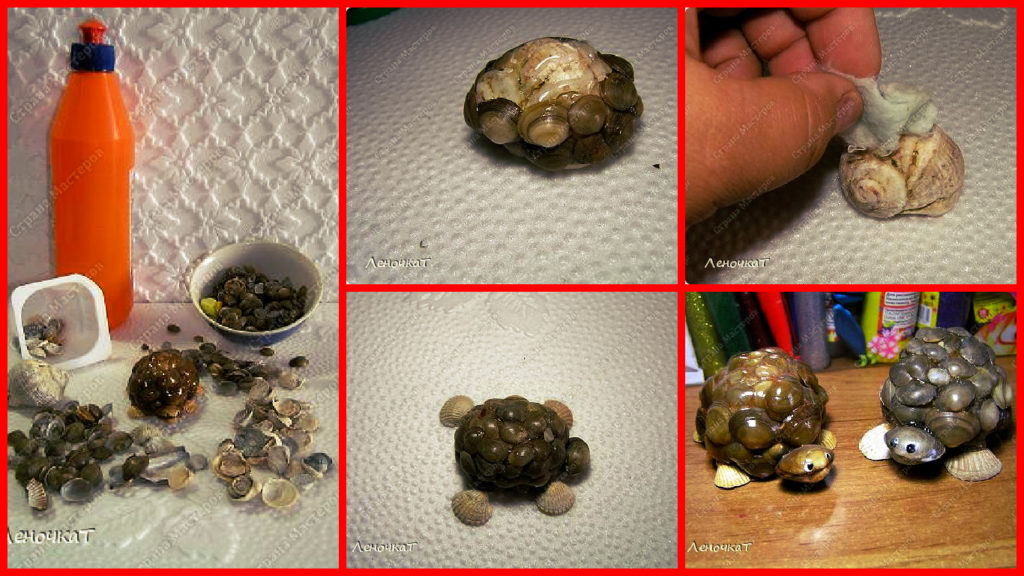
Posted onJanuary 30, 2017inBest out of Waste, DIY, Step by step, Tutorial How to make beautiful turtles of shells
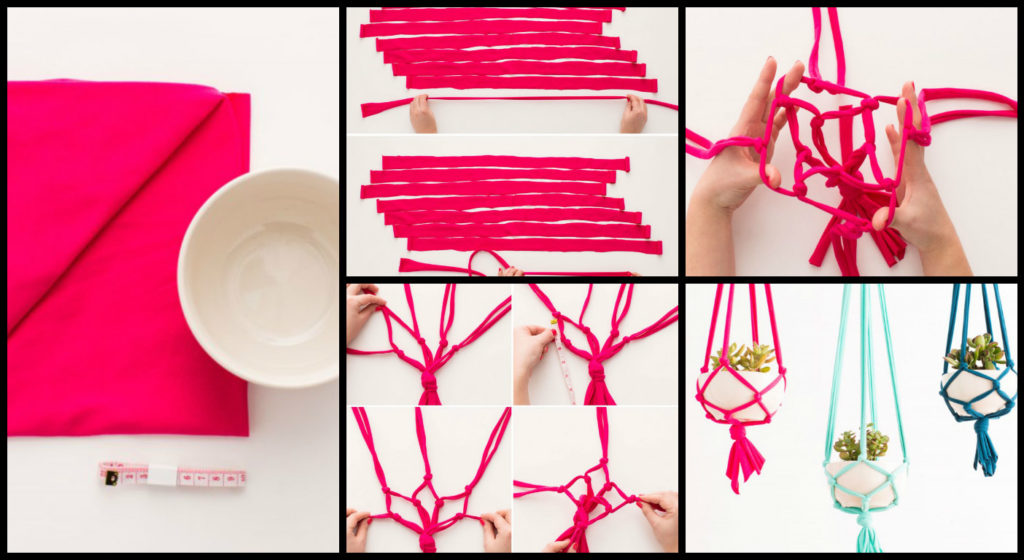
Posted onJanuary 30, 2017inBest out of Waste, DIY, Home Decor, Step by step, Tutorial DIY: Hanging plant pots made from old rags
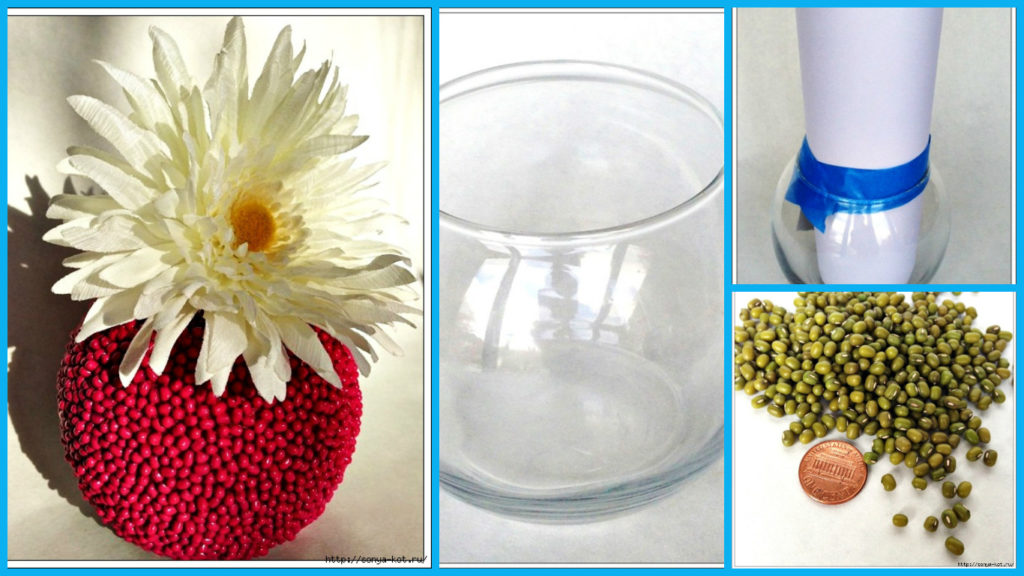
Posted onJanuary 30, 2017inBest out of Waste, DIY, Home Decor, Step by step, Tutorial How to make textured vase
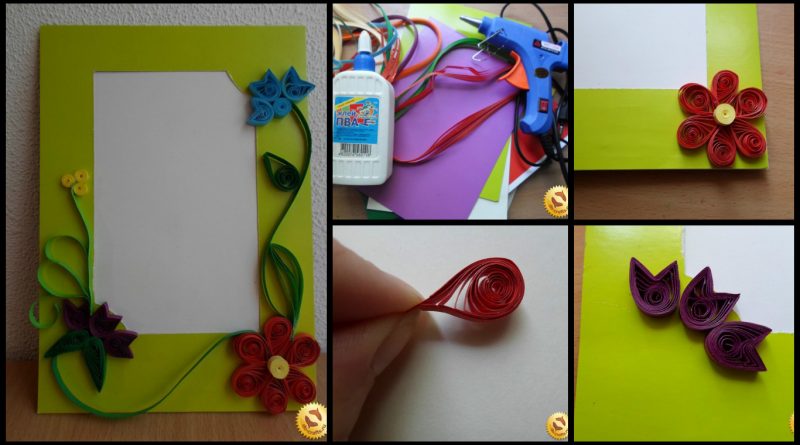
Posted onJanuary 30, 2017inBest out of Waste, DIY, Quilling, Step by step, Tutorial How to make quilling frame of cardboard
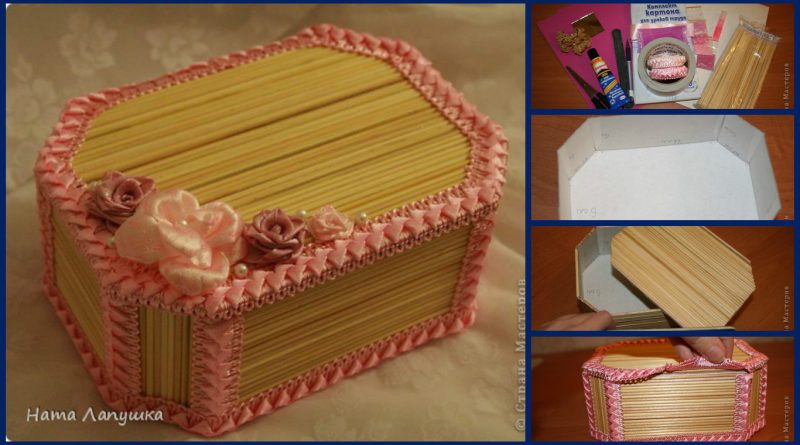
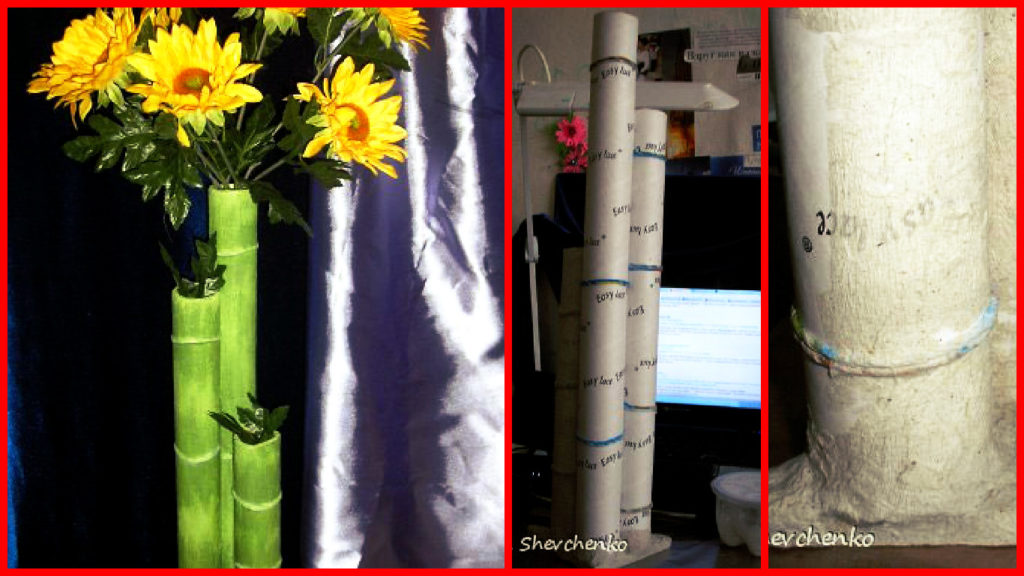
Posted onJanuary 30, 2017inBest out of Waste, DIY, Home Decor, Step by step, Tutorial How to make mini vase bamboo
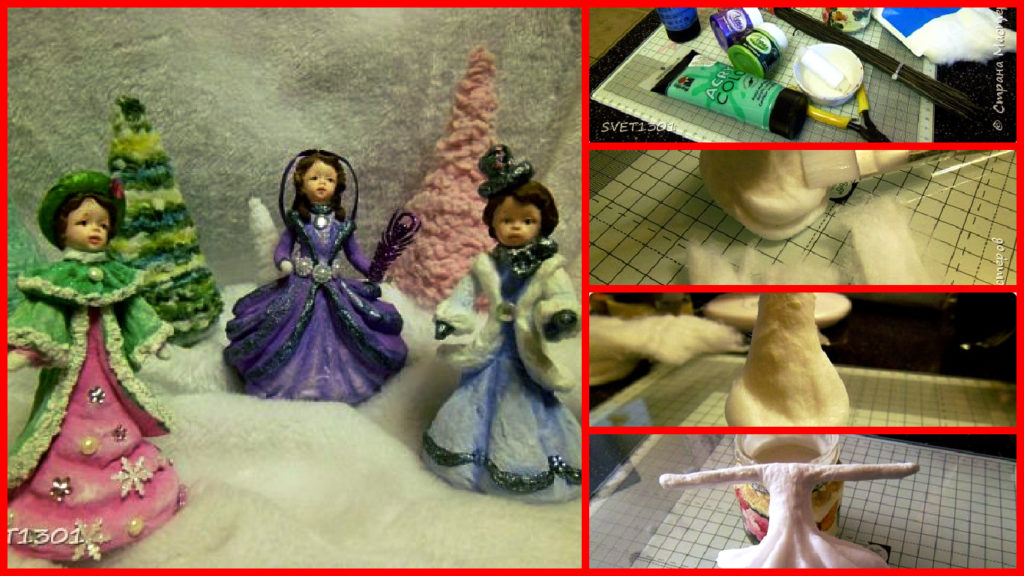
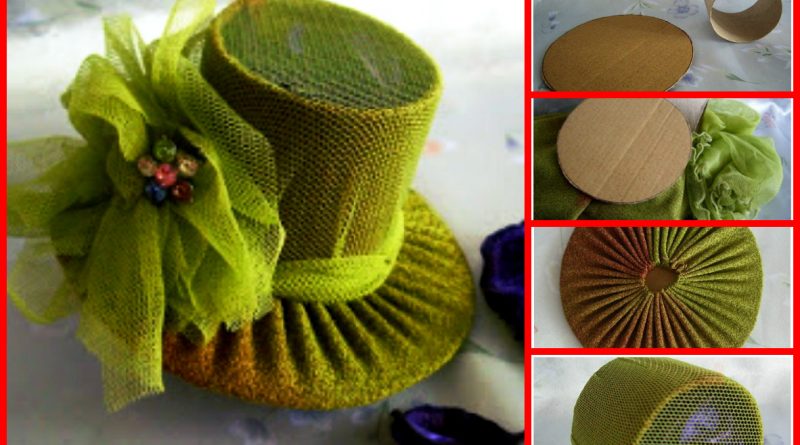
Posted onJanuary 30, 2017inBest out of Waste, DIY, Step by step, Tutorial How to make simple beautiful hat
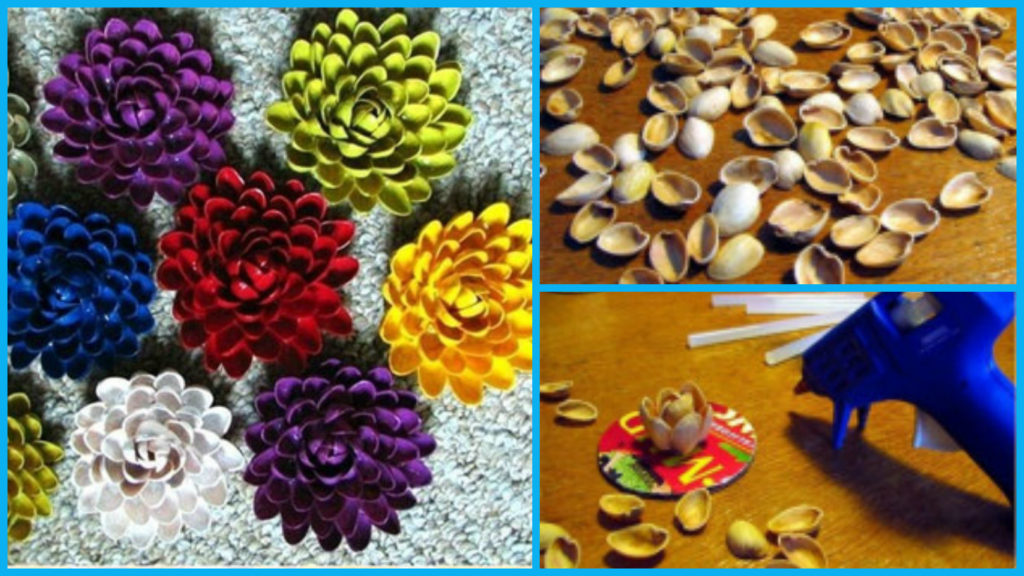
Posted onJanuary 30, 2017inBest out of Waste, Diwali, DIY, Home Decor, Step by step, Tutorial Beautiful flowers out of shells