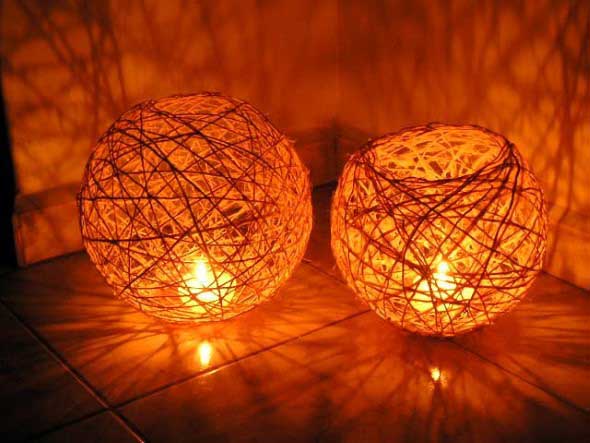
Posted onMarch 14, 2017inDIY, Home Decor, Tutorial Awesome DIY String Pendant Light Ideas & Tutorials
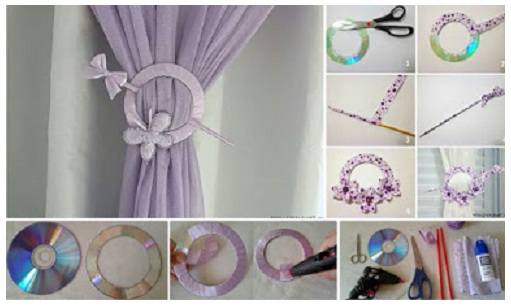
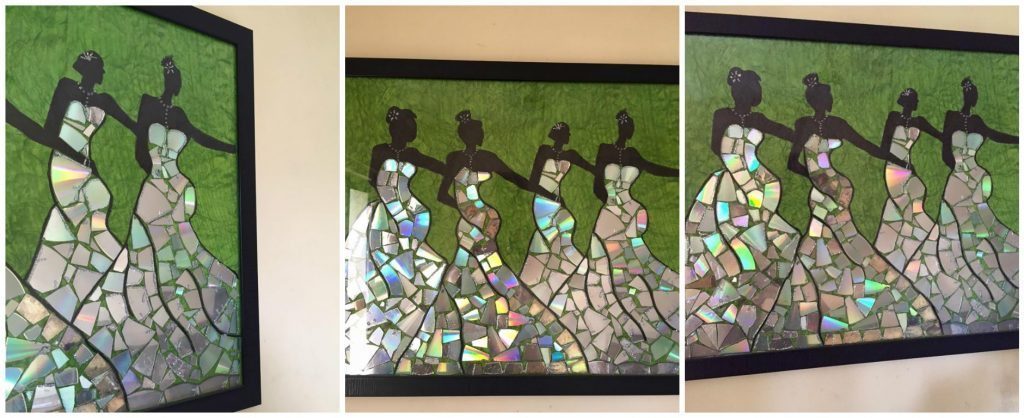
Posted onMarch 12, 2017inBest out of Waste, Home Decor, Tutorial How to make curtains holder of old CD
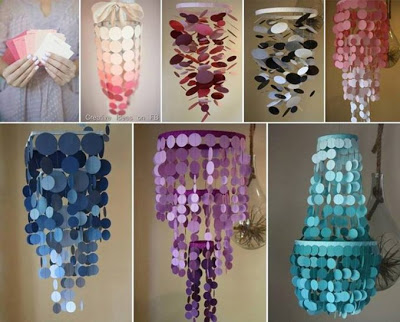
Posted onMarch 11, 2017March 11, 2017inHome Decor, Ideas, Paper Crafts Beautiful Pendant Mobile Ideas
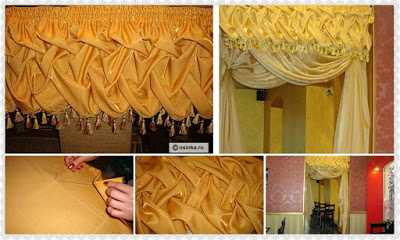
Posted onMarch 10, 2017inEmbroidery And Sewing, Home Decor, Patchwork Crafts, Tutorial How to make fancy curtains