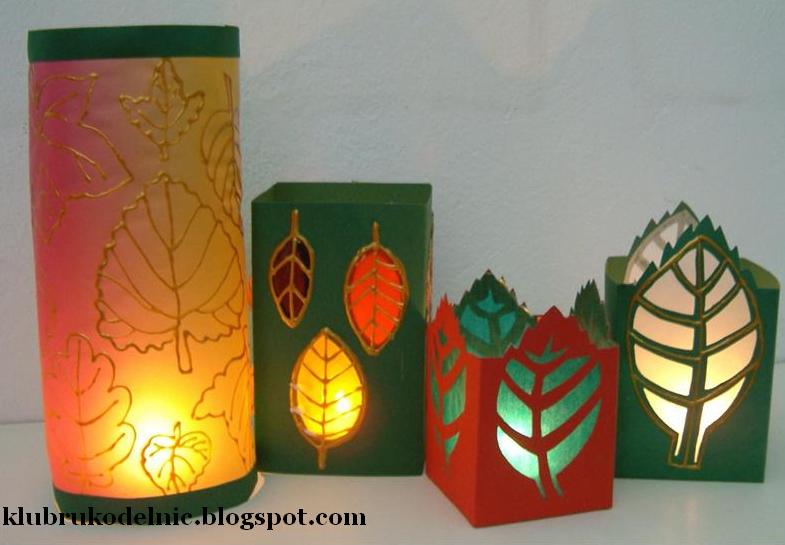
Posted onMarch 4, 2017inBest out of Waste, DIY, Home Decor, Tutorial DIY: Lanterns with autumn leaves create
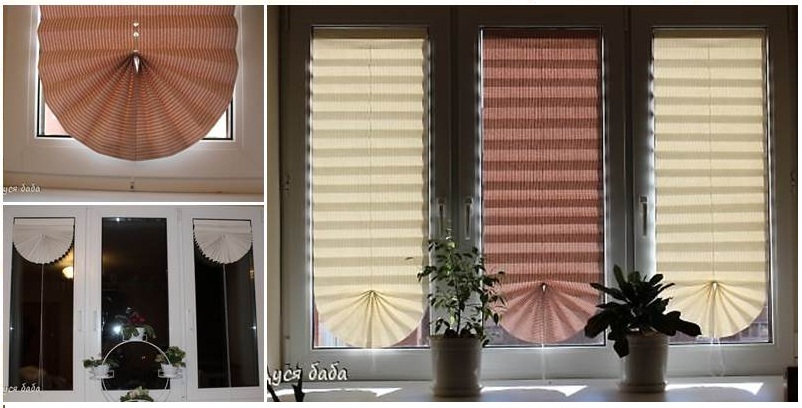
Posted onFebruary 21, 2017inDIY, Home Decor, Paper Crafts, Step by step, Tutorial DIY Pull up Window Shade Made of Paper
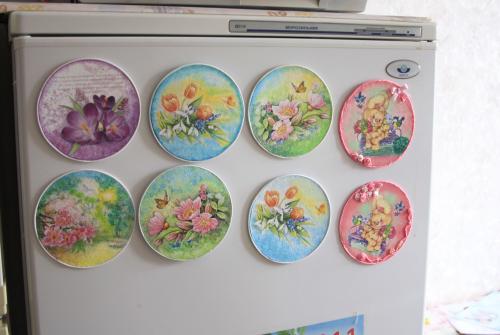
Posted onFebruary 21, 2017inBest out of Waste, DIY, Home Decor, Step by step, Tutorial Fridge magnets from CD’s
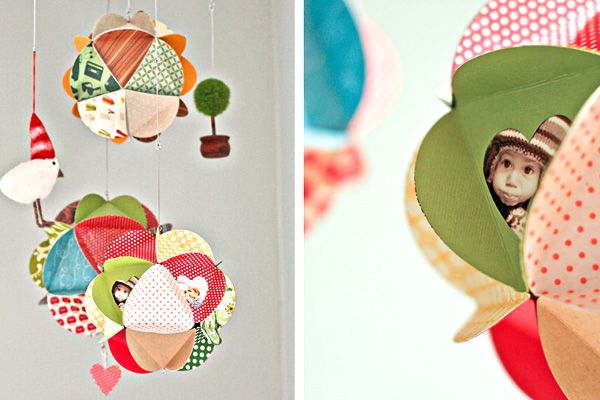
Posted onFebruary 16, 2017inDIY, Home Decor, Paper Crafts, Step by step, Tutorial DIY: Beautiful Photo Globe
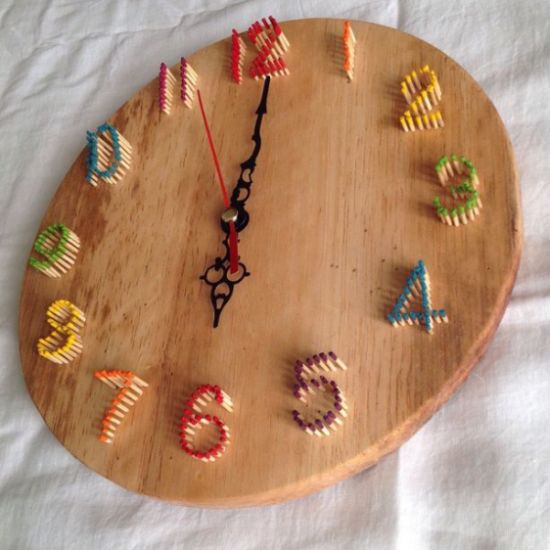
Posted onFebruary 15, 2017inBest out of Waste, DIY, Home Decor, Step by step, Tutorial DIY: Handmade Wall Clock
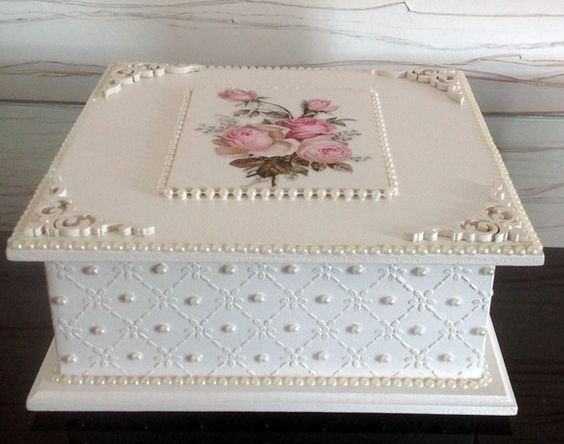
Posted onFebruary 15, 2017inBest out of Waste, DIY, Home Decor, Ideas, Step by step, Tutorial Beautiful Craft Ideas with MDF Box
Posted onFebruary 15, 2017February 15, 2017inBest out of Waste, DIY, Home Decor, Newspaper Crafts, Step by step, Tutorial How to make newspaper roses frame
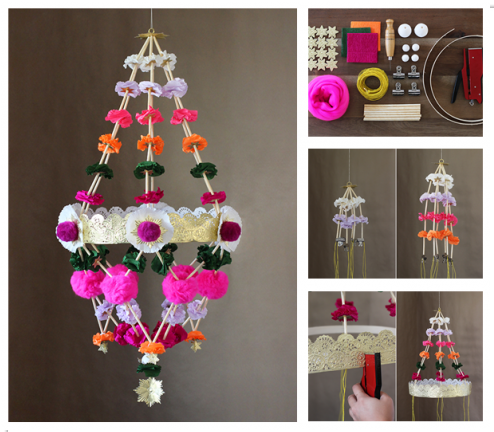
Posted onFebruary 15, 2017inDIY, Home Decor, Paper Crafts, Step by step, Tutorial How To Make Chandelier Pajaki Lighting Fixture
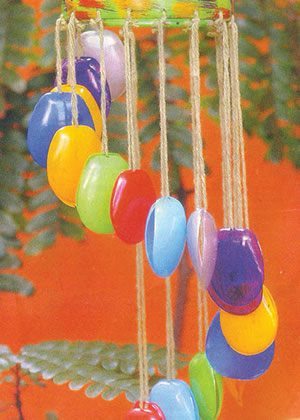
Posted onFebruary 15, 2017inBest out of Waste, Home Decor, Step by step, Tutorial How To Make Wind Bells With Recycled Material
Posted onFebruary 12, 2017inBest out of Waste, DIY, Home Decor, Step by step, Tutorial How to make key holder from empty plastic bottles