Posted onJune 16, 2017inClothing, Embroidery And Sewing, Patchwork Crafts, Tutorial, Video Designer Kurti Neck Design Cutting and Stitching
Posted onJune 9, 2017inClothing, Embroidery And Sewing, Tutorial, Video How to sew a Jacket style pattern kurti
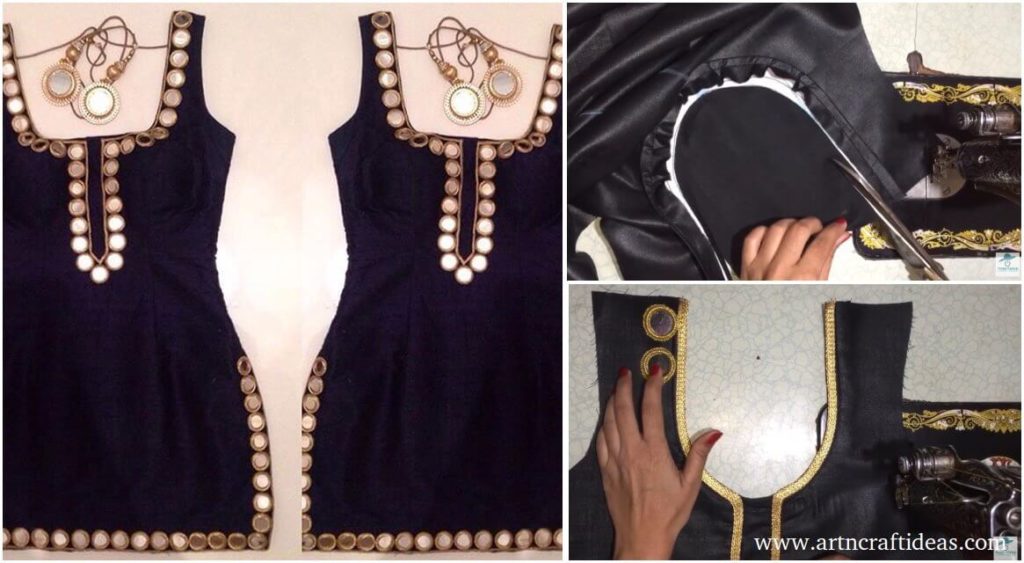
Posted onJune 5, 2017June 5, 2017inClothing, Tutorial, Video DIY Fashion: Round Neck Design for Kurti with Mirror work
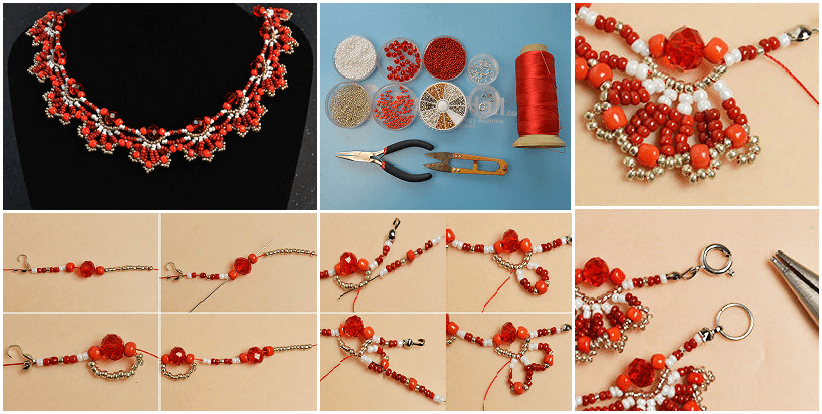
Posted onMay 28, 2017inJewellery, Mother's Day, Tutorial How to Make a Delicate Red Flower Choker Necklace With Beads