Required Materials:
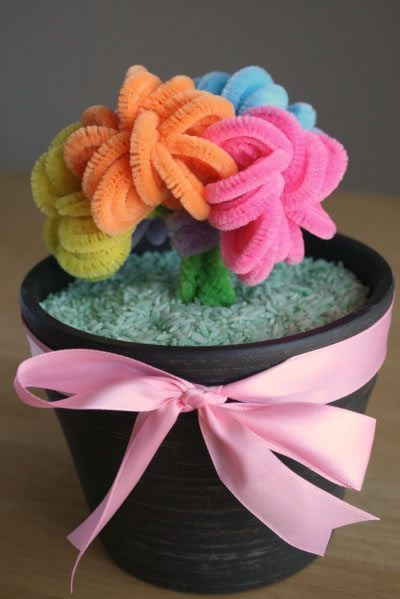
- Cleaners of various colors, 6 of each color
- Flower pot
- Satin ribbon
- Rice or colored stones
- Styrofoam
- Exactly
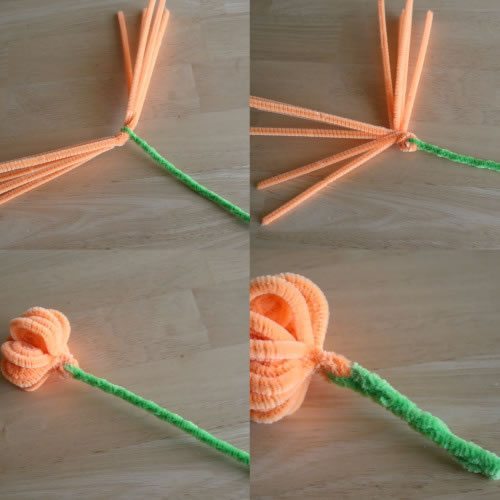
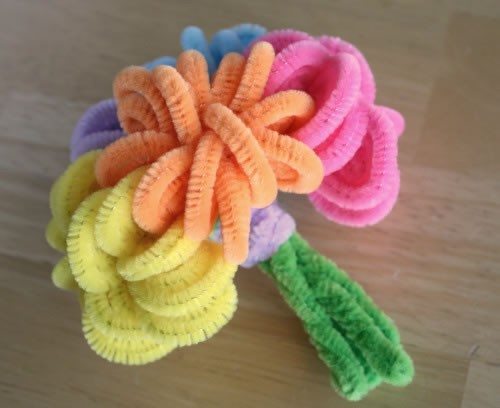
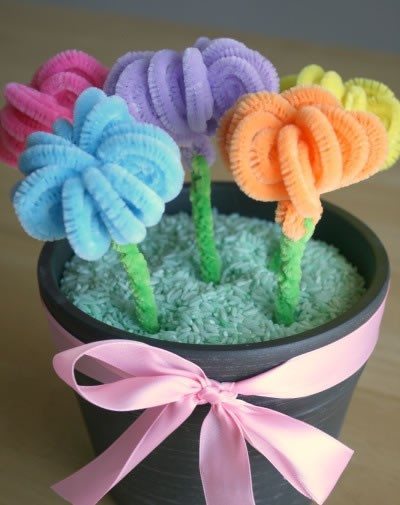
Get Daily Art and Crafts Ideas & Tutorials…

Required Materials:


To work, we need:
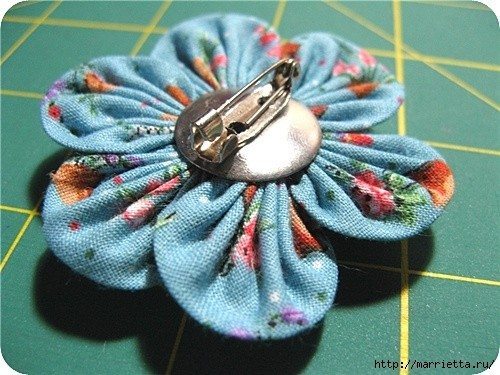
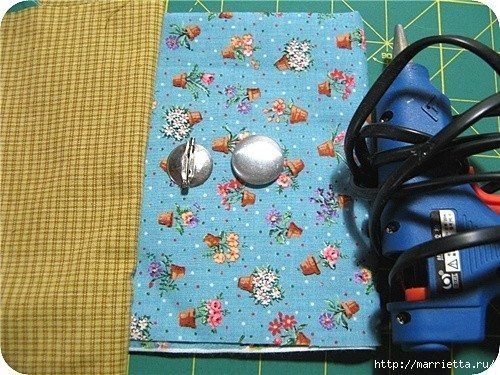
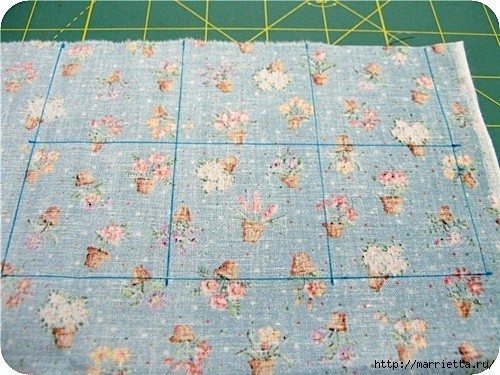
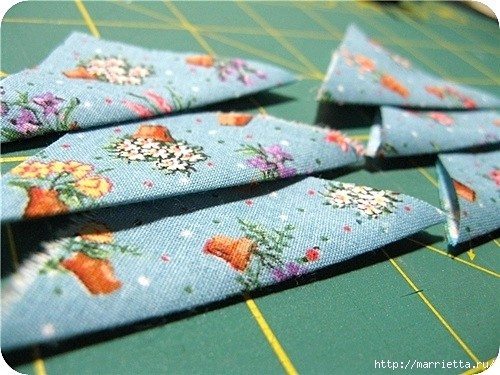
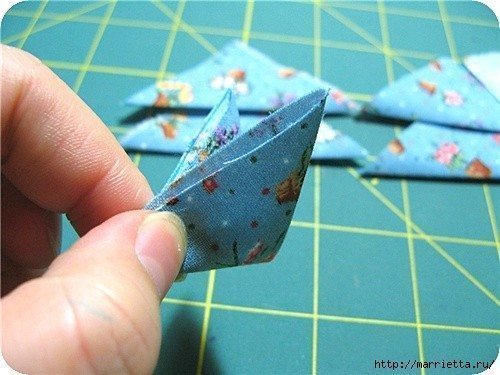
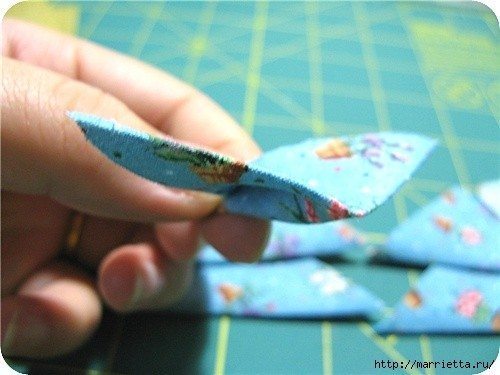
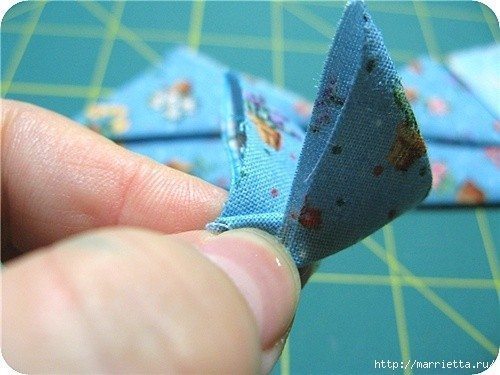
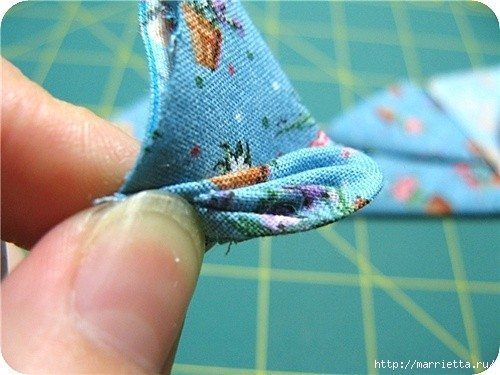
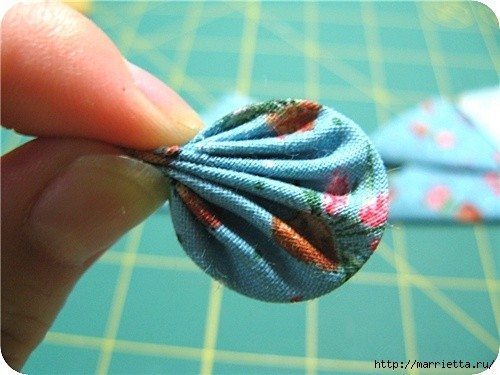
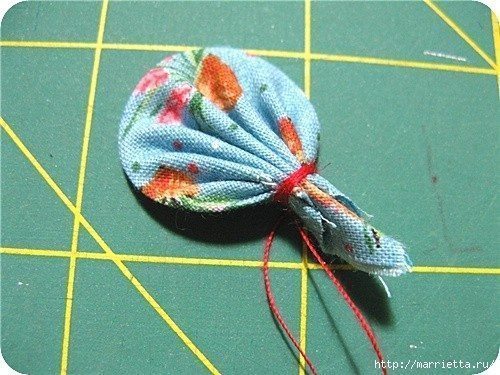
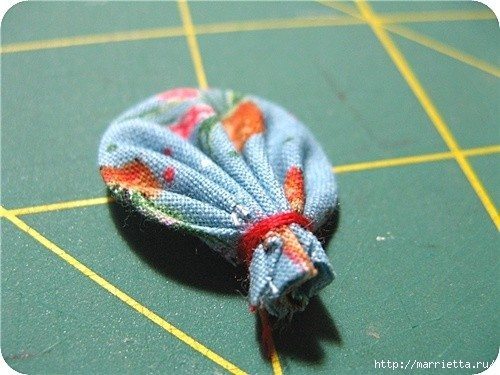
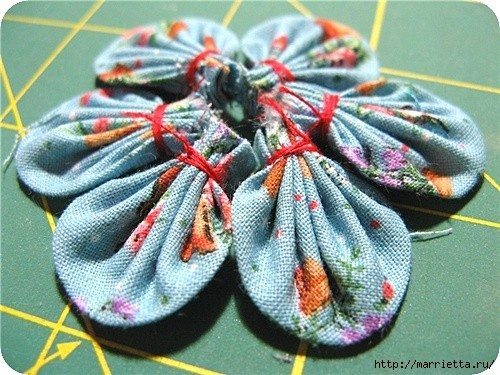
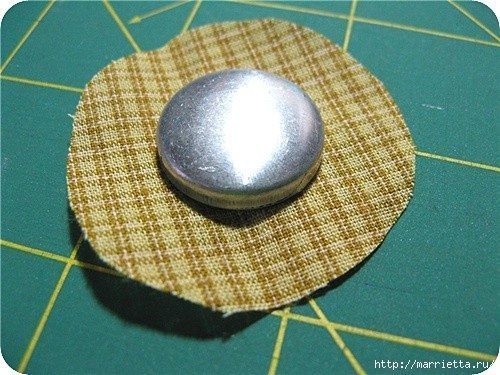
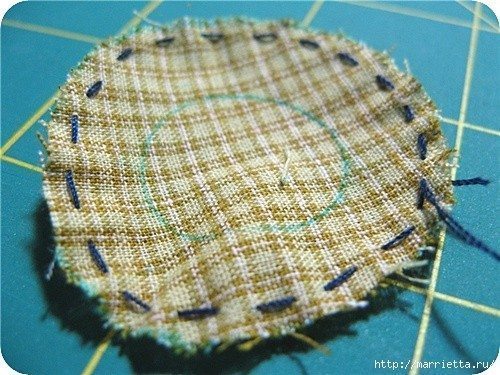
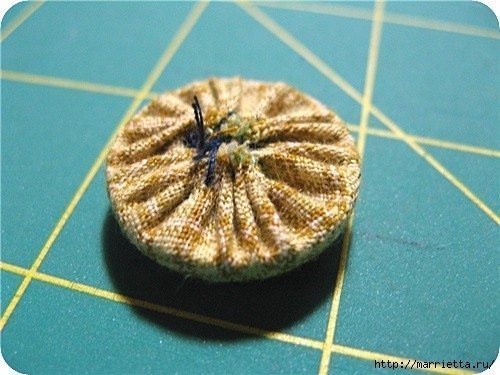
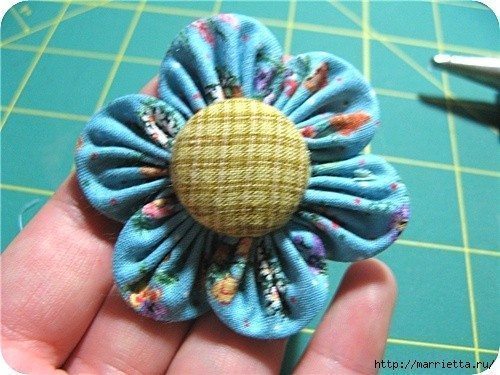
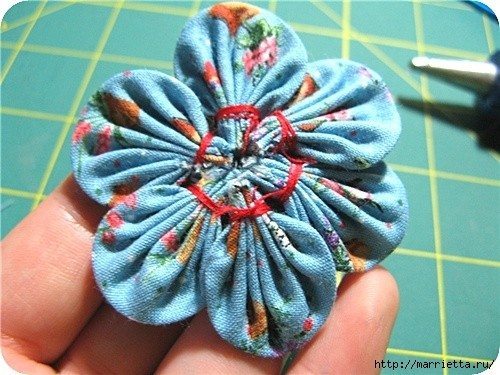
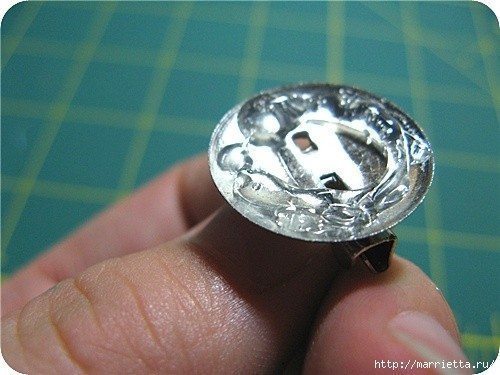
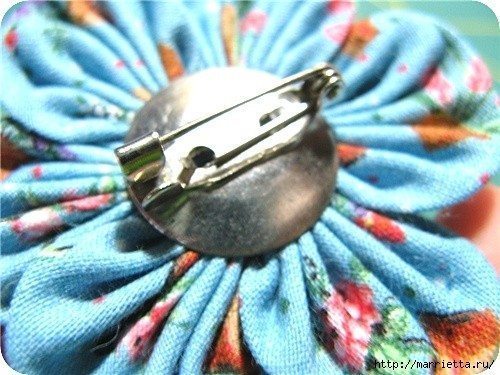
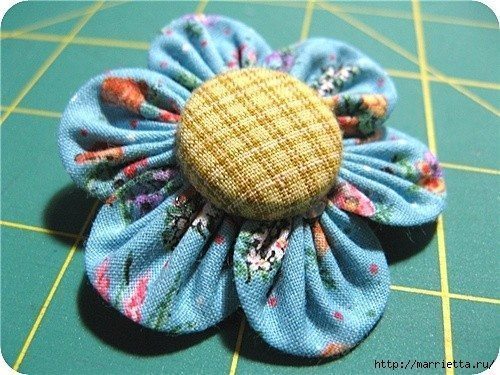
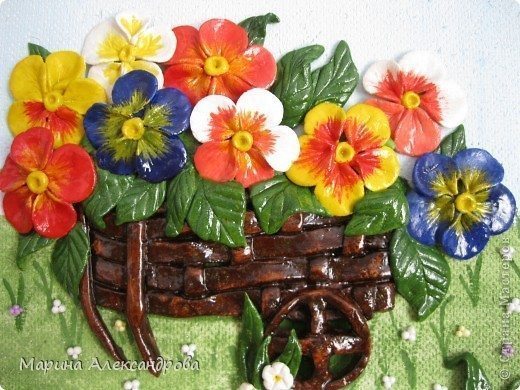
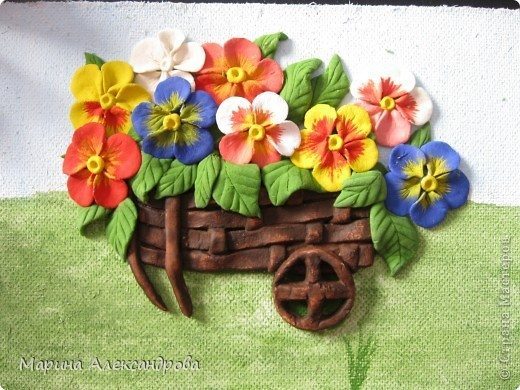
We want to show your panel, molded to the aunt, to celebrate the birthday of … will be in January … I will like the gift, she loves pansies …. 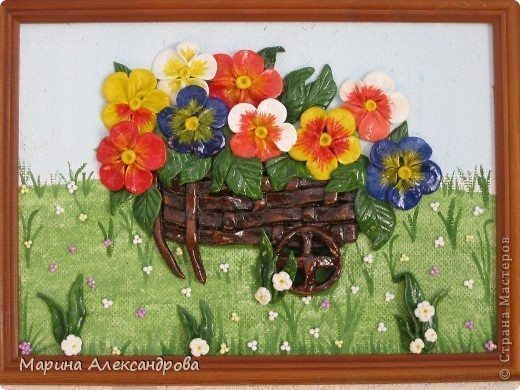
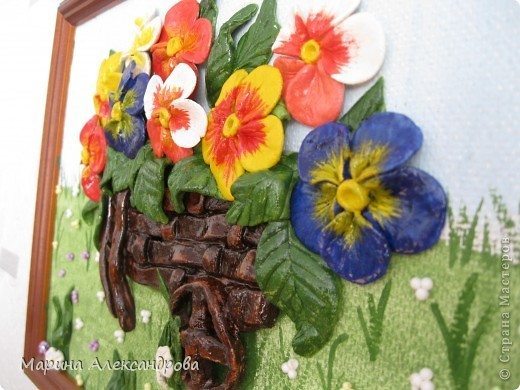
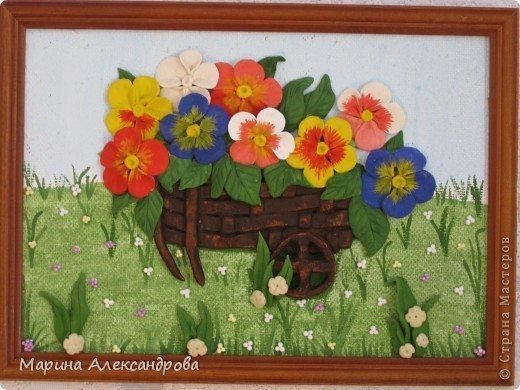
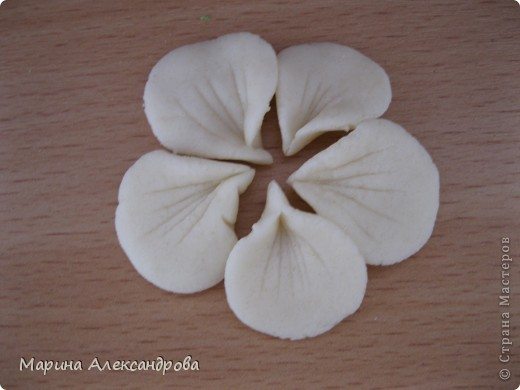
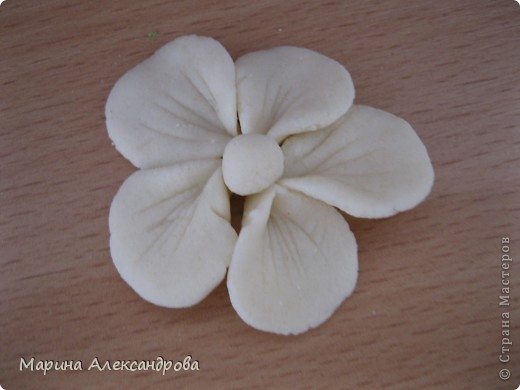
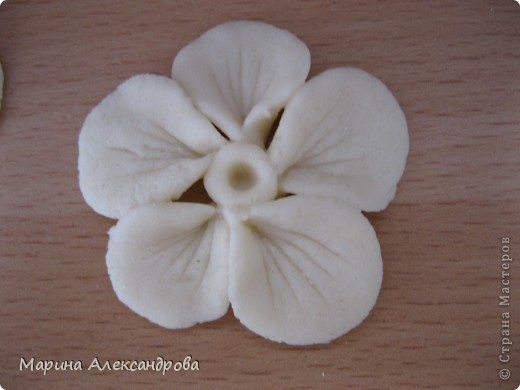
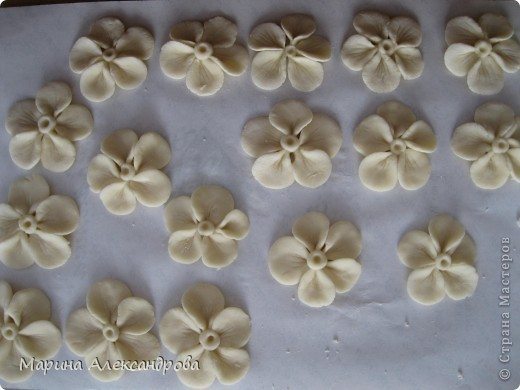
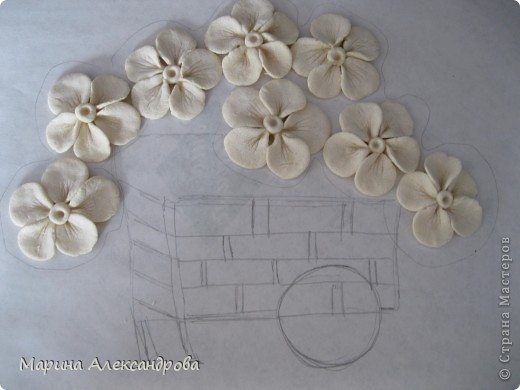
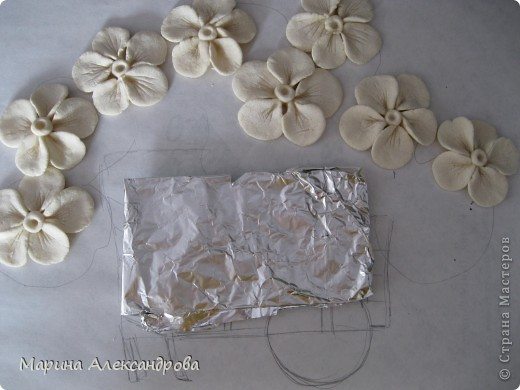
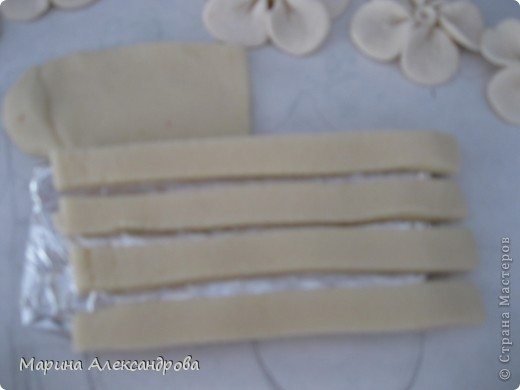
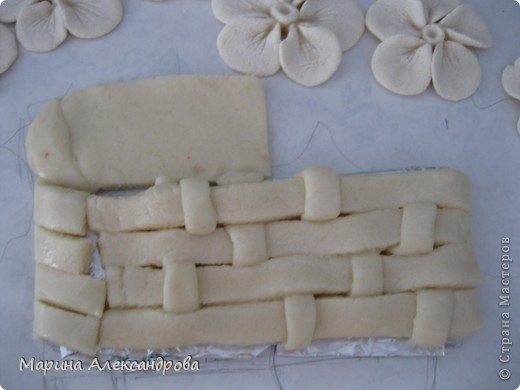
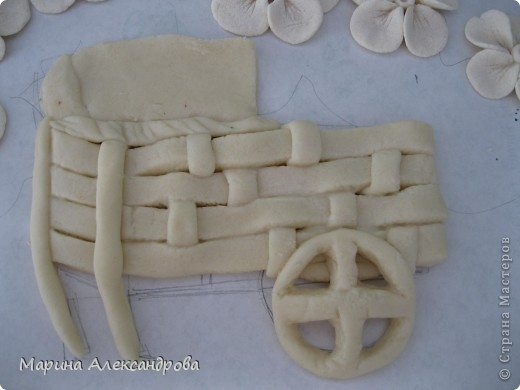
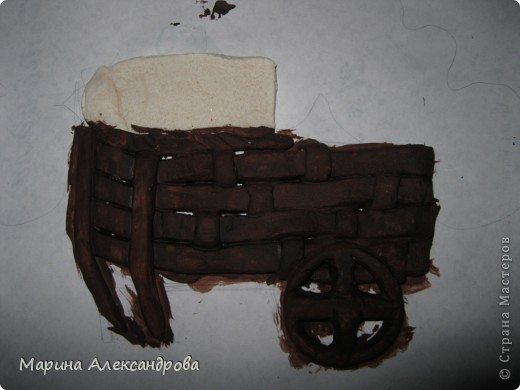
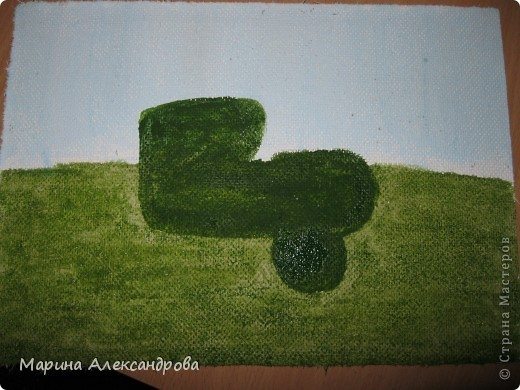
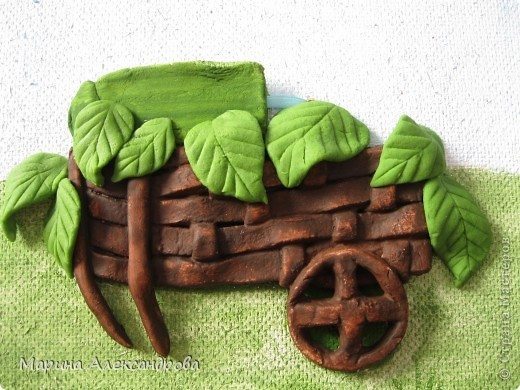
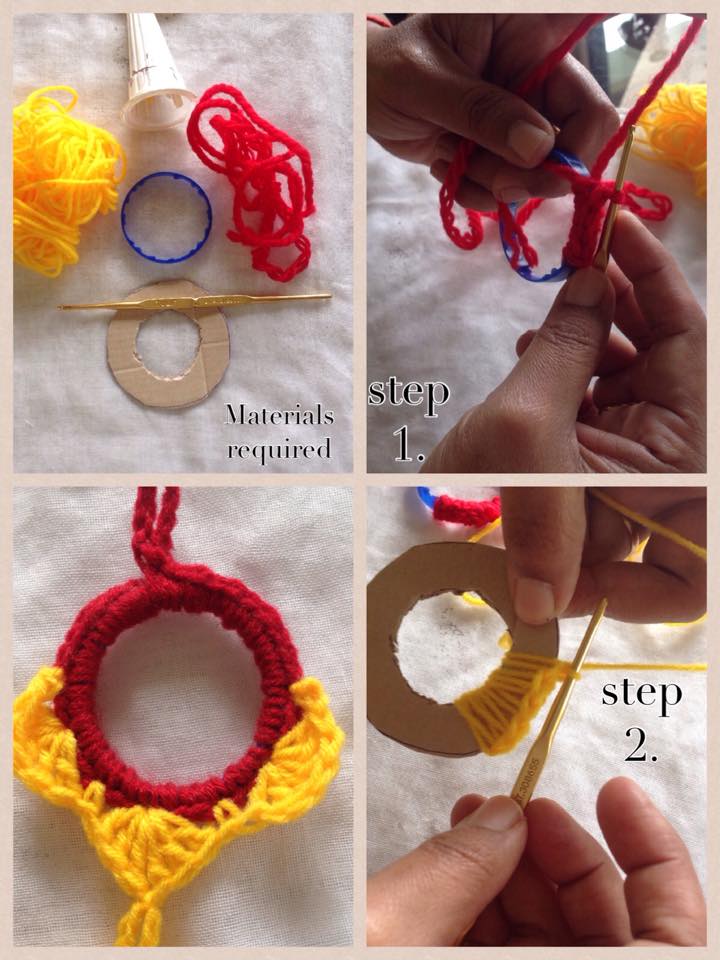
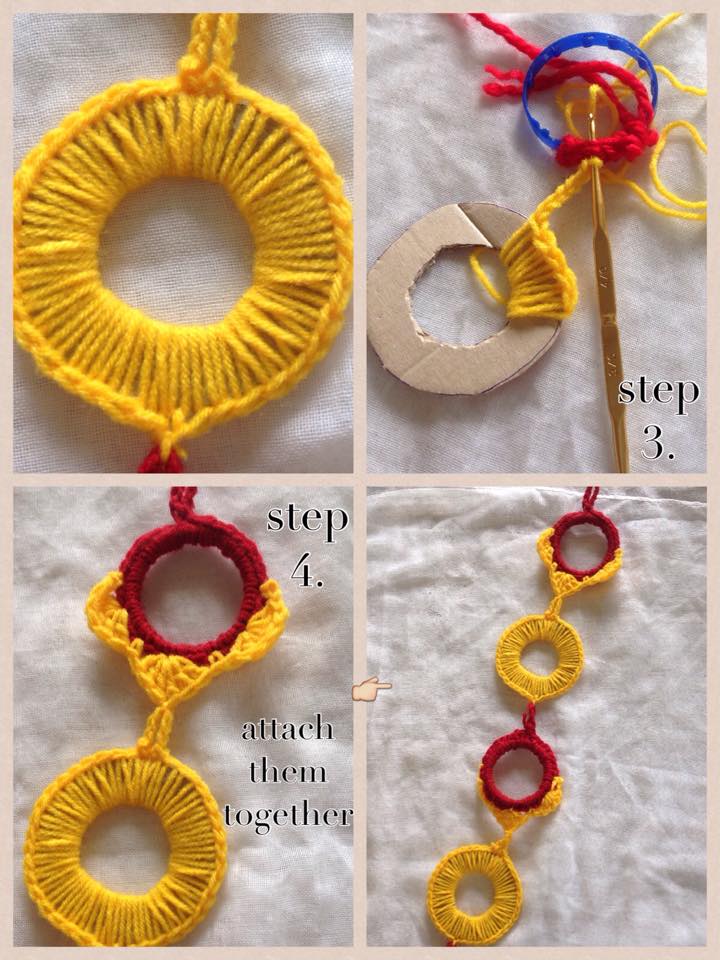
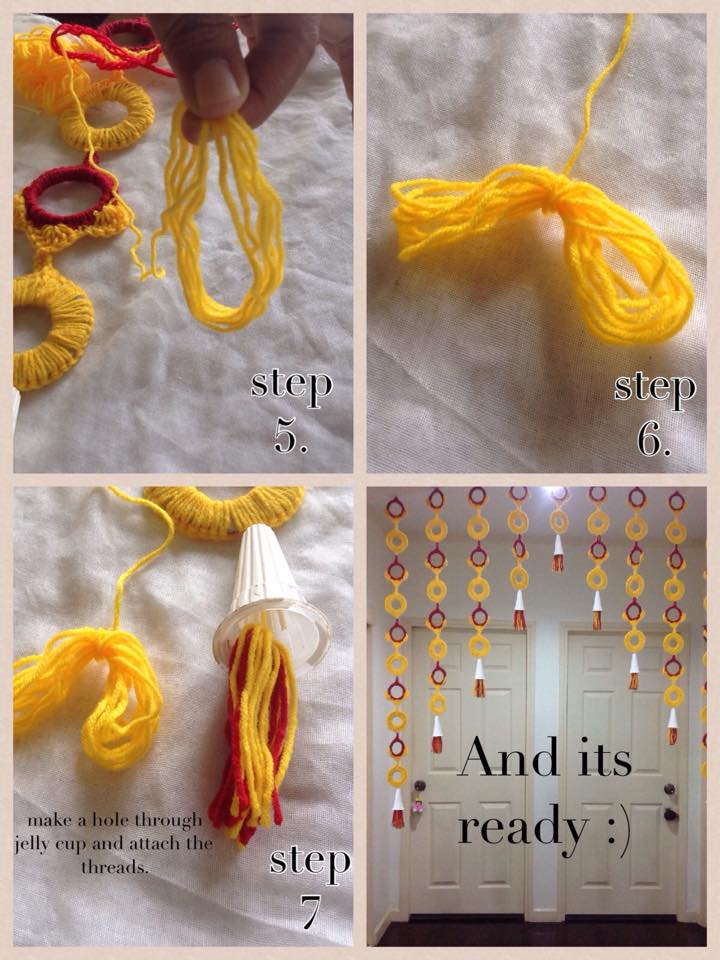
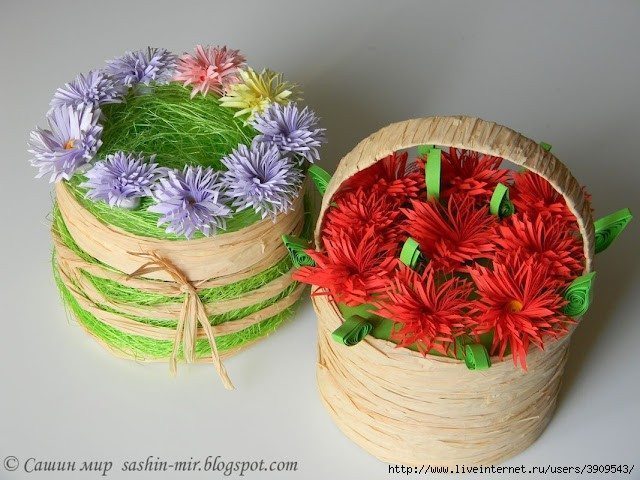
You need to prepare the following materials:
Step 1:
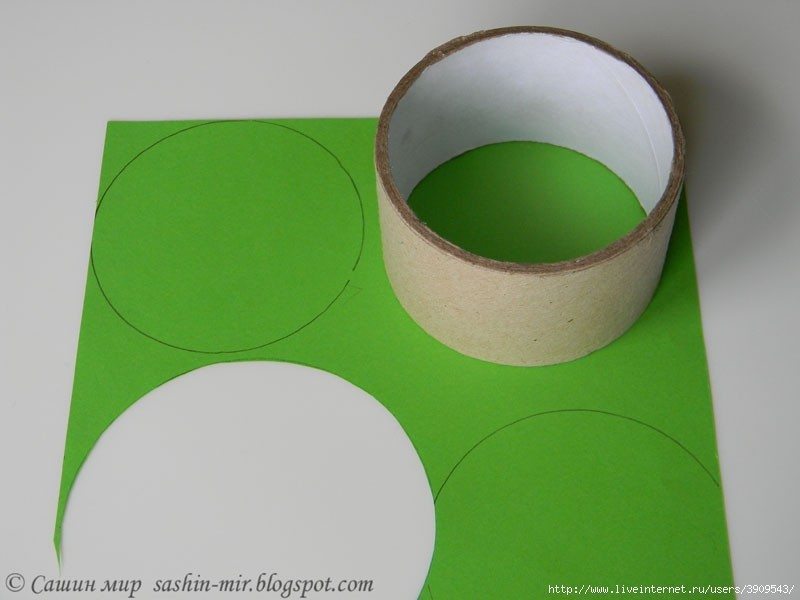
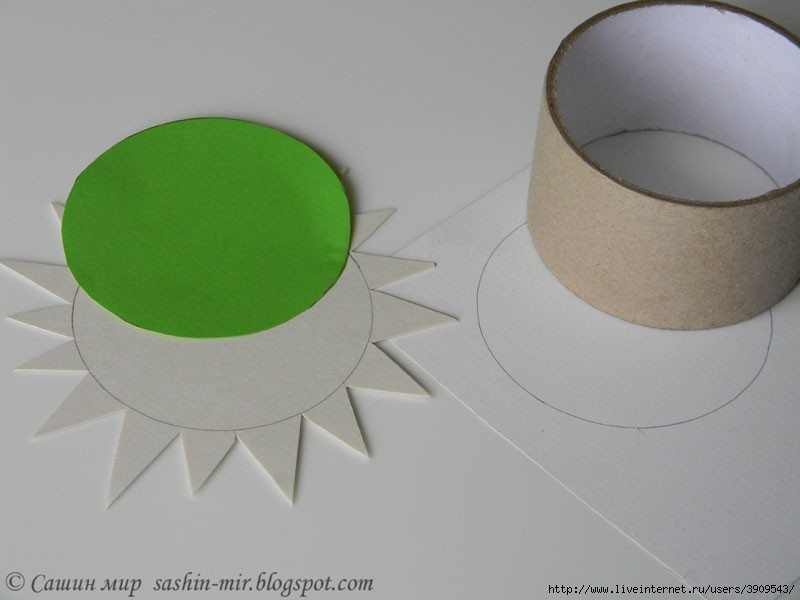
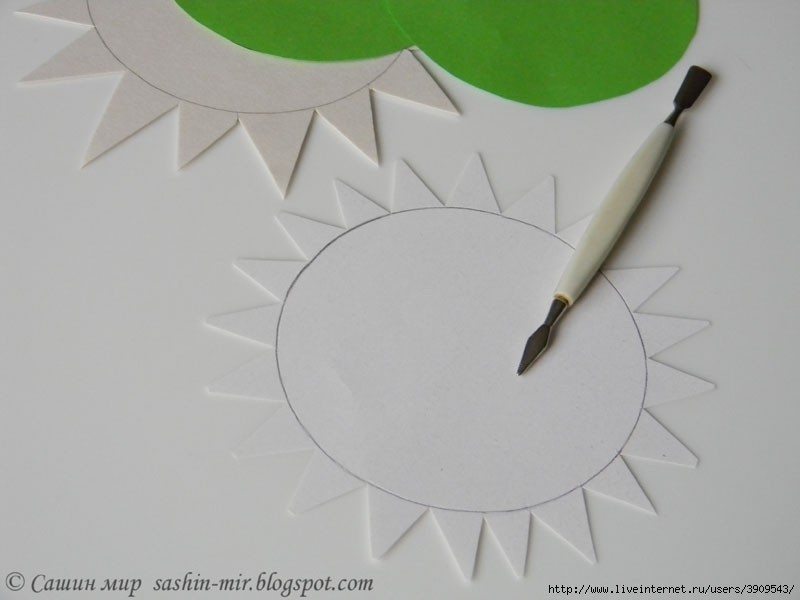
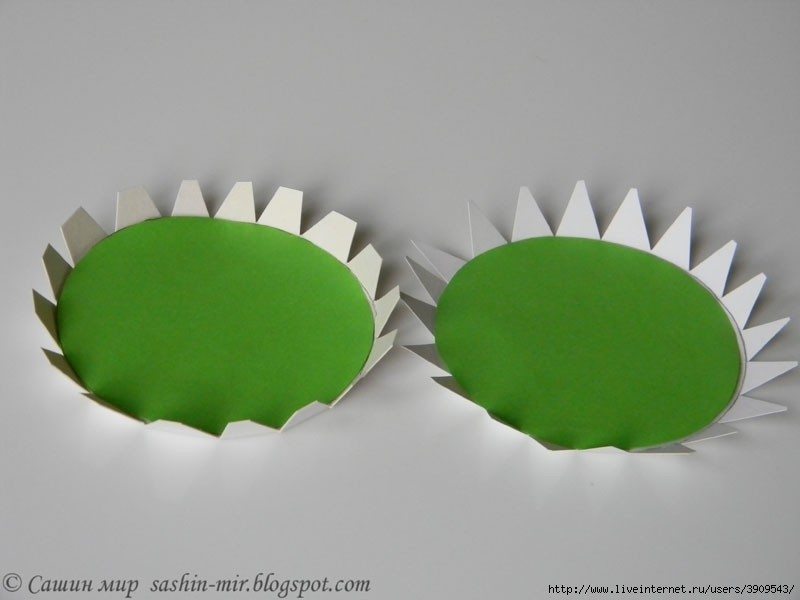
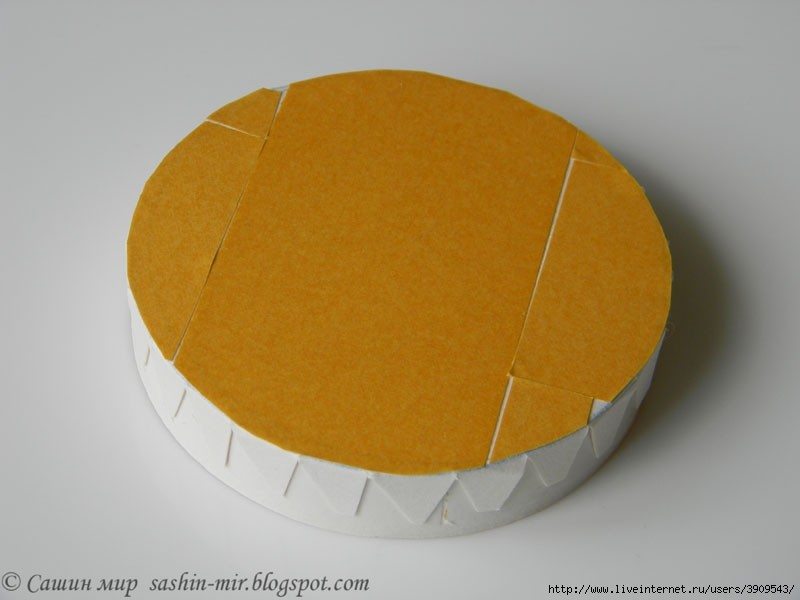
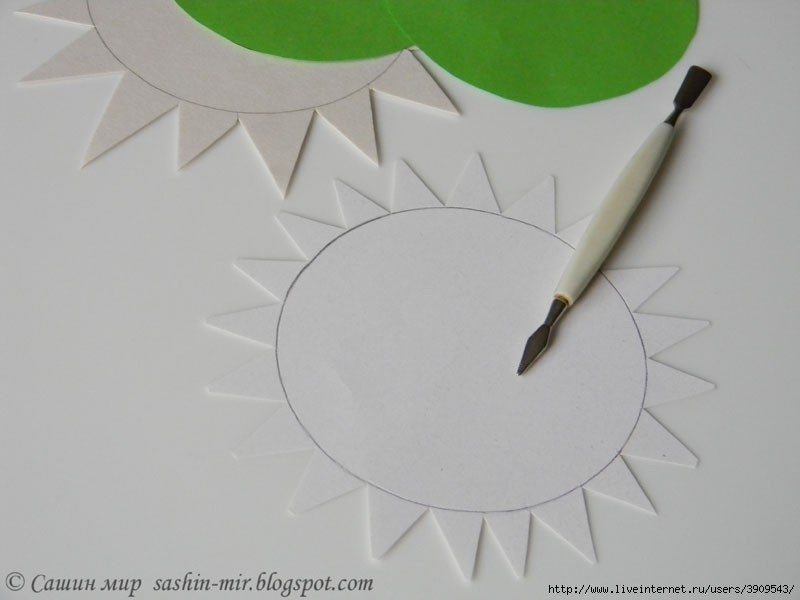
First, place the tape on core blue paper plate, grab a pencil drawing circles around the core paper and cut out. You need 3 green circle like that. Next place the tape on cardboard cores draw circles around the core paper, cut jagged around outside the circle has drawn close to the length is 1.5 cm. You need 2 serrated circle. Use milk glue green circular sticker on the white jagged circle, gently fold the steep surrounding jagged blue circle.
Step 2:
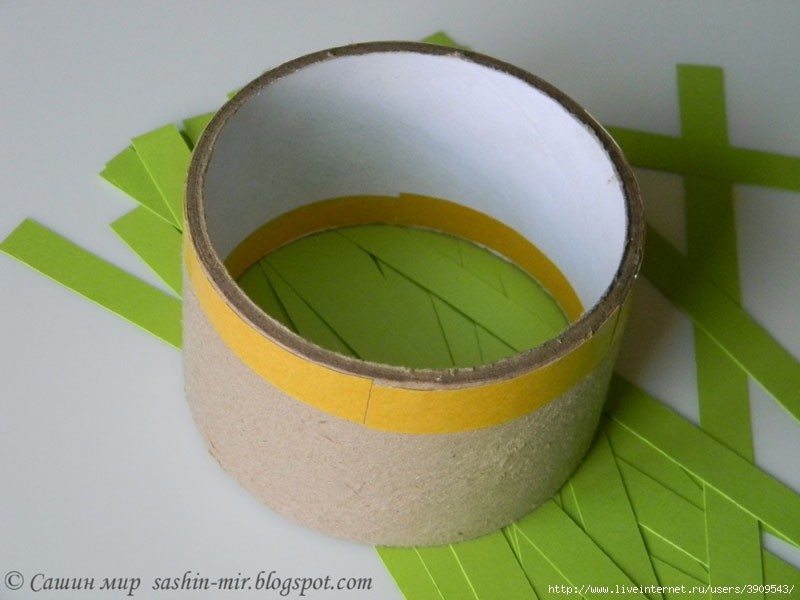
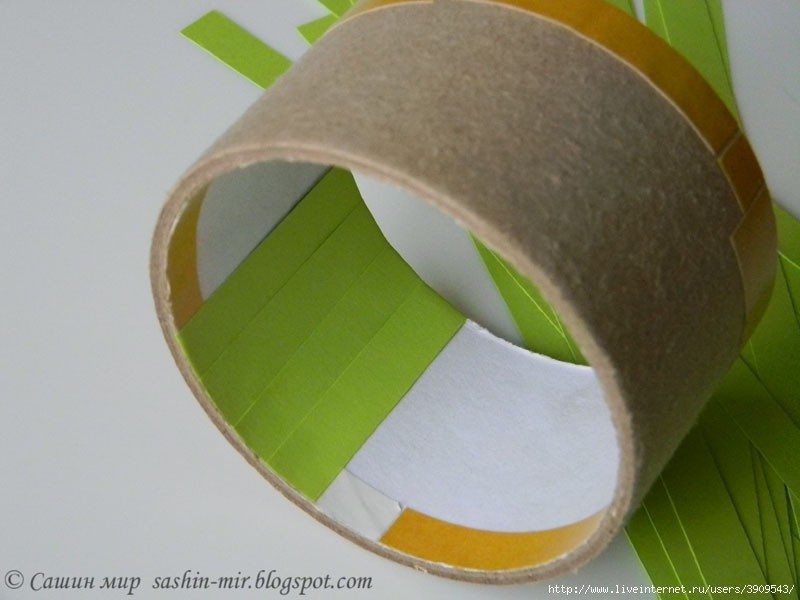
Green paper cut into long strips with a width of 1cm, the length by the width cores plus 1cm tape to paste outside. Cutting with the double sided tape 1cm wide tape inside the core paste and paste outside. Turn blue paste strips of paper, starting from the inside and outside corrugated paste. Sealed off tape inside the core.
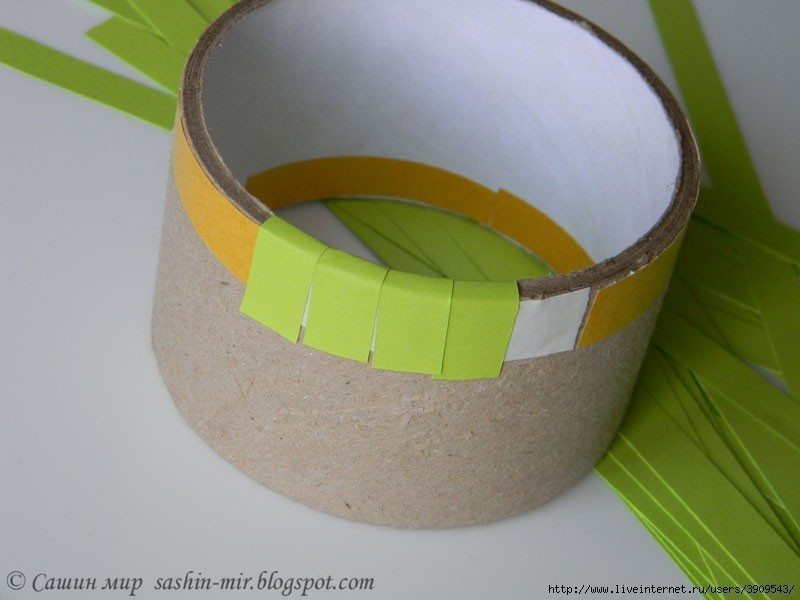
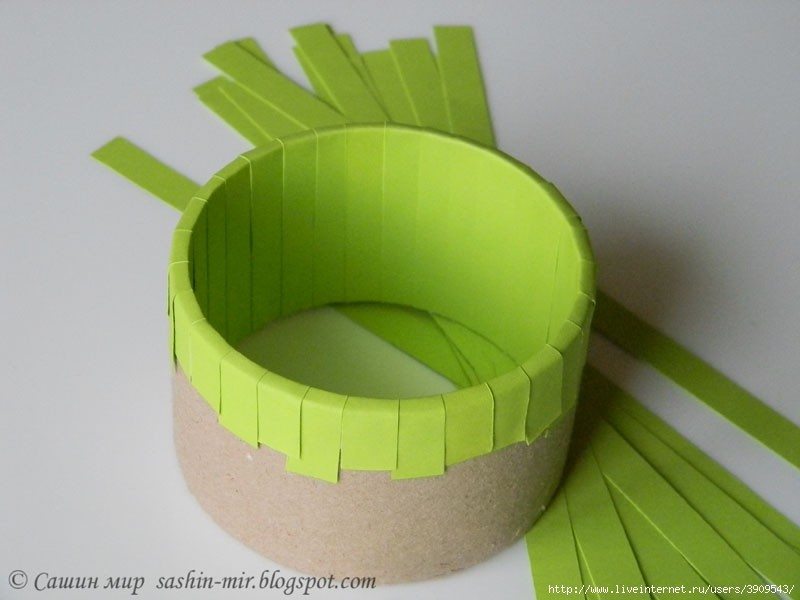
Step 3:
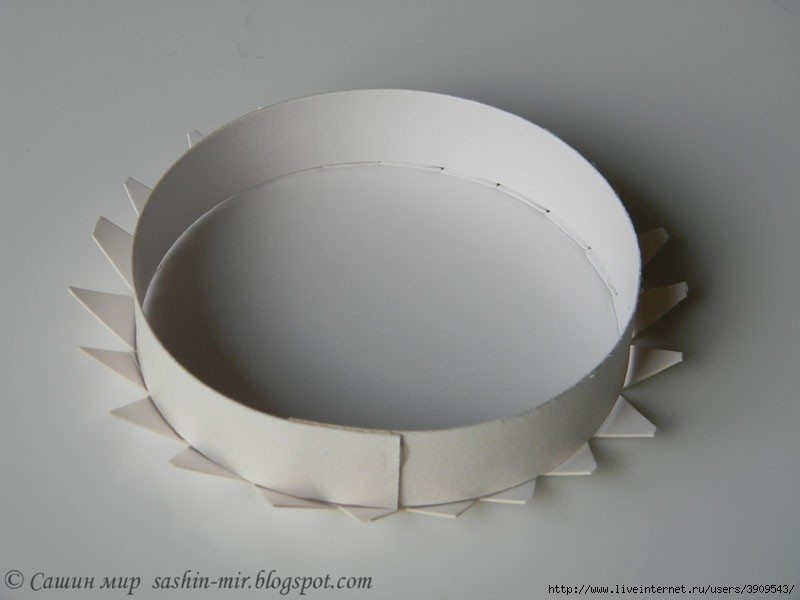
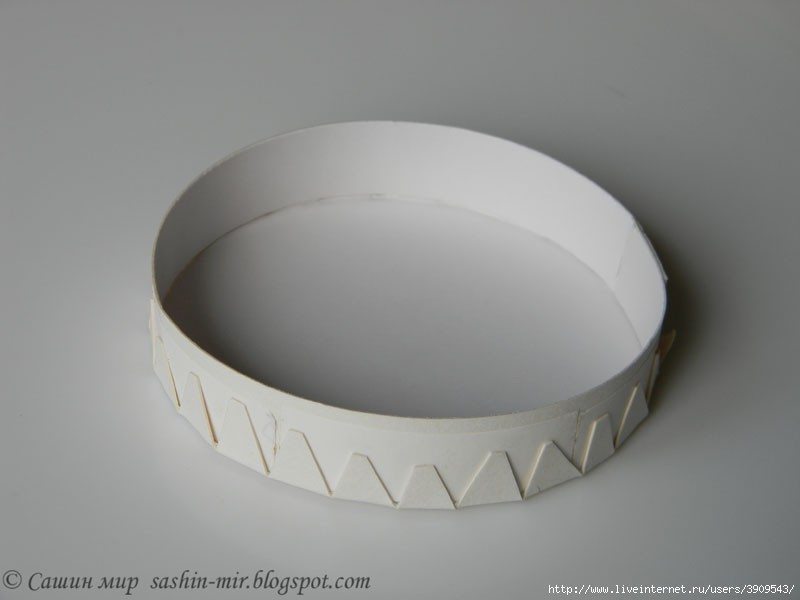
Next, you put the tape pasted core blue paper recently grafted onto bottom circle in step 1, double-sided adhesive stickers one round outside, gently fold the saw teeth overlap the glue paste. Cut 1.5 cm wide strips of colored paper glued moss outside layer stack of blue paper. Add glue paste outside serrated layers ensure adhesion sure. You box yourself.
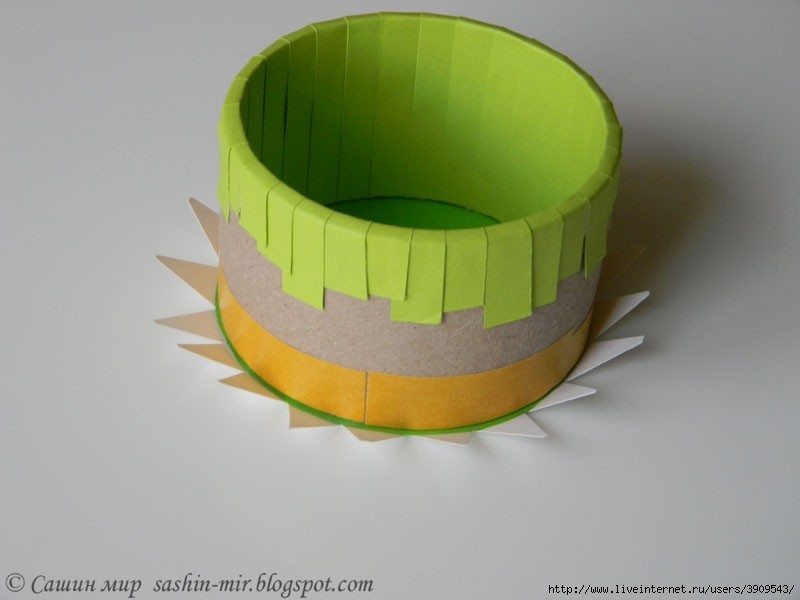
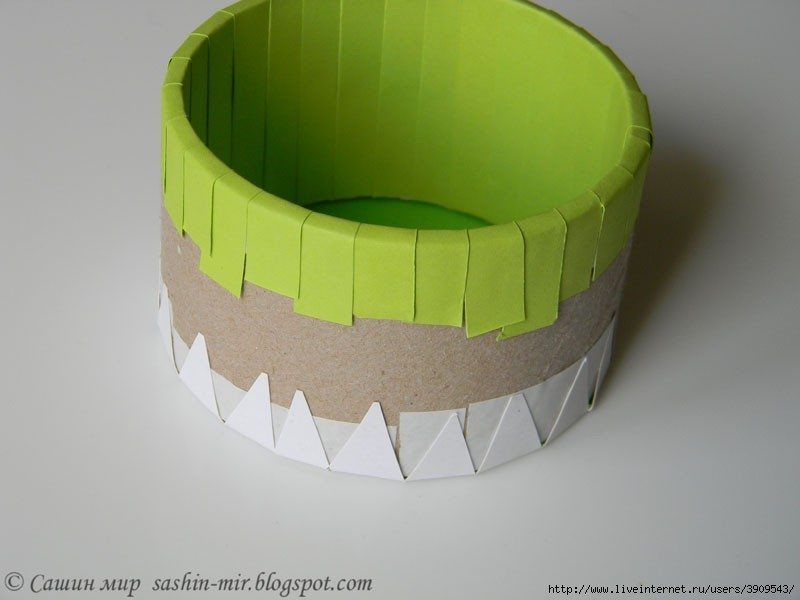
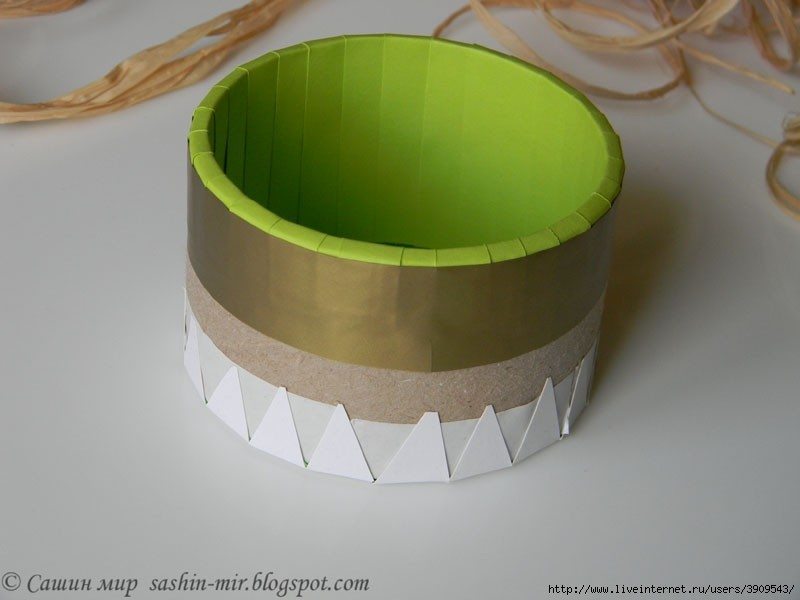
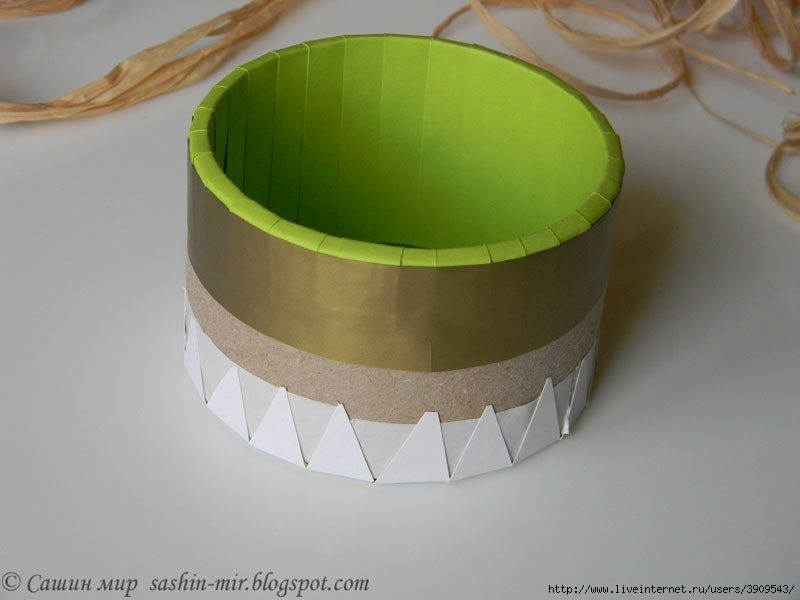
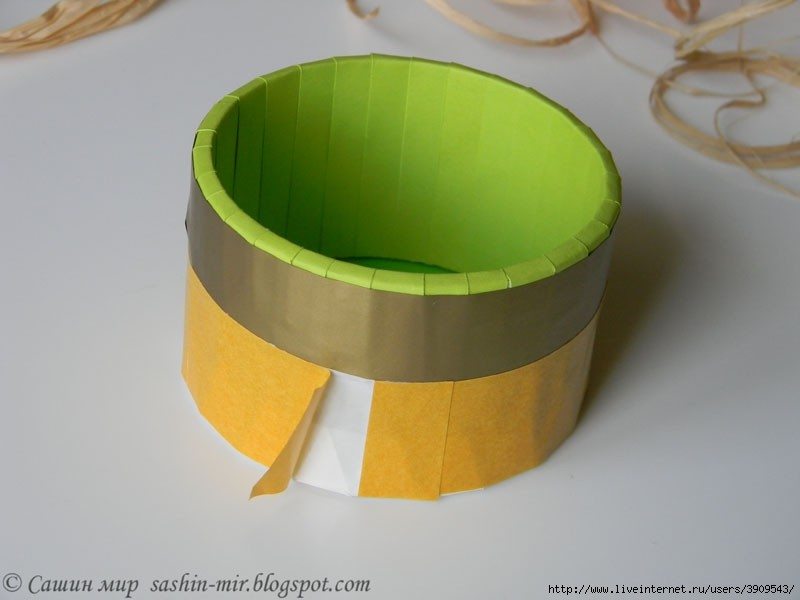
Step 4:
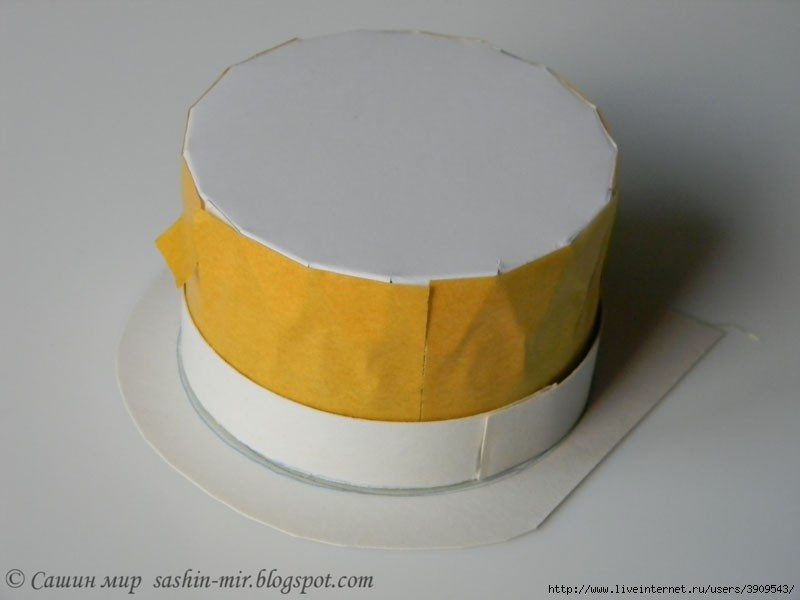
Cut a long strip of paper with a width of 1.5 cm Hard wrapped around the outside layer of moss colored paper, cut and paste paper strips into circles. Note: do not stick to the core circle of paper tape. Paper core upside down on cardboard, draw a circle outside, jagged cut around the circle just drawn, pasted on the circular serrated circular plate as the lid.
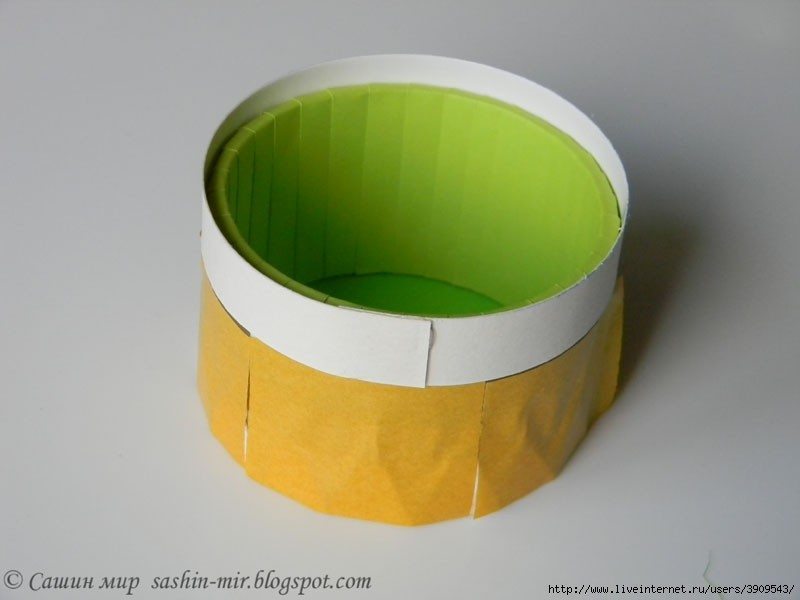
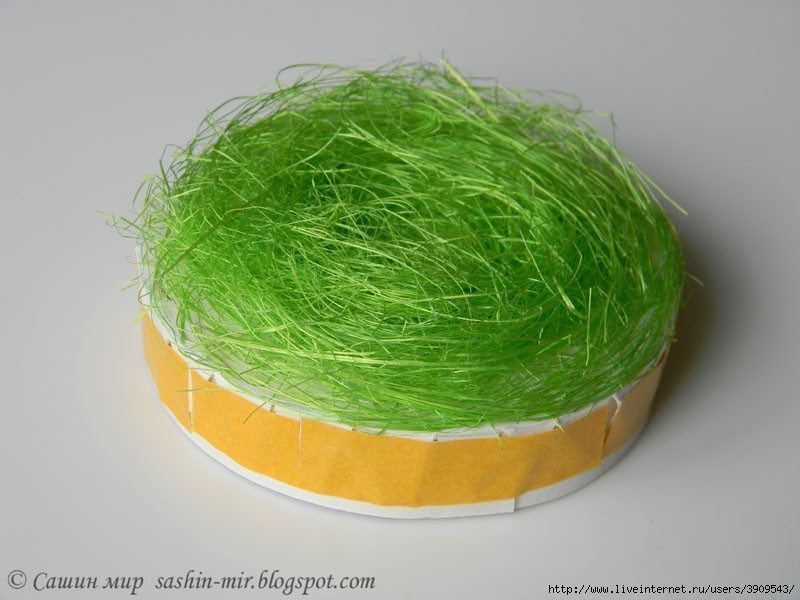
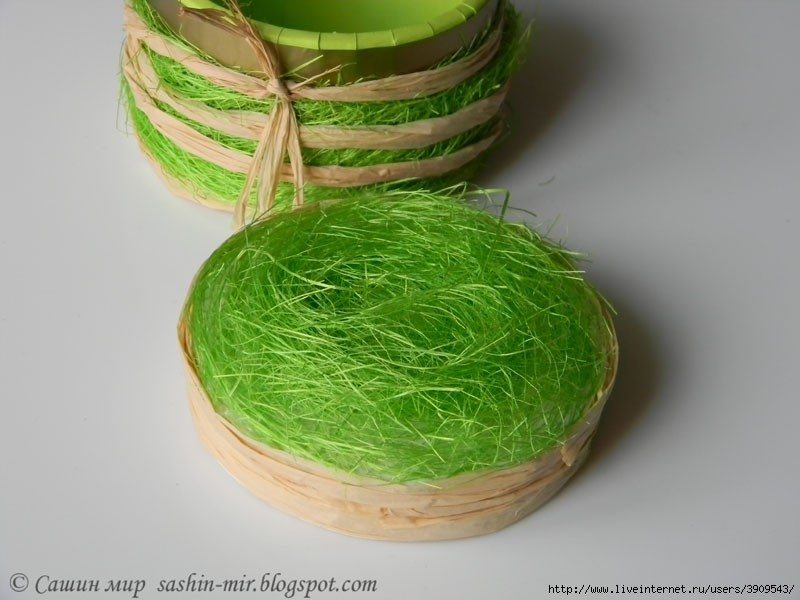
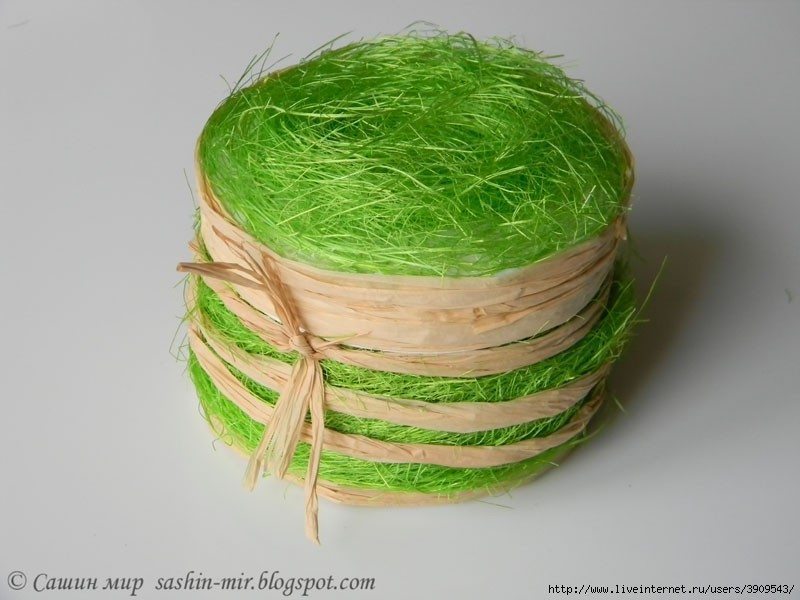
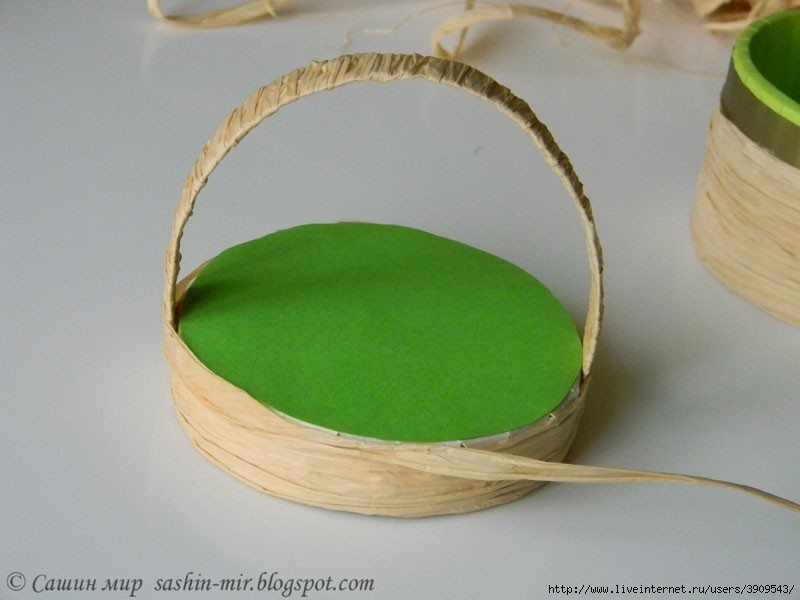
Step 5:
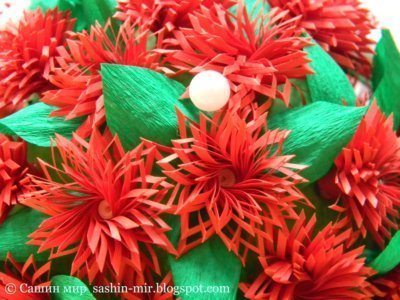
Making the box with a handle: blue circle Paste (cut in step1) sticker on the side of the lid, the next you cut 1cm wide strips of long white colored paper wrapped around two sides and then glued to the lid, glued strips around the fixed paper, paste red flowers (made above) decoration on the lid.Your body paste paper strips sealed box around.Gift box your finished!
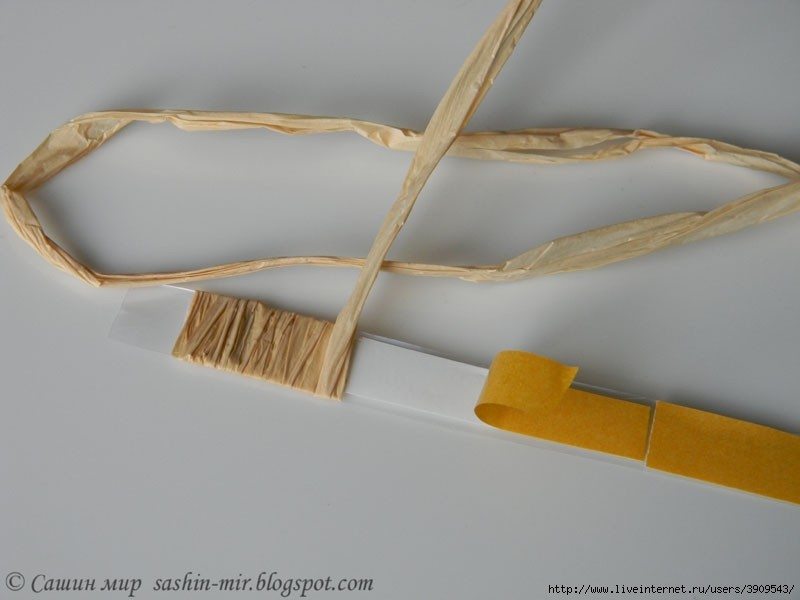
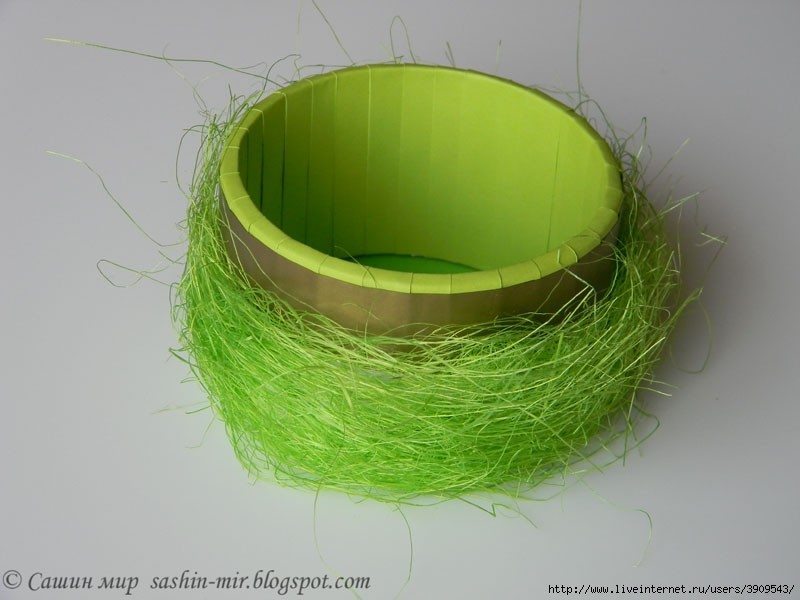
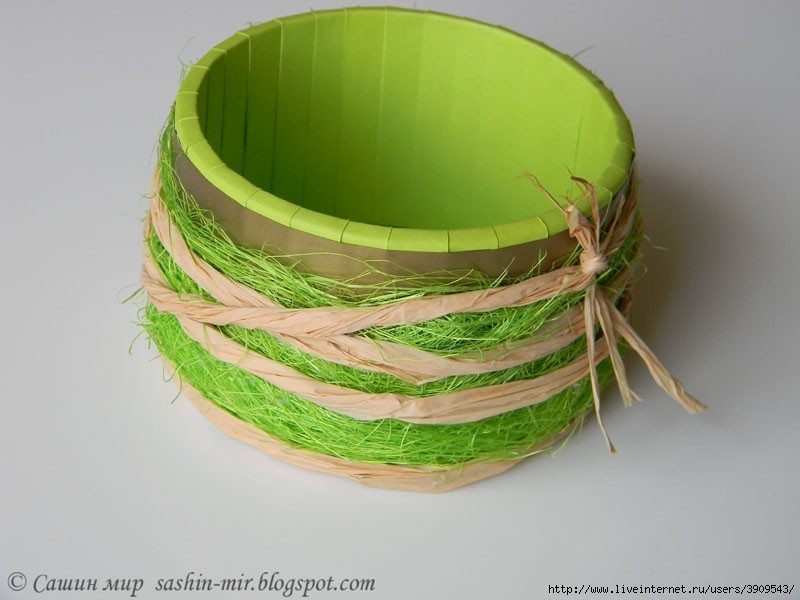
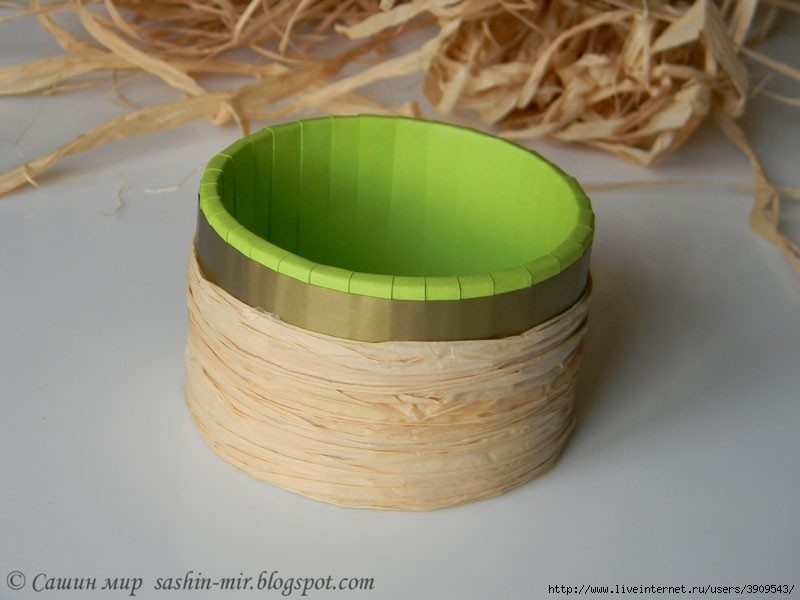
Step 6:
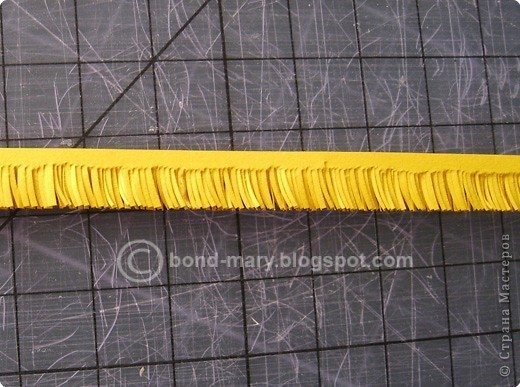
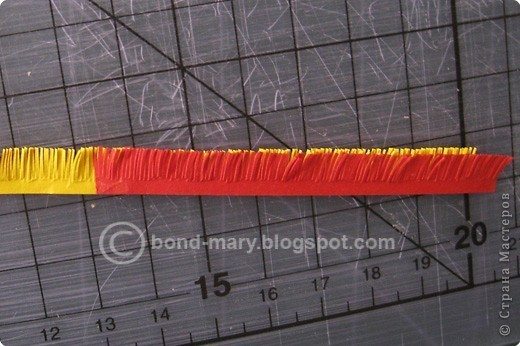
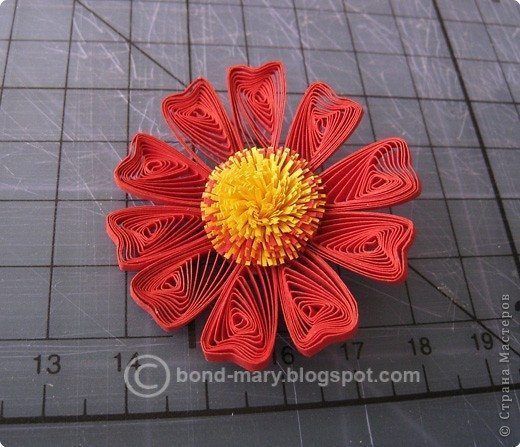
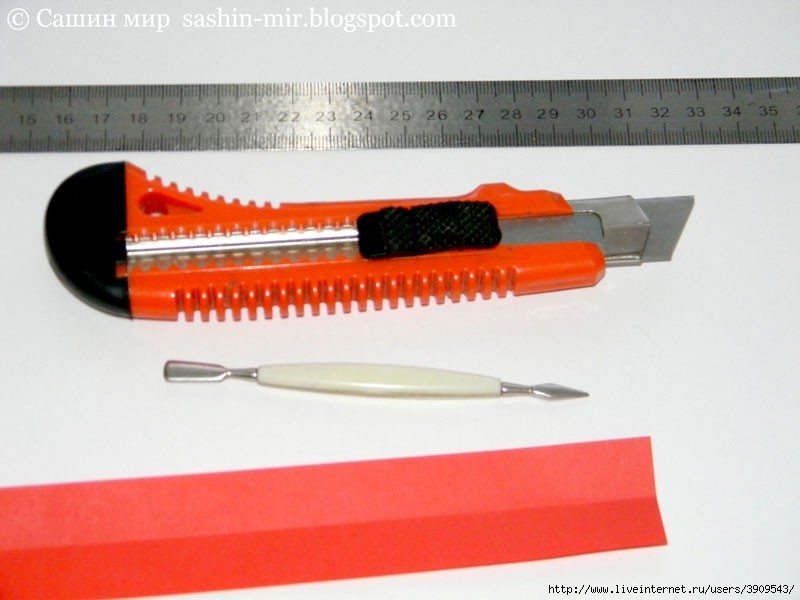
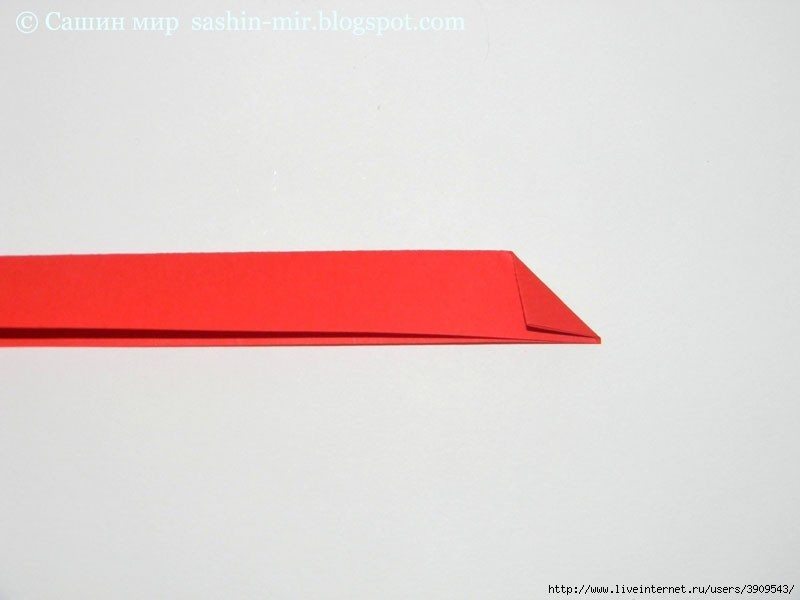
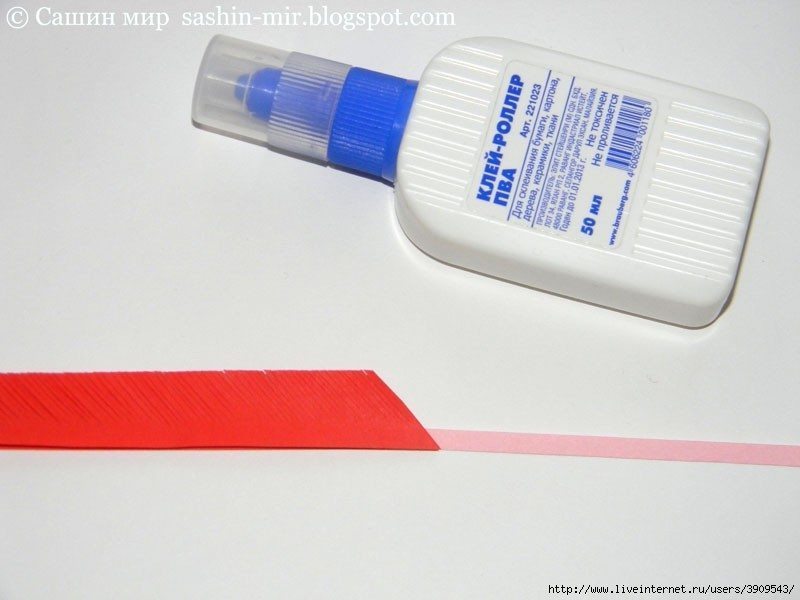
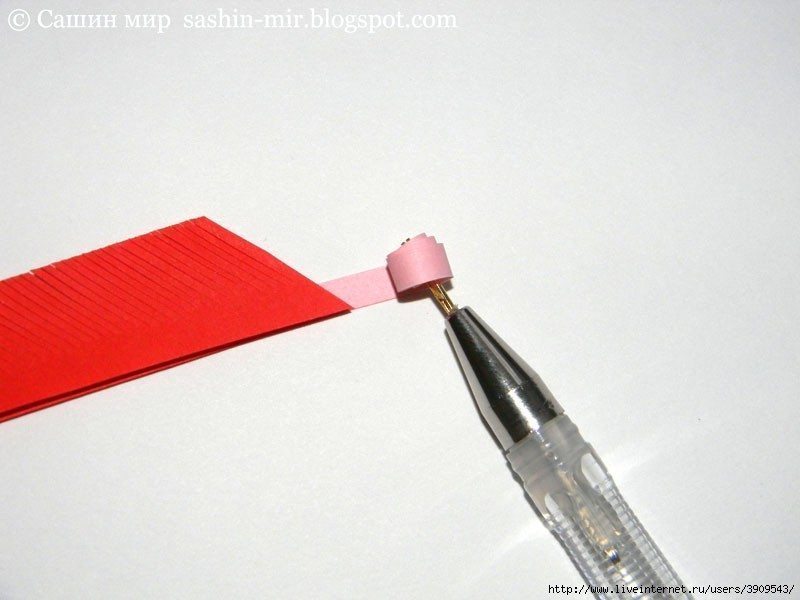
How to make paper flowers: you need a wide strip of pink paper 0.3 – 0.5cm long 15 cm, and 1 strip of red paper with a 6cm 15cm wide. Double the red paper strips, using straight strokes on the folds size. Fold one corner of the triangle and cut diagonally to form.Perform tassels cut paper strips parallel to diagonal cut.The tassels with a 0.1 cm wide – 0,2cm, length 2.5 cm.Glue strips of milk paste a pink top at the beginning of the red paper strips just finished cutting.

Step 7:
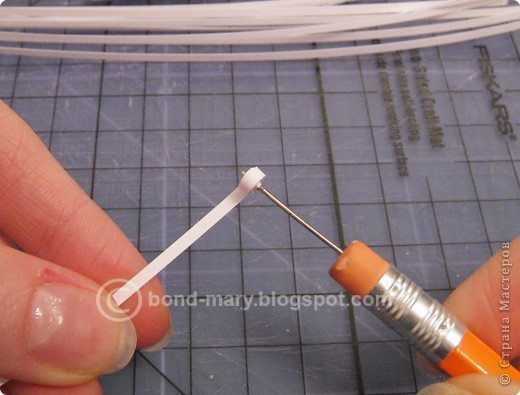
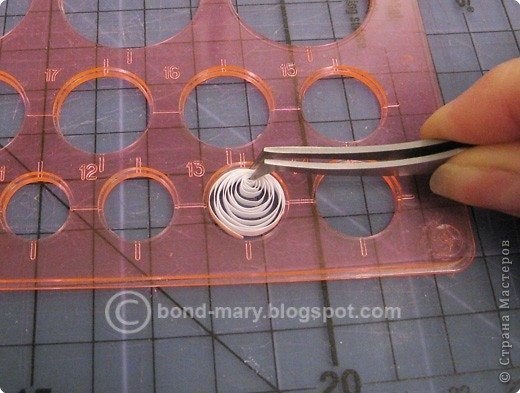
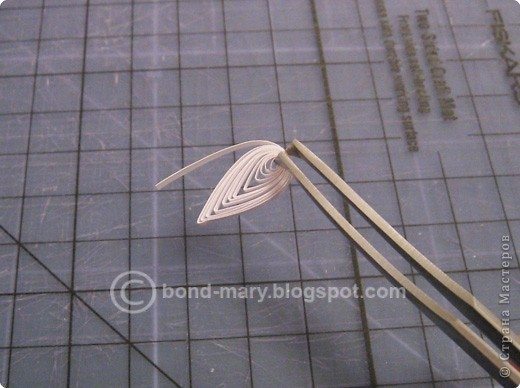
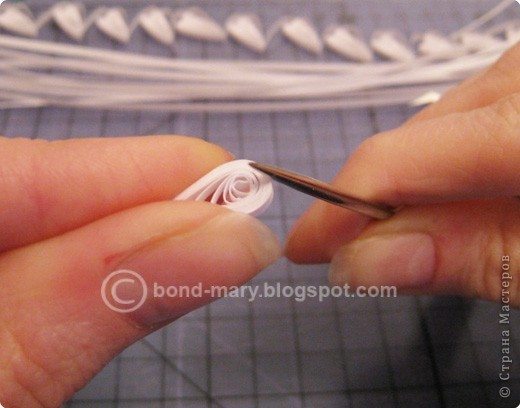
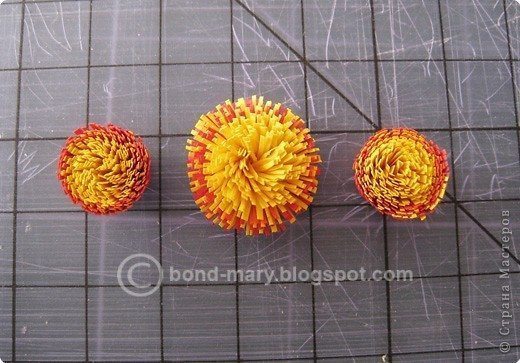
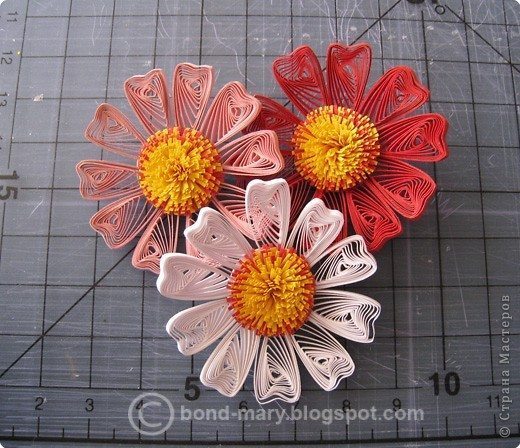
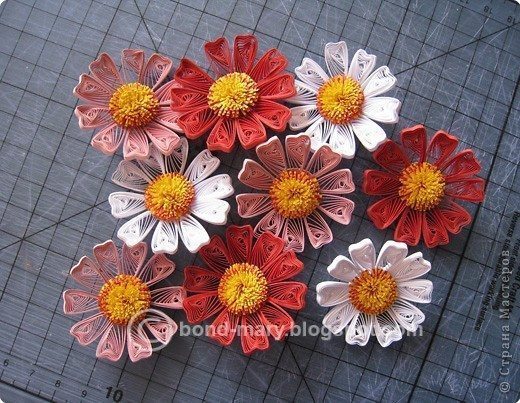
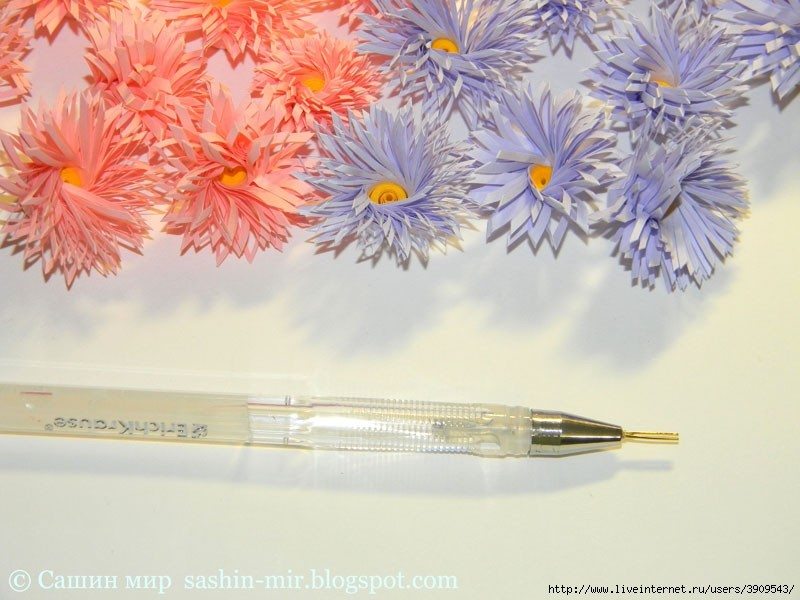
Place the tip of the pink paper strips into the slot of the twisted paper instruments (without this tool, you temporary head lightly glued toothpick or sharp awl for easy scrolling) rolled into strips pink, pink roll out continues Roll with a red circle. When you notice the book Roll tightly and evenly hand. After finishing the book fixed with glue paste of milk, you have red flowers twisted paper. Similarly you make more red flowers to decorate gift boxes to add highlights.
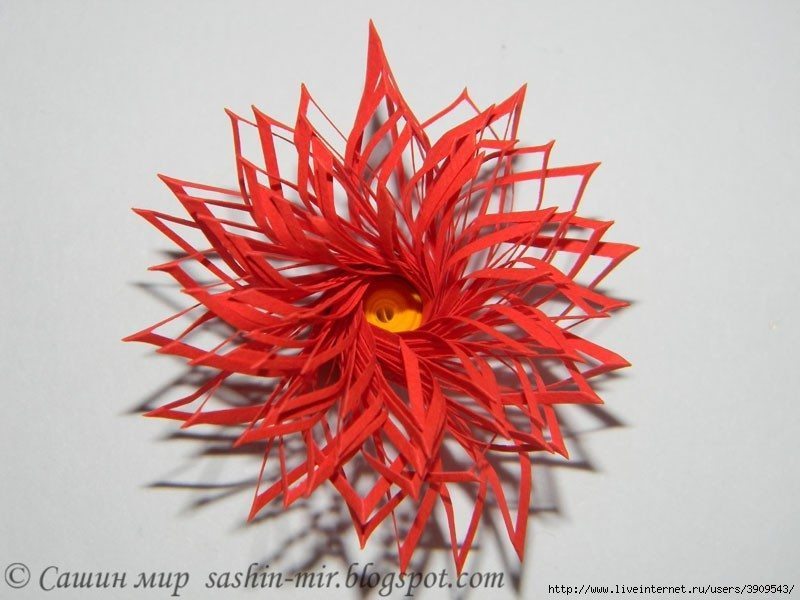
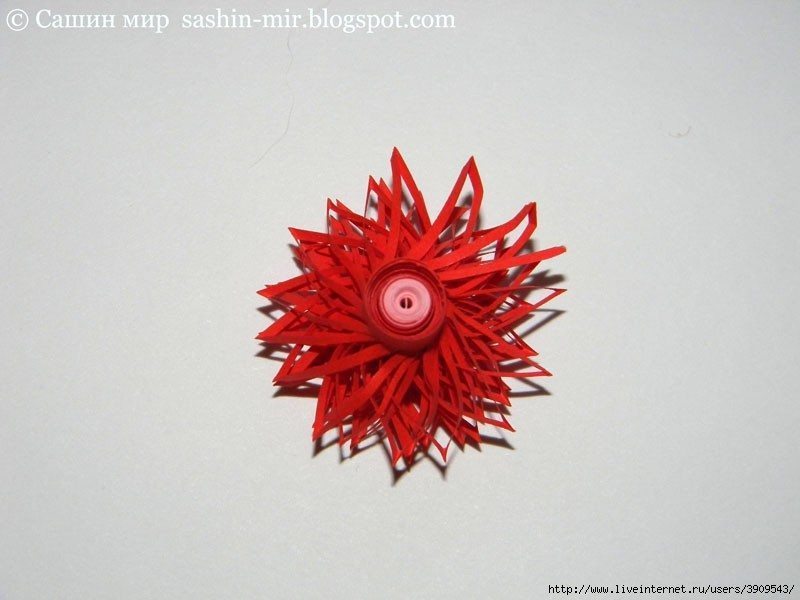

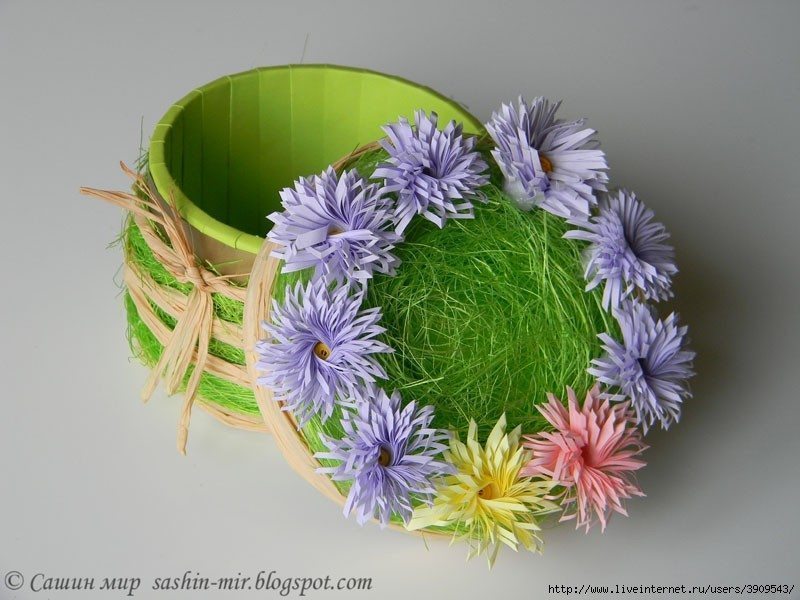
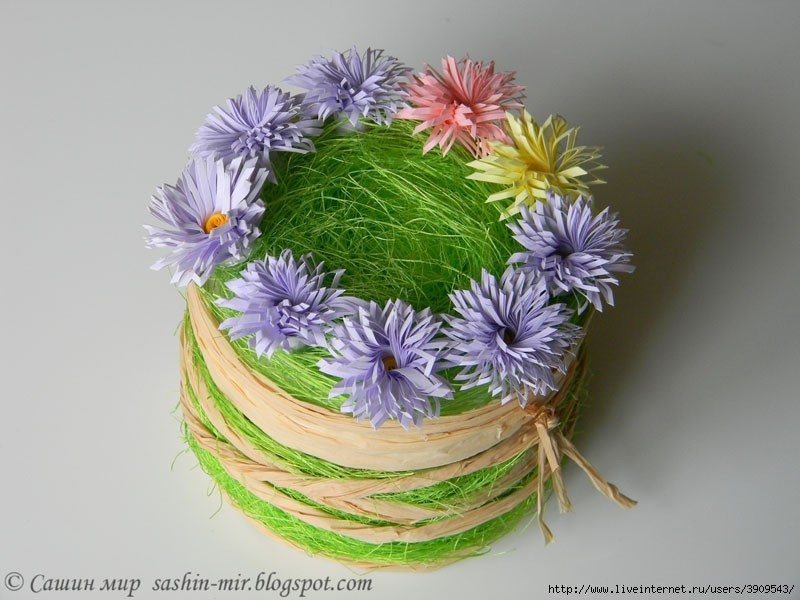
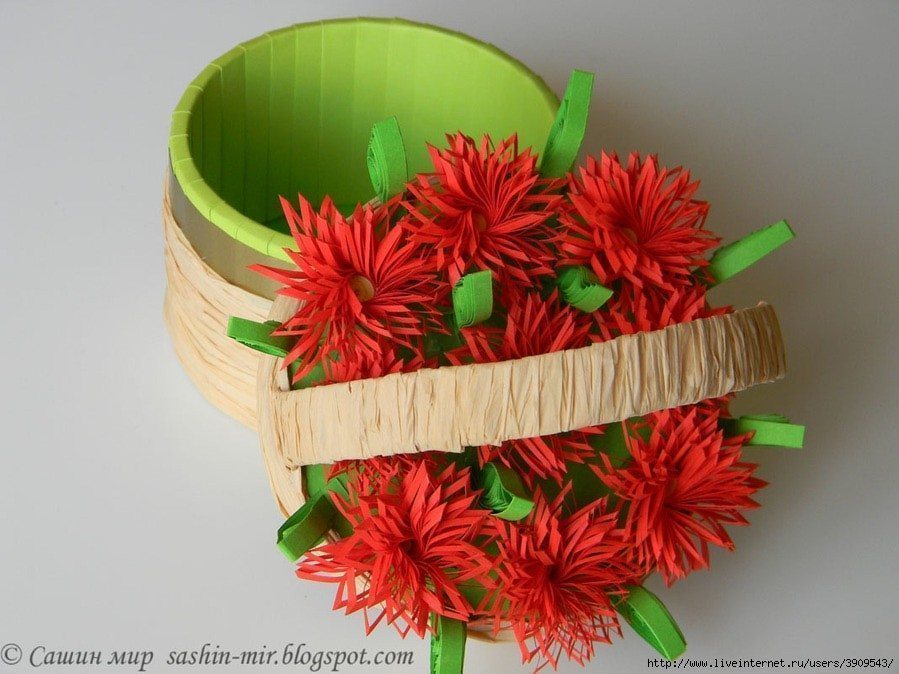
With just a bit of paper cores and colored tape, through skillful hands of you, it has turned into a gift box cute!
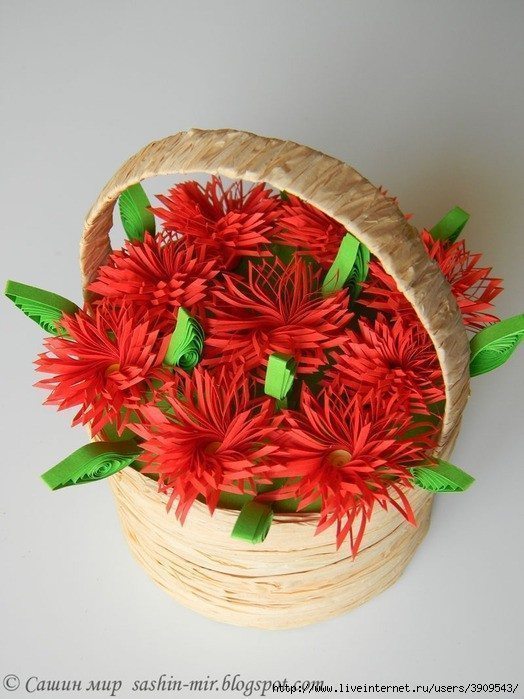
This should be a simple gift that interesting, to your surprise gift for your loved ones! Good luck!
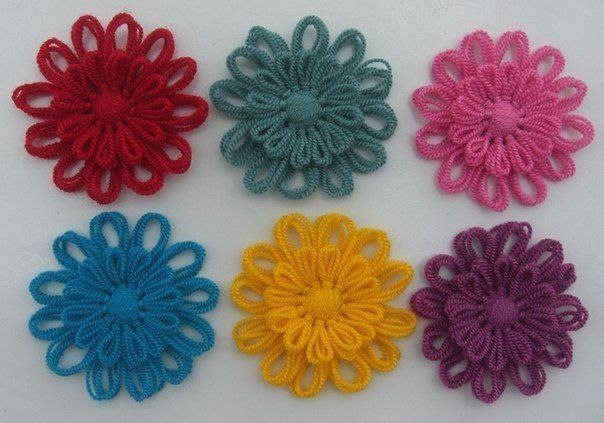
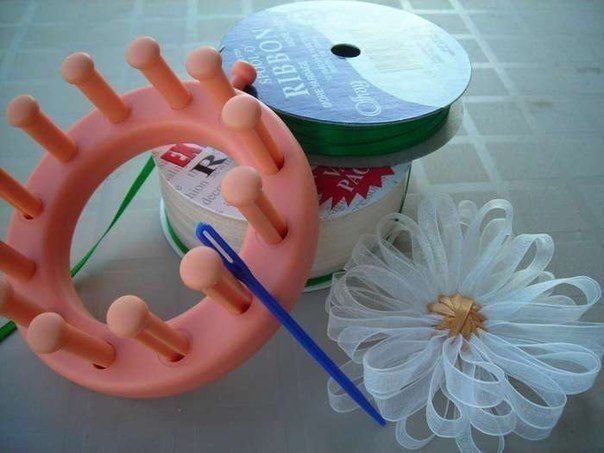
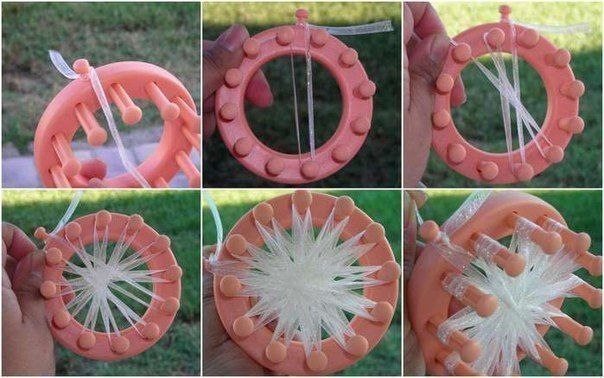
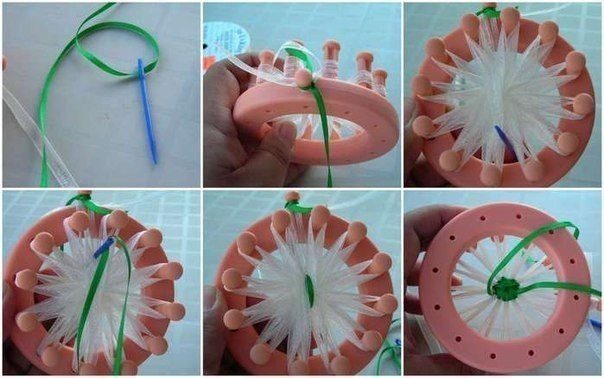
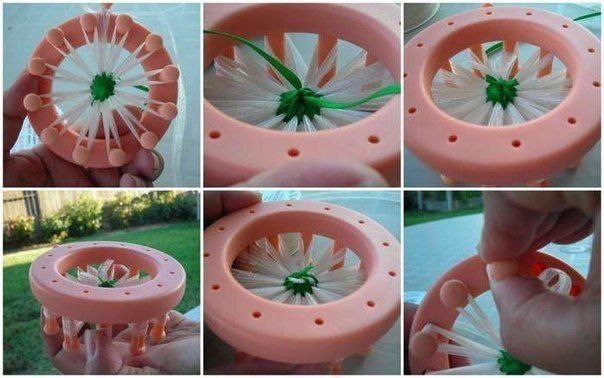

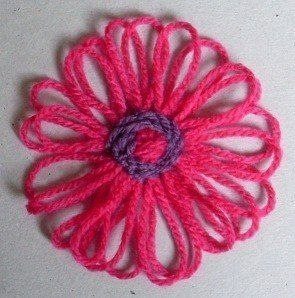
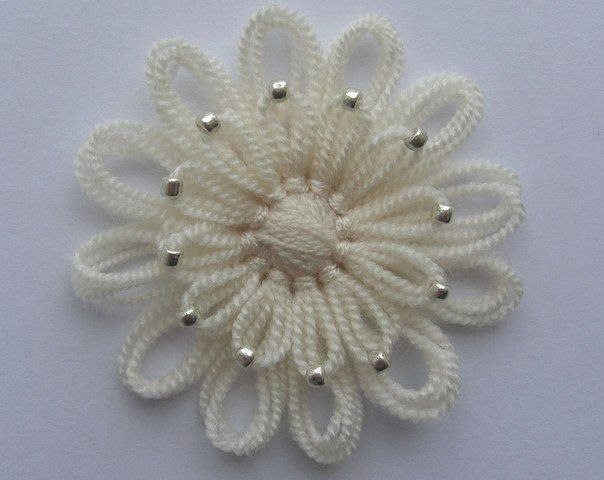
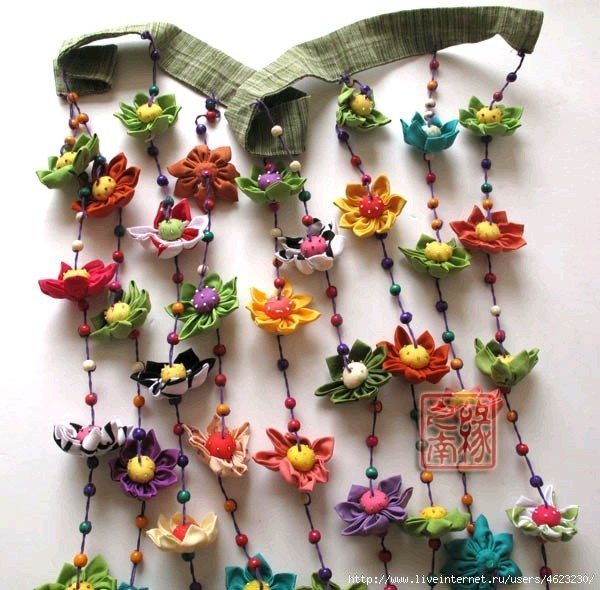
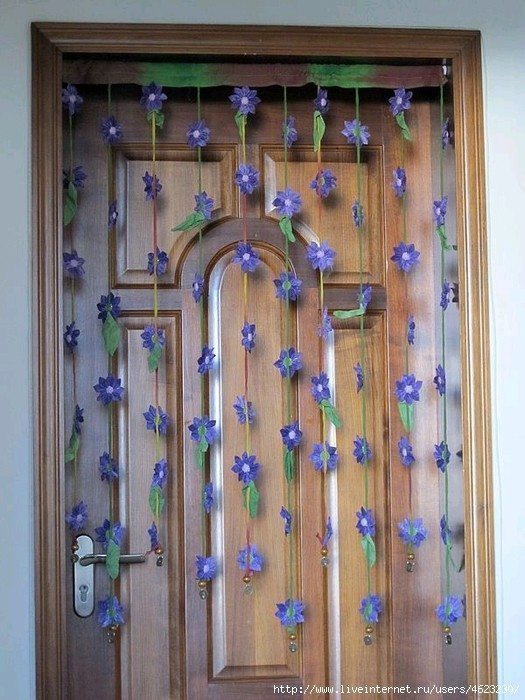
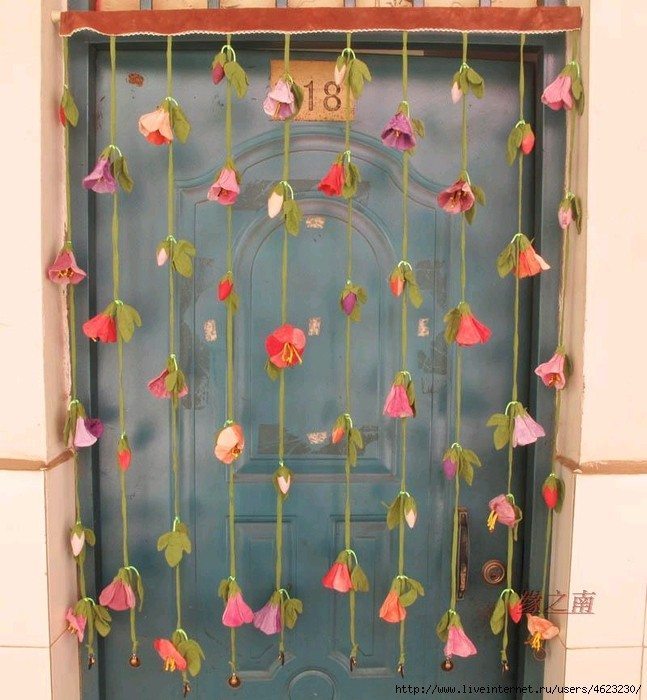
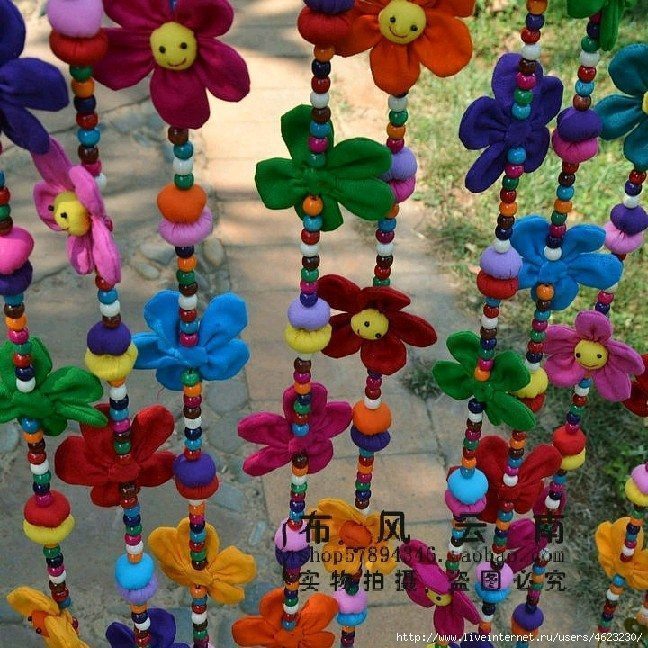
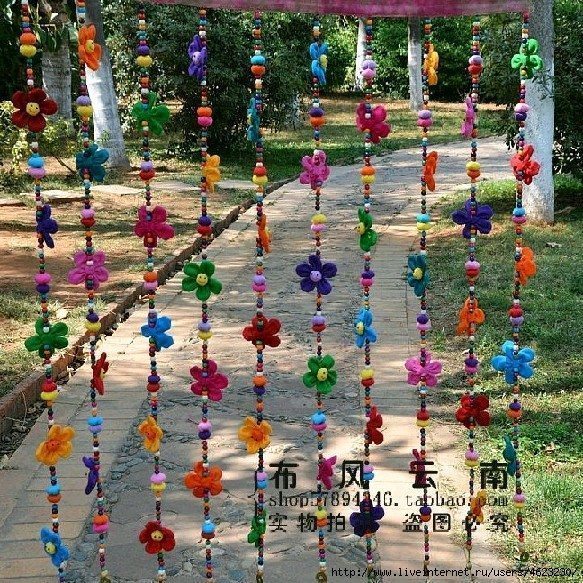
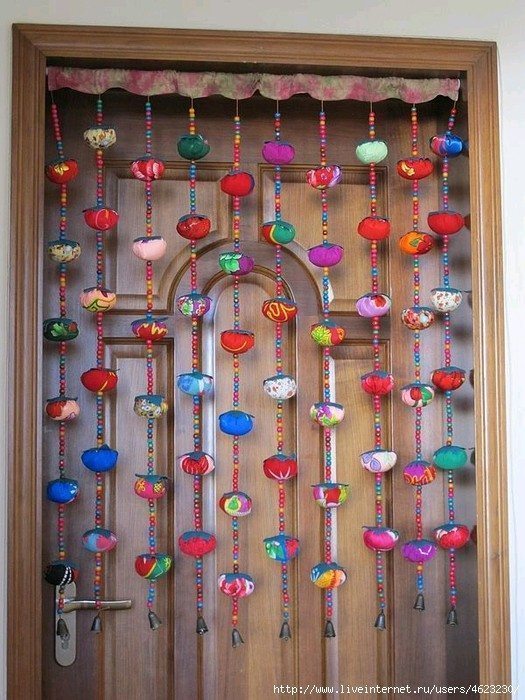
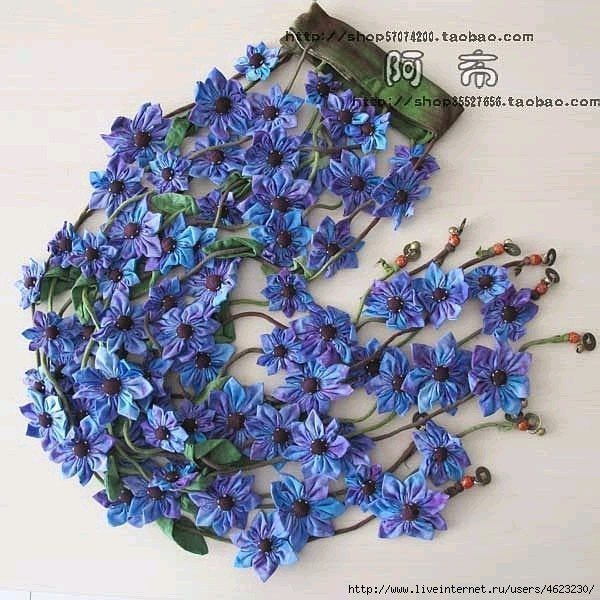
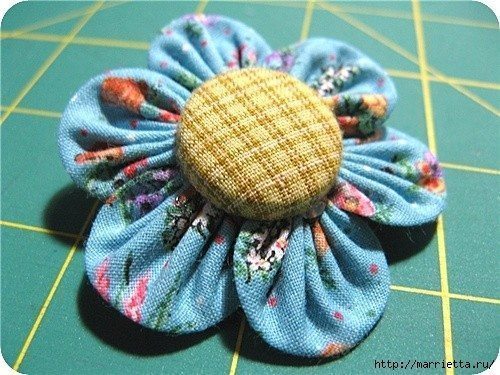
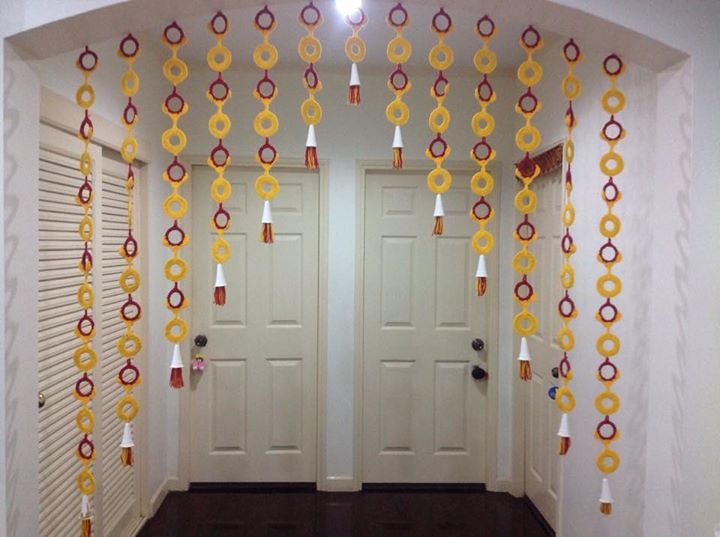
Decorate door opening from cloth flowers.
