Butterfly Bows: Open the laundry room window and breath in all that springtime air. Ahhhhh! Macey’s at school, Maddy’s down for a nap and the laundry’s going in the washing machine. My favorite time of time of day! Okay, on to the butterfly bows for reals this time.

Alright, cut two pieces of ribbon 8.5 inches and two pieces 6.5 inches.

Line a hair clip with ribbon (you can get them at Sally Beauty Supply). Then take your 8.5 inch piece of ribbon and fold it in half. Pinch it in the middle and that way you know where the center of the ribbon is. Hot glue the center of the ribbon to the hair clippy.
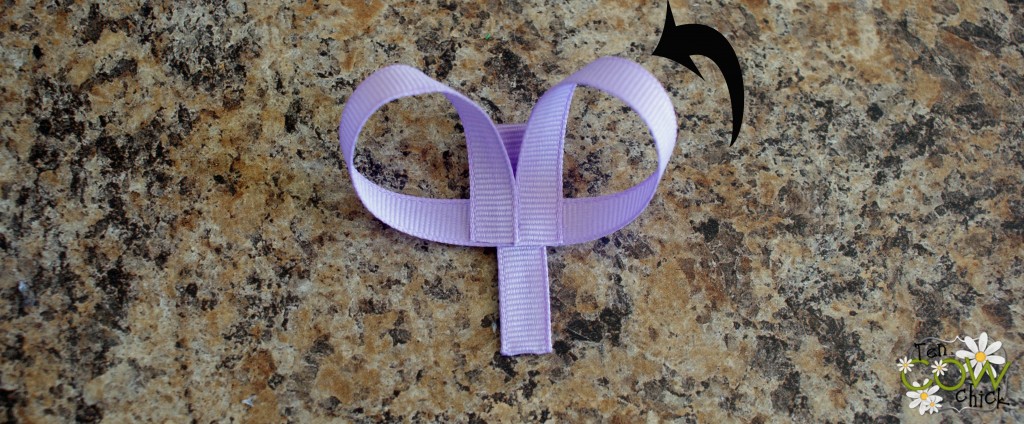
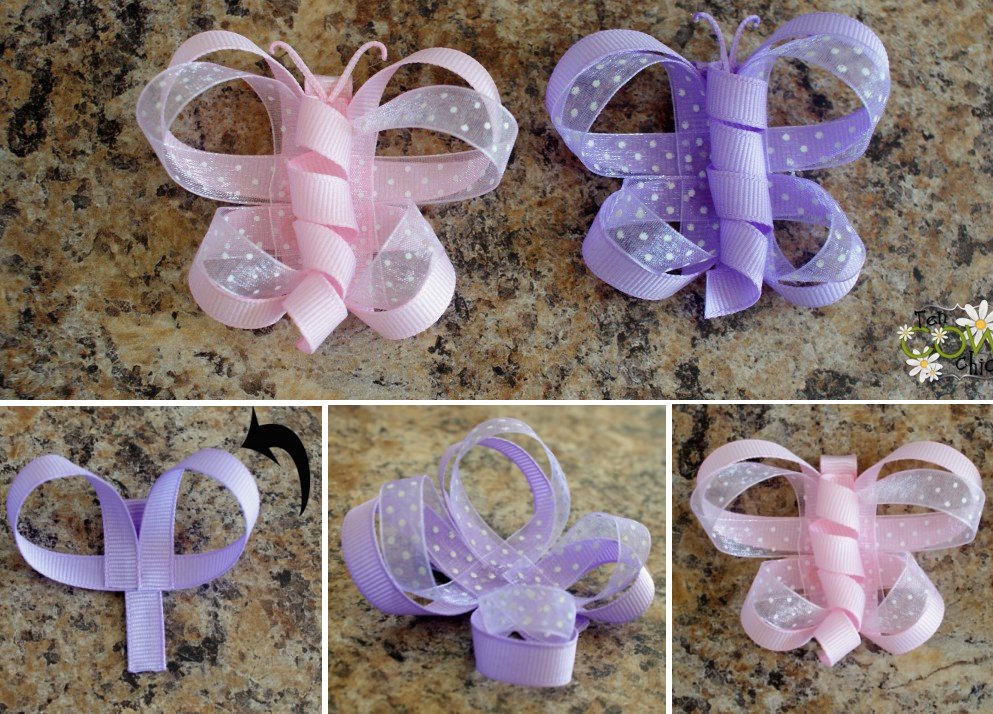
Now take the ends of the ribbon and loop them around and glue them down. So that’s the top half of your butterfly.
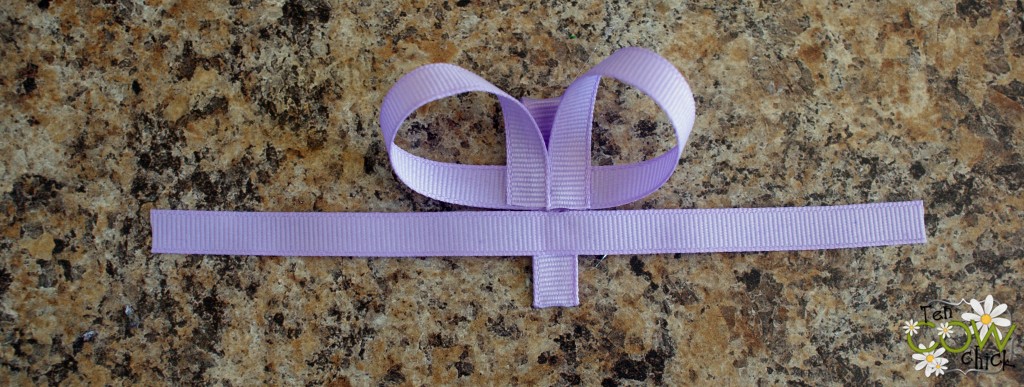
Now do the same thing to make the bottom half of your butterfly with the 6.5 inch piece of ribbon.
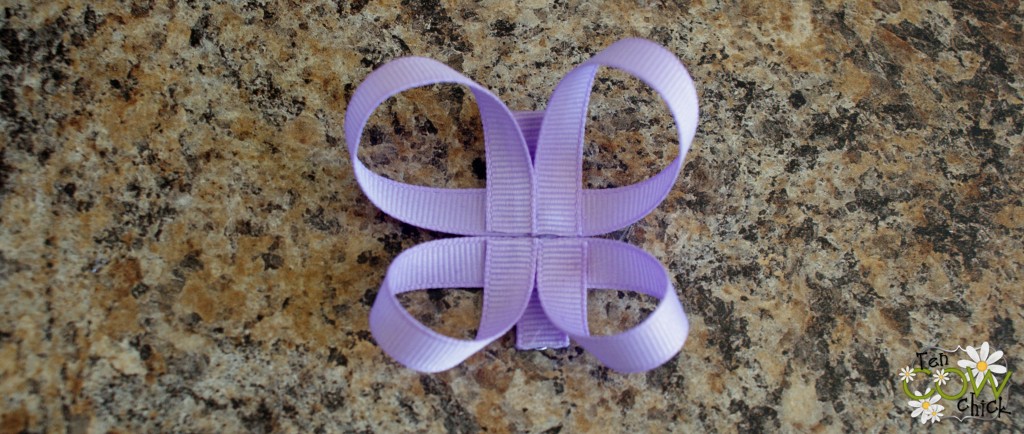
And it will look like that.
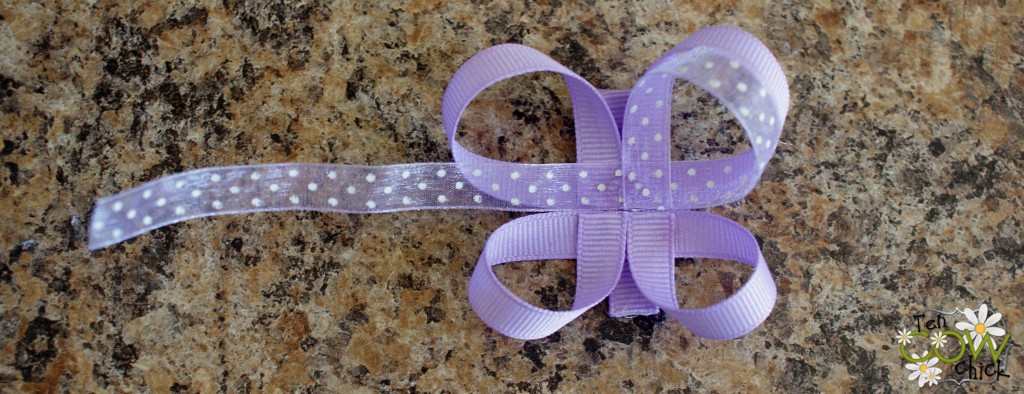
Now take your sheer pieces of ribbon and glue them over the top of the other ribbon.
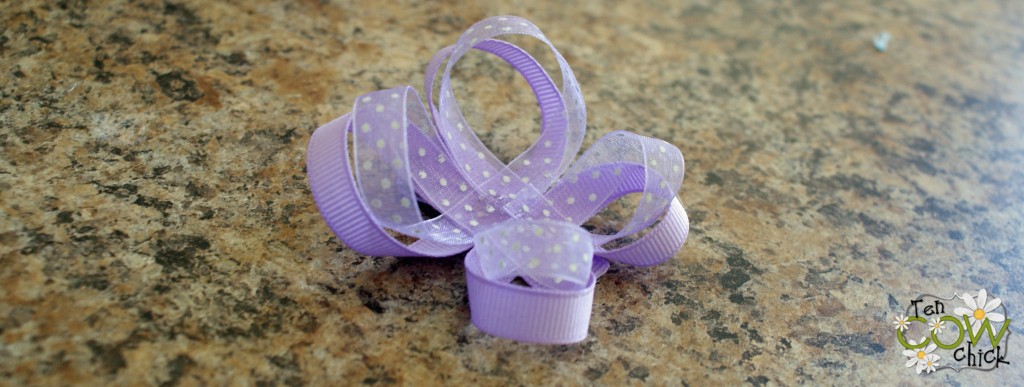
Cute, now it has fluttery wings!
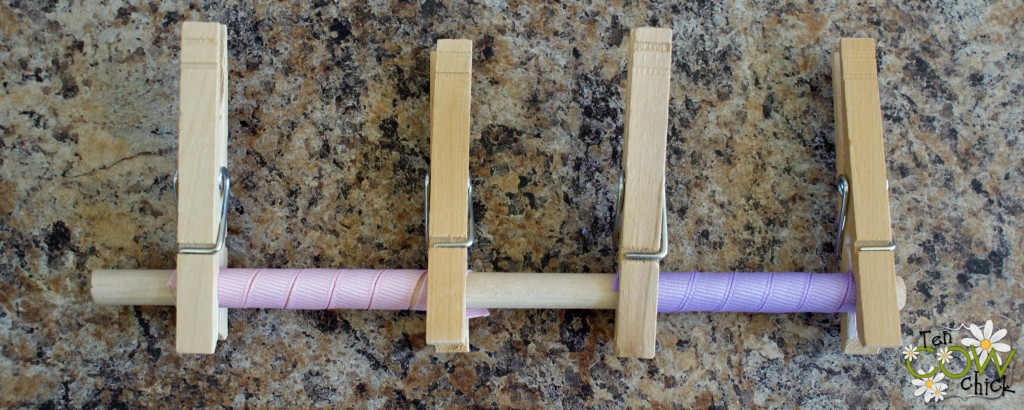
Now let’s make the body. Take about seven inches of ribbon and wrap it around a dowel. A preschool pencil works good too if you don’t have a dowel on hand. Put it on a baking sheet and bake it at 275 degrees for 20-25 minutes.
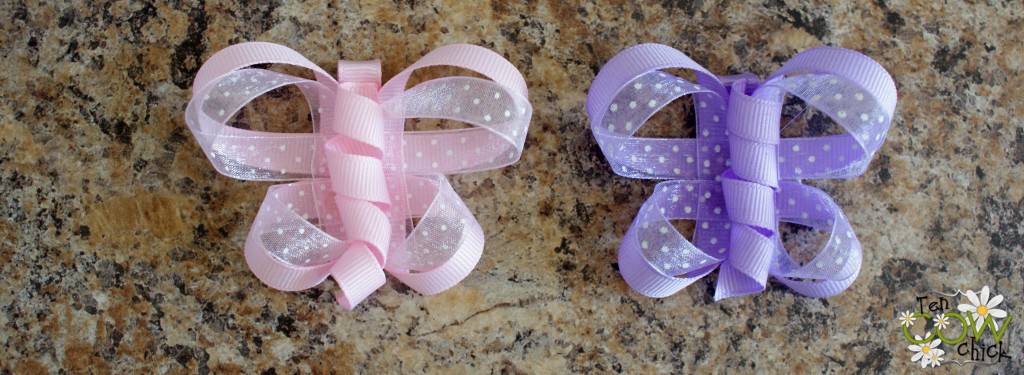
Cut your bodies to the right size and glue them down the middle. This is hard to do without making it all skiddywampus. So just do your best, I’m sure your little girl won’t care if it doesn’t look perfect.
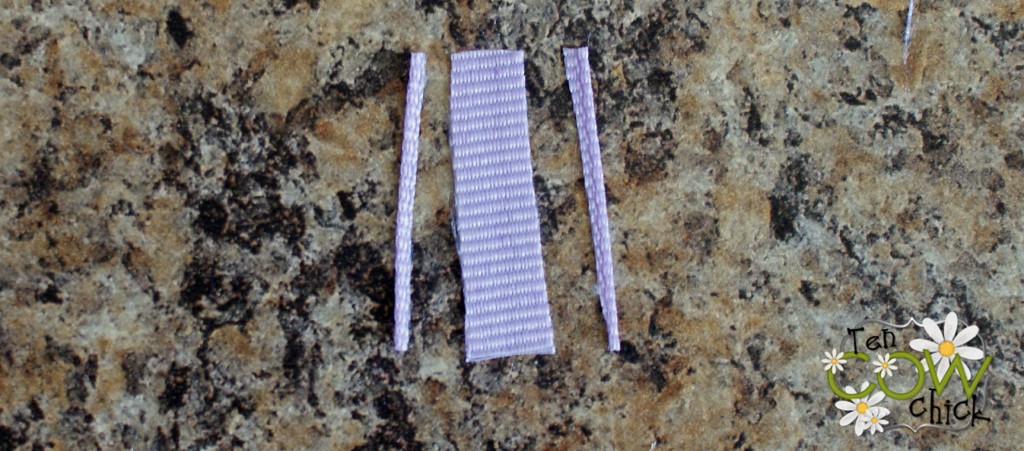
The very last step is to make antennas. Or antennie or whatever. Cut off a one inch piece of ribbon and then cut the edges off. Hold the edges over a flame and it will make them curl over. Glue them on to the top of your clip and your all done!
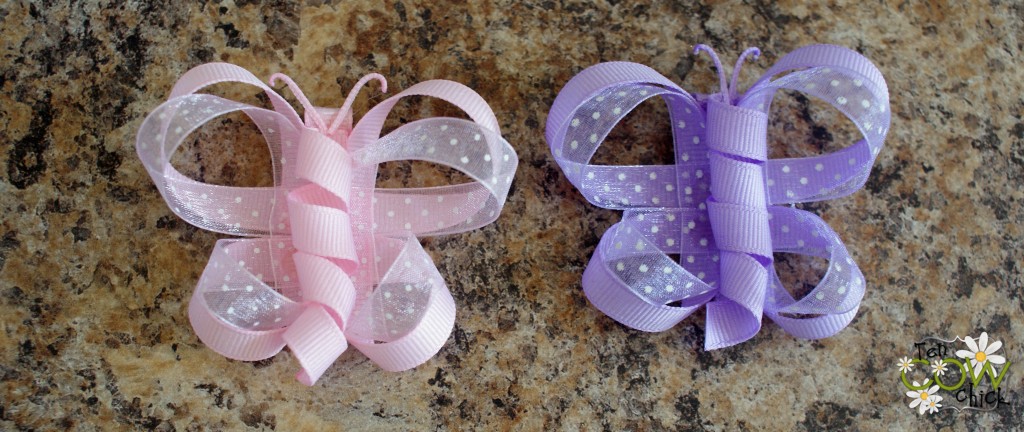
Happy bow making! Hope you like this tutorial.
Source: tencowchick
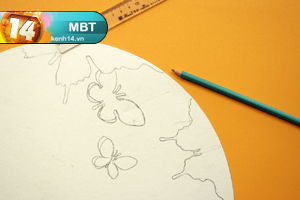
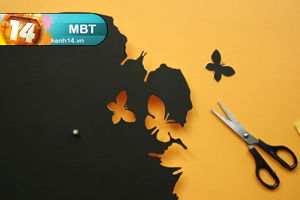
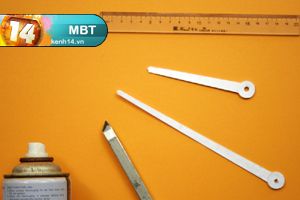
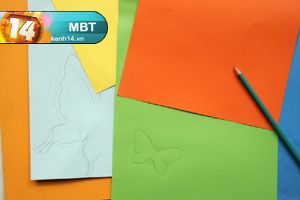
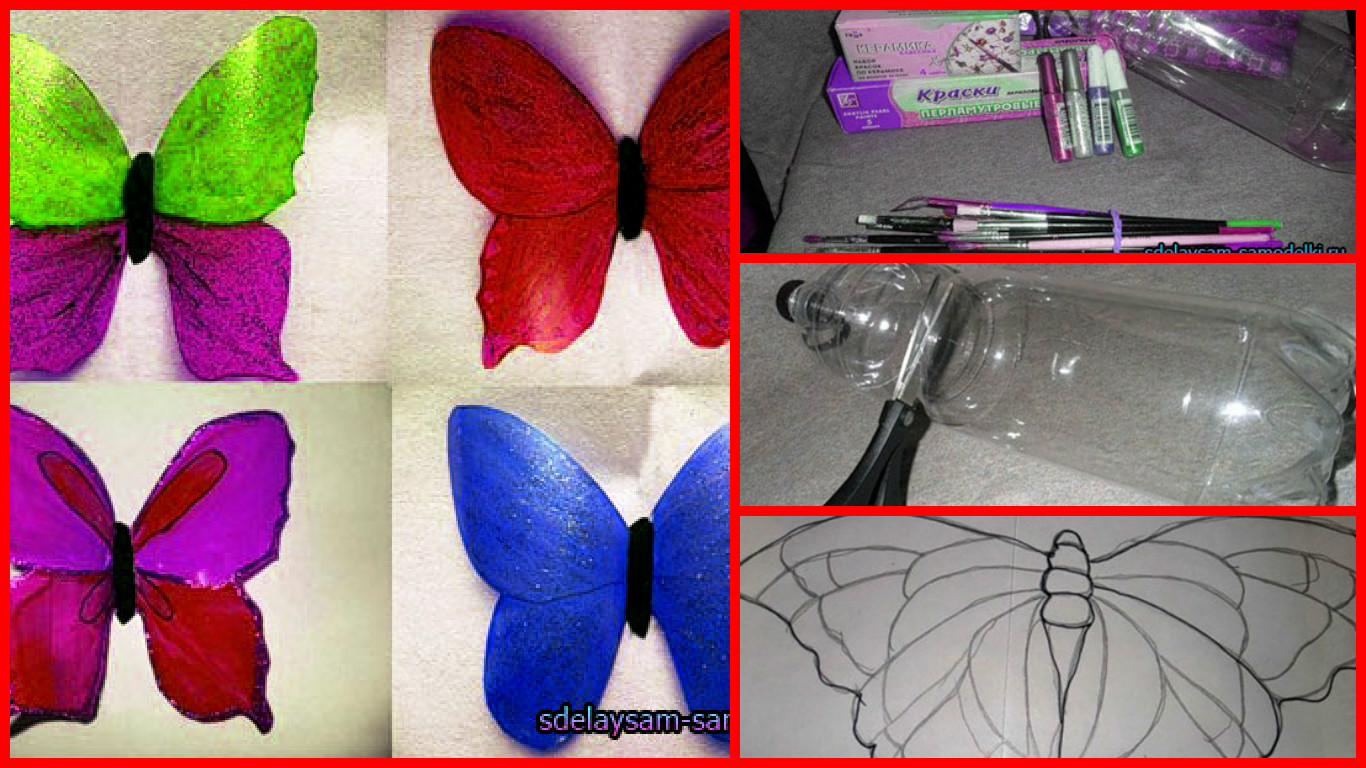
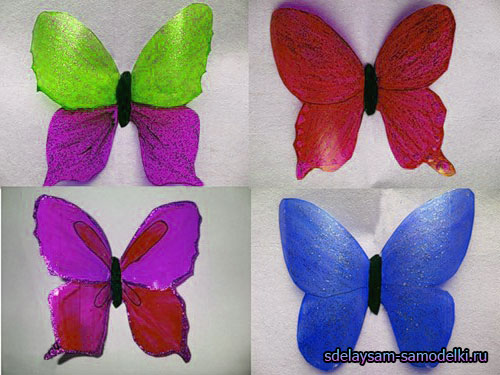
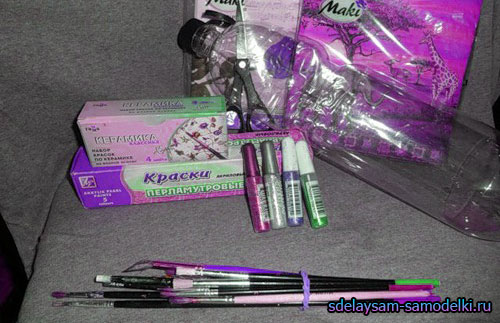
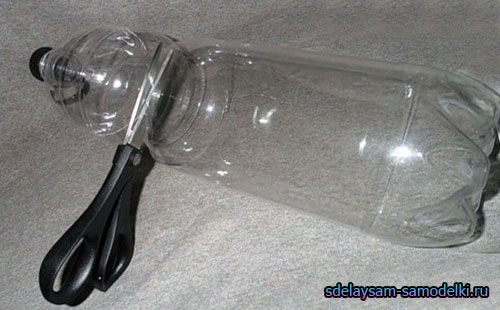
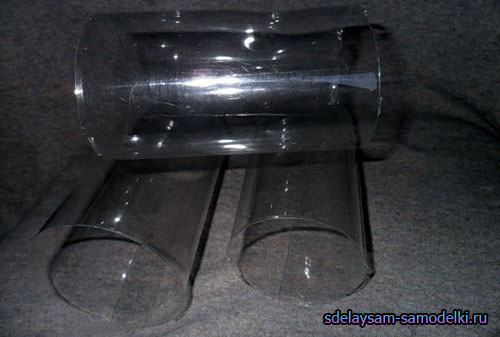
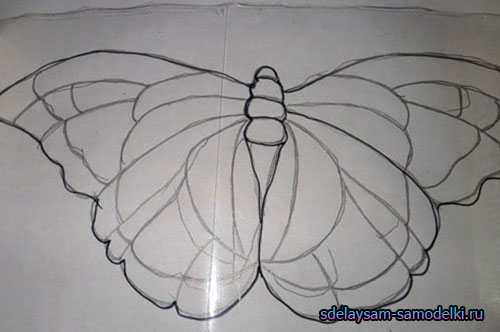
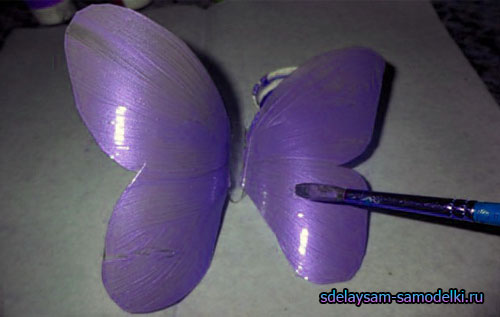
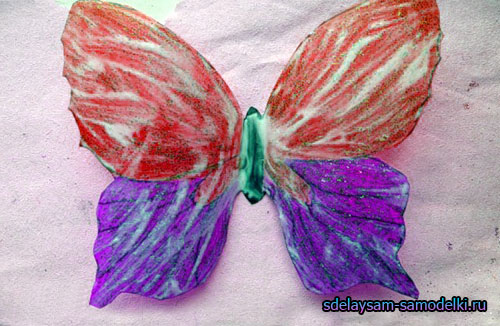
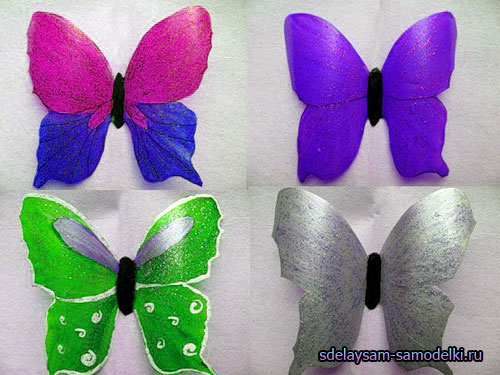
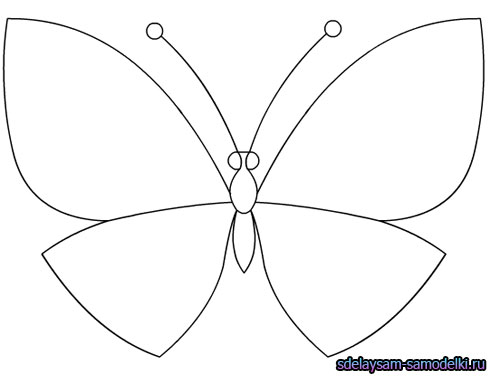
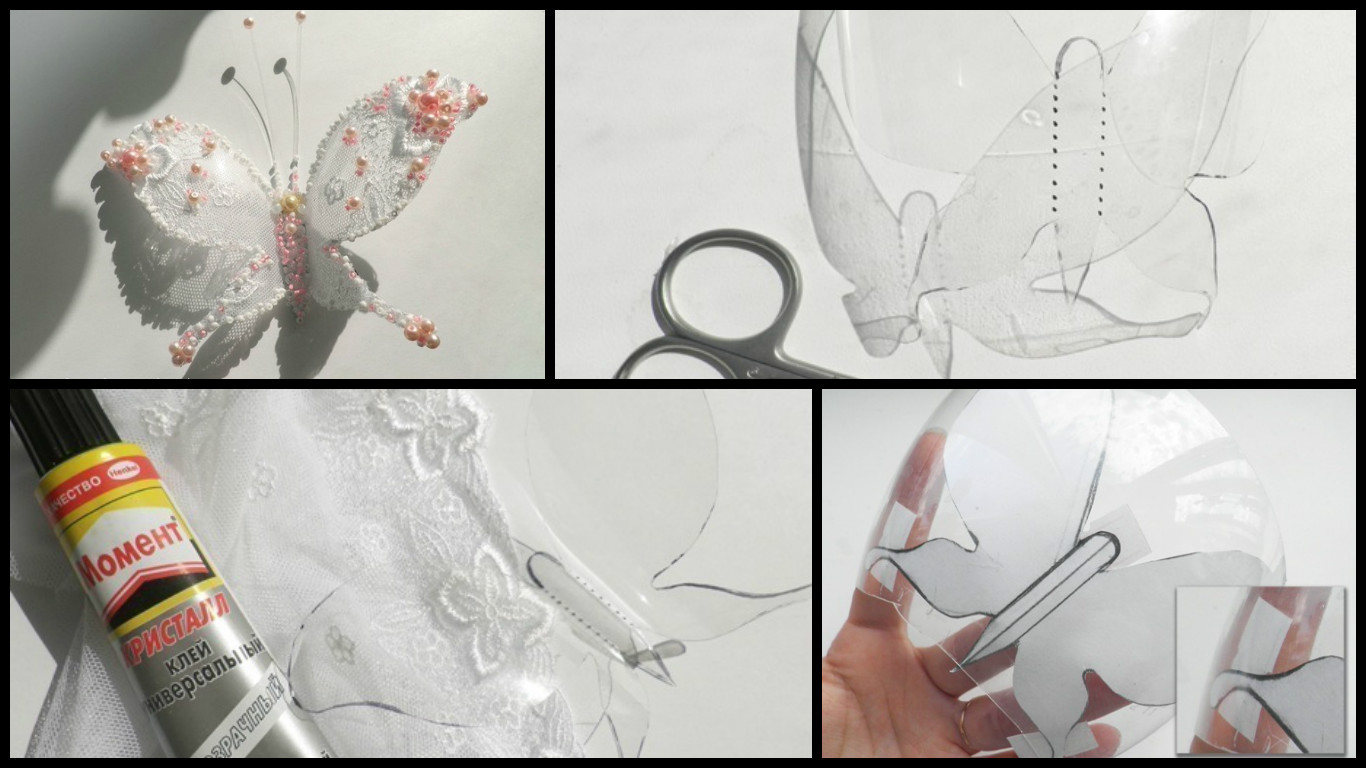
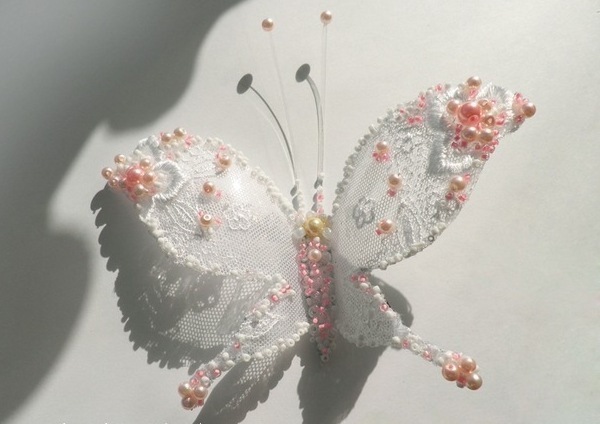
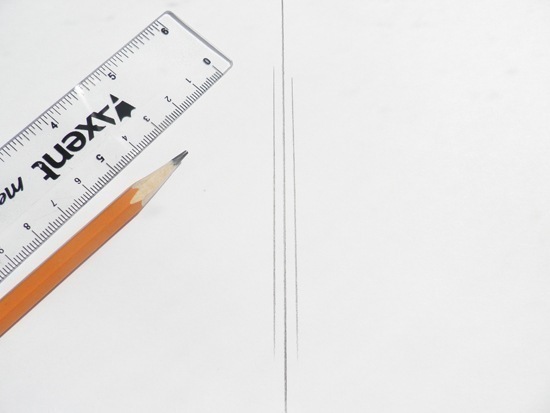
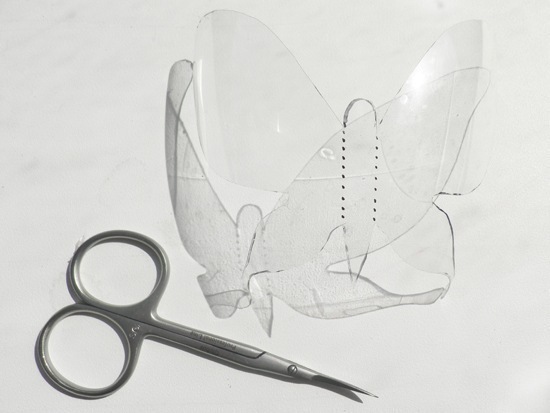
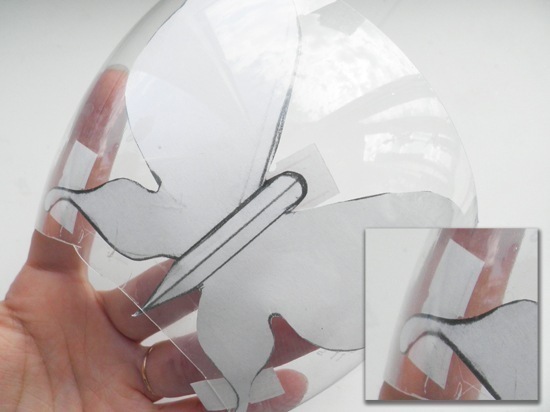
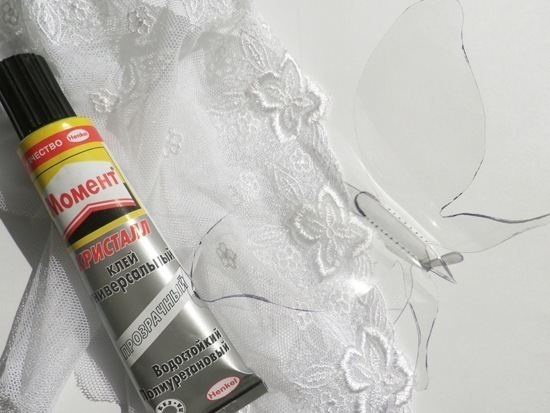
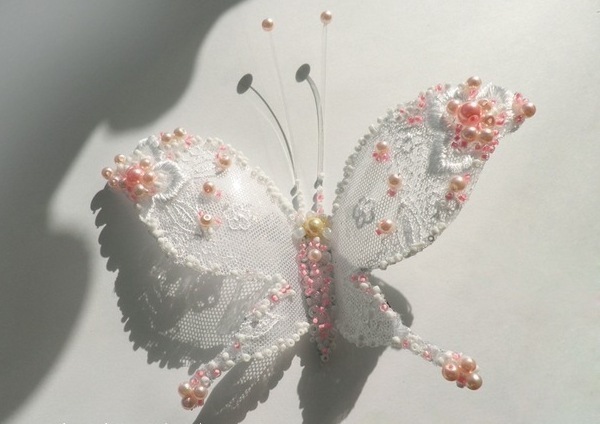
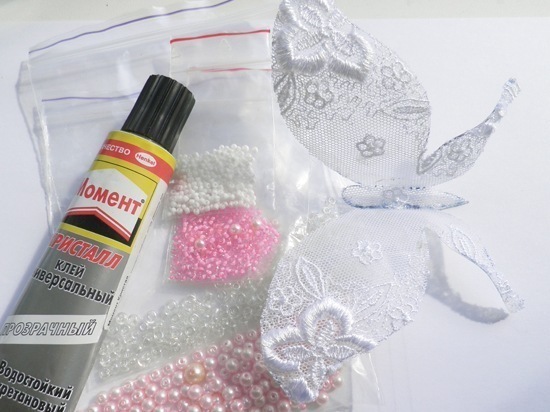 14. Try to pick the beads of the same color range, or the same color, but different shades, then your butterfly will look harmonious. Antennae can be cut from the remnants of a plastic bottle in the form of thin strips, stick them on the plastic substrate before applying beads. And on the tips of the antennae secured with glue. so we got a butterfly. Due to the fact that it was created with the help of sufficiently resistant material, it can be used for different purposes: decoration for flower vases, hair clip, magnet on the fridge, and even decoration for sandals.
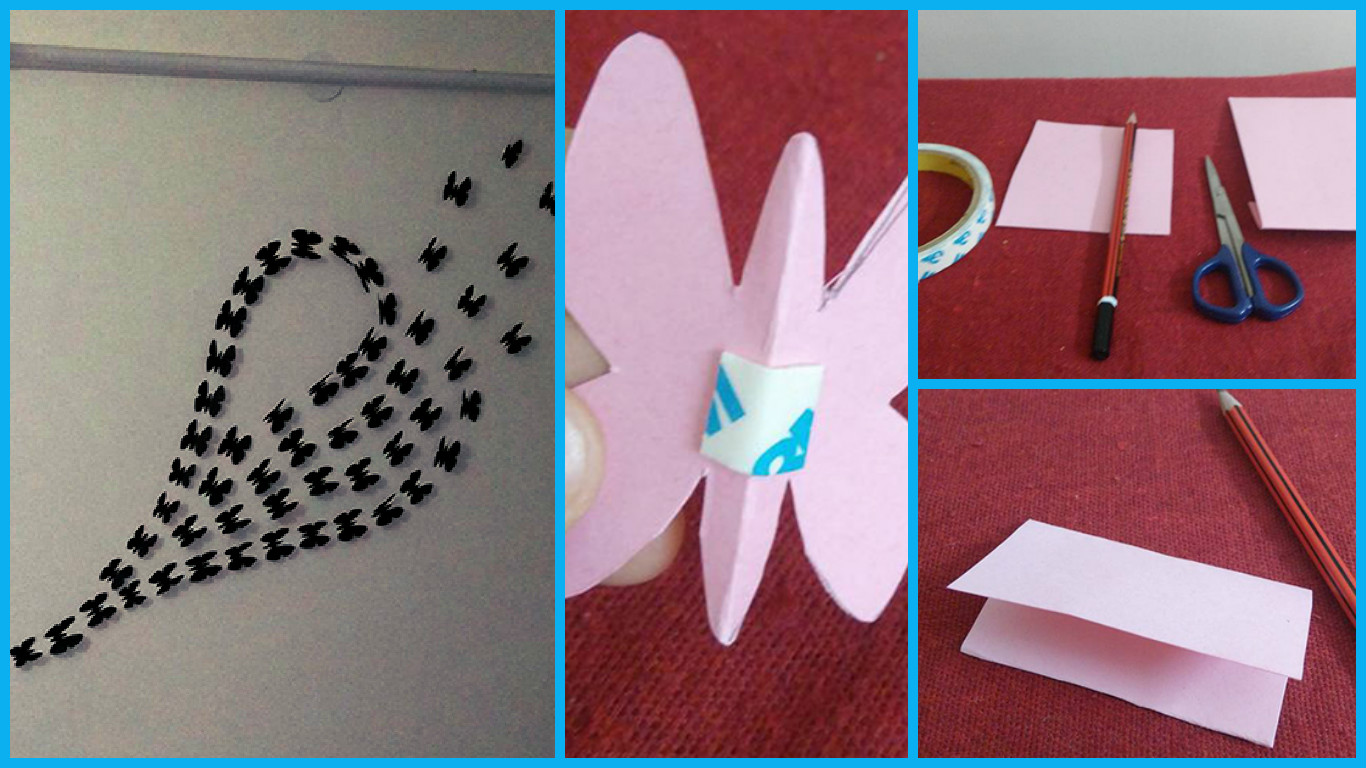
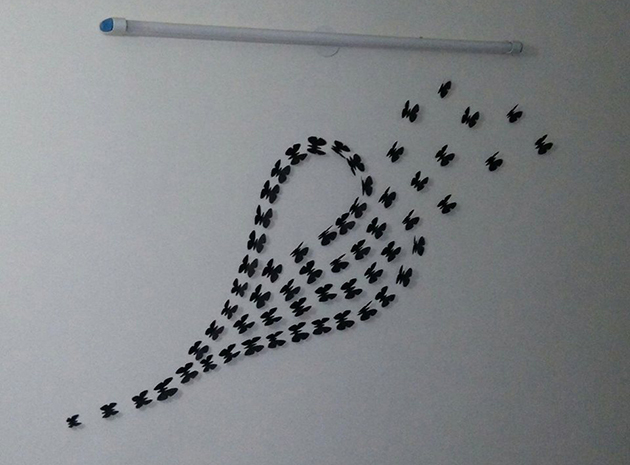
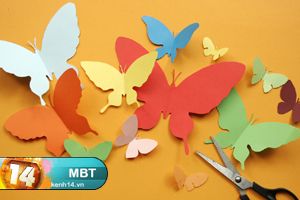
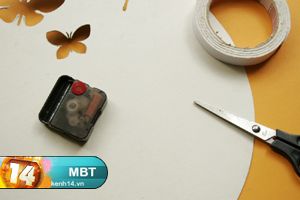
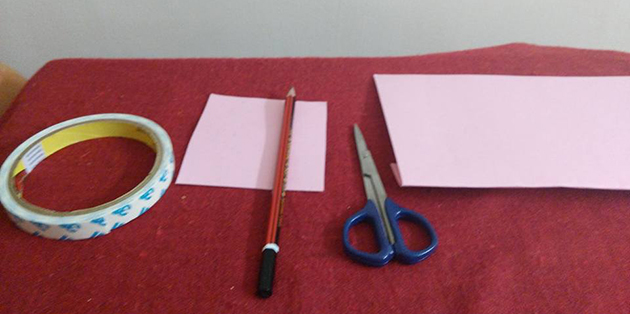 Items we need Double side tape, Pencil, Scissor, Chart paper of any color or as many colors as ur wish. U can make it colorful too.
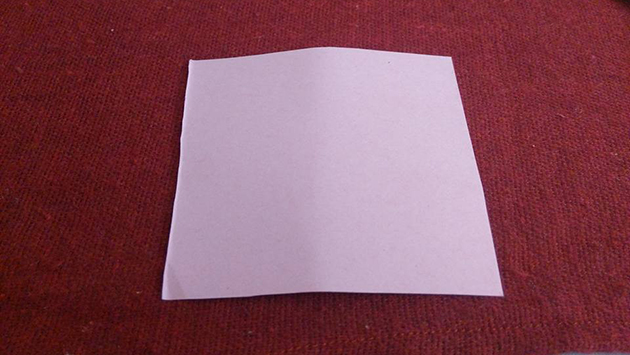 Here I m showing u method of a bigger butterfly.Cut a piece of chart paper 10* 10 cm.
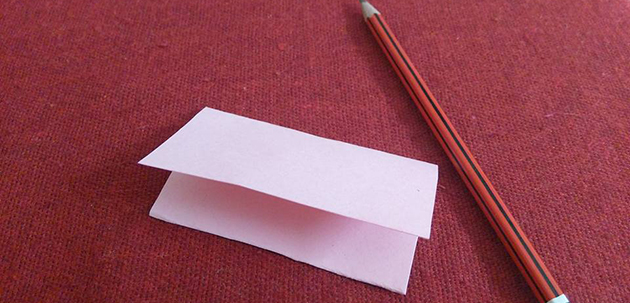 Then fold it from middle
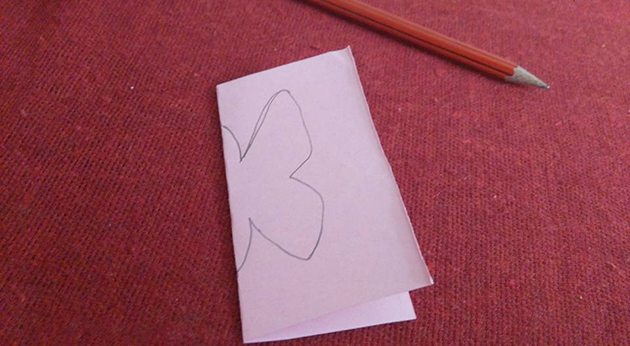 Then draw half of butterfly design using a pencil. It will be the back portion of a butterfly.
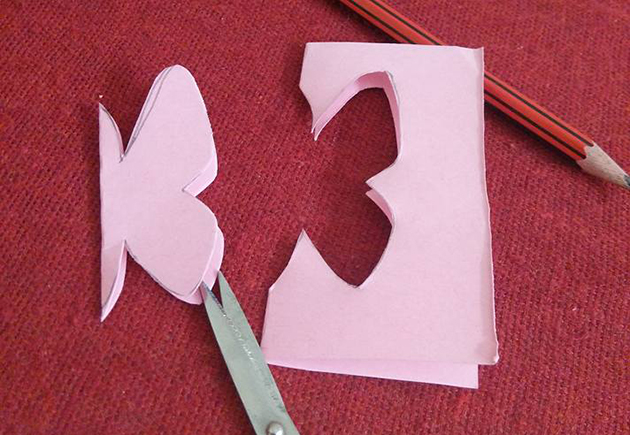 Then cut like this.
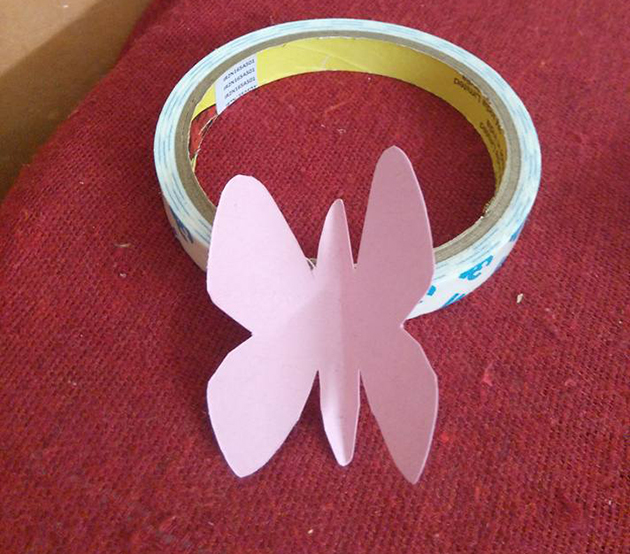 Open the butterfly, n do finishing.
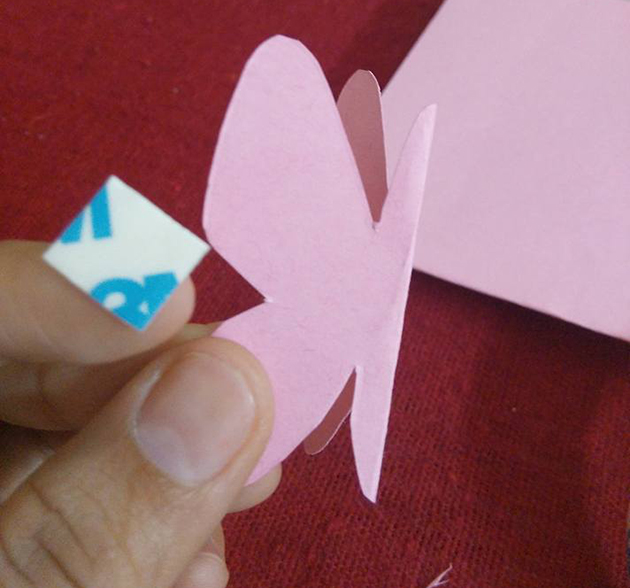 Take 5 cm double side tape
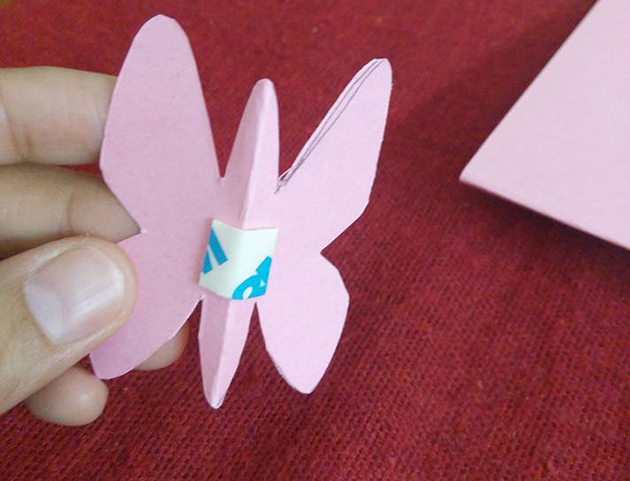 Stick this double sided tape on back part of butterfly like this, covered double side tape should be used to stick this butterfly on the wall. Once u make all the butterflies. Then u can paste these on the wall at one time.
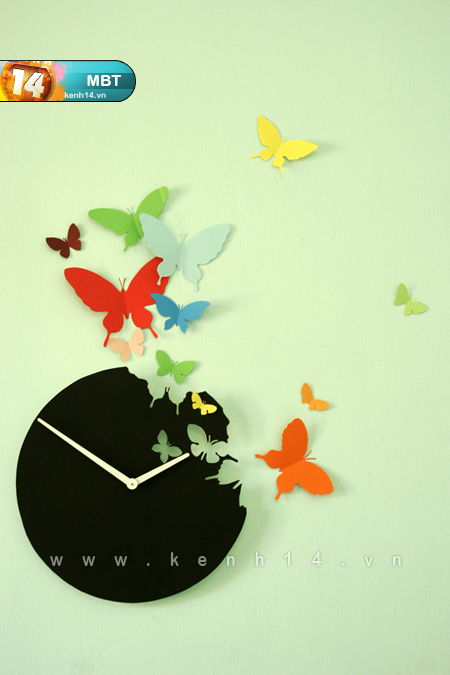
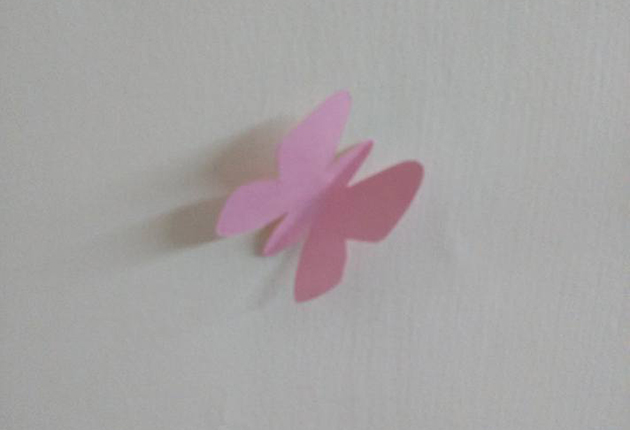 Make any design using these.
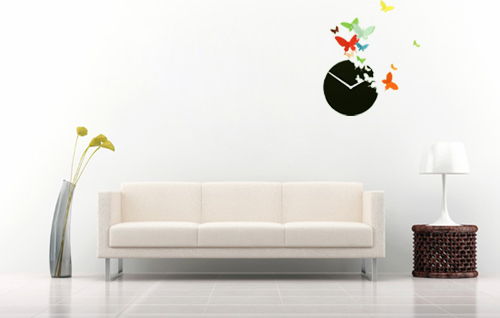
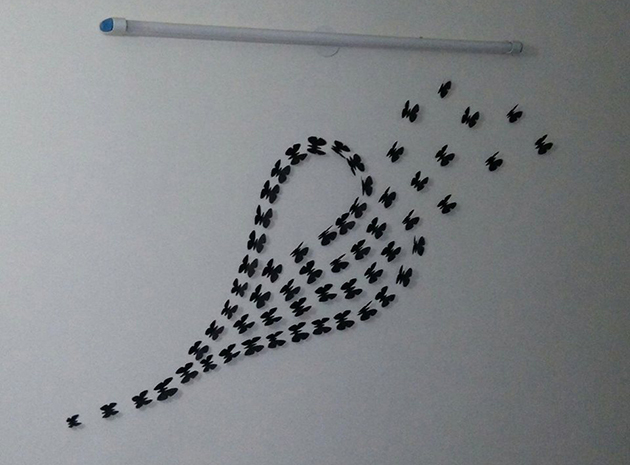 Butterfly wall art, around 60 butterflies of different size. I used smaller butterflies in making the tail of heart. Then remaining used in ascending order.