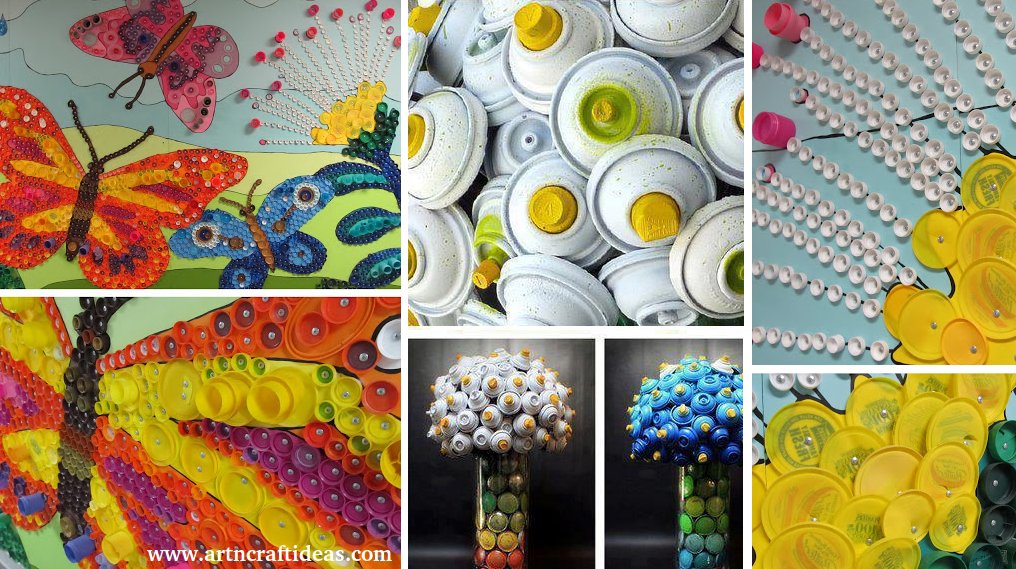
Posted onJuly 7, 2017July 7, 2017inBest out of Waste, Ideas, Kids Activities KIDS CRAFT: Artistic Ways to Recycle Bottle Caps
Posted onJuly 7, 2017inDIY, Fashion, Jewellery, Tutorial DIY Silicone Transparent Floral Bracelet Tutorial
Posted onJuly 7, 2017inHome Decor, PVC Crafts, Tutorial How to make PVC Bathroom Shelf for indoor plants
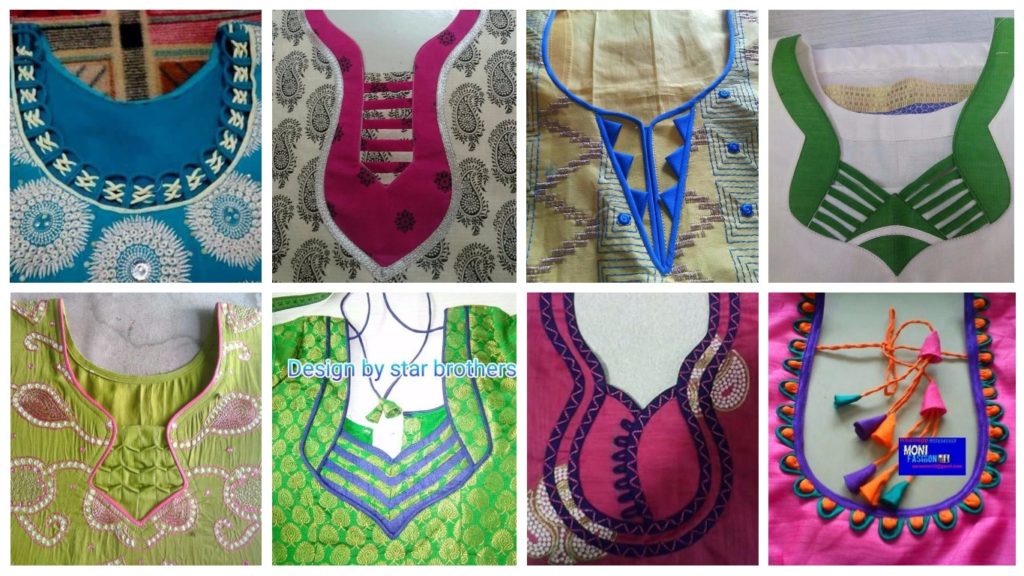
Posted onJuly 7, 2017inClothing, Embroidery And Sewing, Fashion, Ideas Different Types of Neck Patterns to Try in your Kurtis
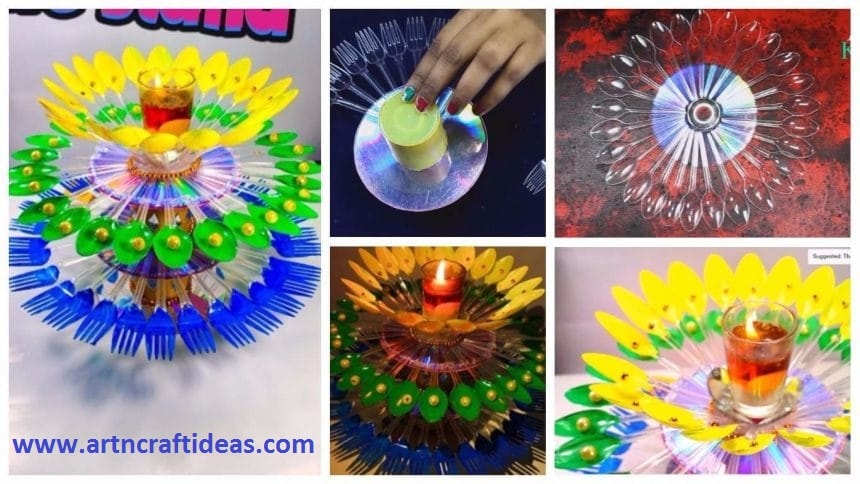
Posted onJuly 6, 2017July 6, 2017inBest out of Waste, Christmas, Craft, Diwali, DIY, Home Decor, Tutorial How to Decorate Candle Holder/Stand from Plastic Spoons
Posted onJuly 6, 2017inBest out of Waste, Craft, Home Decor, Newspaper Crafts, Tutorial How to Make Handmade Newspaper Wall Hanging
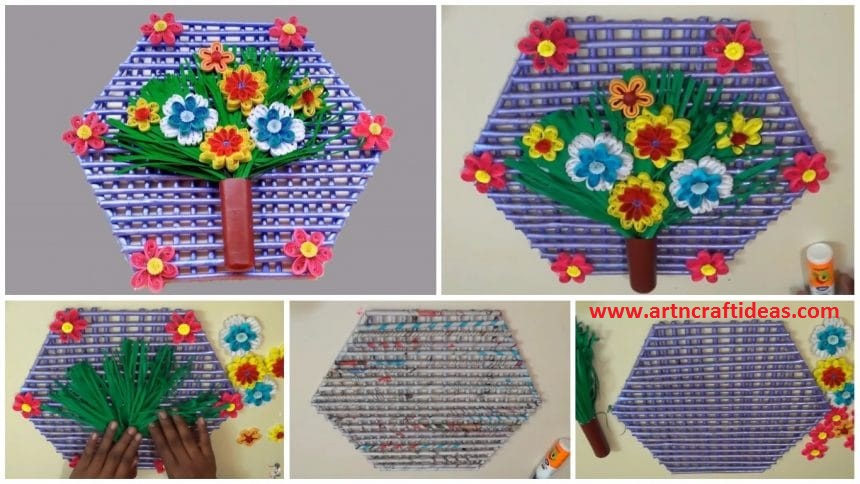
Posted onJuly 6, 2017inBest out of Waste, Craft, Newspaper Crafts, Quilling, Tutorial Paper quilling wall hanging design for room decoration