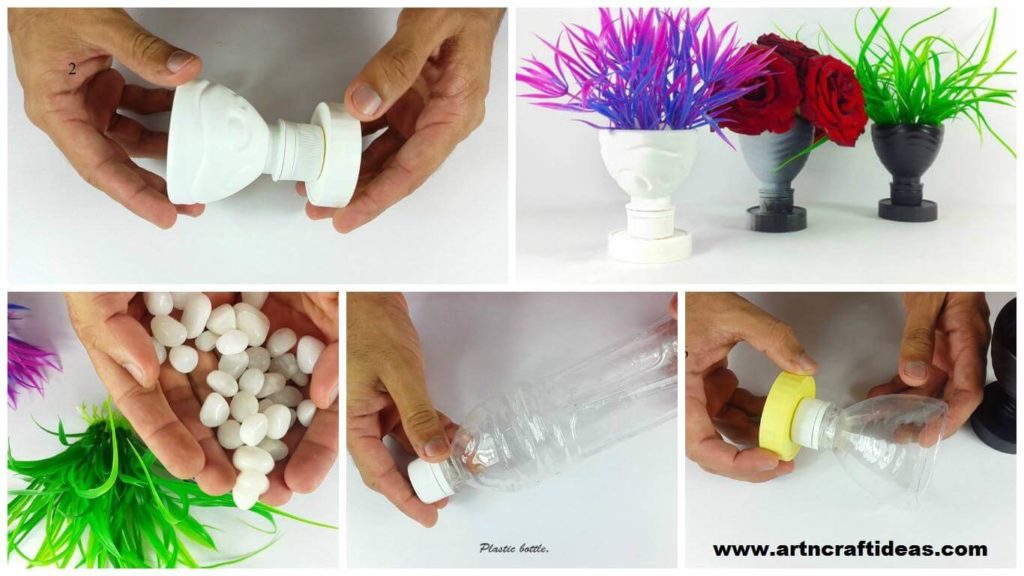
Posted onJune 11, 2017inBest out of Waste, Craft, DIY, Tutorial, Video DIY Flower Vase Out of Plastic Bottle
Posted onJune 9, 2017inClothing, Embroidery And Sewing, Tutorial, Video How to sew a Jacket style pattern kurti
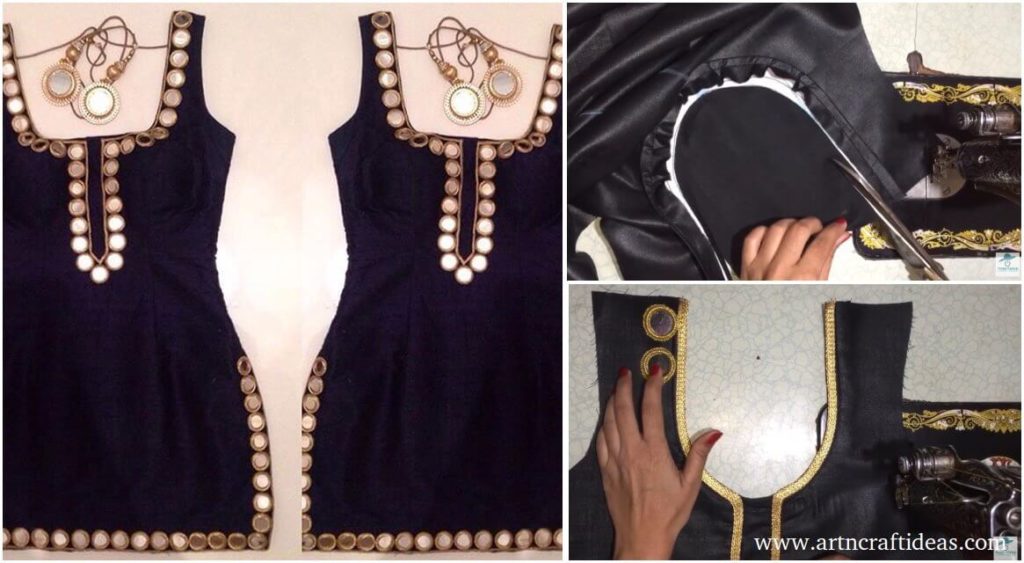
Posted onJune 5, 2017June 5, 2017inClothing, Tutorial, Video DIY Fashion: Round Neck Design for Kurti with Mirror work
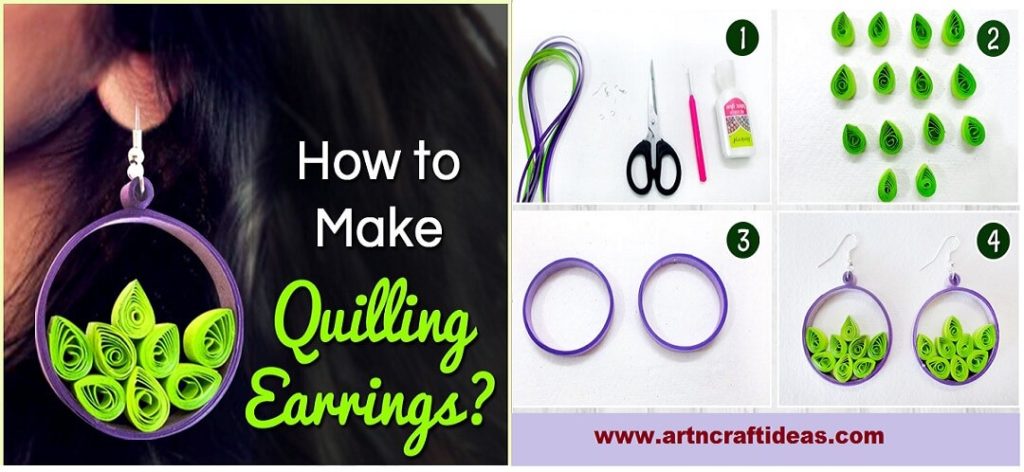
Posted onJune 3, 2017June 3, 2017inJewellery, Quilling, Tutorial, Video how to make Quilling Earrings
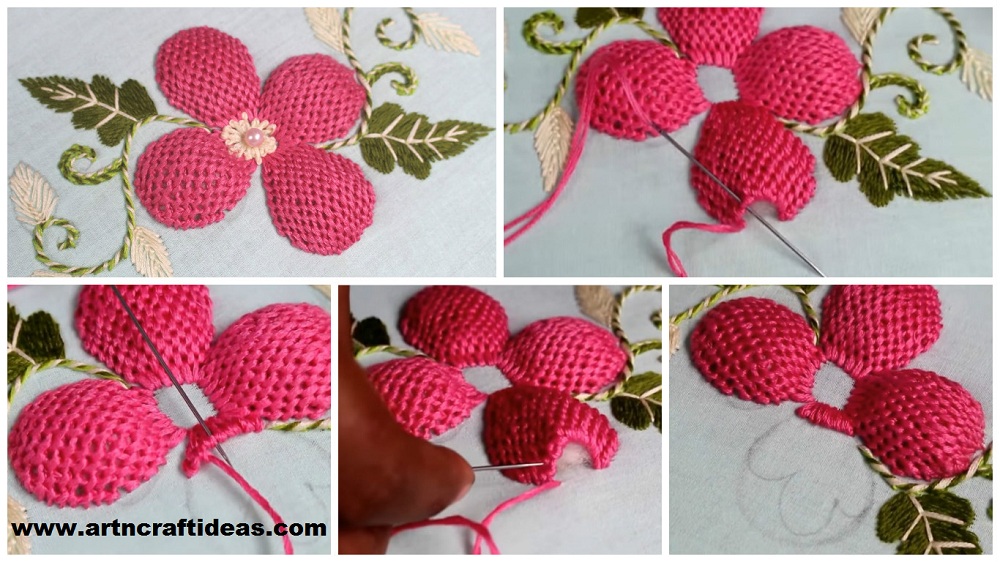
Posted onJune 2, 2017inEmbroidery And Sewing, Tutorial, Video Pump Lace Stitch Flower Embroidery Designs
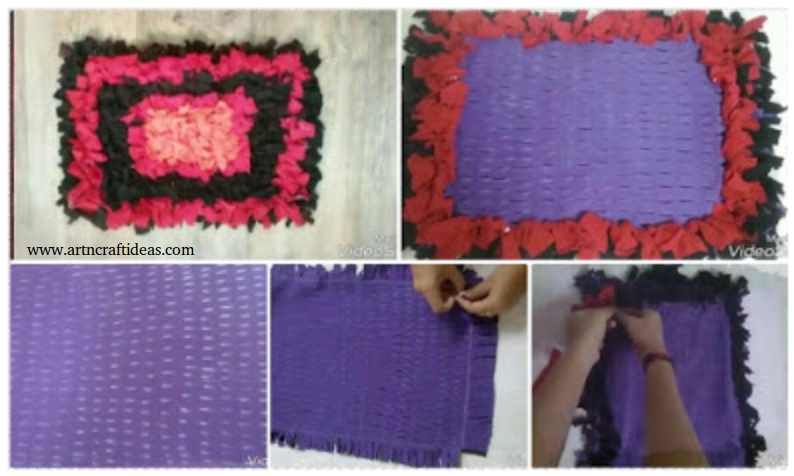
Posted onJune 1, 2017inBest out of Waste, DIY, Tutorial, Video DIY Shag rug from old T-Shirt (No Sew)
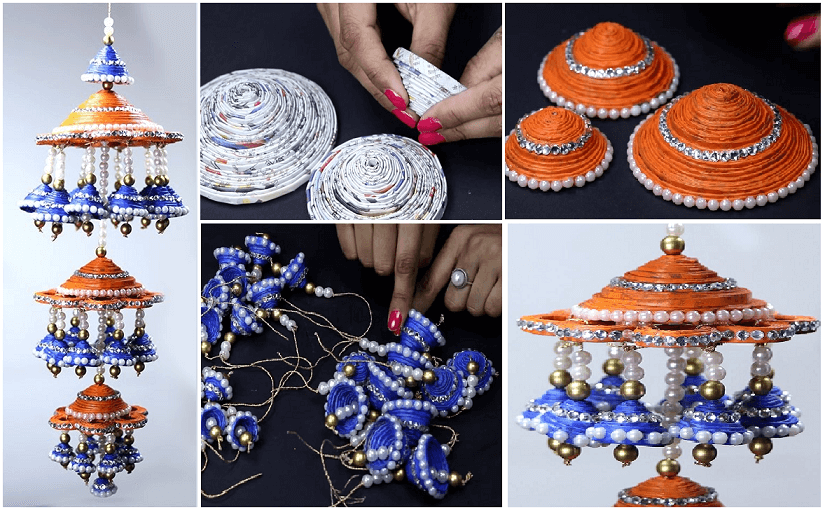
Posted onMay 27, 2017inBest out of Waste, Home Decor, Newspaper Crafts, Tutorial, Video How to Make Newspaper Wall Hanging Craft