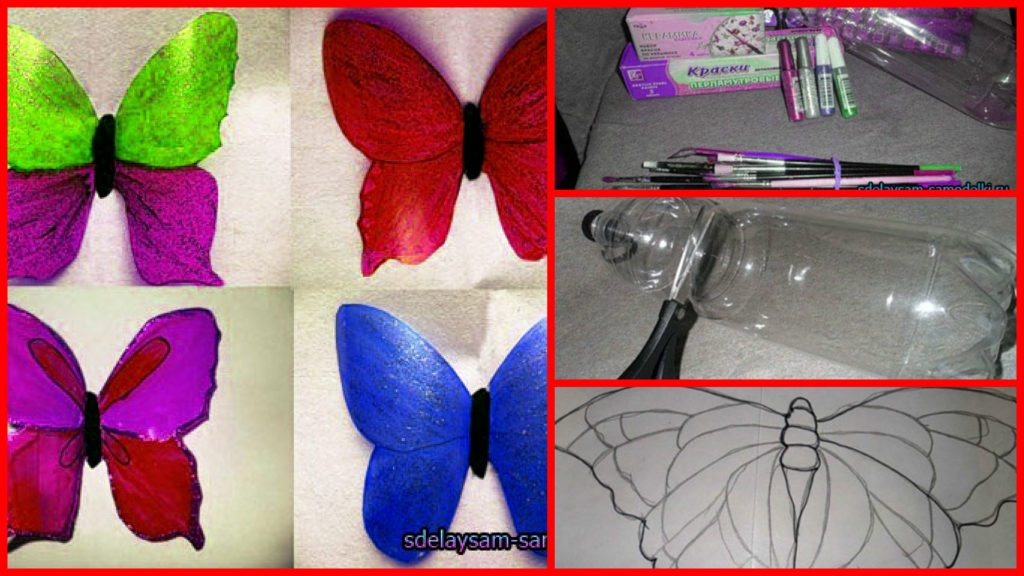
Posted onFebruary 12, 2017February 12, 2017inBest out of Waste, DIY, Home Decor, Step by step, Tutorial How to make beautiful plastic butterfly
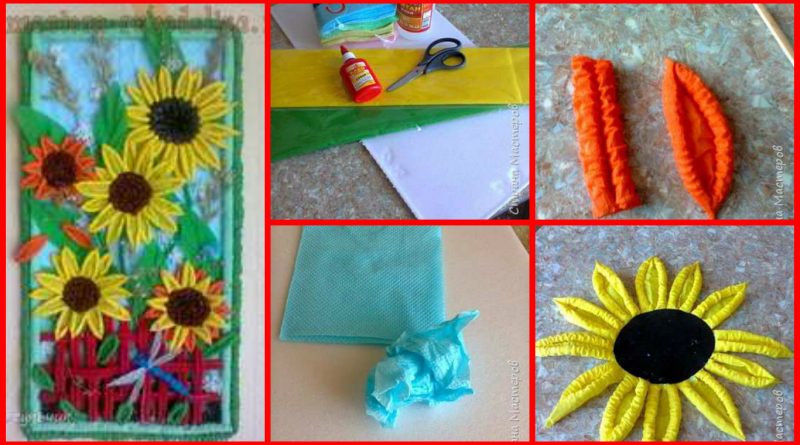
Posted onFebruary 12, 2017inDIY, Home Decor, Paper Crafts, Step by step, Tutorial Beautiful Corrugated Paper Flower
Posted onFebruary 11, 2017inDIY, Featured, Home Decor, Paper Crafts, Step by step, Tutorial DIY: Beautiful Pastel paper Photo frame
Posted onFebruary 10, 2017inDIY, Home Decor, Quilling, Step by step, Tutorial DIY: Khokhloma in quilling techniques
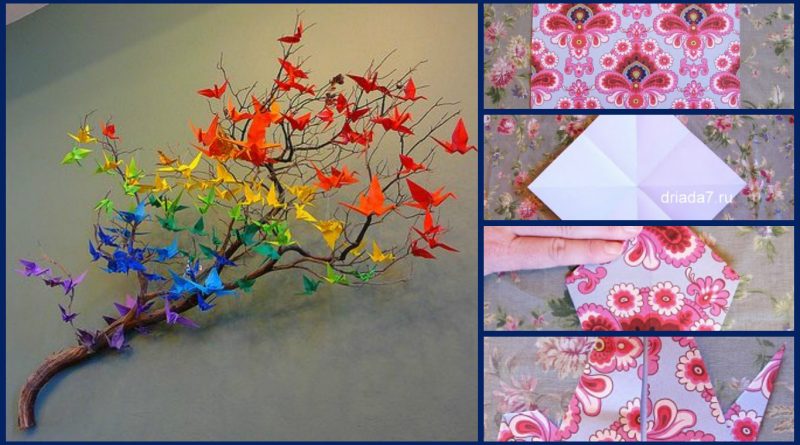
Posted onFebruary 10, 2017inDIY, Home Decor, Origami, Step by step, Tutorial How to make a paper crane
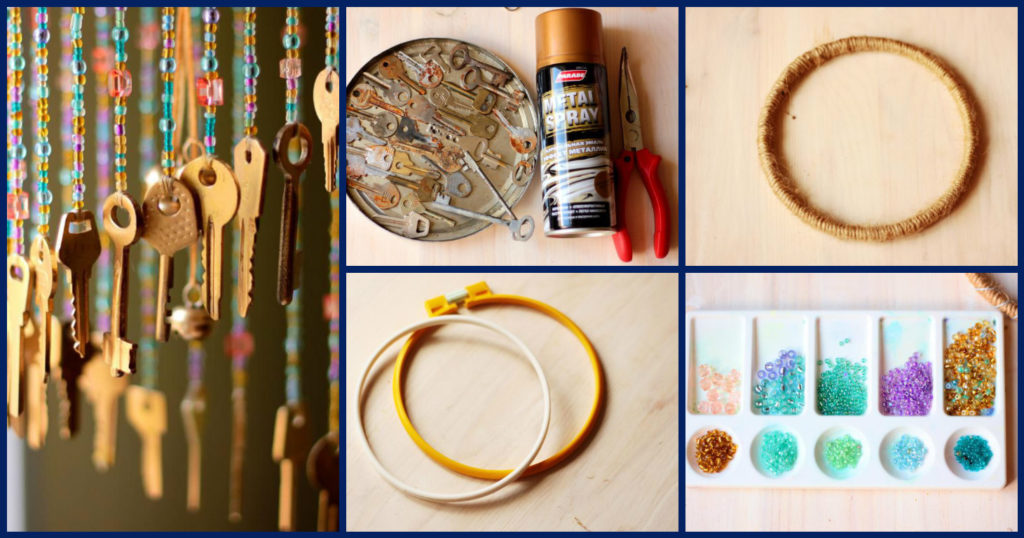
Posted onFebruary 10, 2017inBest out of Waste, DIY, Home Decor, Step by step, Tutorial Wind Chime Using Old Keys
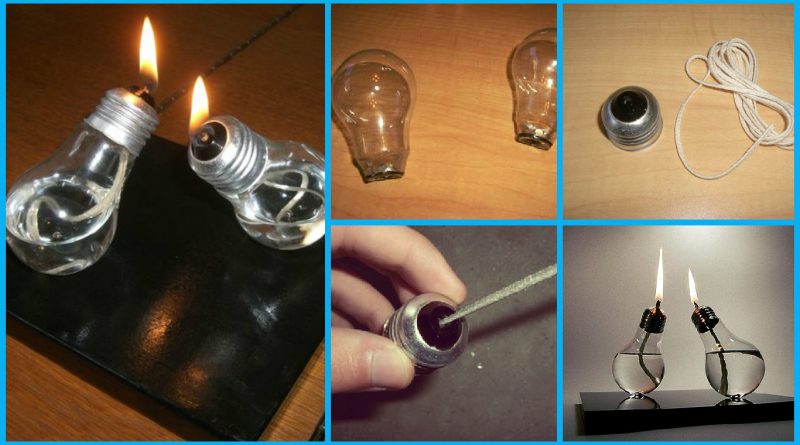
Posted onFebruary 9, 2017inBest out of Waste, DIY, Home Decor, Step by step, Tutorial How to make oyule lamp
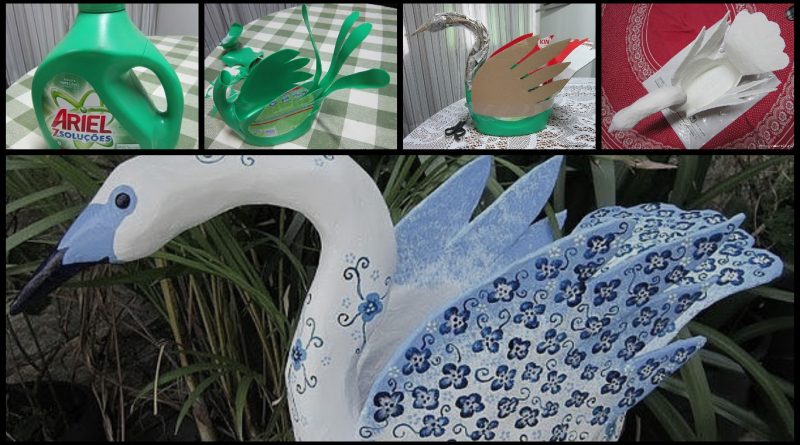
Posted onFebruary 9, 2017inBest out of Waste, DIY, Home Decor, Step by step, Tutorial How to make swan of plastic bottle
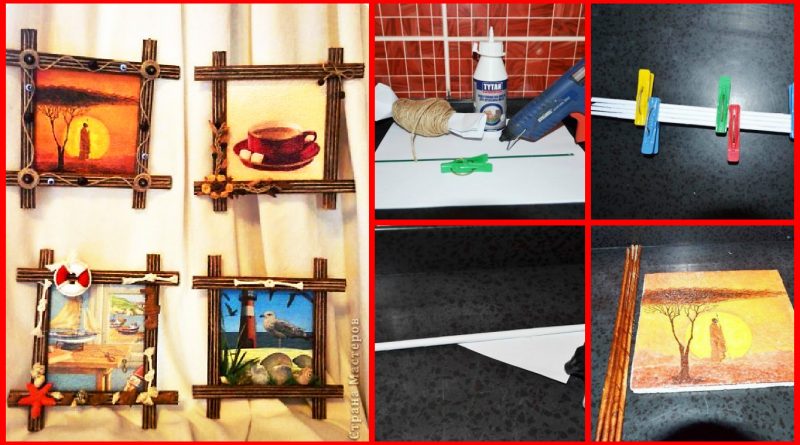
Posted onFebruary 9, 2017inBest out of Waste, DIY, Home Decor, Step by step, Tutorial How to make cheap frame