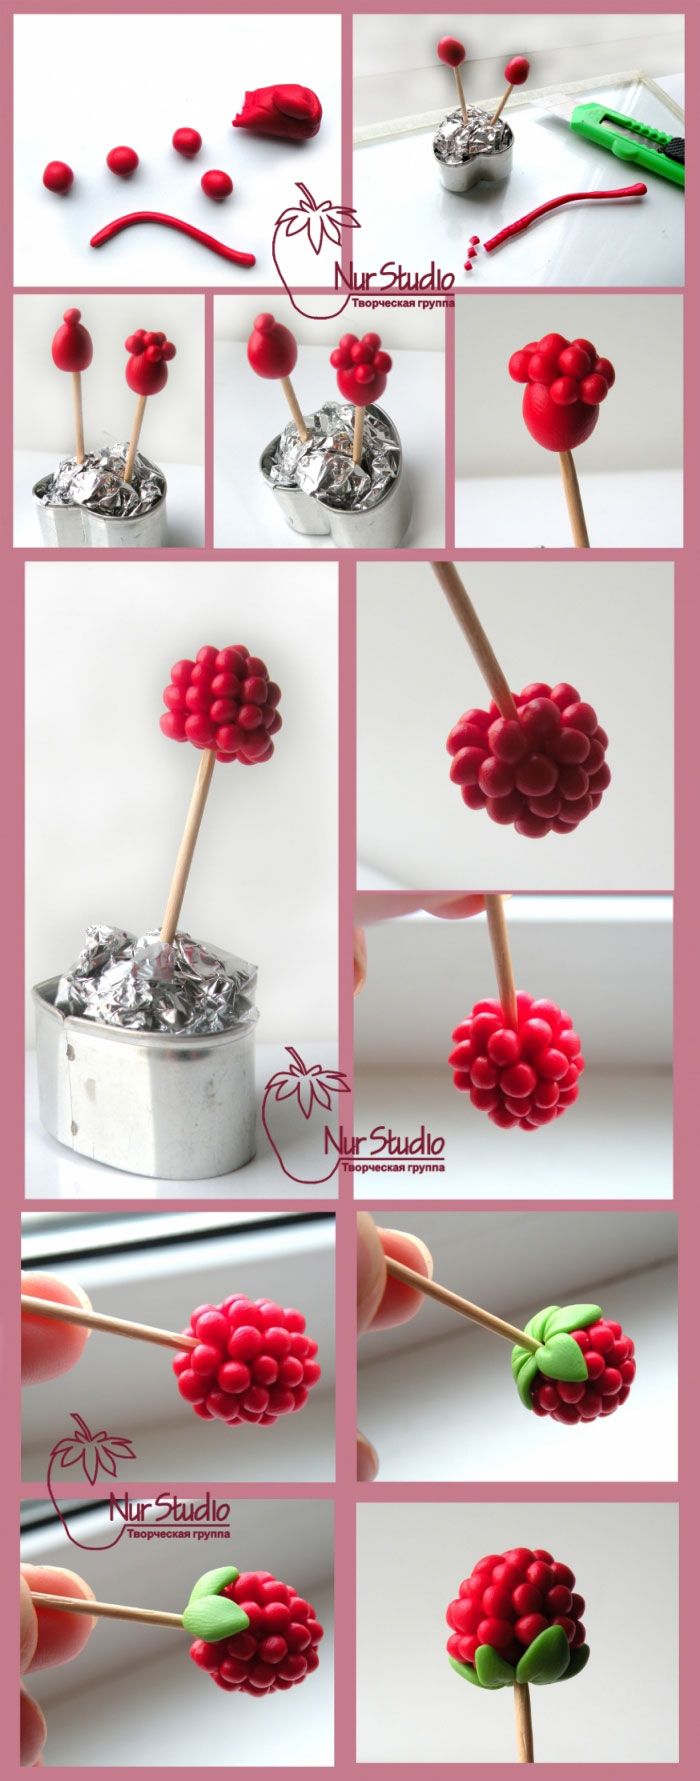
Today I’ll show you how to make plastics from raspberries. By the same principle, and I do Ezhevichka, only, of course, I use a different color and larger Circuits. 🙂 I must say, the average complexity of the set just because you need lots of patience, and it’s not too difficult. 🙂 Well, let’s start.
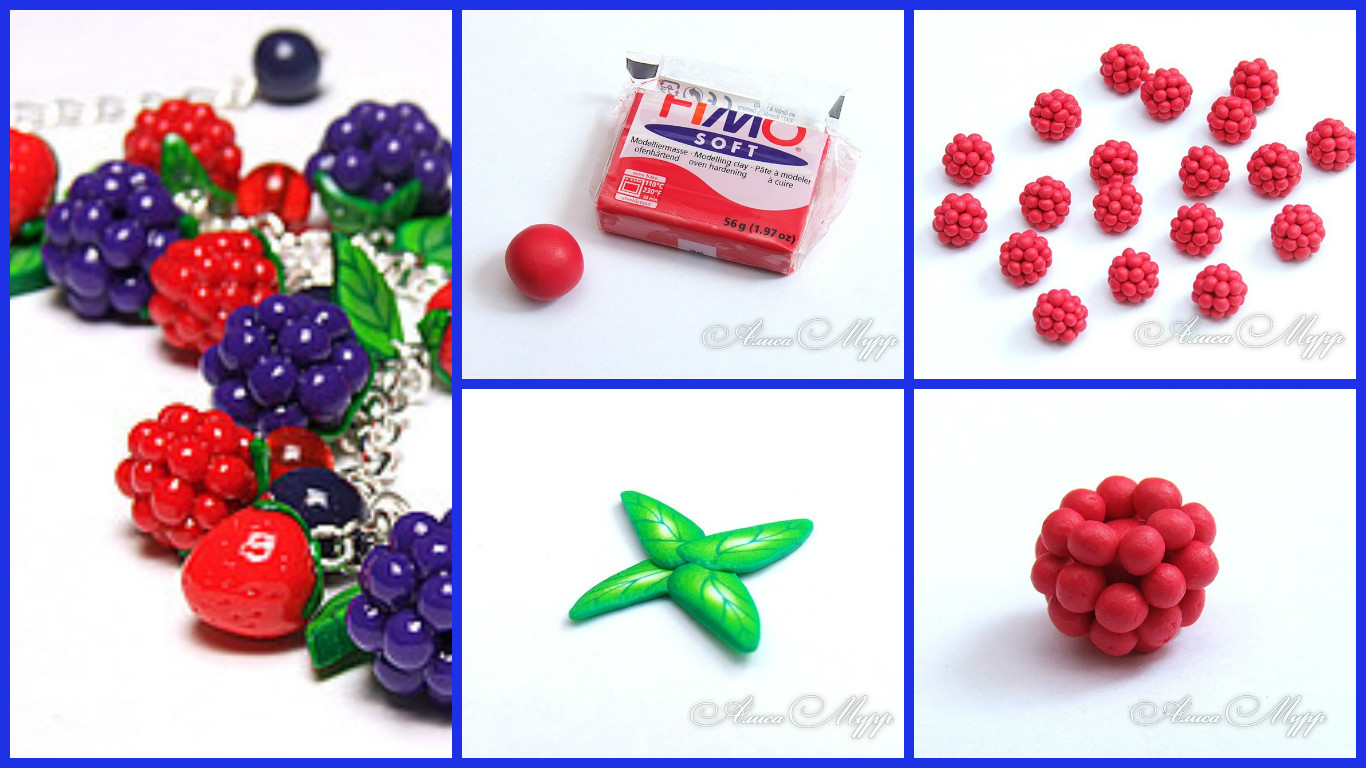
We need plastic suitable color (I Fimo soft cherry), floss, pins … Yes, in general, and all. ))) Lives I have already been made in advance.
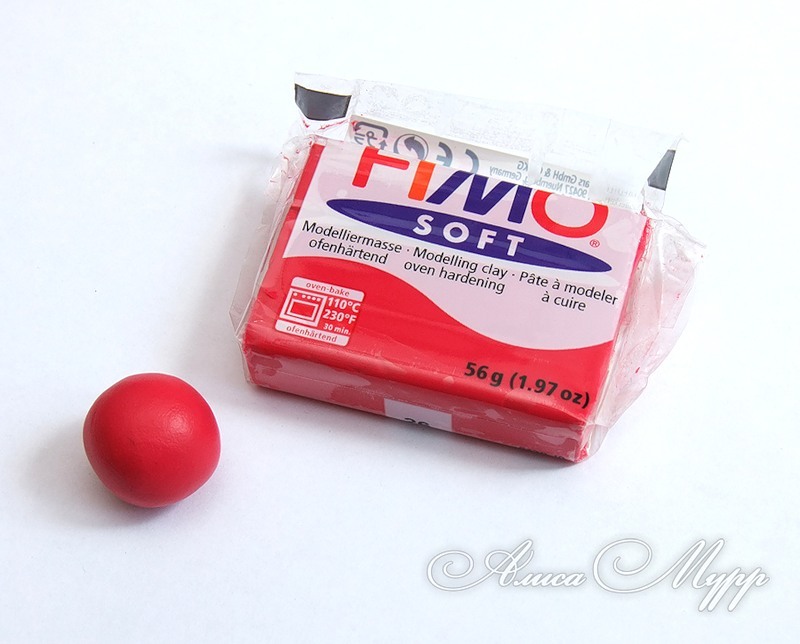
Here is our plastic –
 Now it’s tedious – to roll down small-small balls of mashed plastics sooooo much (one Malinka takes an average of 30 – 35 stuff).
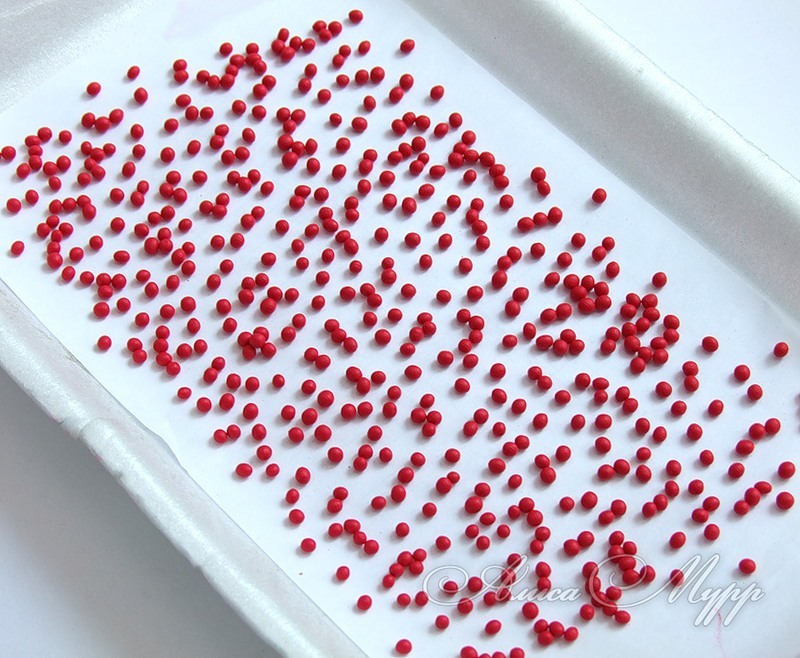 Now the work easier – a few balls larger. 🙂
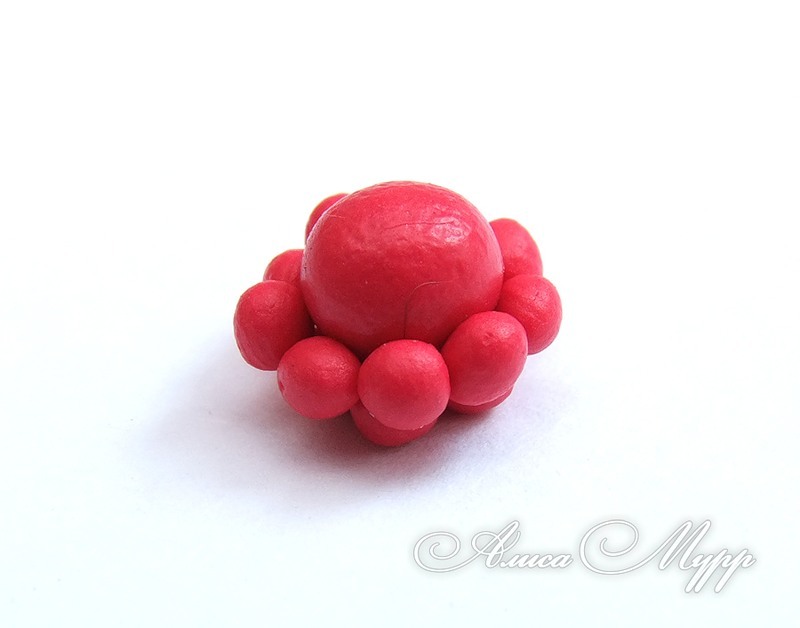
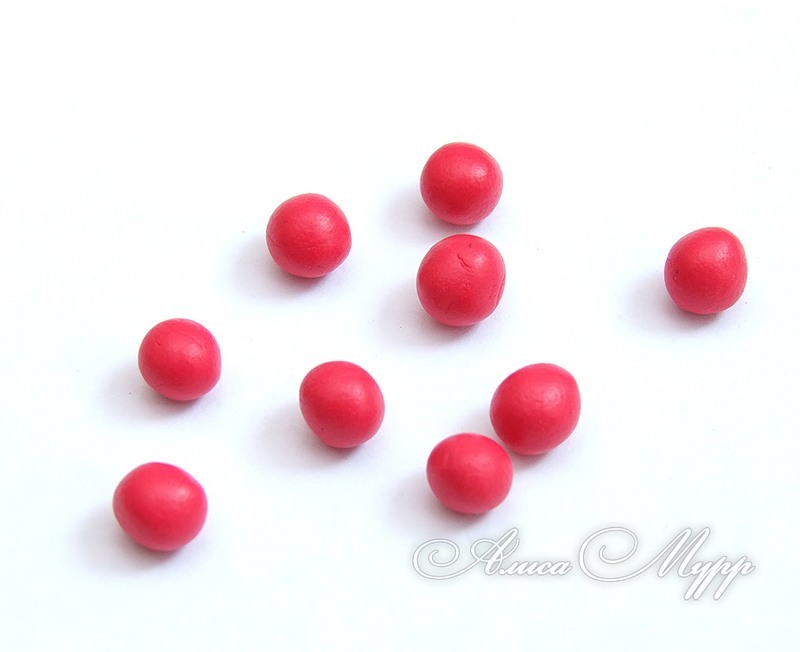 Of the five small balls make the foundation of our raspberries.
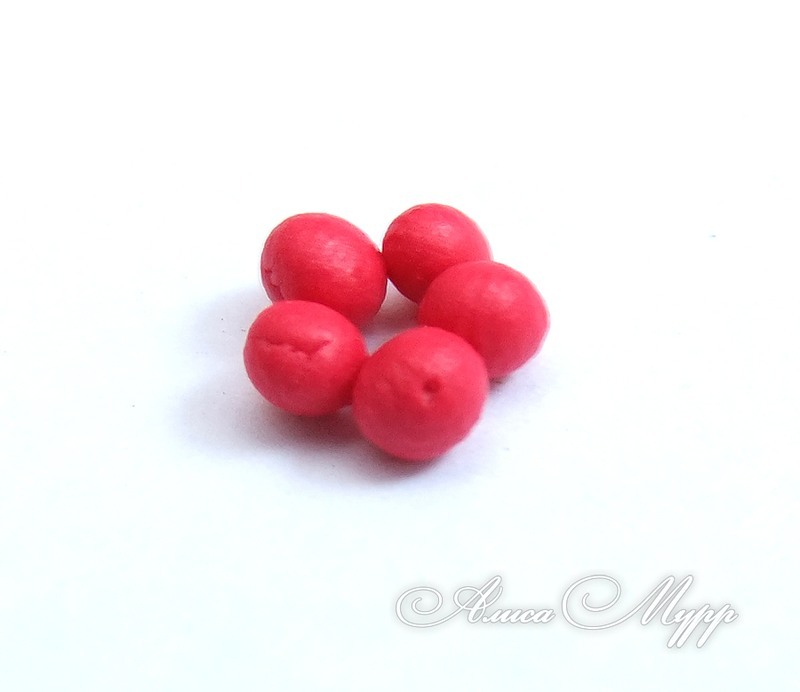 In it we place the ball bigger – it’s middle, to which we attach all the other small balls.
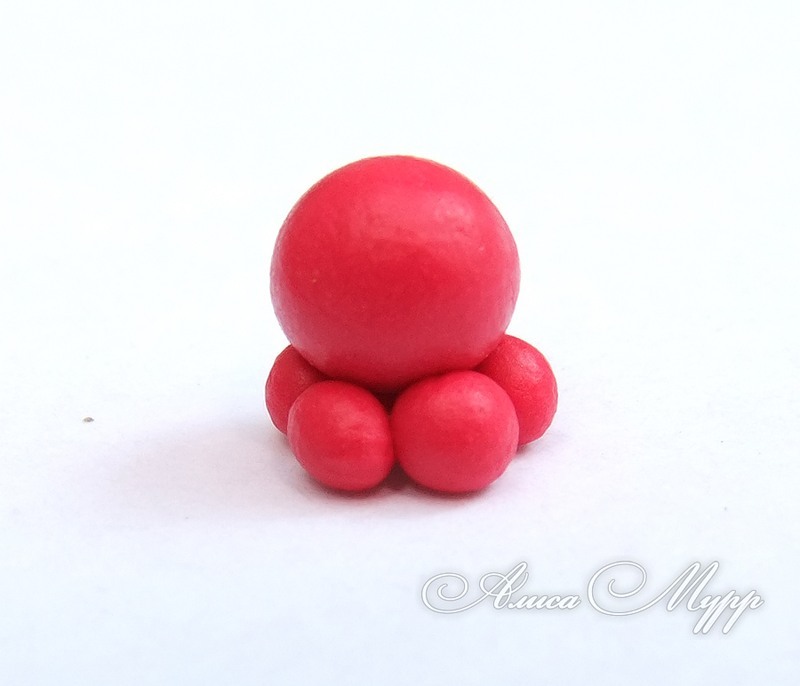 And gradually begin obleplivat future Malinka, row by row. I do it with a toothpick.
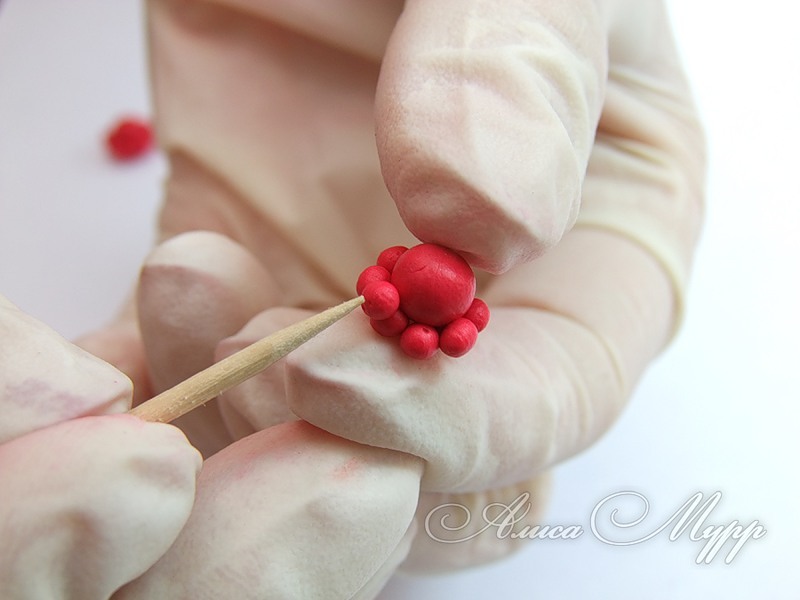
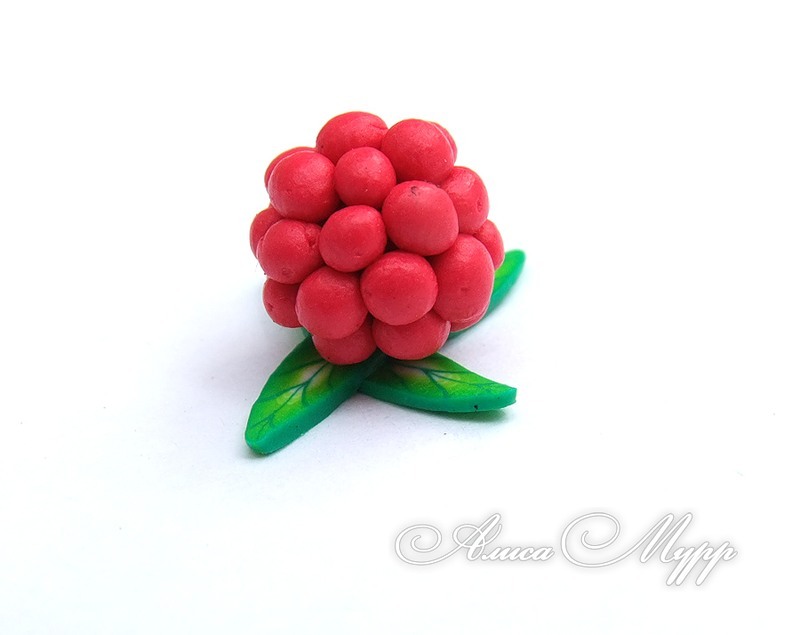
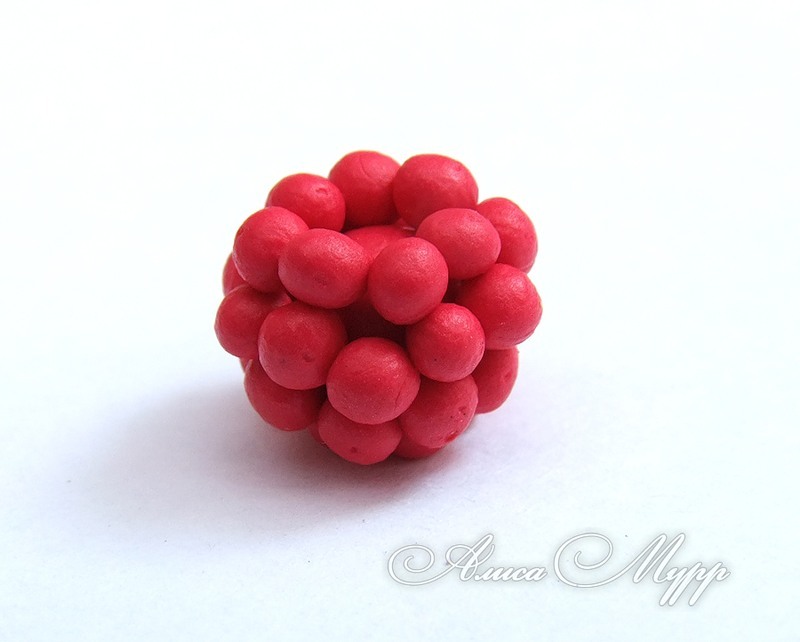 Well, here she is ready. 🙂
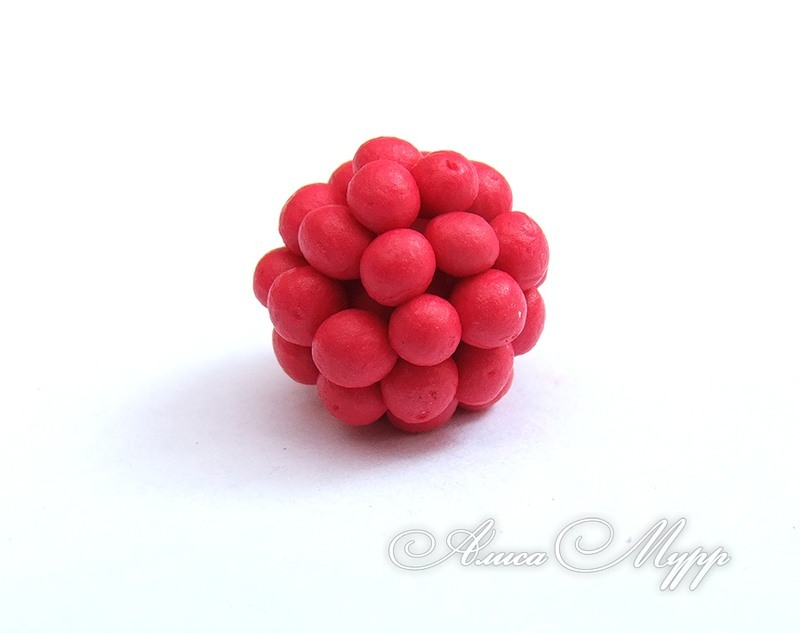 And it all. 🙂
 Now you need to attach the leaves to Malkin ass.
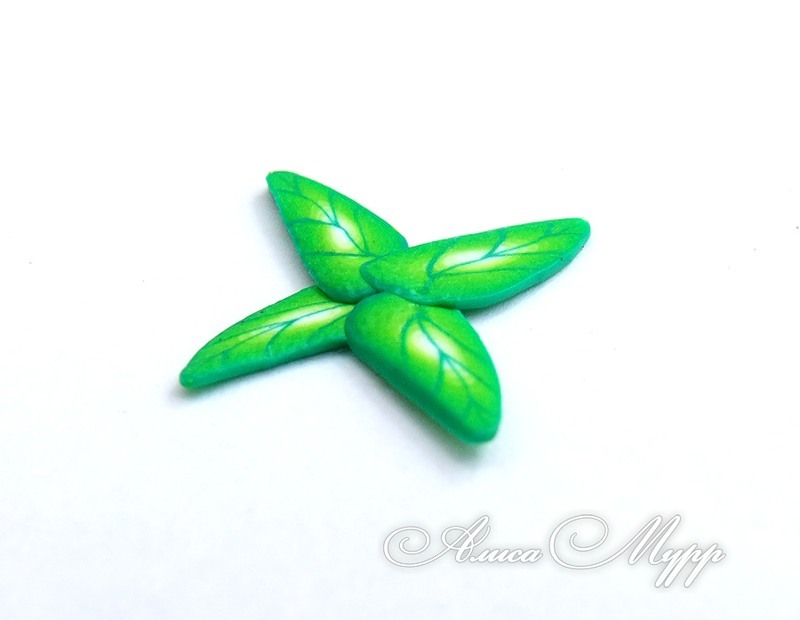
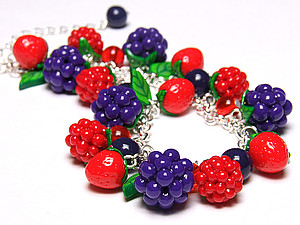
 And inserts the pin, so you could hang a berry on a bracelet or earrings. )))
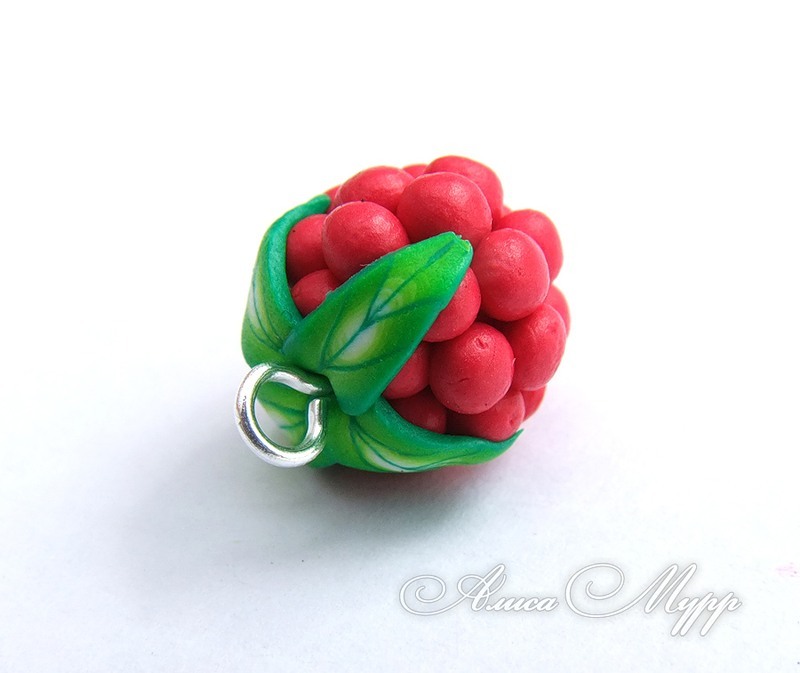 Well, that’s the entire crop
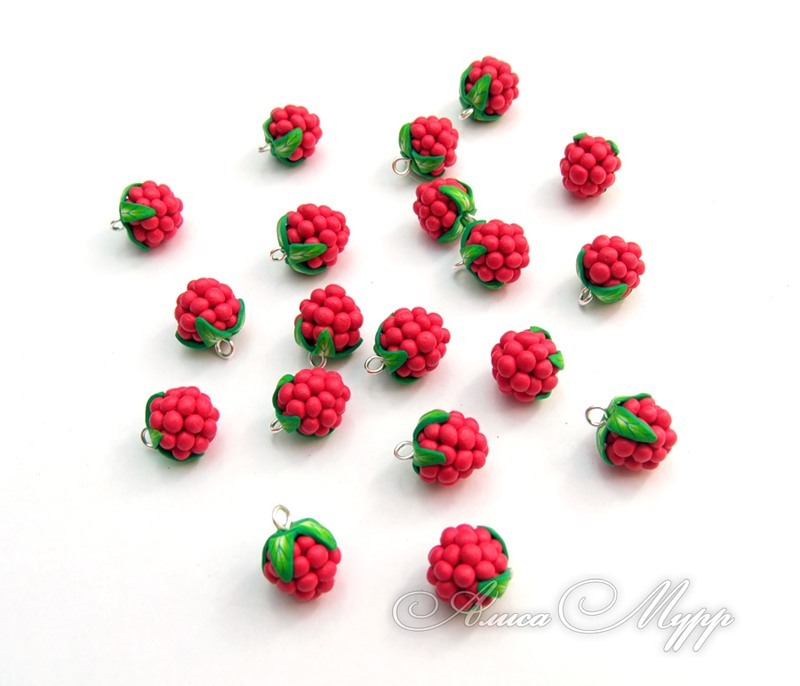
Now you need to bake raspberries (baking time and temperature on the packaging plastics), paste the pins, cover the varnish and dried berries.
And you can collect decorations. 🙂