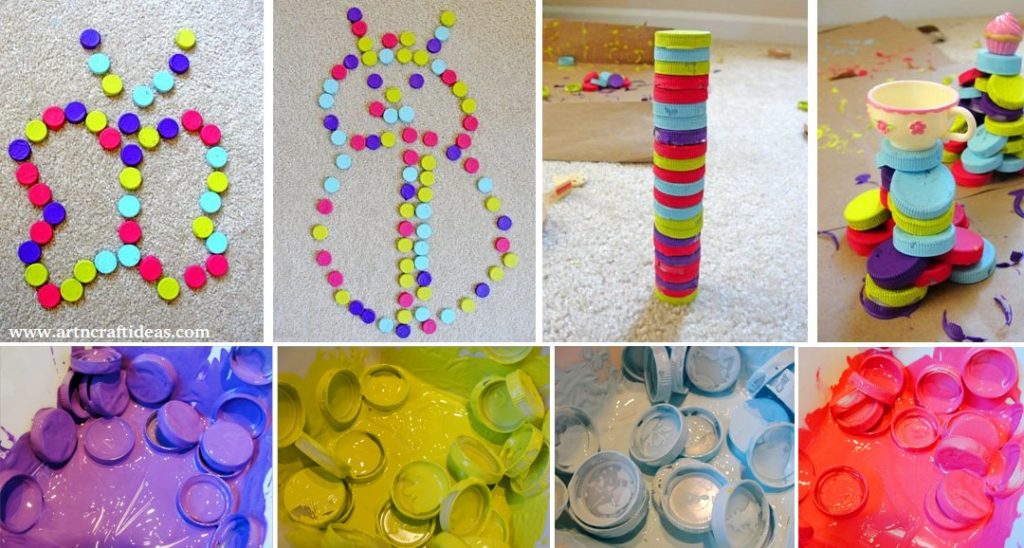
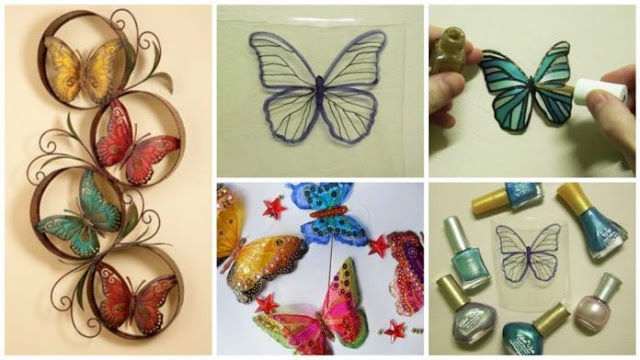
Posted onJuly 5, 2017inBest out of Waste, Kids Activities, Tutorial Painted Plastic Bottle Caps Craft Tutorial for Kids
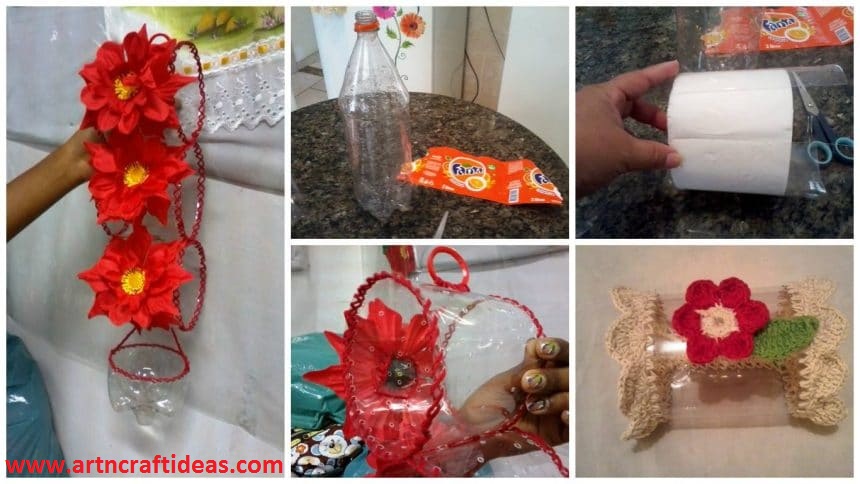
Posted onJuly 5, 2017inBest out of Waste, Craft, DIY, Tutorial How to Make Toilet Paper Roll Holder from Plastic Bottle
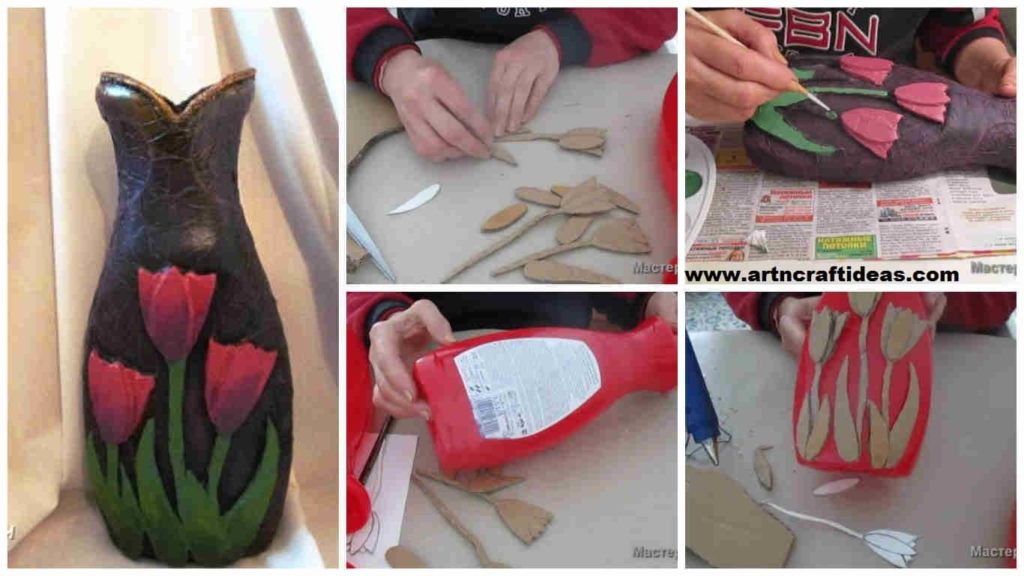
Posted onJune 20, 2017inBest out of Waste, Cardboard Crafts, Tutorial How to make vase from plastic bottle
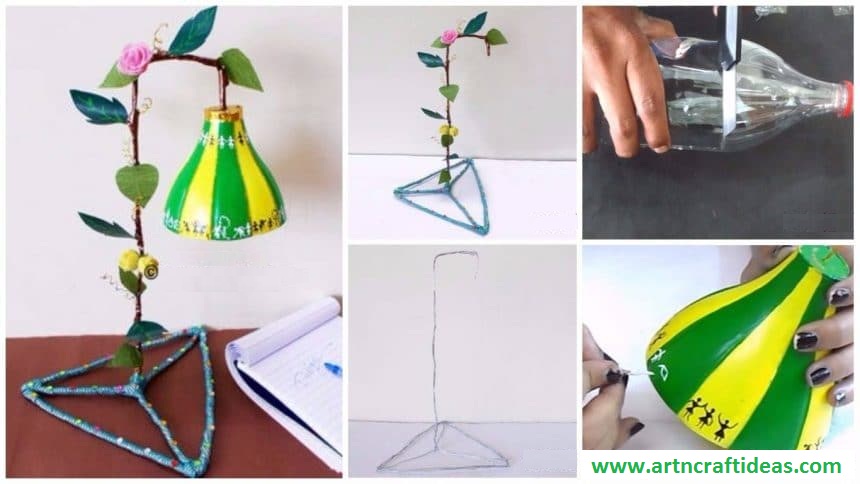
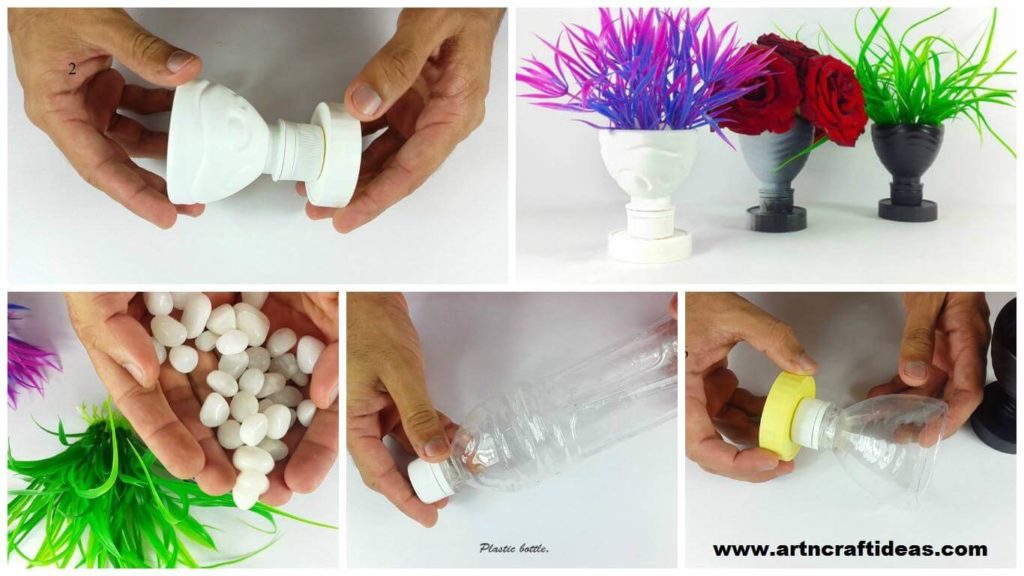
Posted onJune 11, 2017inBest out of Waste, Craft, DIY, Tutorial, Video DIY Flower Vase Out of Plastic Bottle
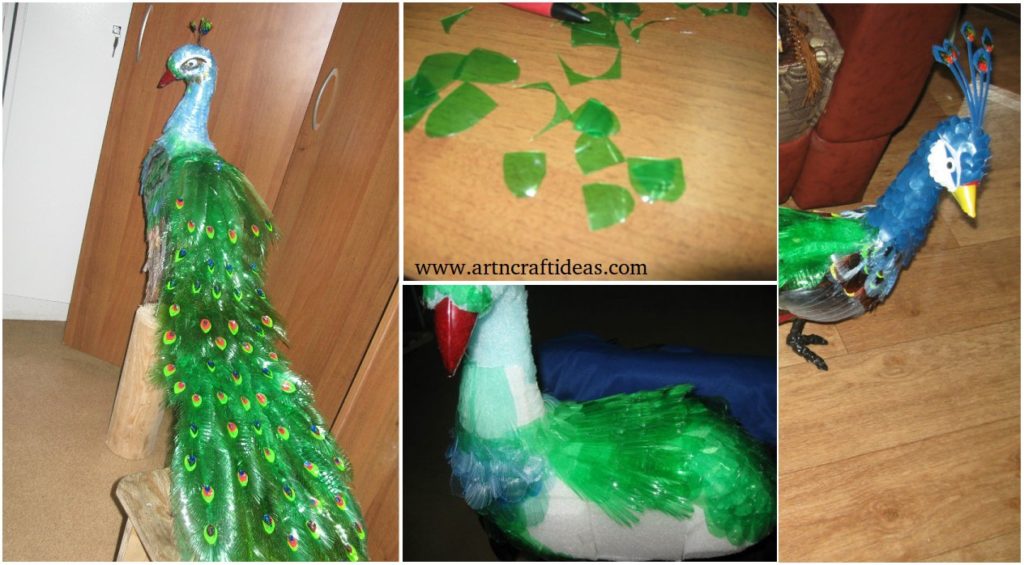
Posted onJune 4, 2017inBest out of Waste, DIY, Tutorial DIY Beautiful Peacock Design from plastic bottles
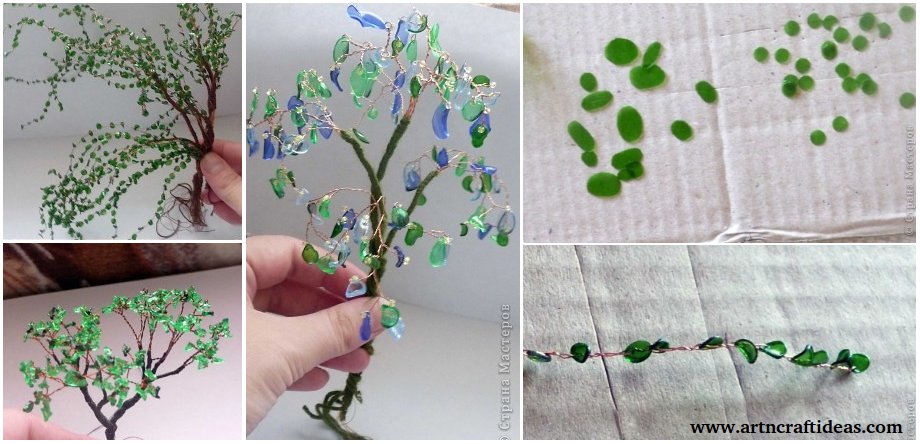
Posted onJune 4, 2017June 4, 2017inBest out of Waste, Home Decor, Tutorial DIY RECYCLED CRAFT: Bonsai Made Of Plastic Bottle (Tutorial)
Posted onMarch 26, 2017December 25, 2018inBest out of Waste, Jewellery, Tutorial How to Make Bracelets Recycling Plastic Bottles
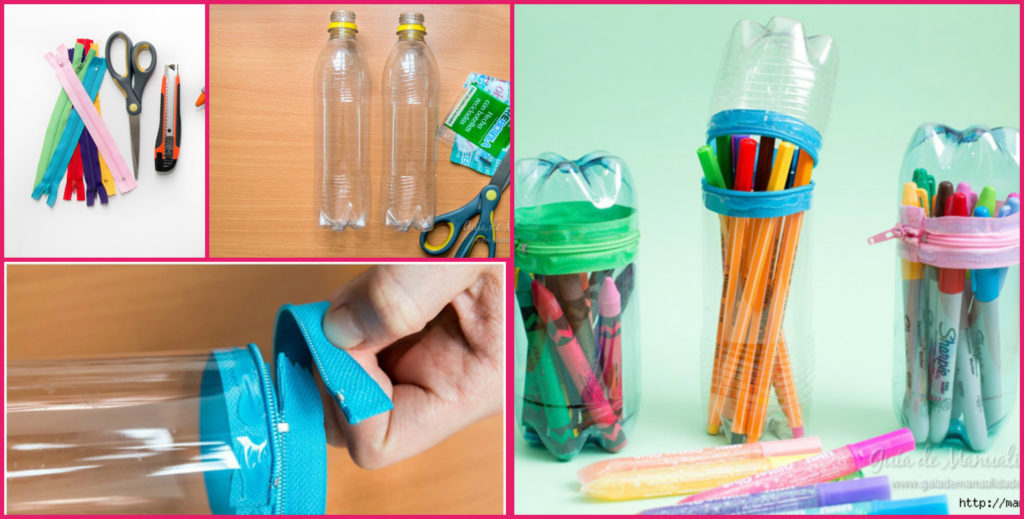
Posted onFebruary 5, 2017inBest out of Waste, DIY, Kids Crafts, Step by step, Tutorial How to Make Pencil Case from Plastic Bottle