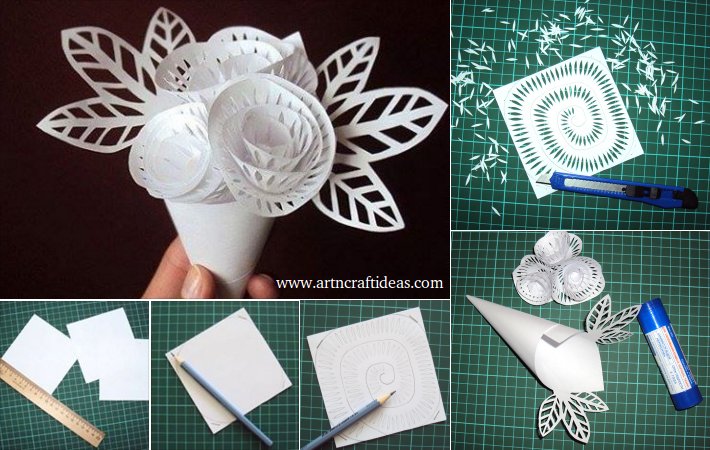
Posted onMay 15, 2017inMother's Day, Paper Crafts, Tutorial How to make a bouquet for mom – Step by step
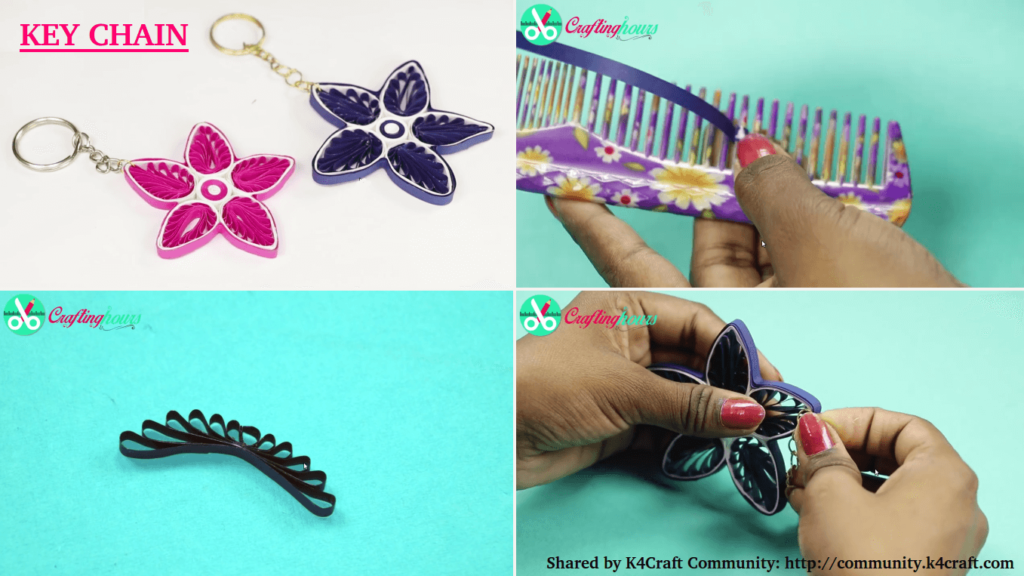
Posted onApril 25, 2017inQuilling, Step by step, Video Paper Quilling – How to Make Key chain from Quilling Art
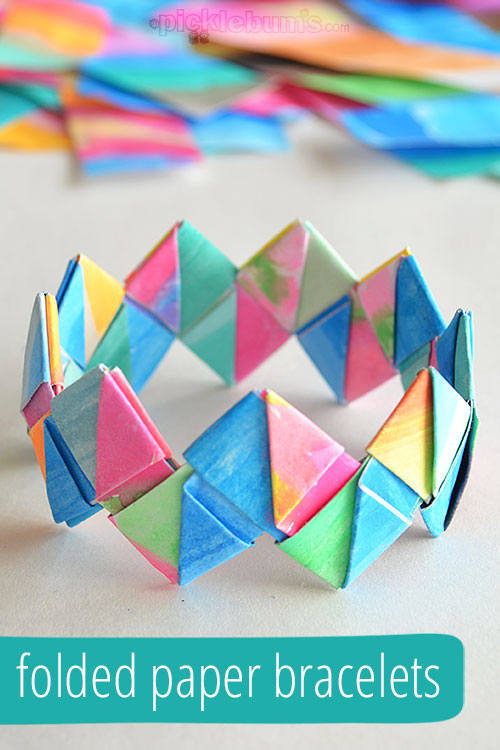
Posted onApril 5, 2017April 5, 2017inJewellery, Paper Crafts, Tutorial DIY Folded Paper Bracelets (Tutorial)
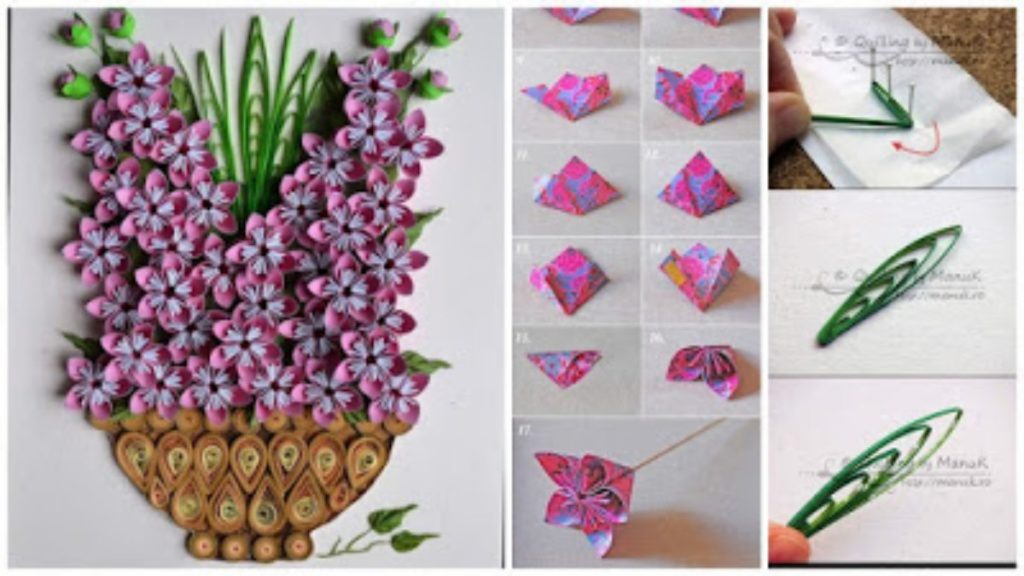
Posted onMarch 30, 2017May 11, 2017inFlower Crafts, Origami, Tutorial How to Make a Origami Kusudama Flower
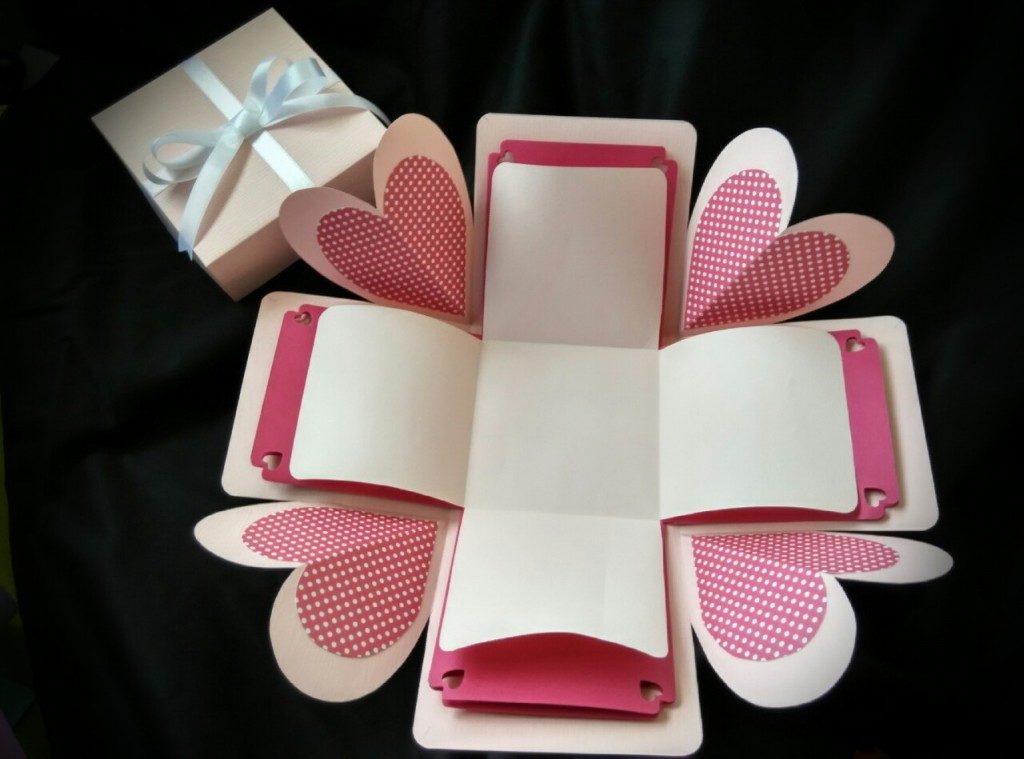
Posted onMarch 6, 2017March 6, 2017inDIY, Paper Crafts, Tutorial How to Make an Basic Explosion Gift Box
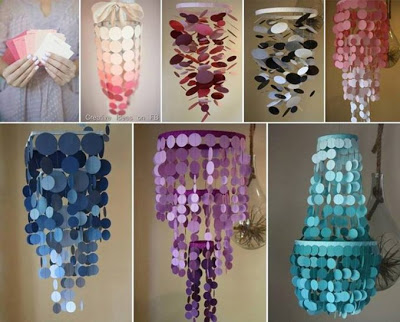
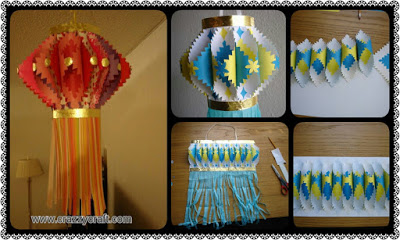
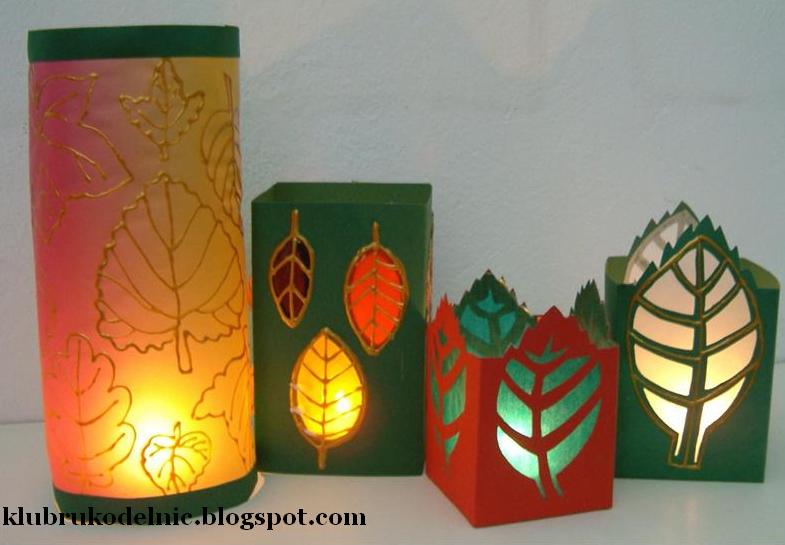
Posted onMarch 4, 2017inBest out of Waste, DIY, Home Decor, Tutorial DIY: Lanterns with autumn leaves create
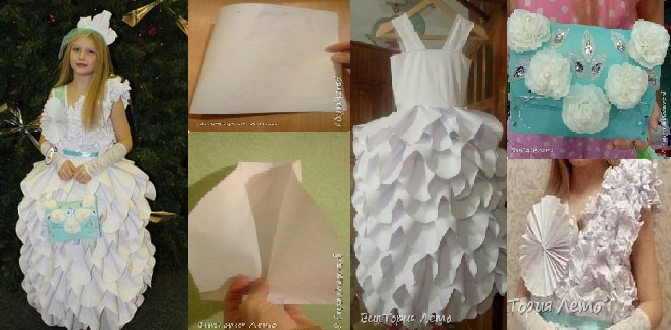
Posted onFebruary 24, 2017inBest out of Waste, Clothing, DIY, Kids Crafts, Step by step, Tutorial Handmade paper frock for fancy dress competition