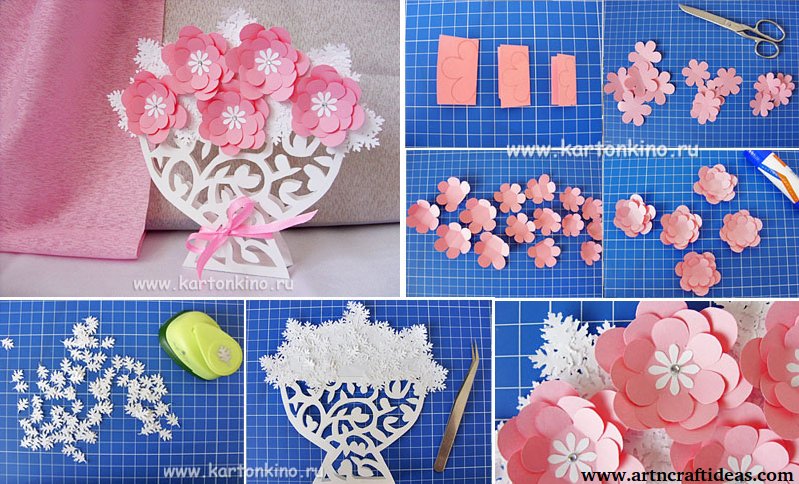
Posted onMay 15, 2017inFeatured, Mother's Day, Paper Crafts, Tutorial Vase with flowers – Mother’s Day Gift (Tutorial)
Posted onFebruary 15, 2017February 15, 2017inBest out of Waste, DIY, Home Decor, Newspaper Crafts, Step by step, Tutorial How to make newspaper roses frame
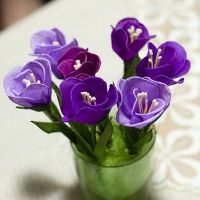
Posted onFebruary 15, 2017inFlower Crafts, Paper Crafts, Step by step, Tutorial DIY: Crocuses corrugated paper
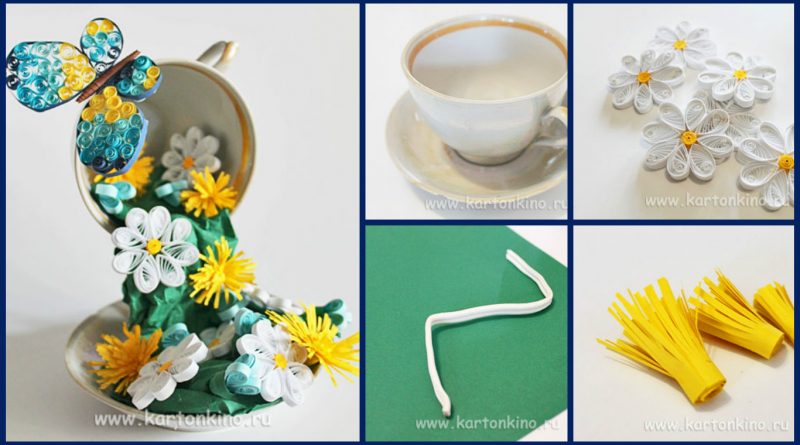
Posted onFebruary 7, 2017inDIY, Home Decor, Quilling, Step by step, Tutorial How to make floating cup with quilling technique
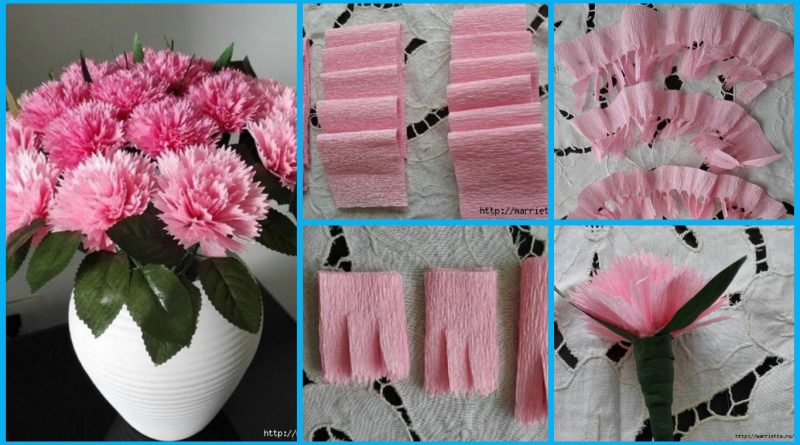
Posted onFebruary 5, 2017inDIY, Flower Crafts, Paper Crafts, Step by step, Tutorial How to make flower from crepe paper
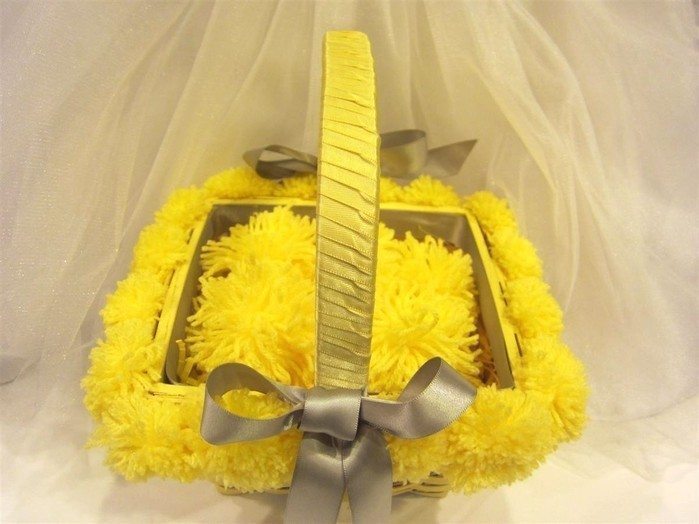
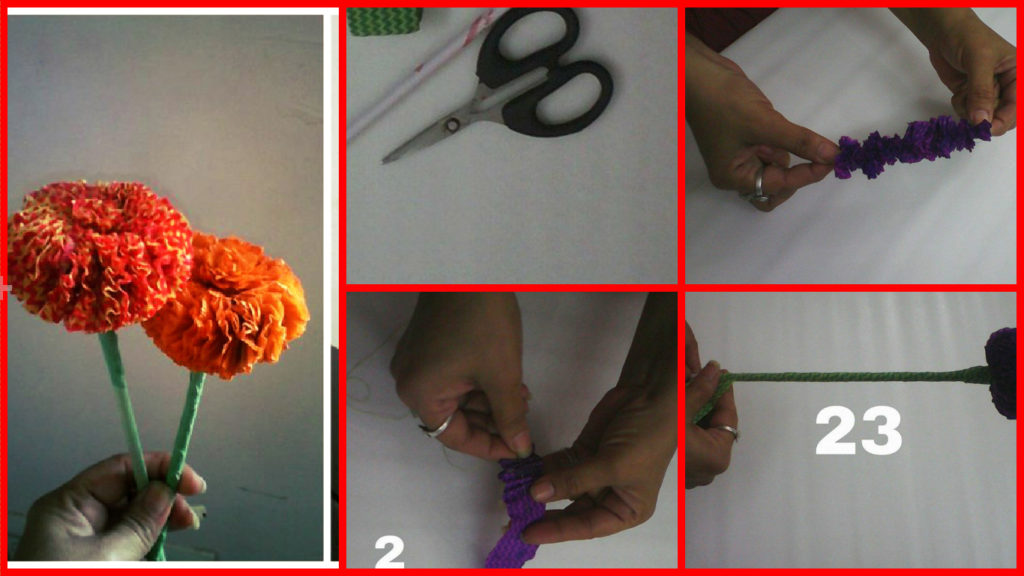
Posted onFebruary 4, 2017inDIY, Flower Crafts, Step by step, Tutorial How to make marigold flower from ribbon
Posted onFebruary 3, 2017inBirthday, DIY, Other, Step by step, Tutorial DIY: Beautiful bag making tutorial
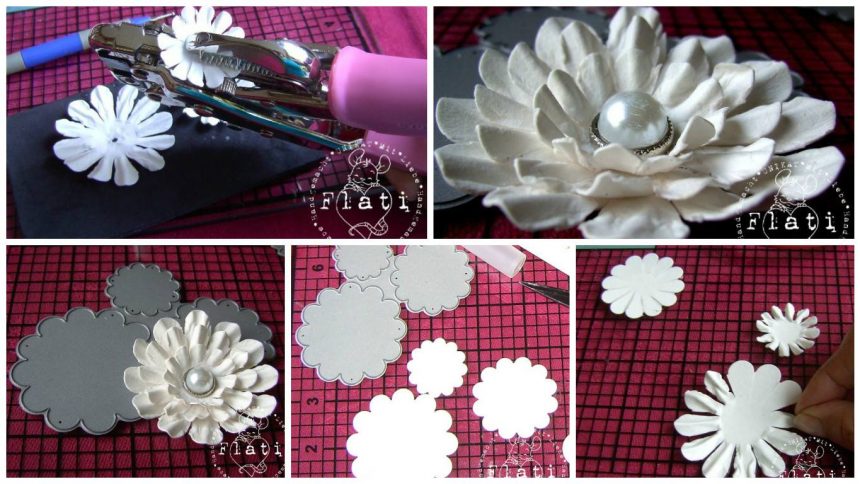
Posted onJanuary 19, 2017inFlower Crafts, Paper Crafts, Step by step, Tutorial How to make beautiful elegant flower scrap of watercolor paper