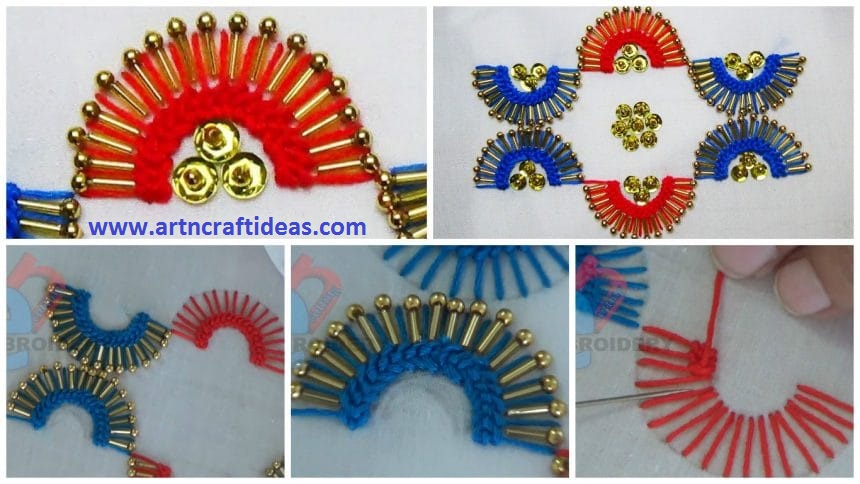
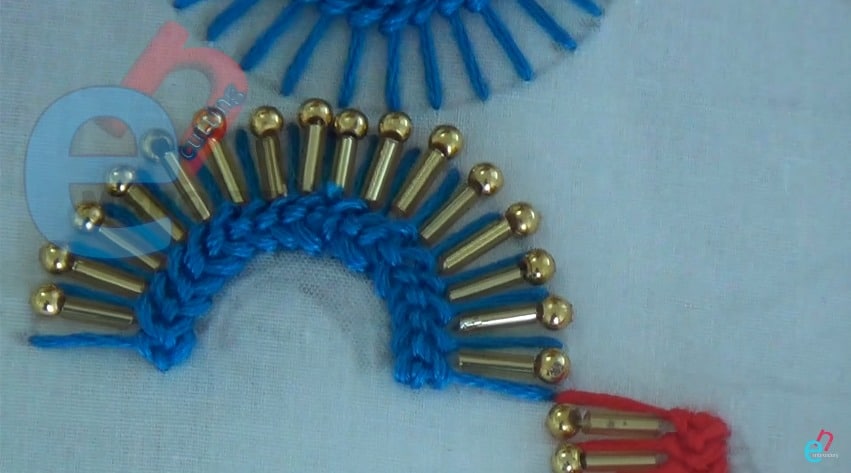
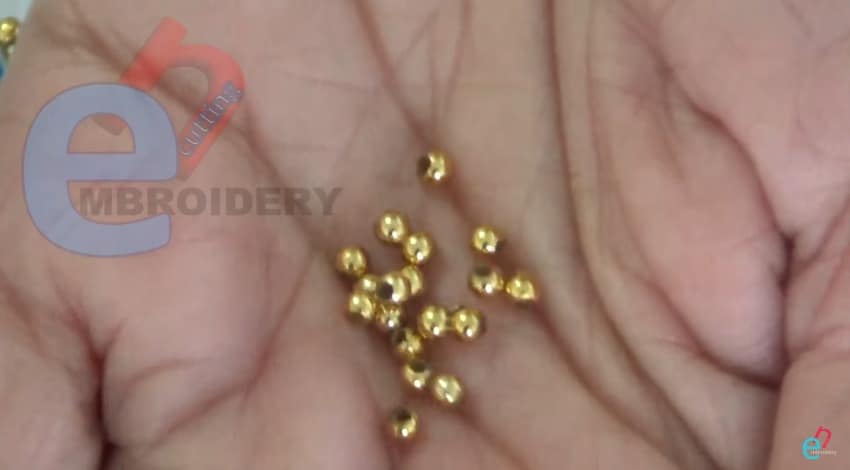
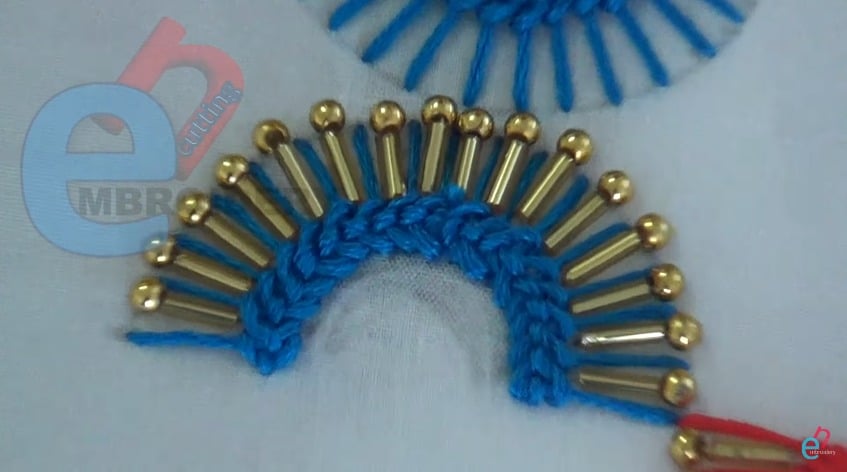
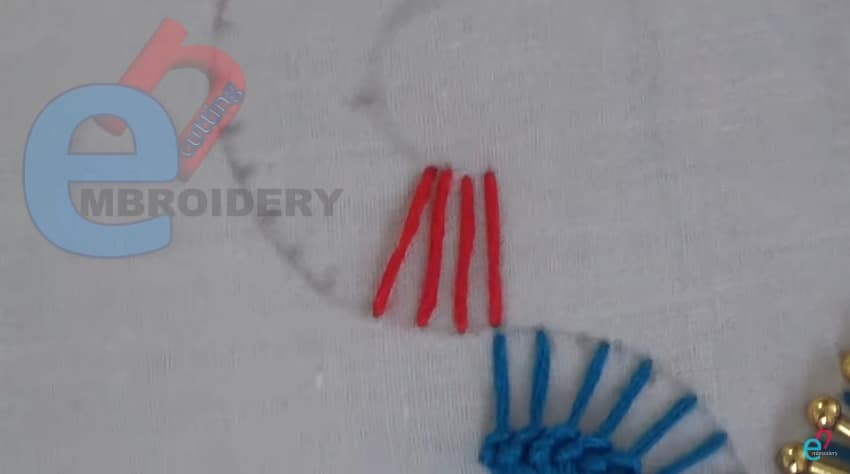
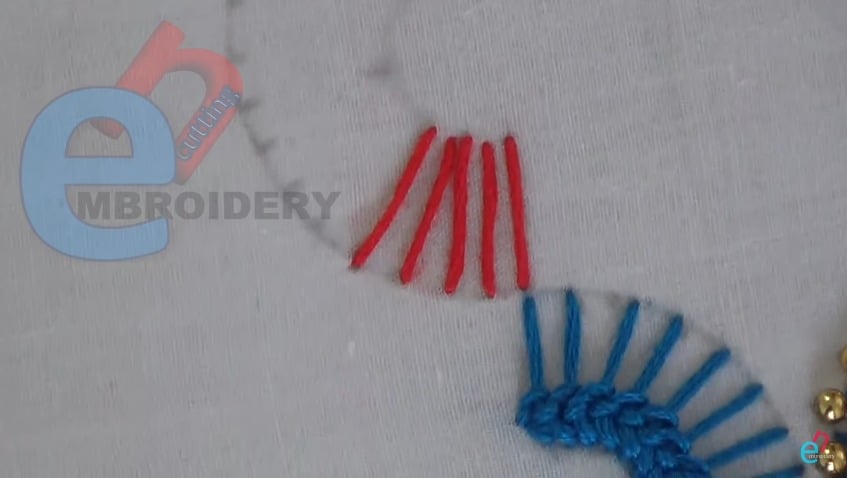
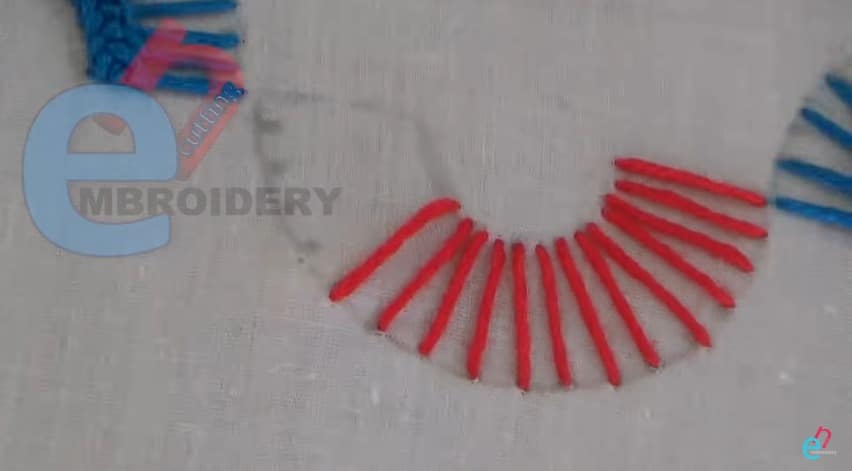
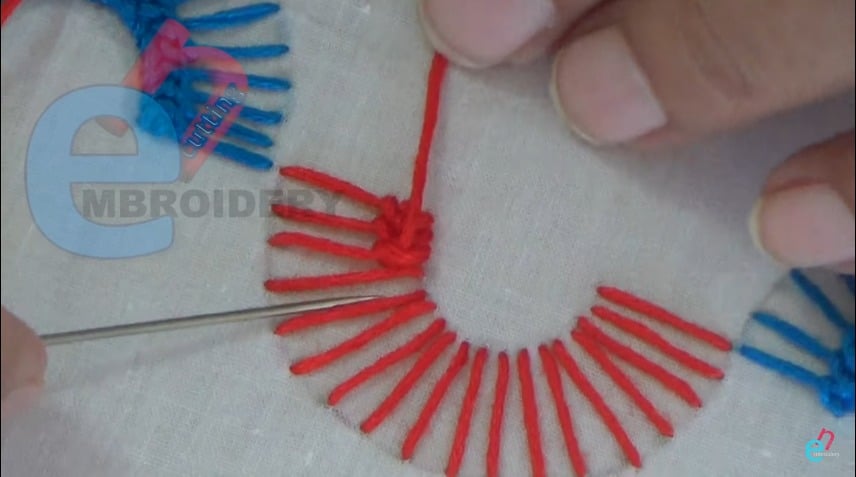
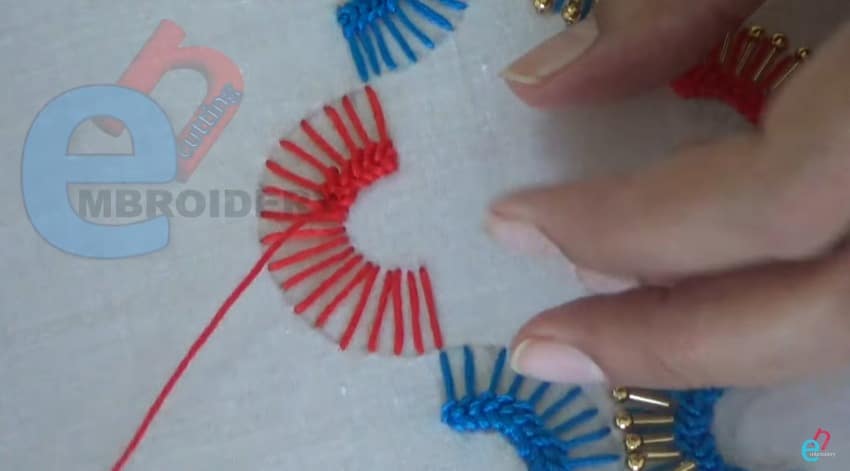
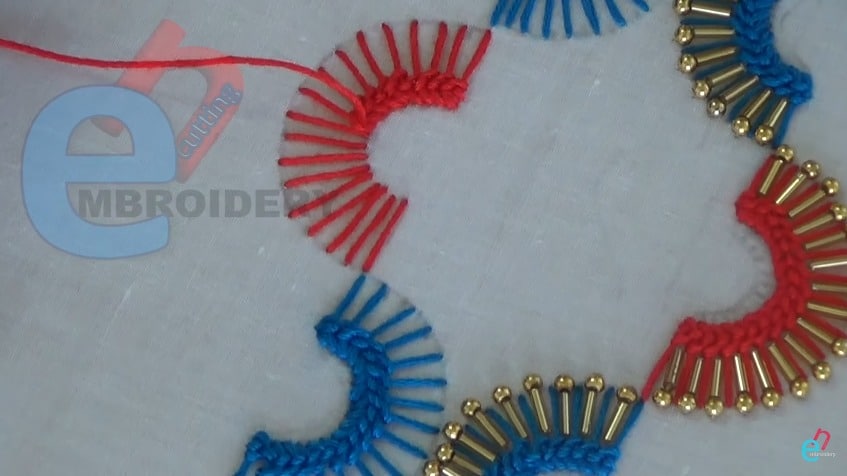
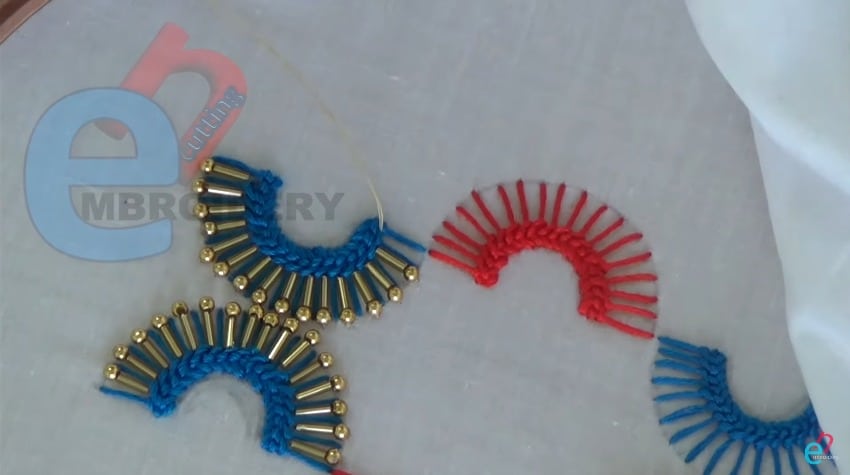
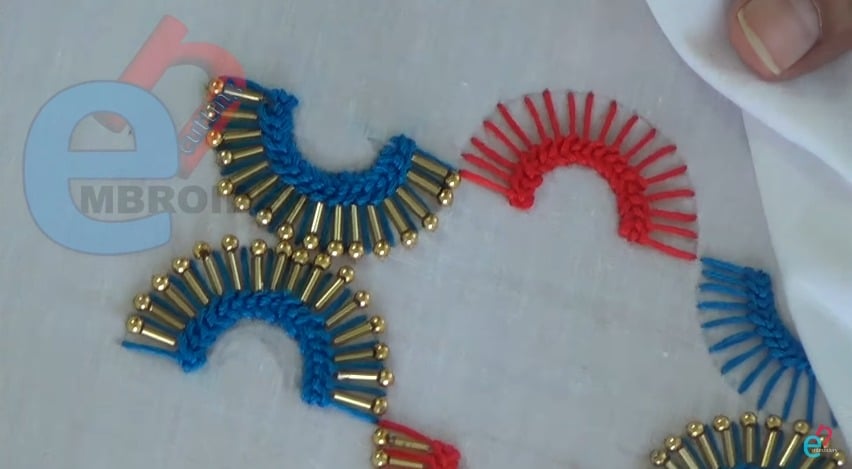
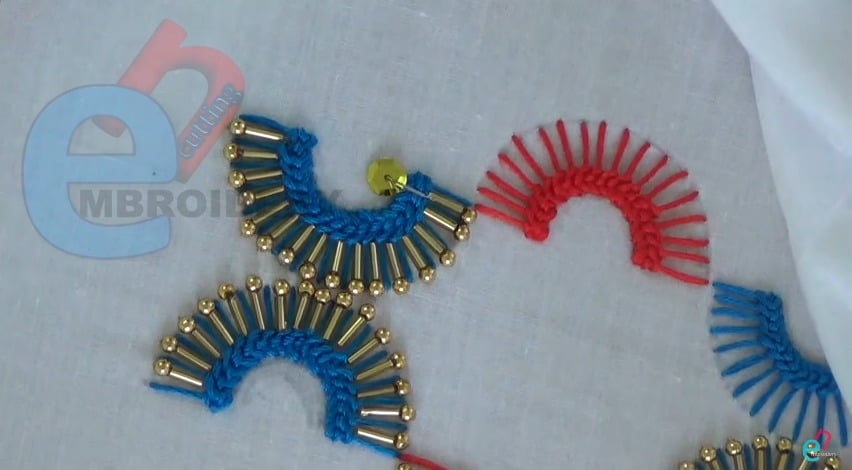
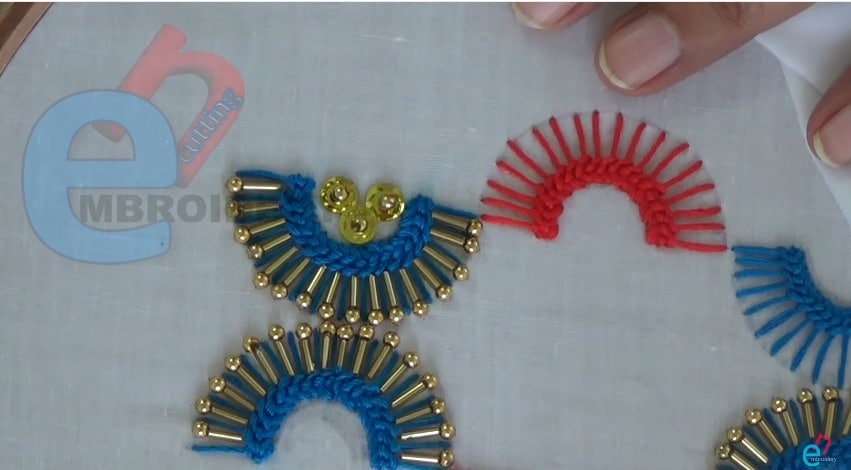
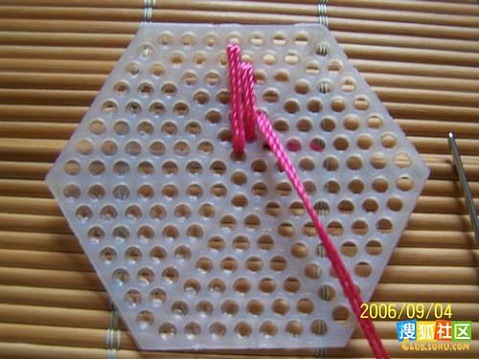
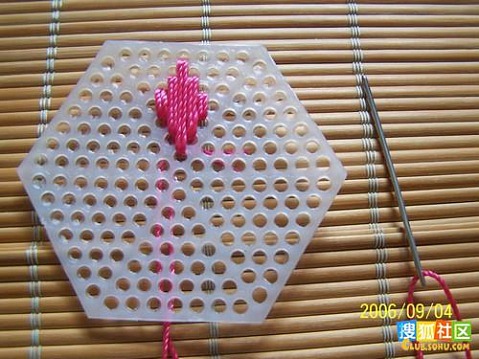
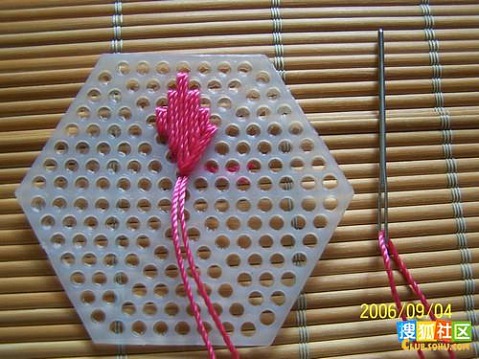
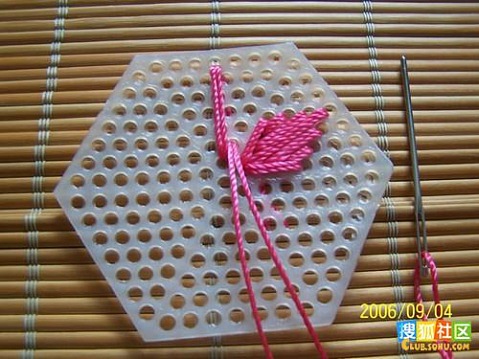
Raised Chain Stitch (Bead Embroidery):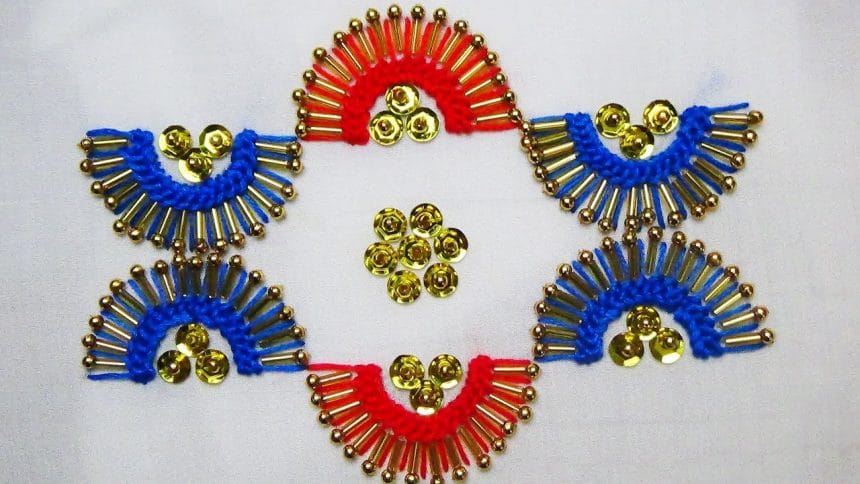

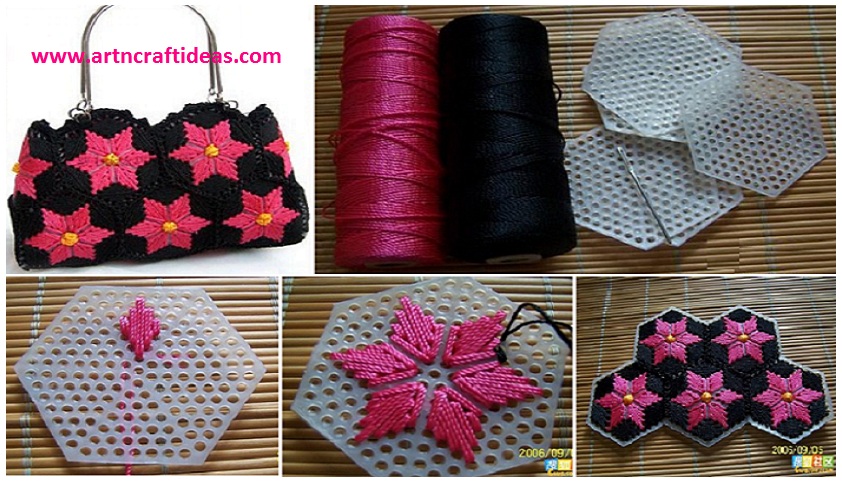
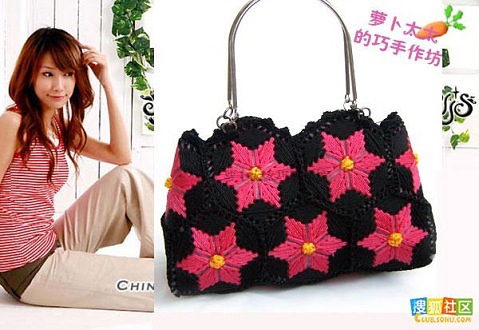
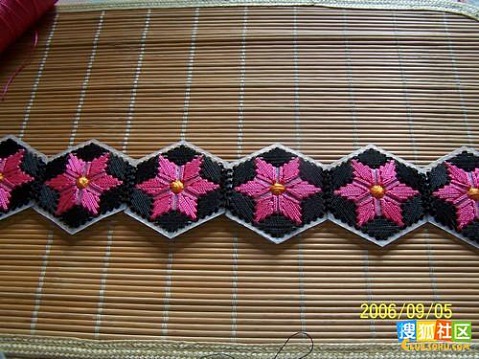
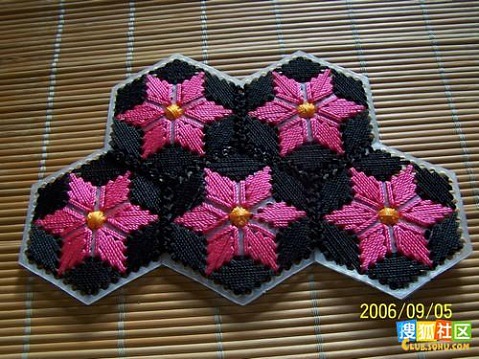
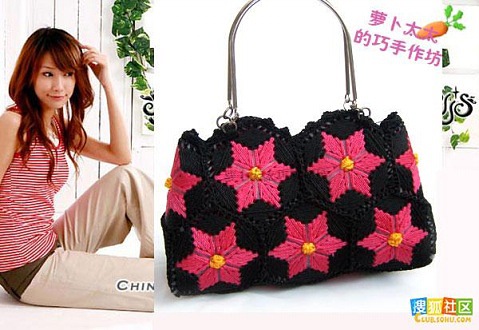
How to Make Pretty Hand Bag from Stitch on Plastic Canvas
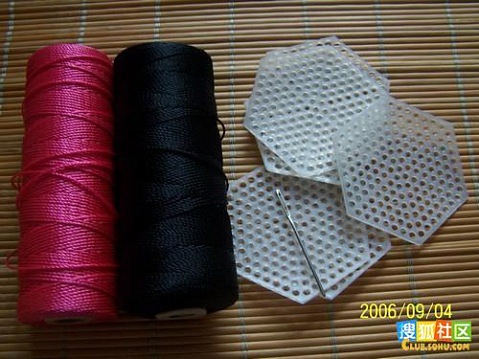
Wonderful DIY Pretty Hand bag from Stitch on Plastic Canvas:

DIY Crafts: How to Make Cardboard Tube Pencil case
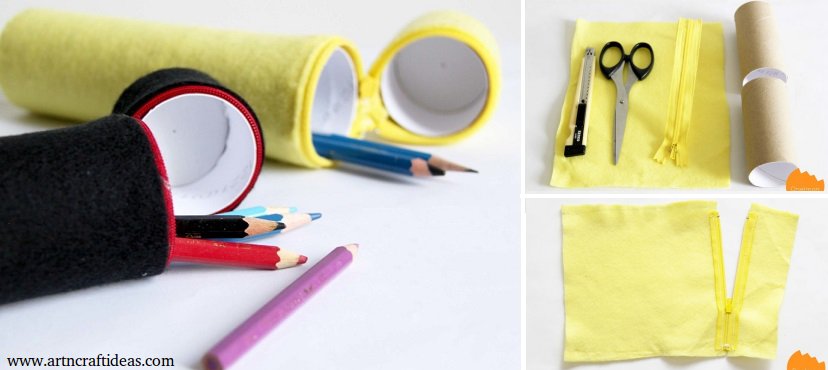
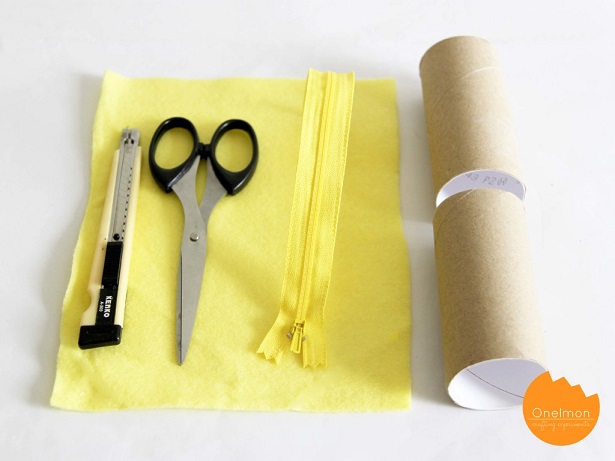
This tutorial shows how to make pencil case with a cardboard tube. In fact, with the help of a cardboard tube and amount of fabric with a zipper pencil case can be made interesting. Method of making such craft is very easy and low cost.
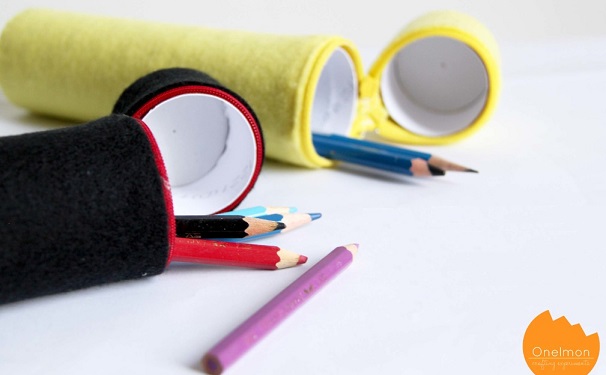
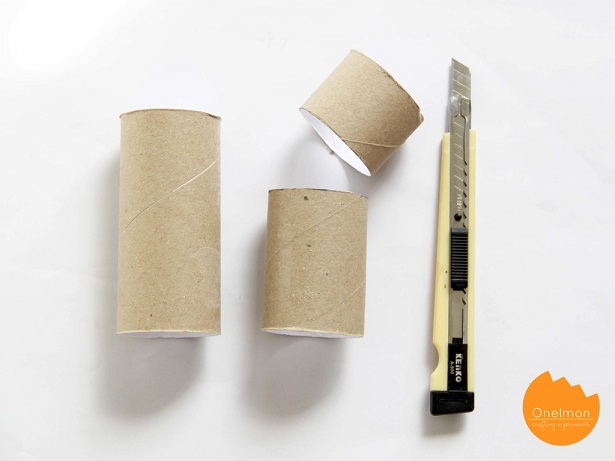
In this section the size of the desired size to provide some cardboard tube and part of it first as door cut it. And cut into two pieces of tape together and go to the next step
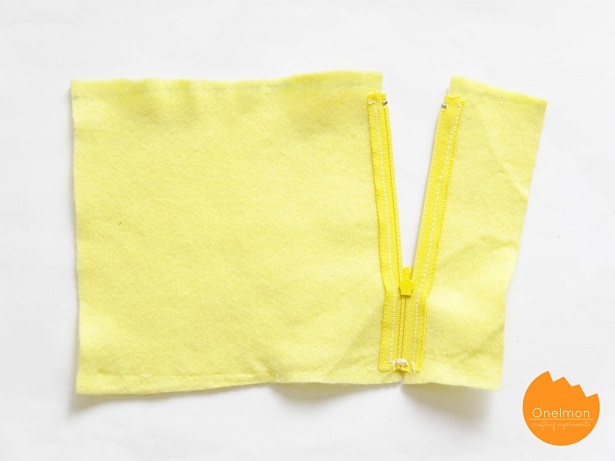
Then sew the fabric together and put into place the cardboard tube. And adhesive tape to earn up to a door opening and closing pencil case.
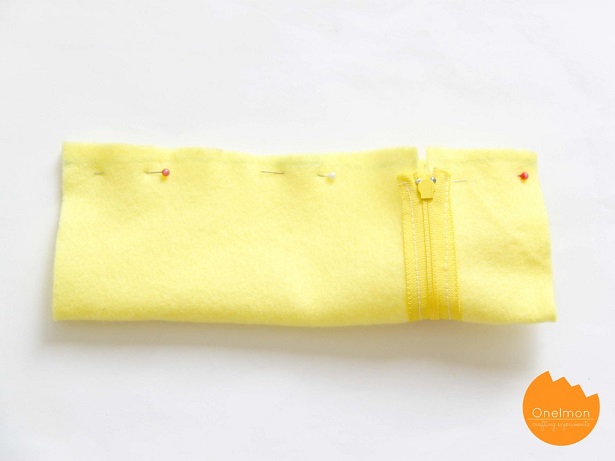
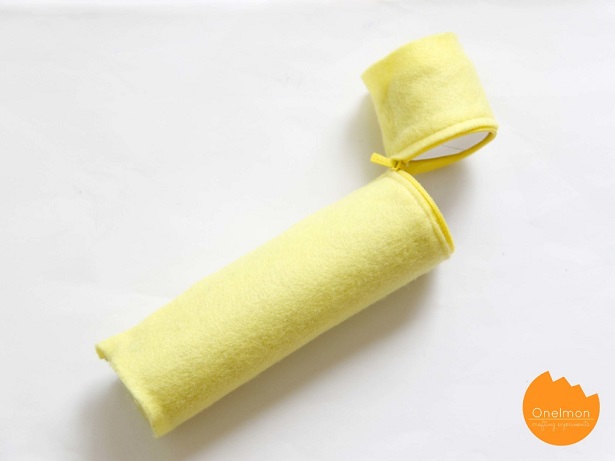
The pencil case pencil or items that you put in comes out.
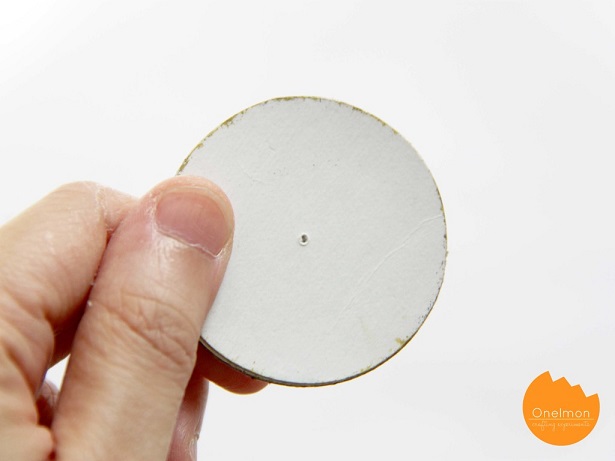
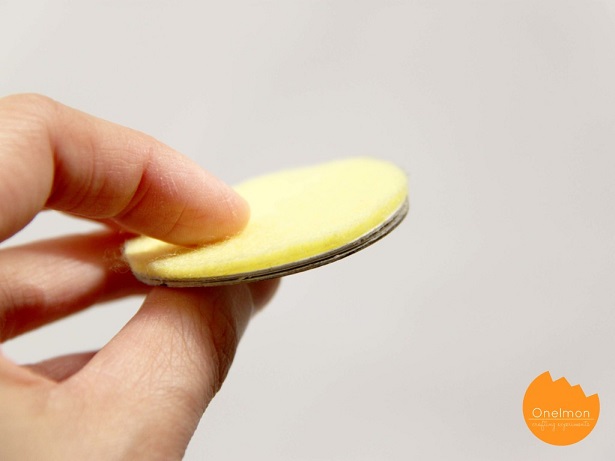
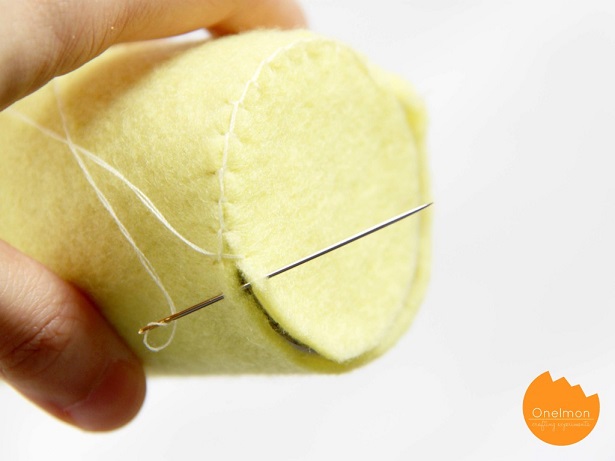
Finally, you have been able to make a pencil case with a cardboard tube. I hope you enjoyed this.

Hope you like this “back to school” pencil case craft tutorial.
We would love to hear your thoughts in the comment section below. And be sure to like us Facebook for more ideas!
Thank you for visiting our website. Keep Creating with Art & Craft!
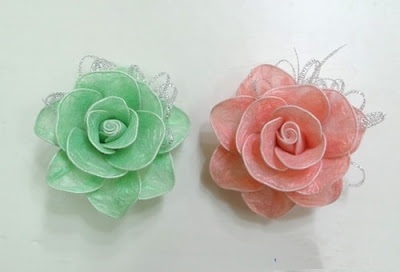
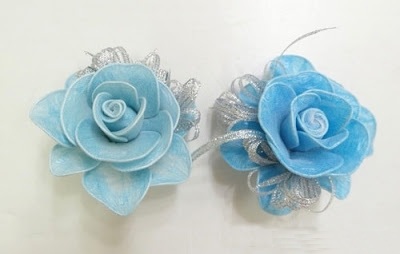
How To Make Rose Using The Plastic Bag
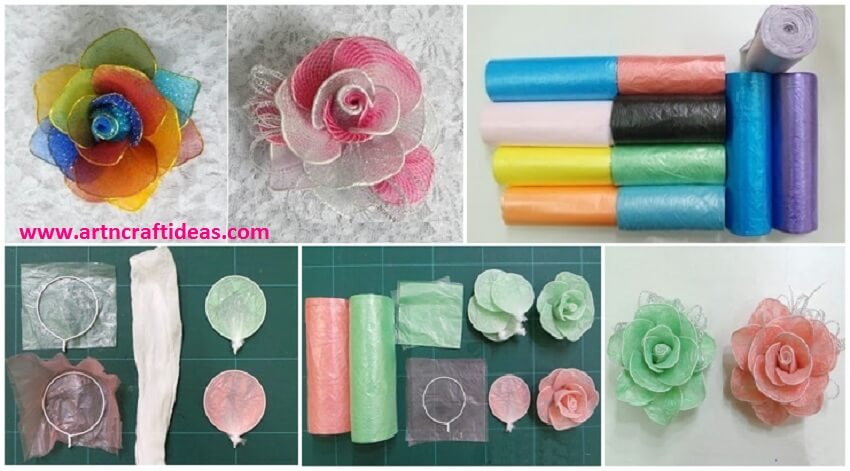
If you love roses handmade, in this activity we will offer how to make it a wonderful roses using things that are available daily and are the plastic bag and various colors and is very easy and simple way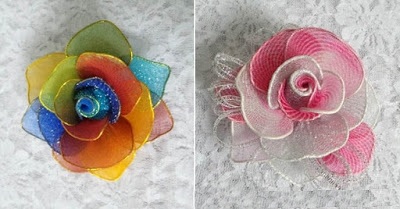
Required Material:
- plastic bags different colors.
- Metal wire mesh.
- Threading.
- A circular template.
- Tape cloth for decorating.
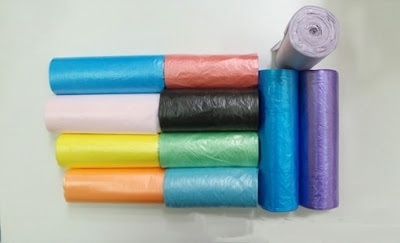
Cut into pieces cut as follows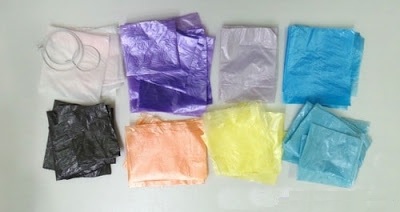 Packaging in the circular start racing wire
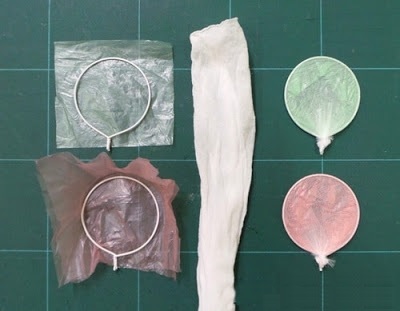 Giving those coated wire forms and a variety of well-connected strings at the bottom.
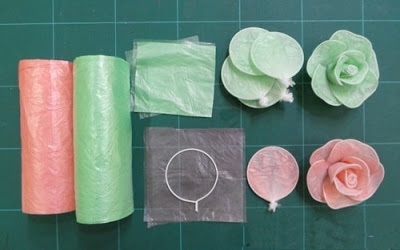 Continue to prepare all kinds of formats
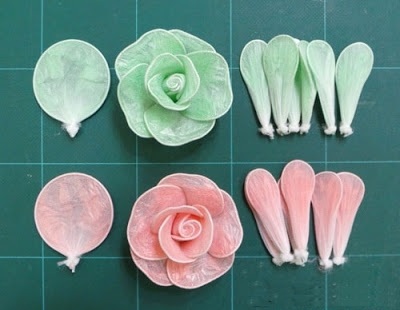 After you finish you get the following figure
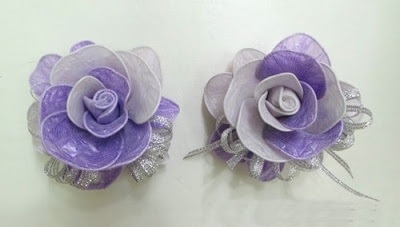
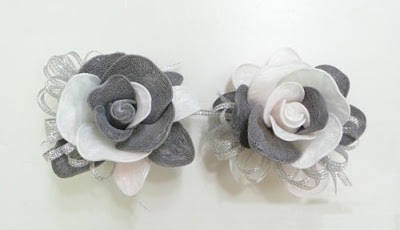 These are some suggested formats
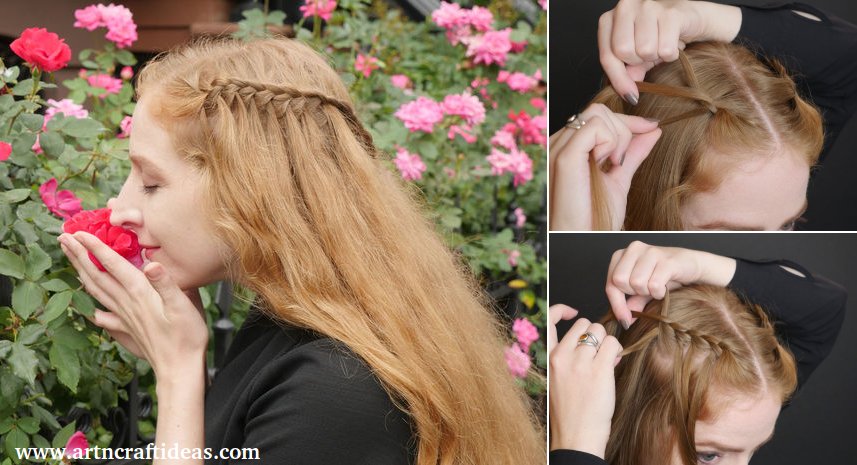
Easy Waterfall Braid Tutorial – Step by step
The waterfall braid gets its ornate look by releasing sections of hair as well as picking up new ones along its path.
This technique isn’t particularly hard, but it can be arm-tiring and takes a bit of practice to get an even-looking result. Keep at it!
Step 1: Begin a Crossing-Over Braid
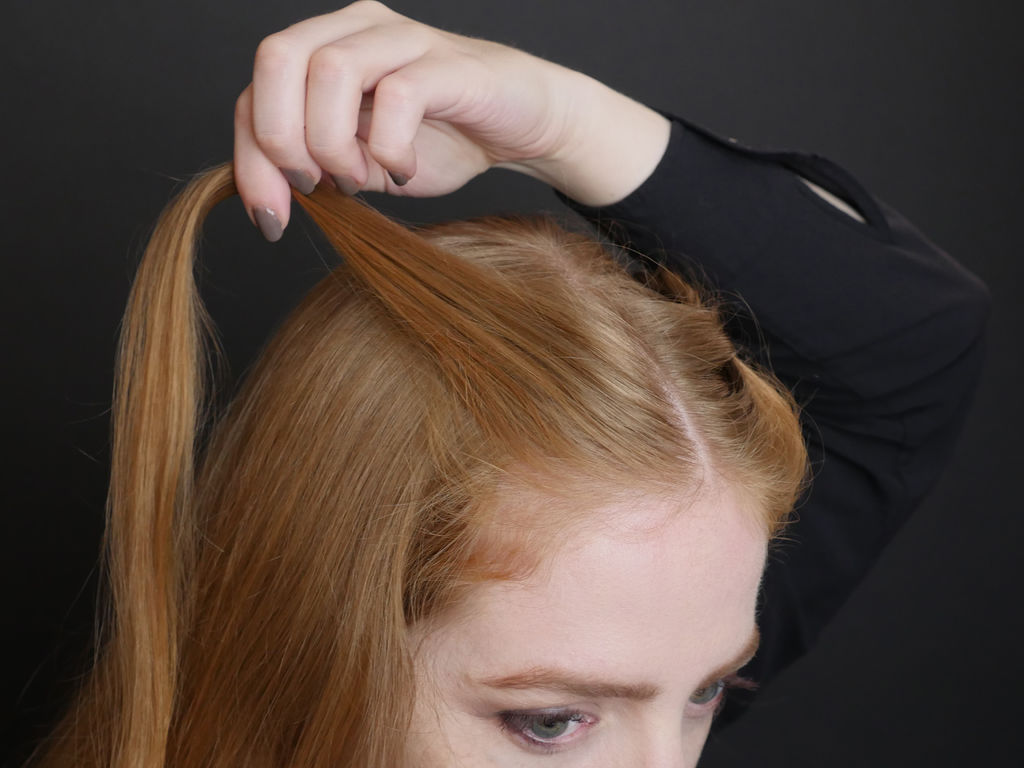
As you grew accustomed to doing in the first few lessons, part your hair in the middle and grab a small section at the front (on the left or the right), and sweep it back.
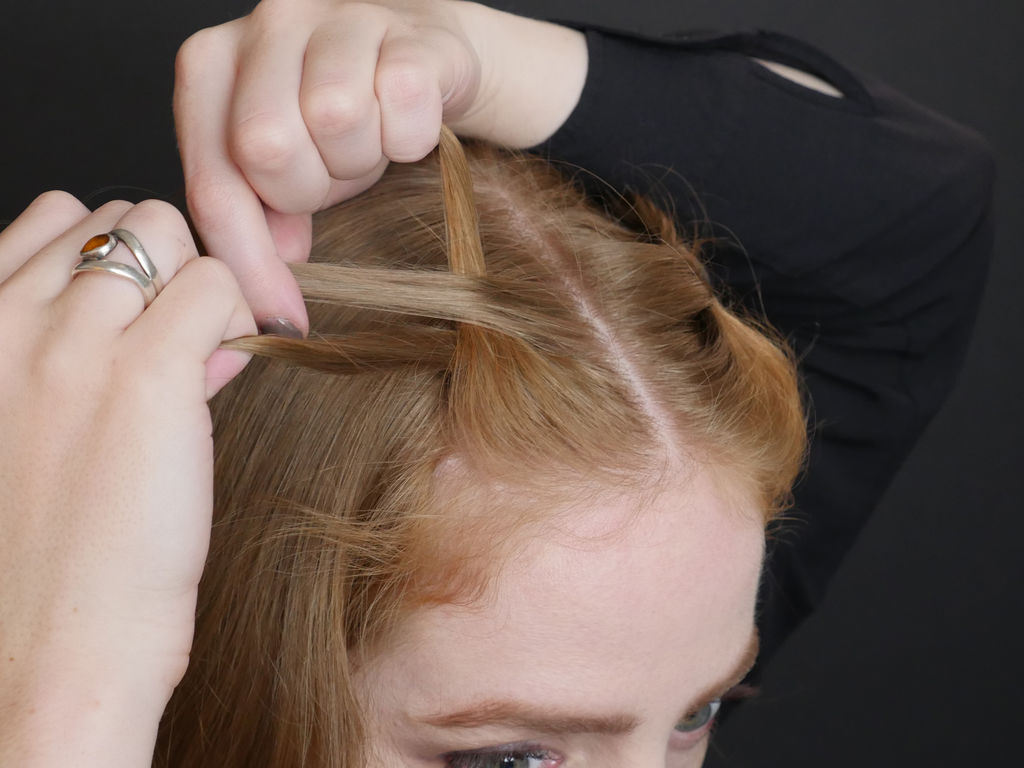
Divide into three sections and create a few stitches of a standard crossing-over braid.
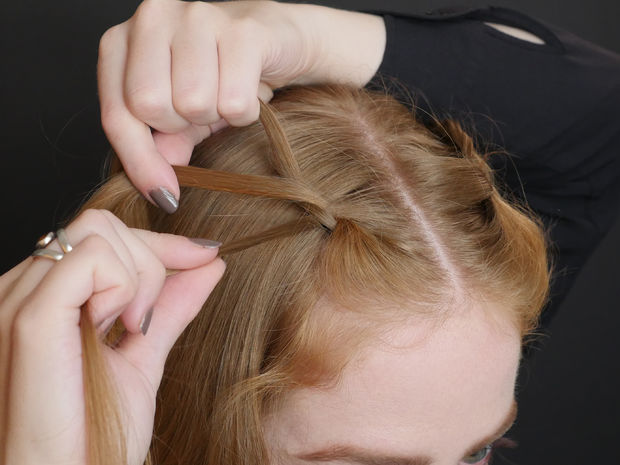
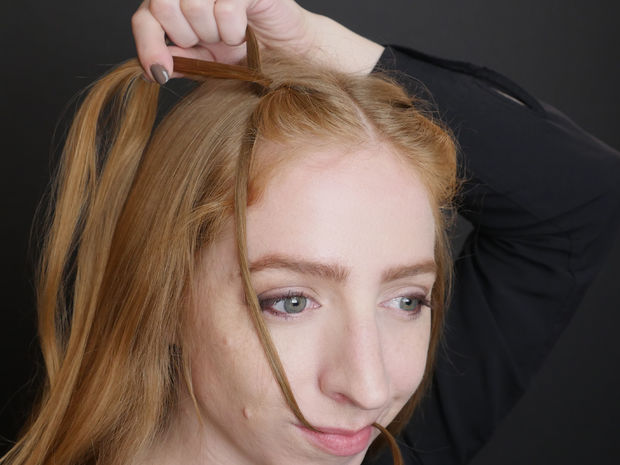
The next time it’s the lower strand’s turn to cross, set it aside instead by sweeping it forward. You can use a clip or your mouth to hold it.
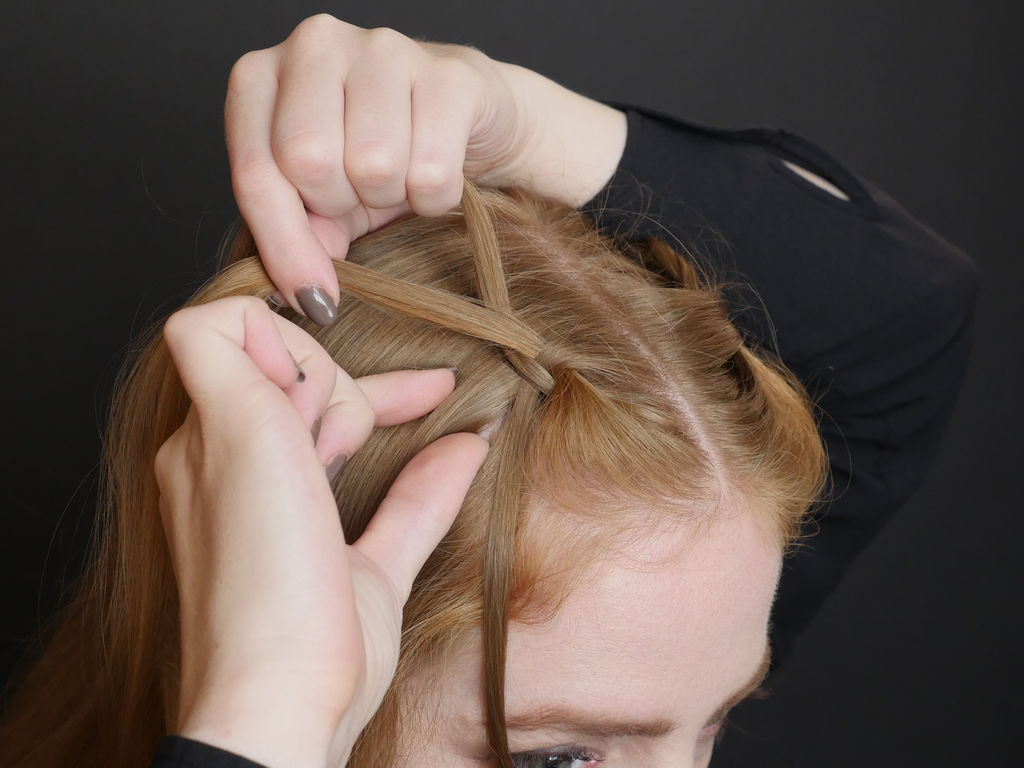
Next pick up a small section of hair from right behind the set-aside section.
Step 2: The Waterfall Stitch
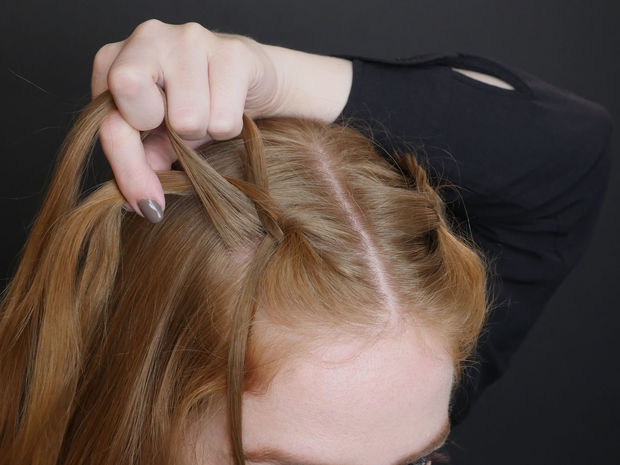
Carefully separate and smooth your new section from the rest of your hair, then cross it over the center section of your braid– this new piece acts in place of the liberated section.
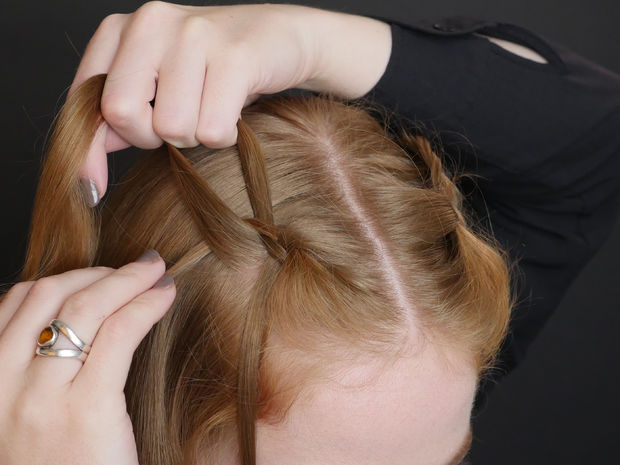
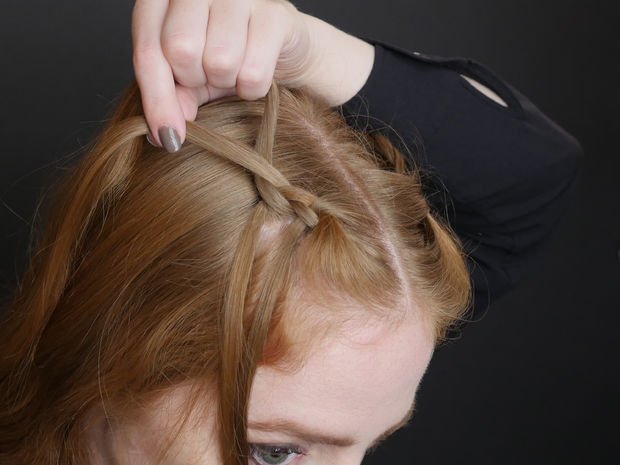
Cross over the part-side section like in a standard braid, then sweep and secure the lower section forward and away, like in the previous step.
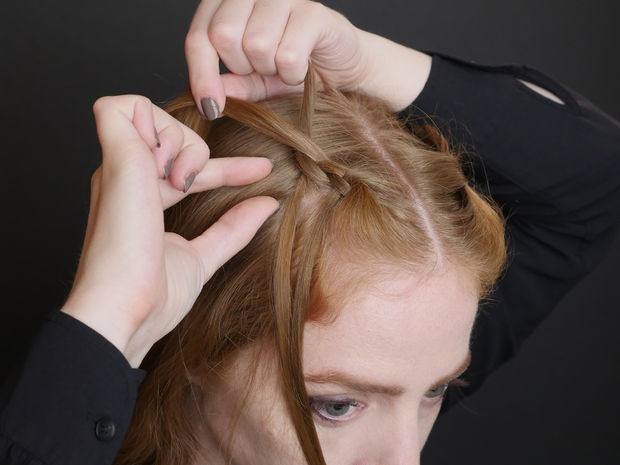
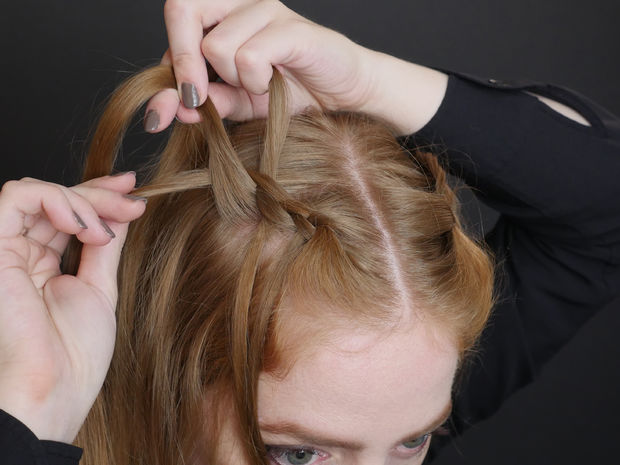
Again pick up a new small section of hair from right behind where the now-free section, and use it to cross over the braid.
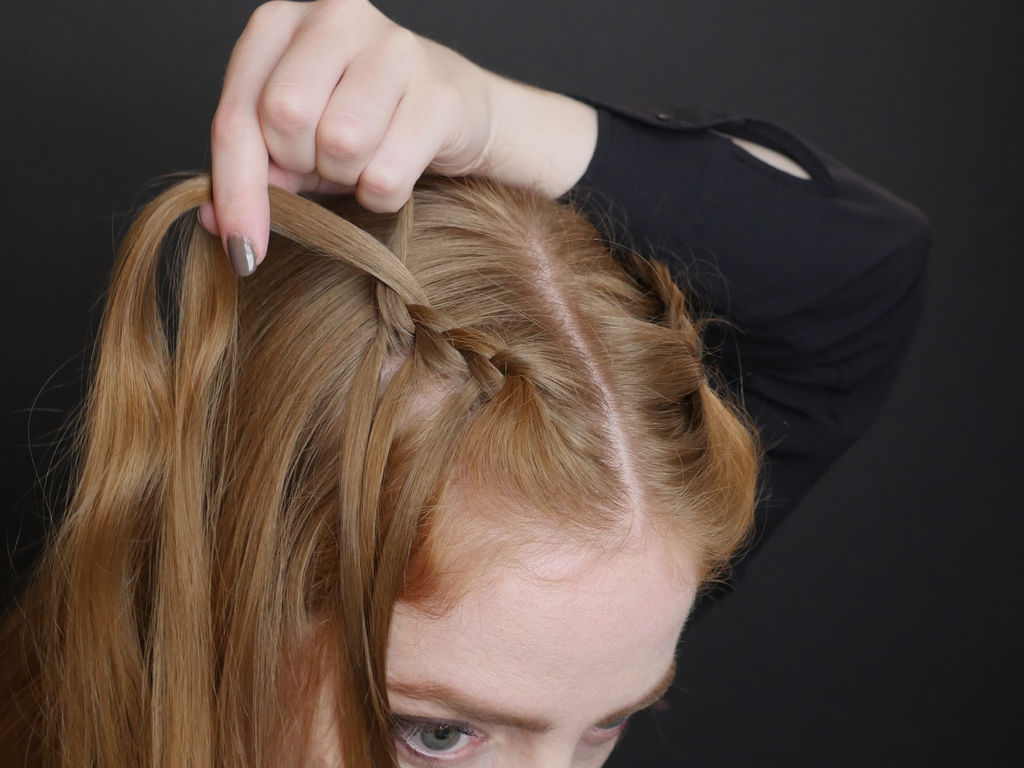
Repeat this step to make as many waterfall stitches as you like!
Step 3: Finish It Off
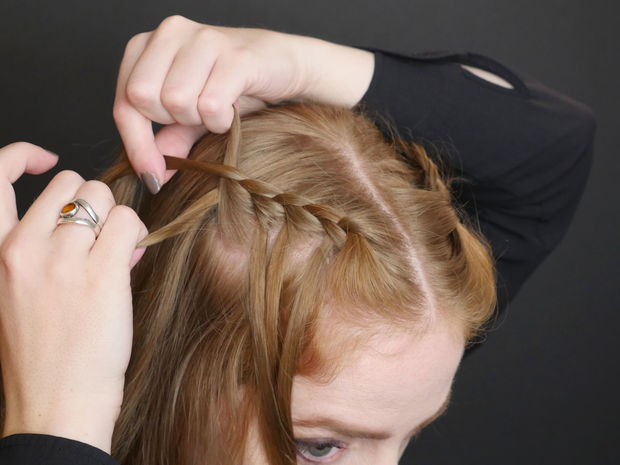
This technique can be extended to wrap around your whole head, but for this style, stop adding new sections when you get to the crown area (or when you stop being able to see what you’re doing clearly with one mirror).
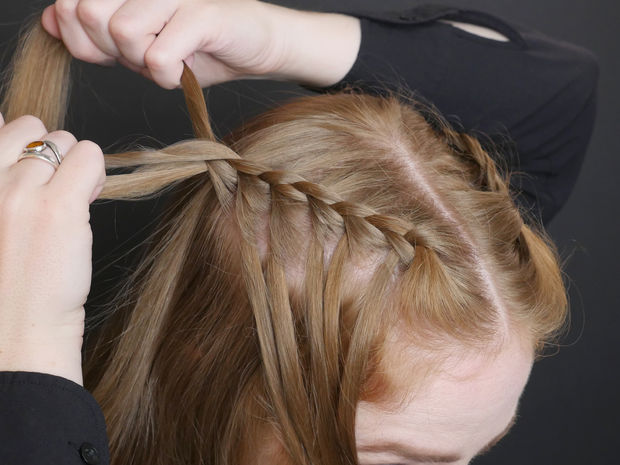
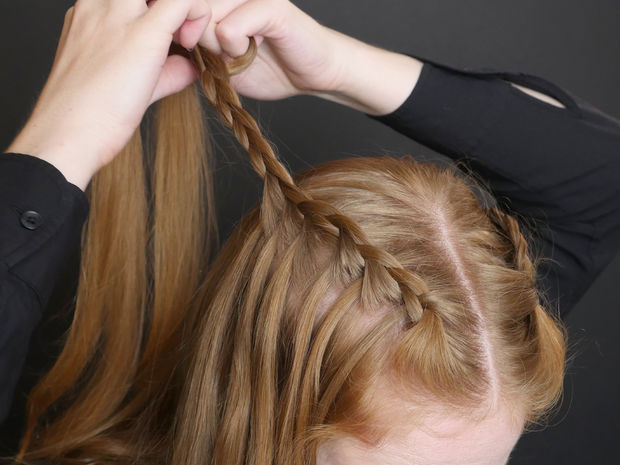
Now you can let go of the sections you were holding with your mouth or clip (any earlier and they would have been in your way). Use a standard crossing-over braid to finish up this side, and secure the tail with a small elastic.
Step 4: And Again From the Other Side
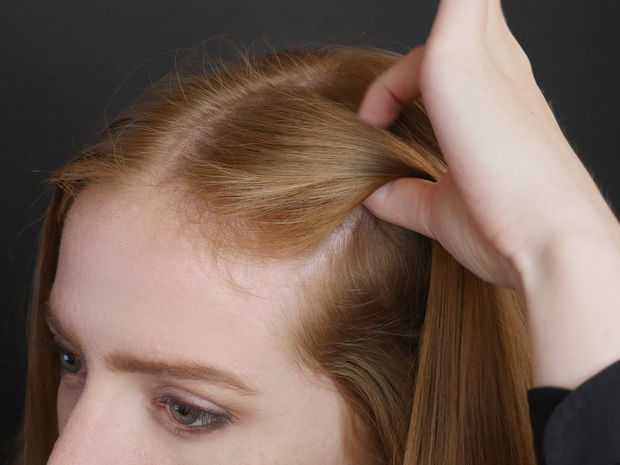
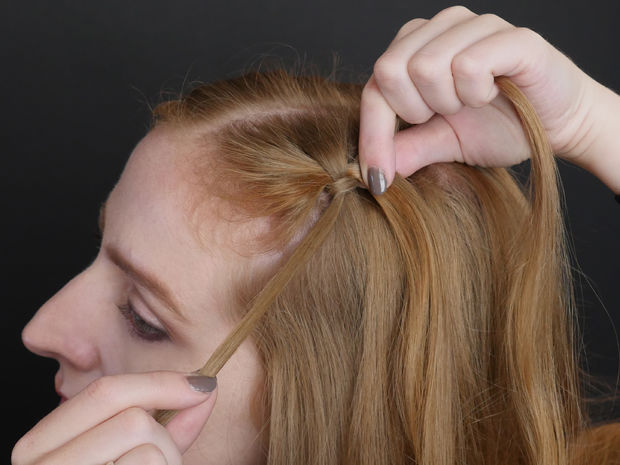
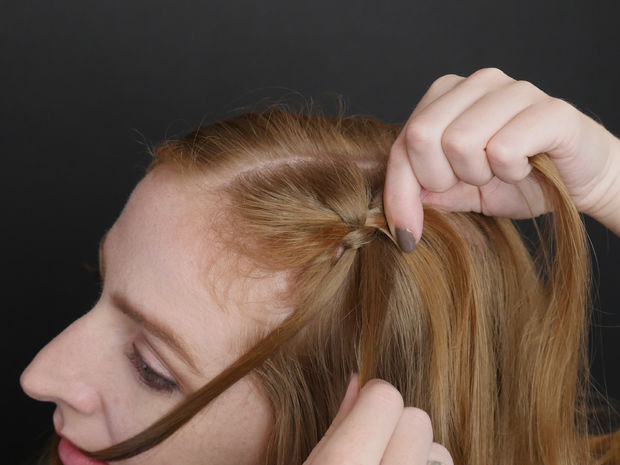
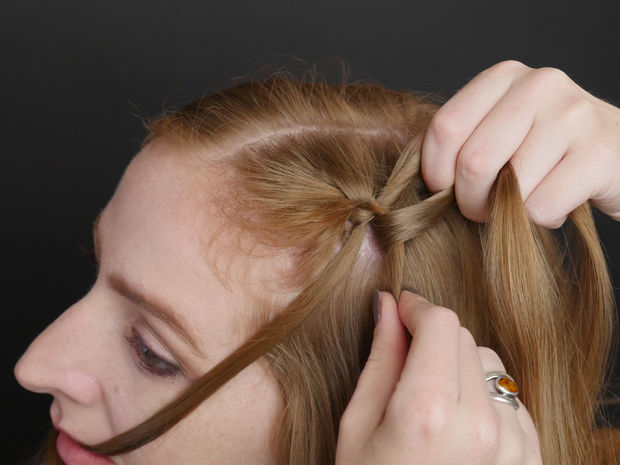
Repeat to make a matching braid on the other side of your head. Start braiding a small section, then each time it’s the lower section’s turn, sweep it forward and out of the way, then grab a small section of hair from right behind it to use instead.
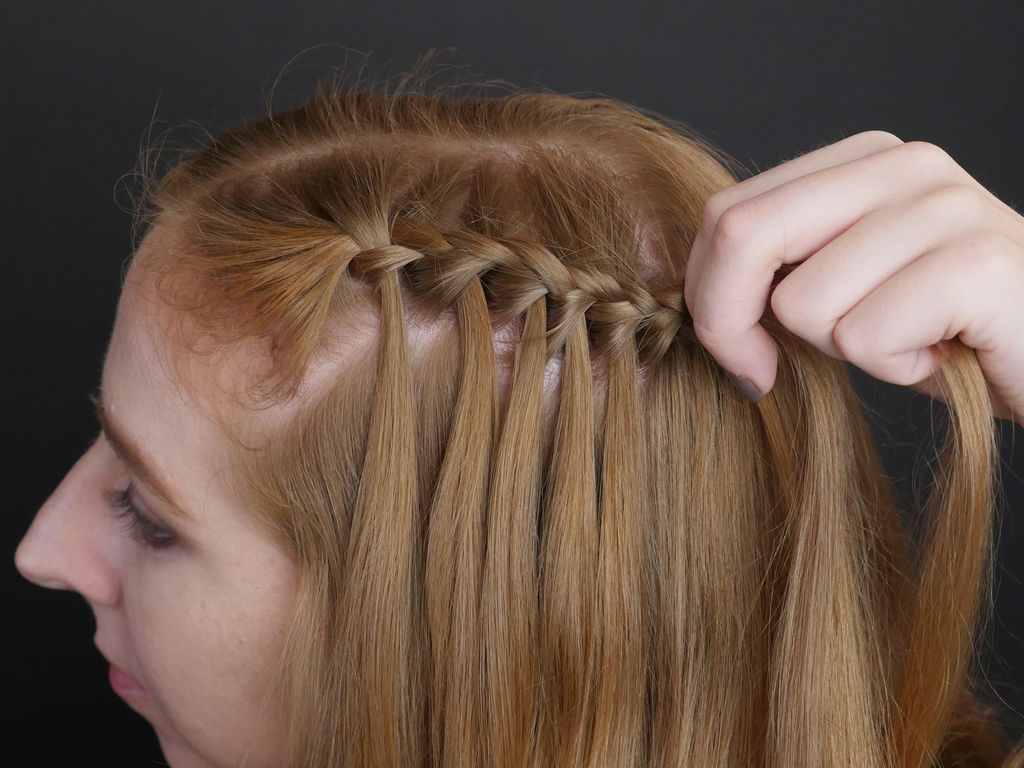
Try to match the angle and stitch size to the first braid. Did you notice this technique to be easier on one side than another?

Step 5: Complete the Style and Wear It!
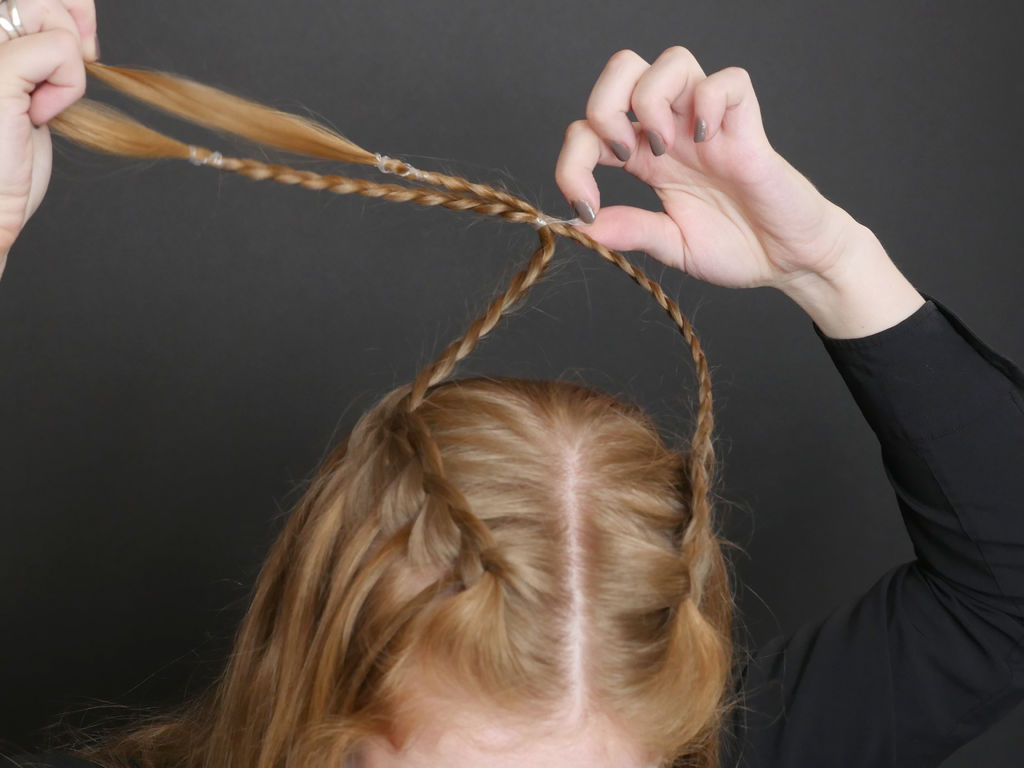
Tie the two braids together with a small elastic at the back of your head (don’t catch any free hairs from the rest of your head), adjust for symmetry, and optionally remove the braids’ individual elastics.
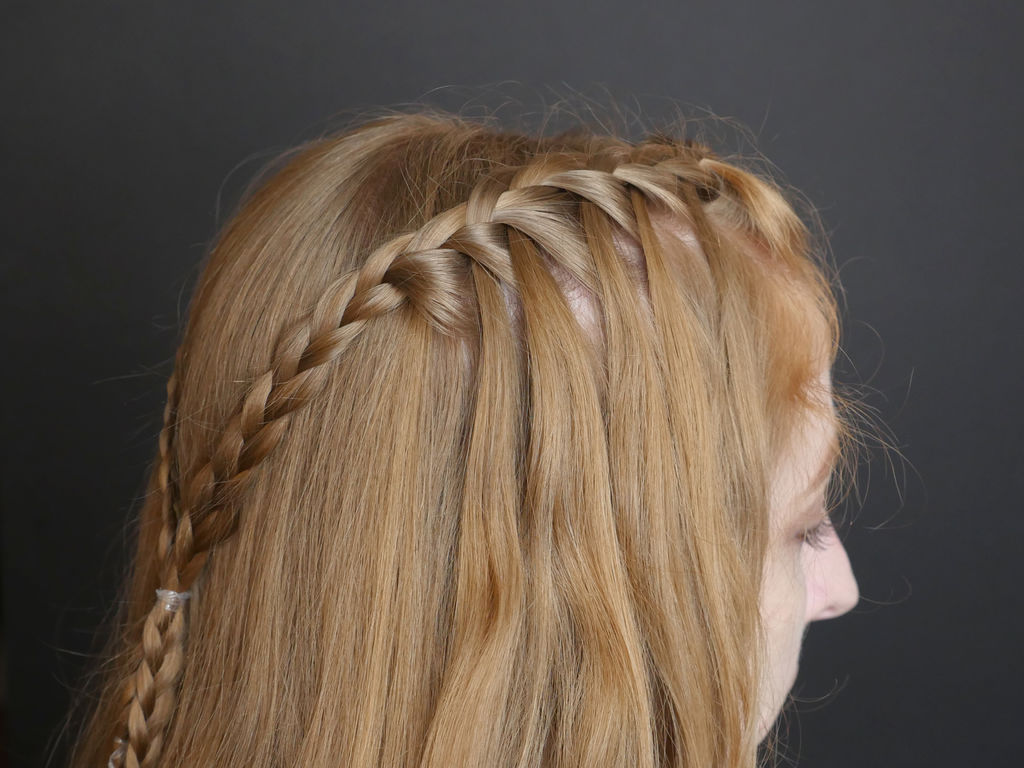
Smooth and style the rest of your hair (with a styling product if desired, such as a bit of hairspray, hair paste, or conditioning oil).
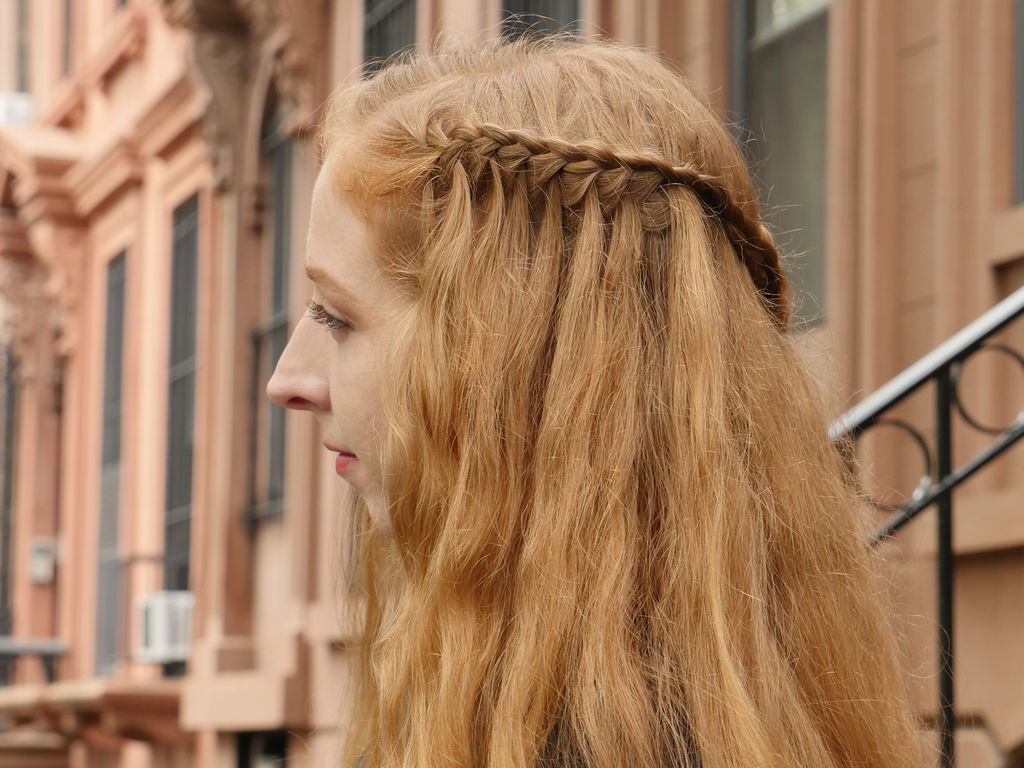
Now it’s your turn!
Hope you like this waterfall braid tutorial.
We would love to hear your thoughts in the comment section below. And be sure to like us Facebook for more ideas!
Thank you for visiting our website. Keep Creating with Art & Craft!
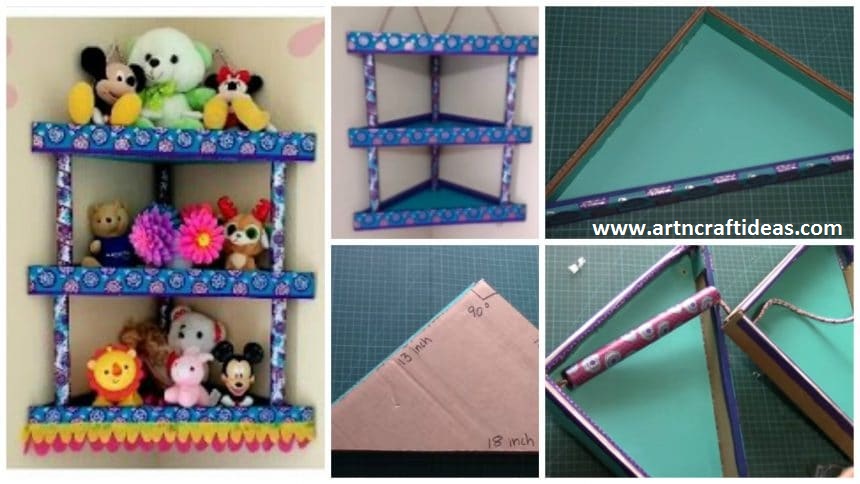
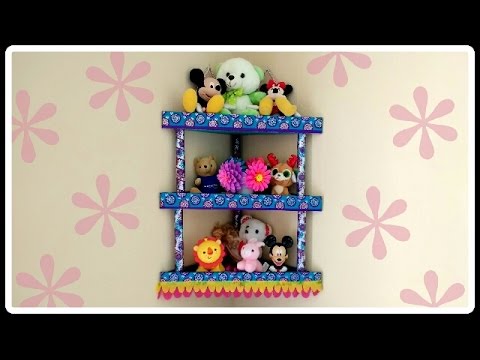
How to Make Cardboard Corner Shelf / Rack
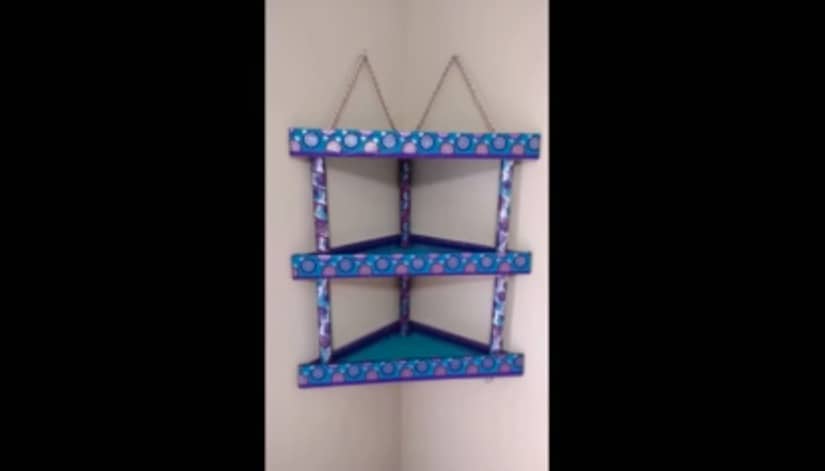
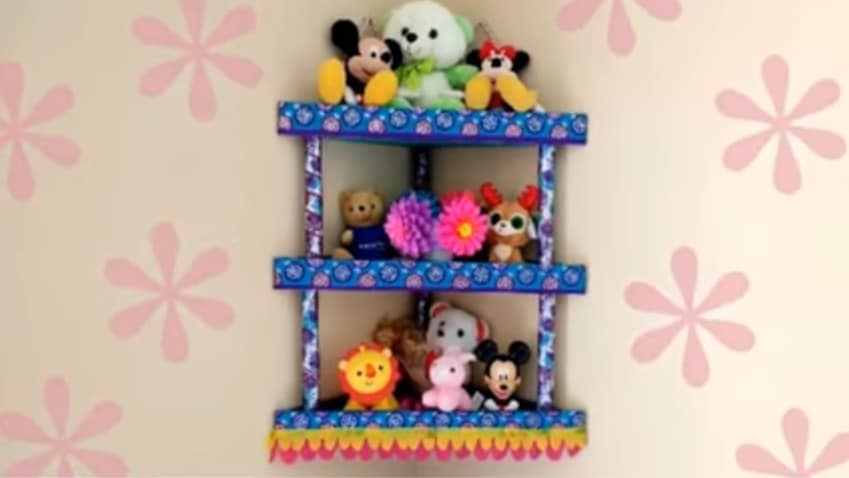
This tutorial shows how to make step by step cardboard corner shelf / rack / Organizer.
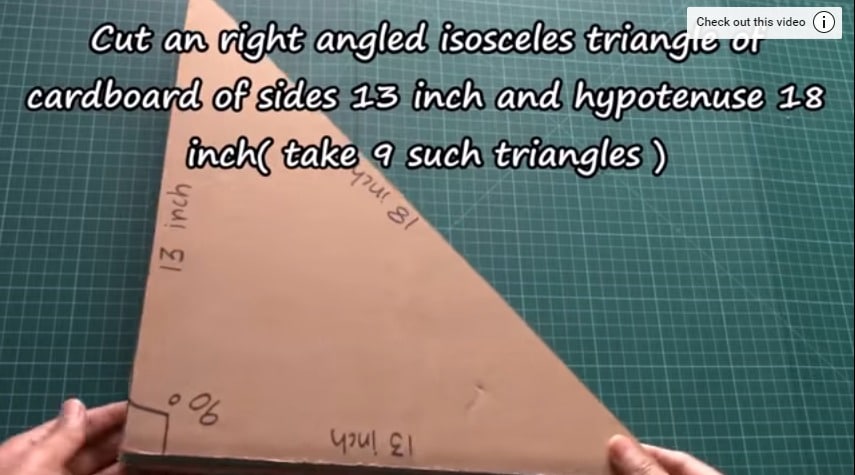
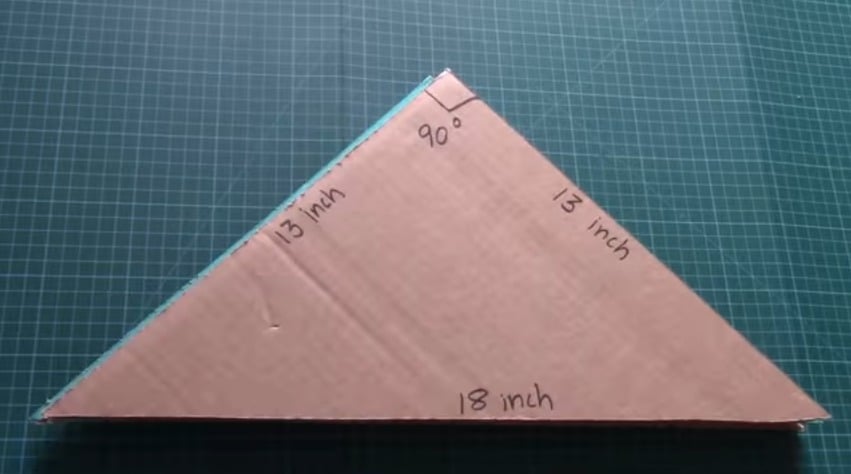
 Cut an right angled isosceles triangle of cardboard of sides 13 inch and hypotenuse 18 inch (take 9 such triangles)
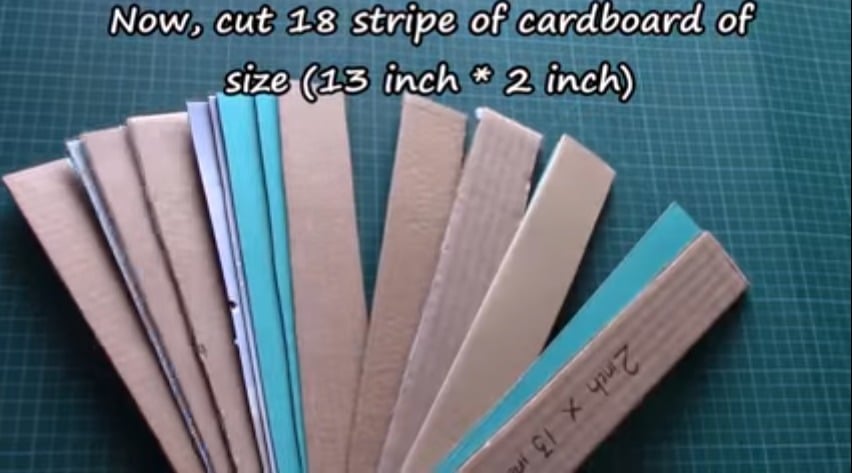
 Now, cut 18 stripe of cardboard of size (13 inch * 2 inch)
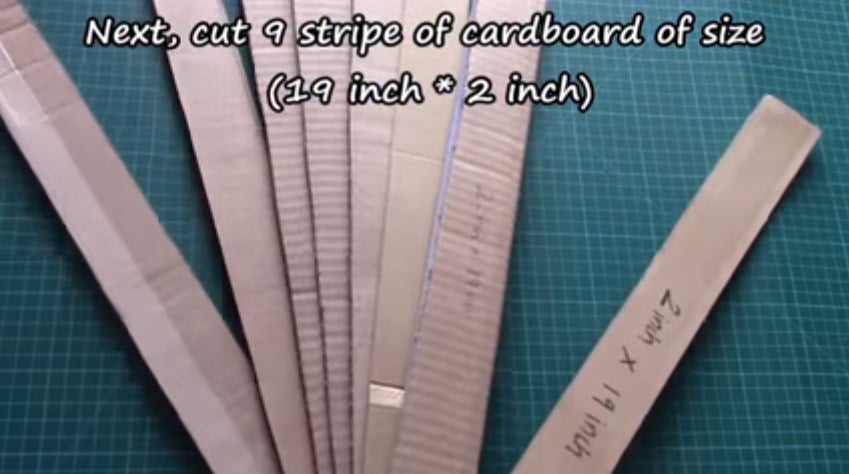
 Next,cut 9 stripe of cardboard of size (19 inch * 2 inch )
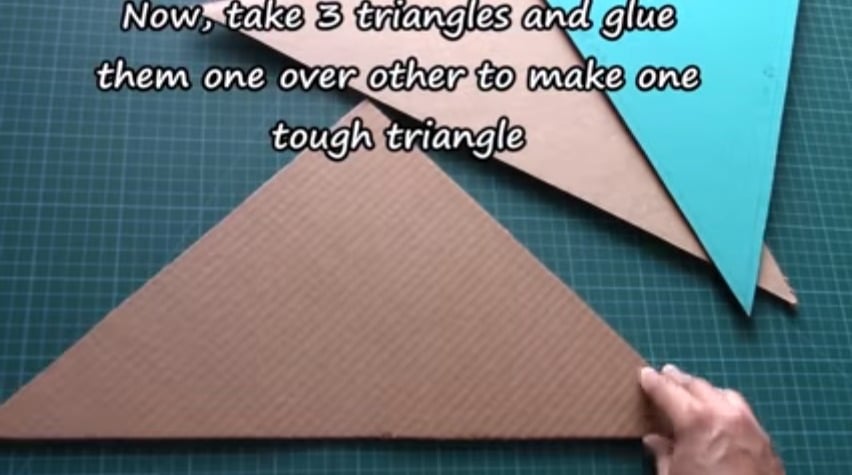
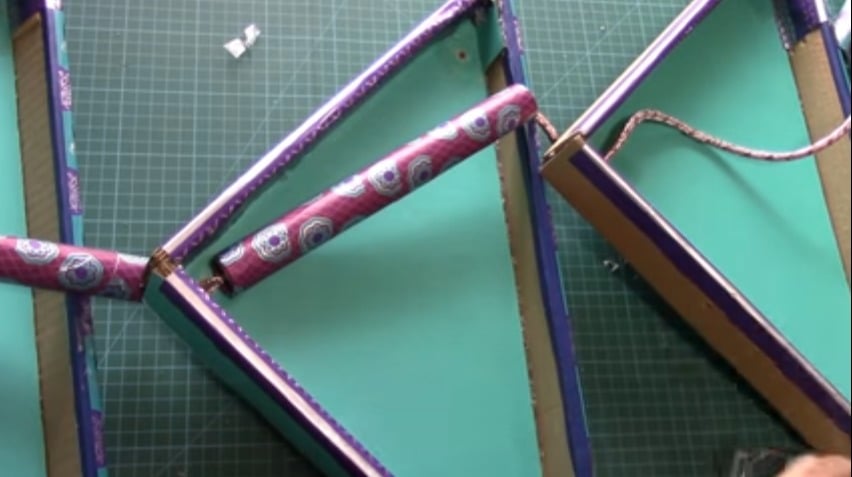
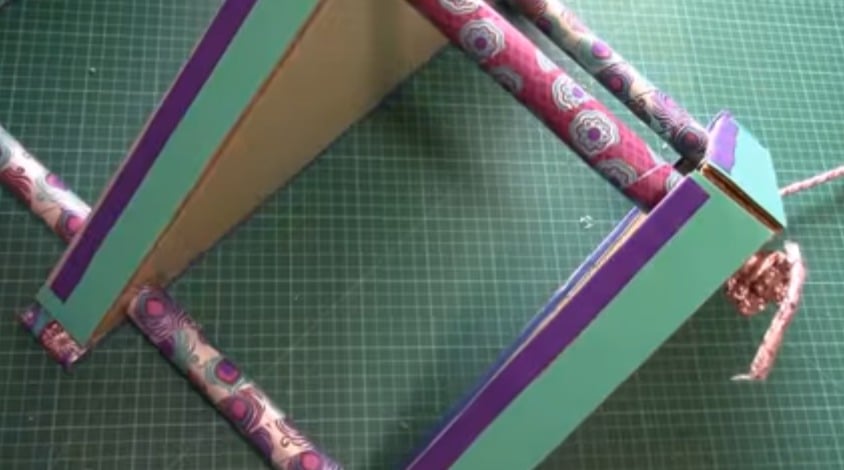
 Now, take 3 triangles and glue them one over other to make one tough triangle.
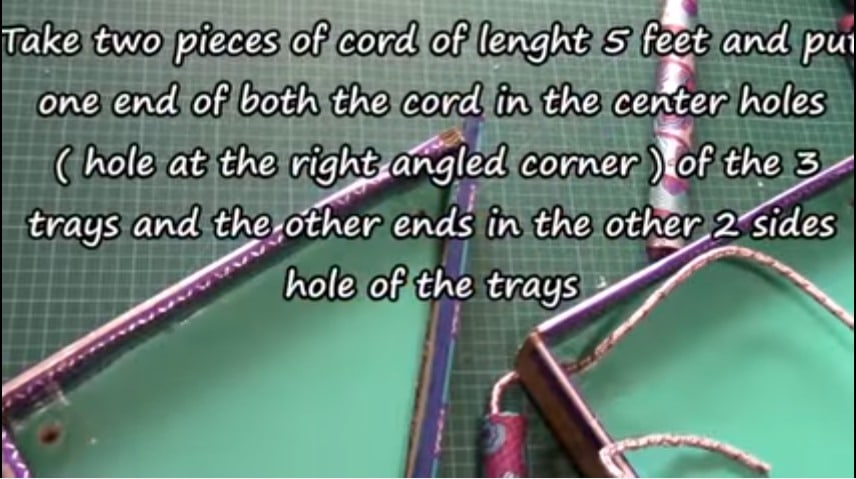
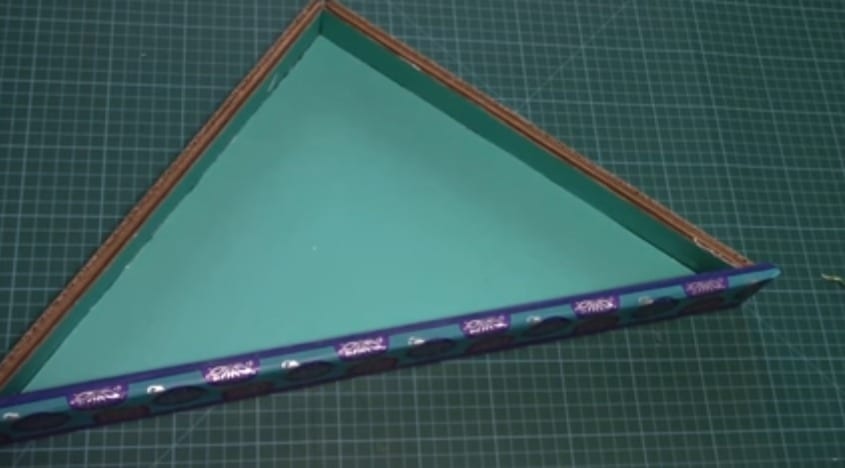 Take two pieces of cord of lenght 5 feet and put one end of both the cord in the center holes (hole at the right angled corner) of the 3 trays and the other ends in the other 2 sides hole of the trays
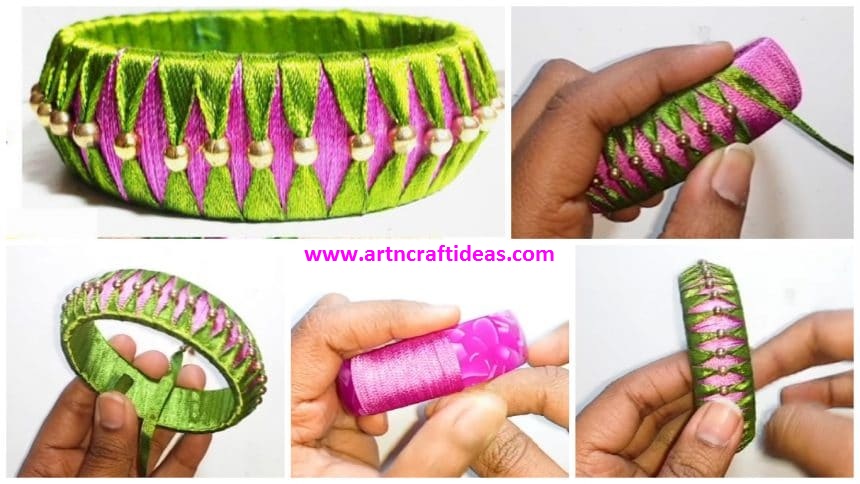
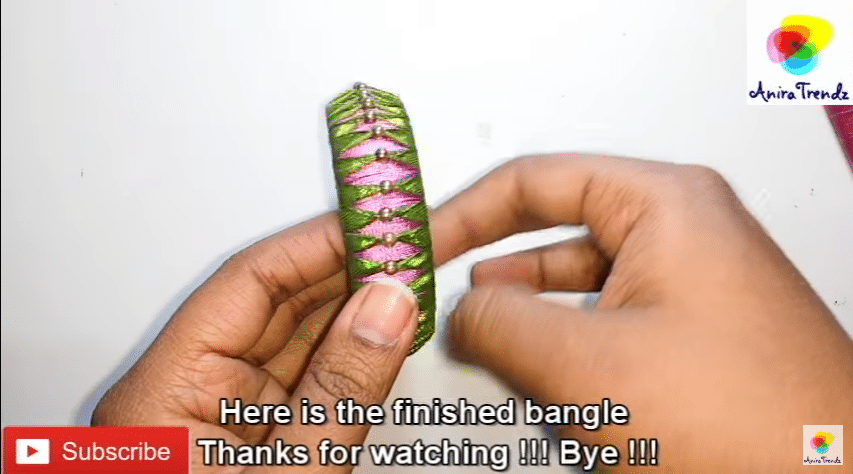
How to Make Silk Thread Ribbon Bangle at Home
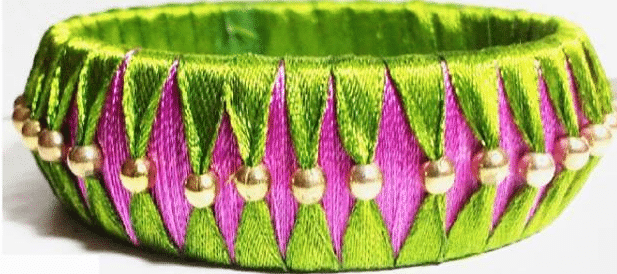
Explained how to make silk thread bangle using ribbon and beads.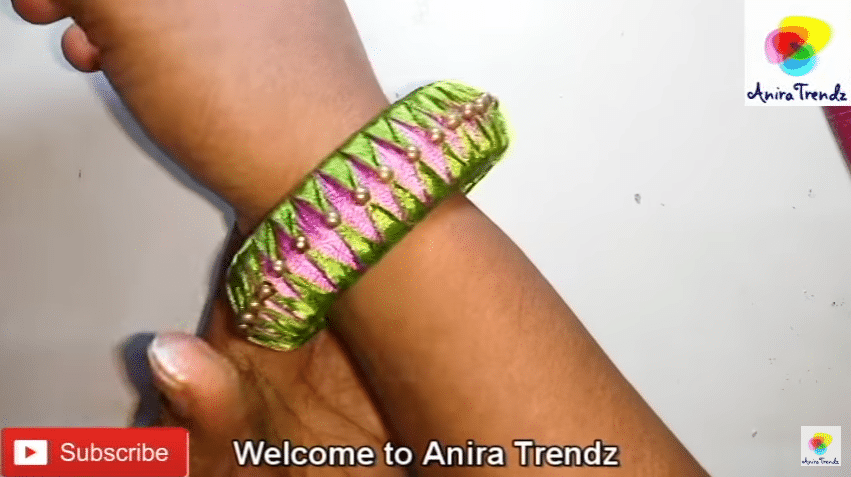
 Required Material:
- Ribbon (1cm or below)
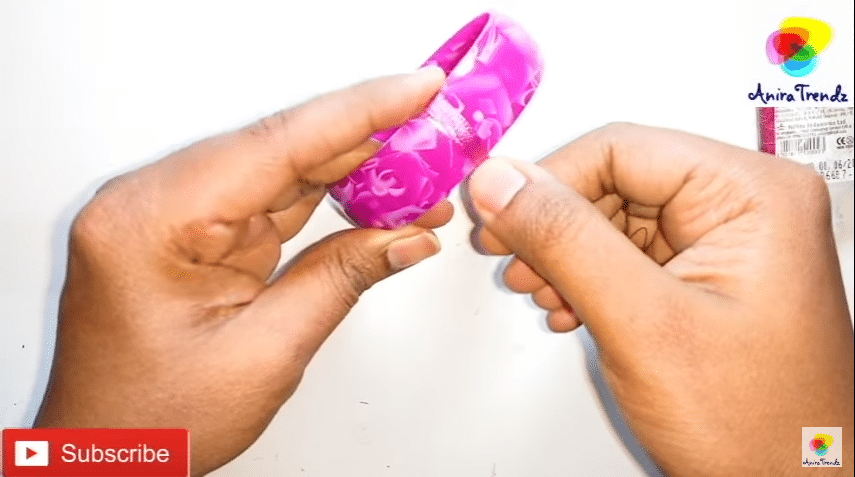
- Silk thread bangle
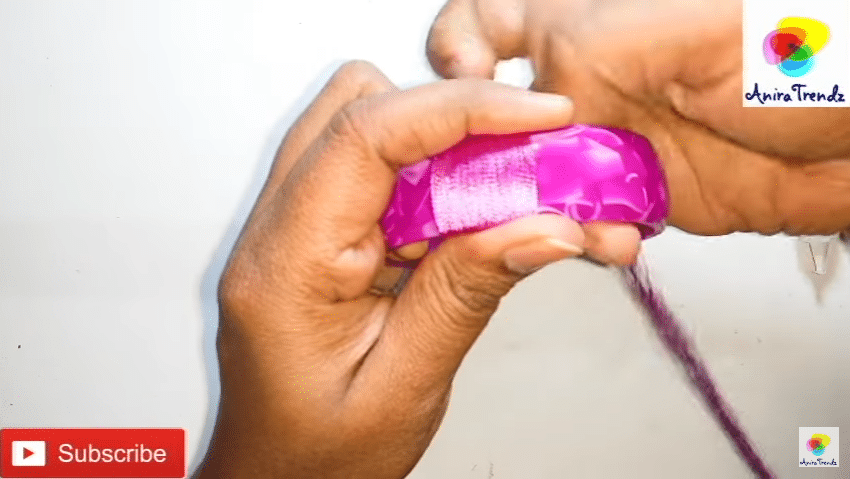
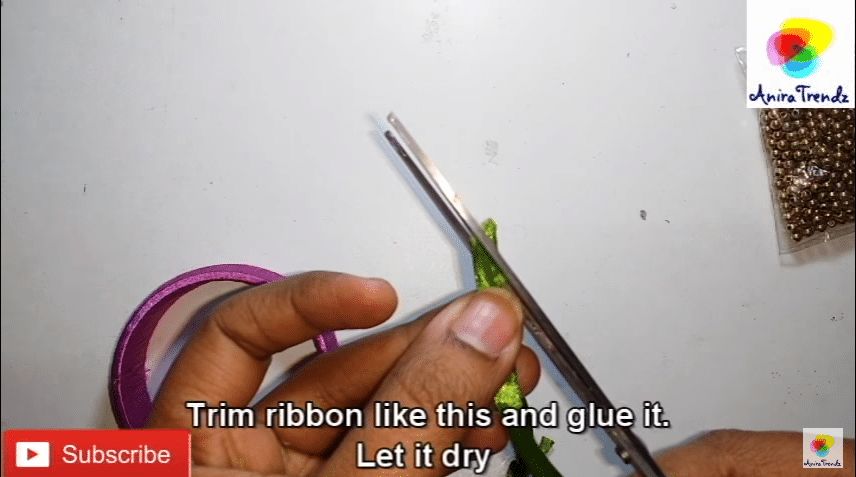
Beads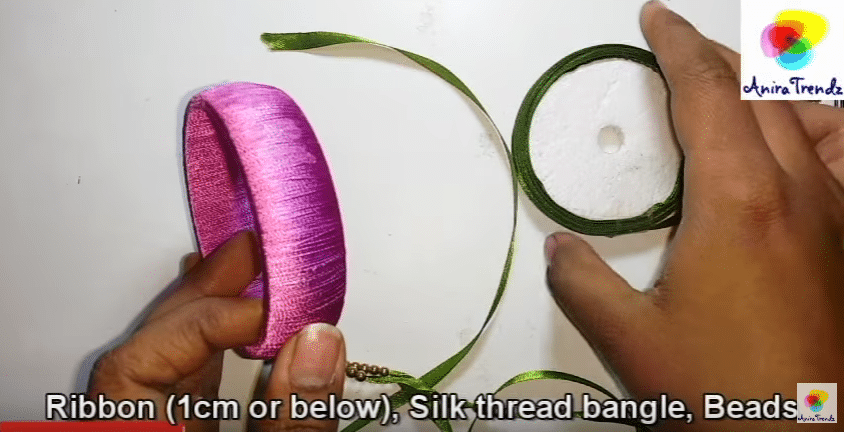 Trim ribbon like this and glue it.
Let it dry.
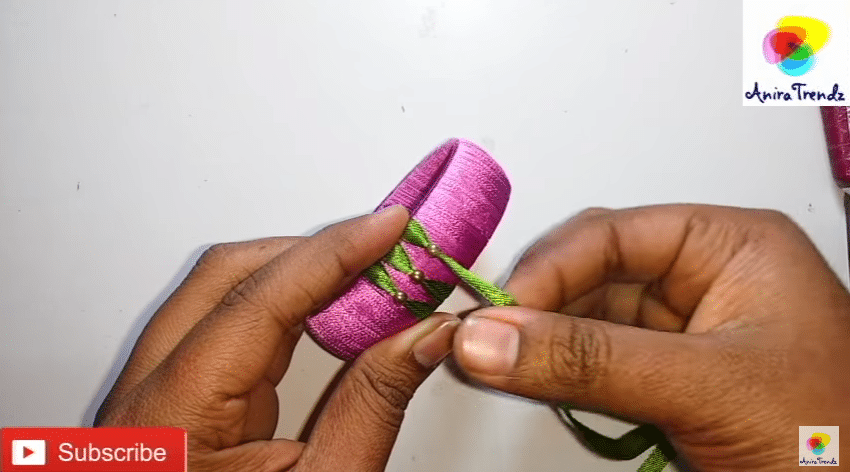
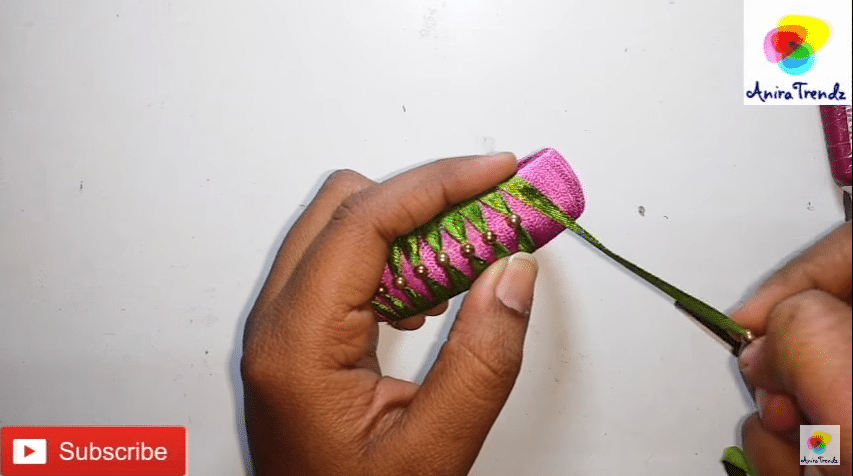
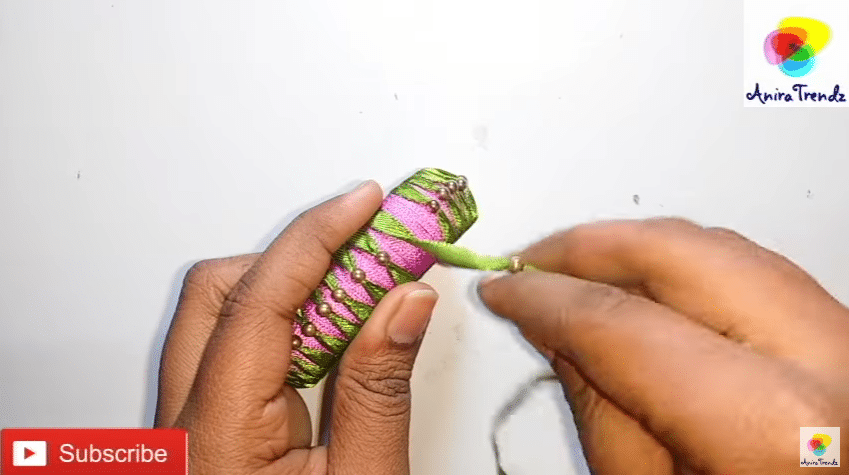
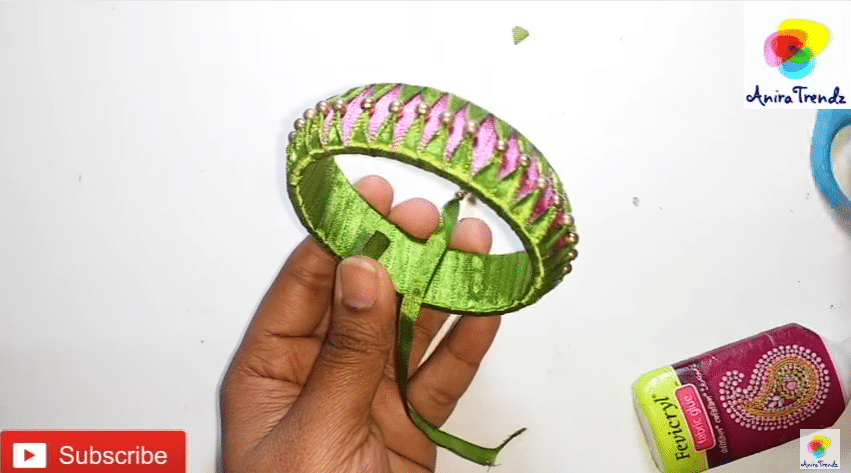 Here is the finished bangle.

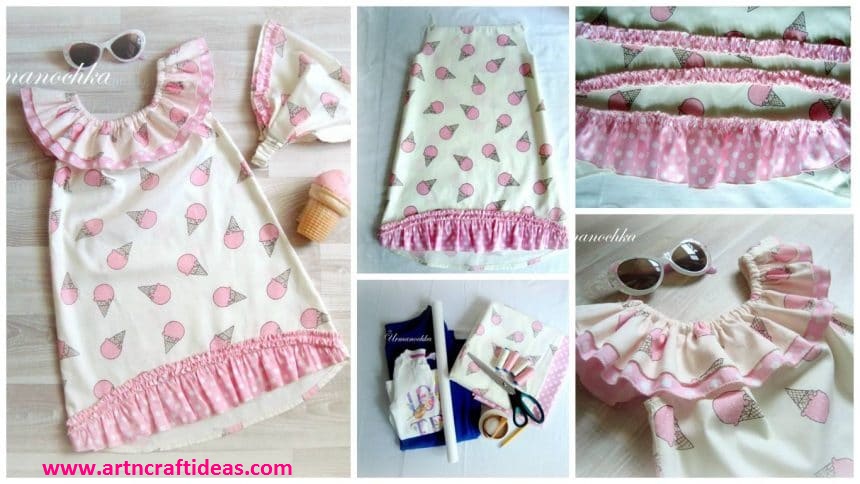
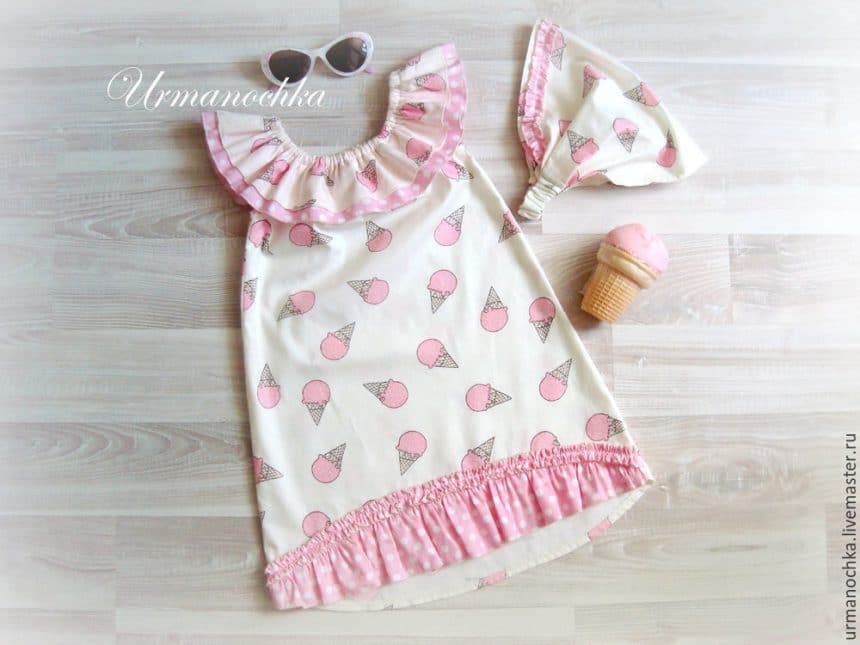
How to sew a bright summer dress for girls “Strawberry ice cream”
Soon, many will go to such a long-awaited vacation! Someone close to the sea, some to the country! And to this wonderful time, of course, we need to thoroughly prepare! We always want that to our girls look the most beautiful and fashionable, and with it, their clothing was easy and convenient, and the tissue from which it was sewn genuine.
I assure you, create, sew the perfect dress their girls to the power of many! And I invite you to a workshop on self-tailoring summer beach dresses for girls of any age! In such a nice light dress can make a leisurely stroll along the sandy beach or go boldly into a small sea voyage on a boat!
And how to spend days of fun at sea under such a bright hot sun without a hat? I propose to make a simple partial scarf with elastic in the kit to our dress.
Let’s get started:
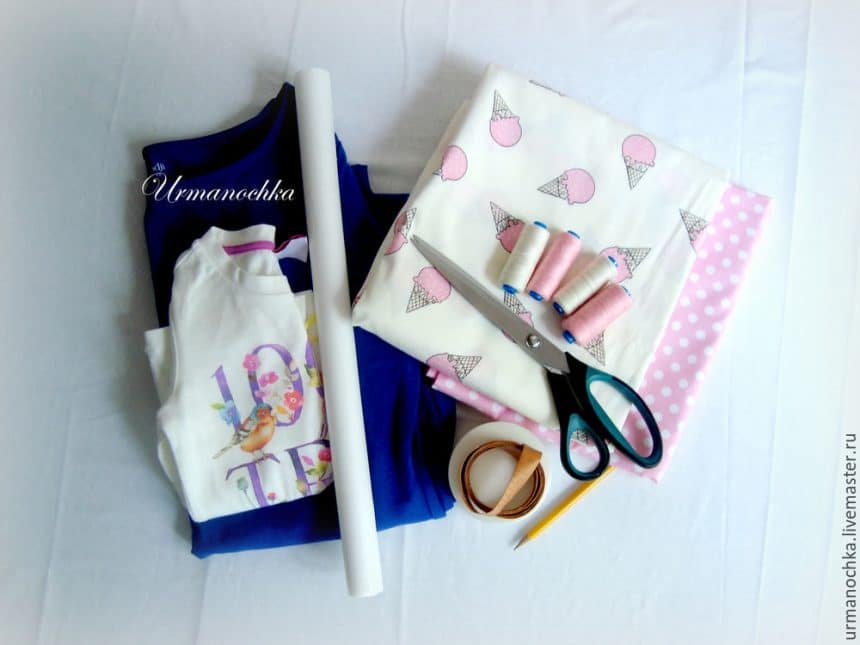
Required Material:
The basic cotton fabric. I chose this merry pretty popular cotton charming Morozhenko.
Fabric companion cotton, for some items and decor of our dress.
Thread cotton fabric tone.
Children’s T-shirt for making patterns.
Elastic narrow 0.5 cm and 1.5 cm wide.
Tape measure.
Sewing machine.
Iron.
Scissors.
Safety pins.
Tracing paper.
Crayon or marker for the tissue.
Now it is a very fashionable dress with such a romantic flounce at the shoulders. It’s something we are going to sew. Dress, in my opinion, is not difficult, but very interesting and spectacular! Imagine how charmingly will sway in the wind shuttlecock. Also, we will have an asymmetrical bottom and unpretentious ruffles.
1. Construction of a pattern
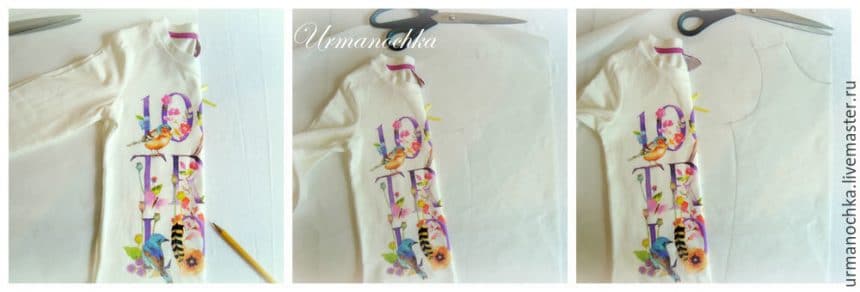
Since my workshop is intended for all those who are unprofessional sews clothes, I decided to give you not finished the pattern and not the one that will have a long and hard to build, and an option to many easily sewed a dress their baby. So, take the baby t-shirt that sits perfectly on the child (preferably not too tight), folded in half, back inside, draw out a pencil. Note the line of the armhole and neck. We get here a dress before.
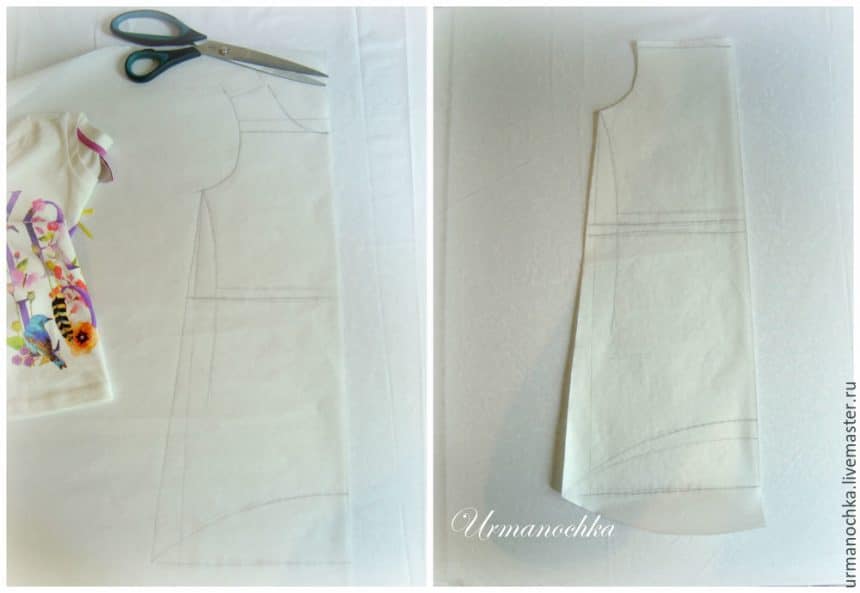
Now we pattern. Pattern we will be unified for both forehand and backrest product (of course, to some extent, this is not entirely true, but it is possible, most importantly do not sew the back to back, let it be a little loose, especially since the idea model allows, then armhole not will pull). I traced the side, slightly extending it for the convenience of the child, he said the waistline, neck draw a new line, as we will cut with flounce. Bottom draws a semicircle inside – it before, outside – it will back the product. Cut out the pattern, that’s what happens.
For this the pattern to create basic patterns before and back our future dresses.
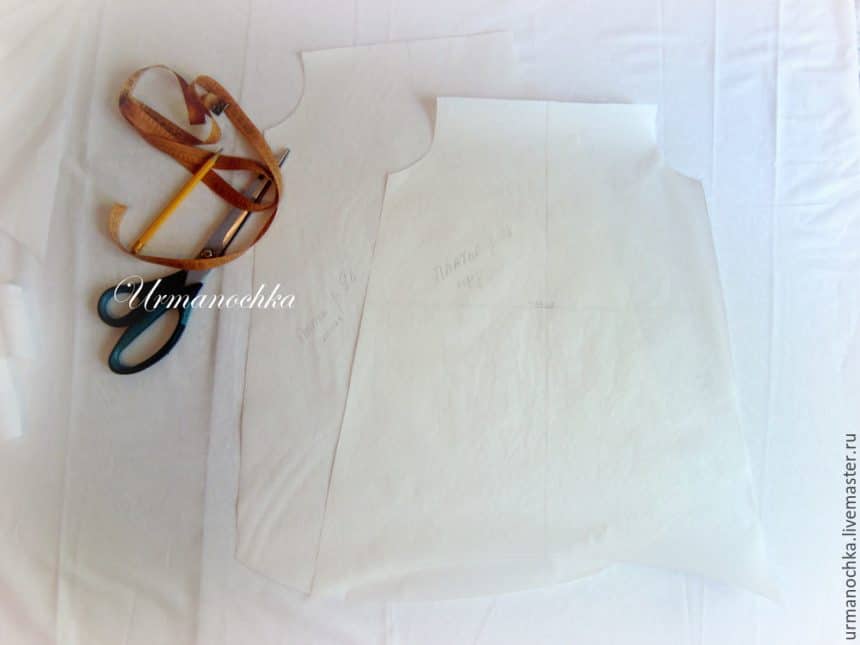
2. Cutting (Items proposed in accordance with the size of the child’s growth on 98 cm., Depending on the variation of parts dimensions can be modified).
Prior – 1 pc.
The back – 1 pc.
2 parts of the shuttle base fabric by 70 cm long. And a width of 9 cm.
2 parts of the shuttle companion tissue 70 cm. And a width of 10 cm.
1 part for the lower part before the excised semicircle and a length of 50 cm, a width at its widest point to 8 cm.
2 armholes piping forehand and backrest (cutting obliquely) and a length of 21 cm and a width of 4 cm, including allowances.
Gum for the shuttle, narrow, 60 cm long and gussets, wide and 8-10 cm long.
1 gusset piece for a length of 40 cm, a width of 25 cm (volume 48 cm head).
1 item for registration gum 10 cm long and 4 cm wide.
2 strips 70 cm long and 90 cm wide and 2 cm, for decoration and dresses the bottom gusset.
Sam all the slices and dress hem – 1.0 cm.
Impose our patterns on the fabric is pinned in several places, so as not to move out draw out the pattern, cut out.
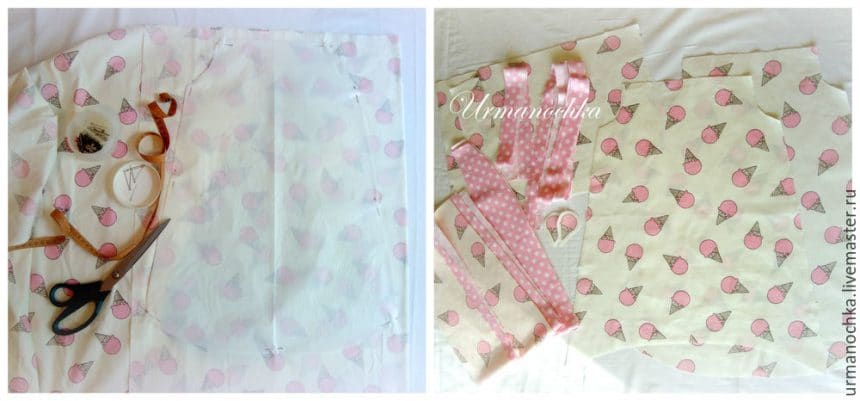
3. Tailoring dresses
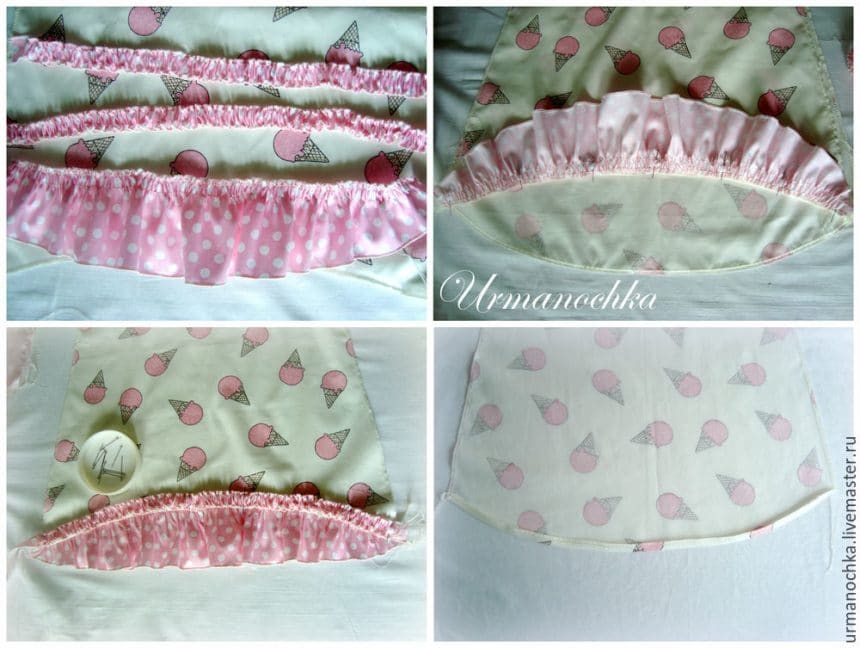
So, to start all the details. The lower part of the flounces, the lower part of the forehand and the decor strips (for the length of two sides) is treated with role-seam. If you do not have such an opportunity, and bends over the edge.
First of all, I would like to draw the lower part of the prepayment. Take the lower part of the strip and for decoration, these parts on upper edge, namely paving two parallel lines at a low tension of the upper thread, contractible yarns on the lower pulling simultaneously (in this case obtained assembly). Shear and grind 2 parts before. Remove the padded for assembly seams. Allowances press out up, we make fun decorative stripes on the front part, as in the photo, and at its center along the entire length. Remove the padded on the strip for assembly seams. That’s what we do: in front of little shorter dresses back, and this simple effervescent bottom
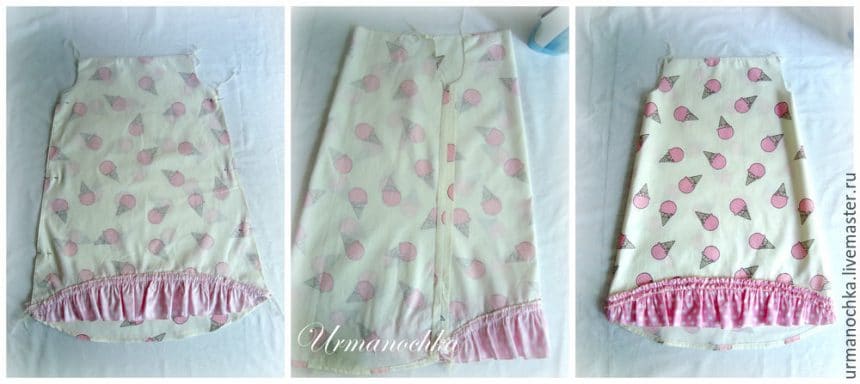
Now just issue the backrest down, folded the allowance at 1 cm, ironed.
We perform the side seams of our products. Gut-wrenching, iron out the seams
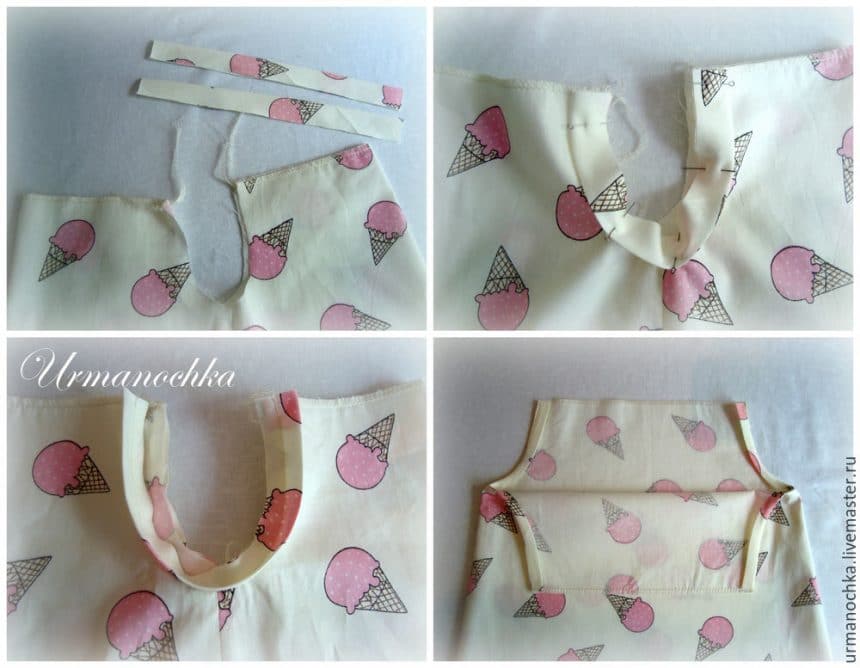
We proceed to the processing of armholes. Every piping folded along the right side out. Folded piping pin and stitch shear armholes. Oversized cut close to the weld line, the piping wrench on the wrong side edges, armhole defer 0.5 cm.
Grind short sections shuttlecocks, their iron out. Impose shuttlecock from the main tissue of a shuttlecock companion tissue. Determine the middle shuttle and before dress pin up to a distance of 1.5 cm from the top to the gum. Grind down, leaving room for threading elastic bands.
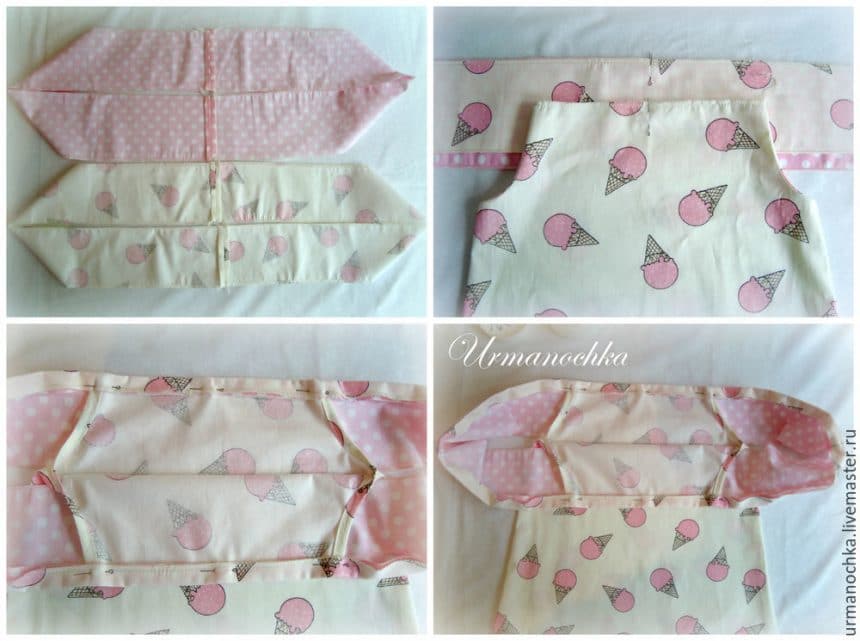
Our future shuttlecock. We put the gum, collect and distribute evenly. Zastrachivaem place threading gum. Our dress is ready!
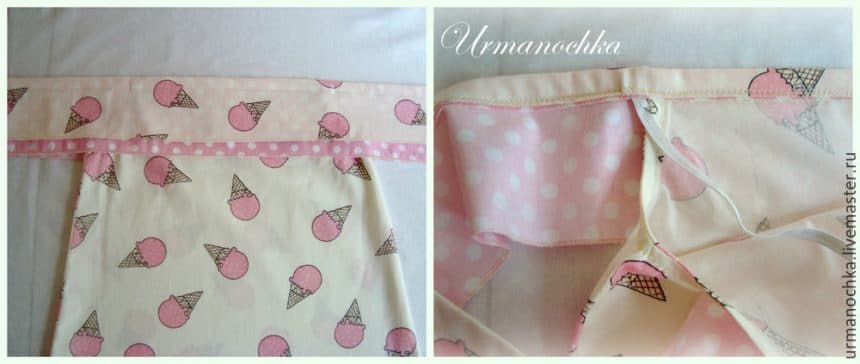
4. Sewing scarves
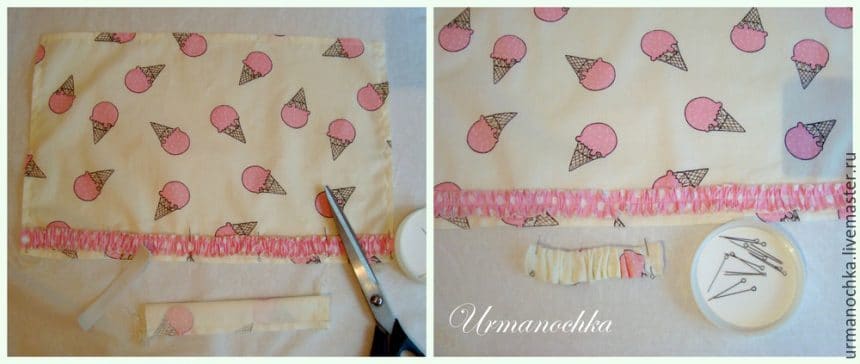
Take a rectangle of fabric for our scarves, overcast edge. Tuck hem around the perimeter of the inside-out, ironed. Take a decorative strip of cloth, to pin up on the edge of the front face of our scarves.
Take the box to gum, long sections of grind, gut-wrenching, gum paste. We fix and stitched around the edges.
Now we collect our scarf on short sections (I prefer the Christmas tree), by inserting between our gum, and the top anchoring, ie stitched by. Our scarf is ready!
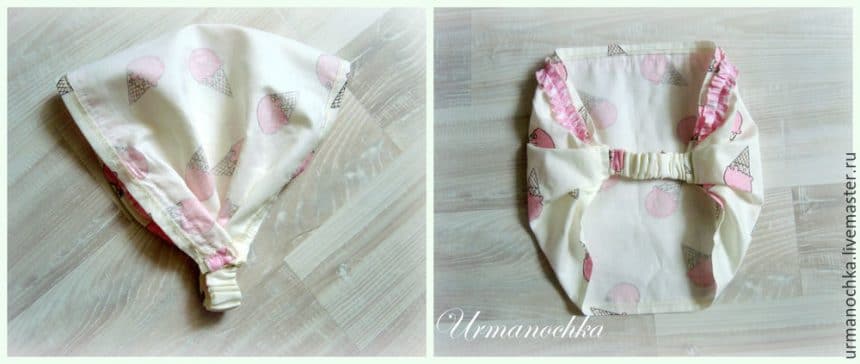
Here’s a set we turned! By the beach season ready! Sea met!

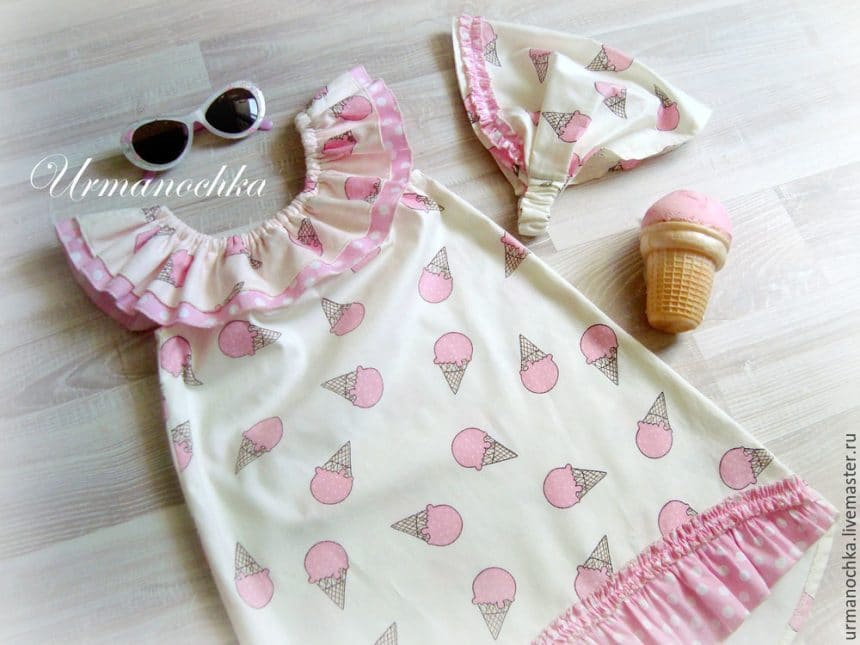
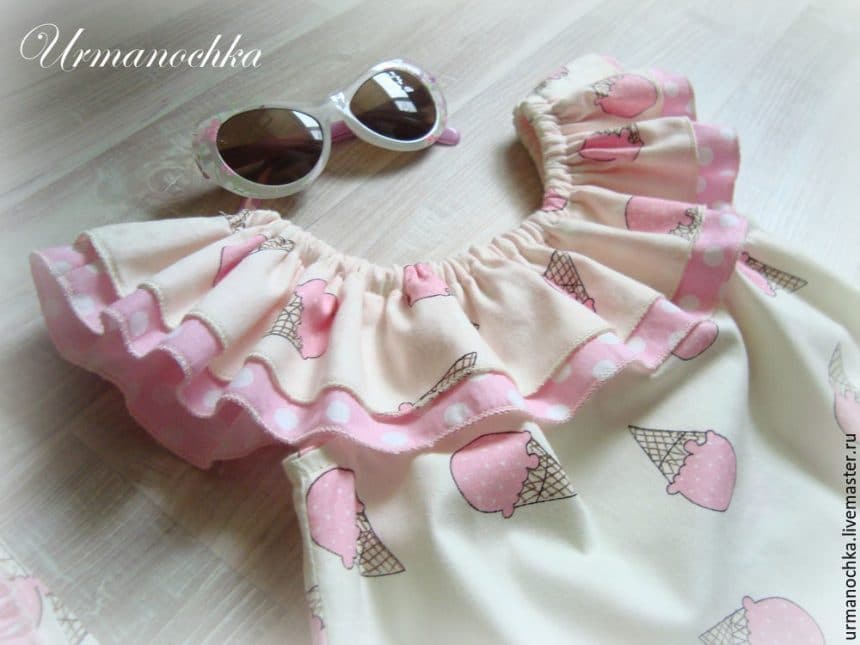
Friends, thank you for your attention!
courtesy: livemaster
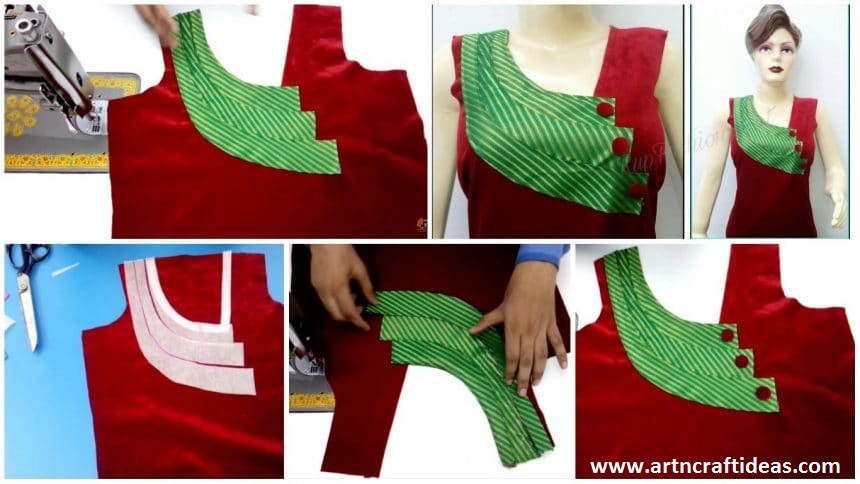
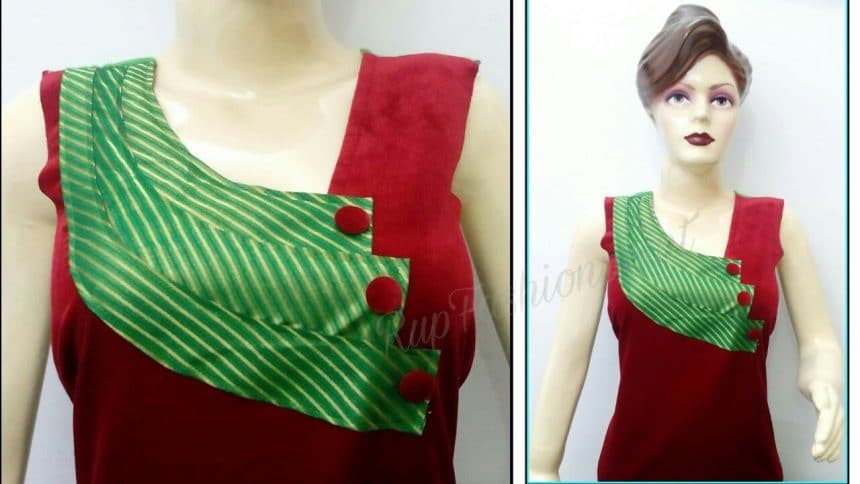
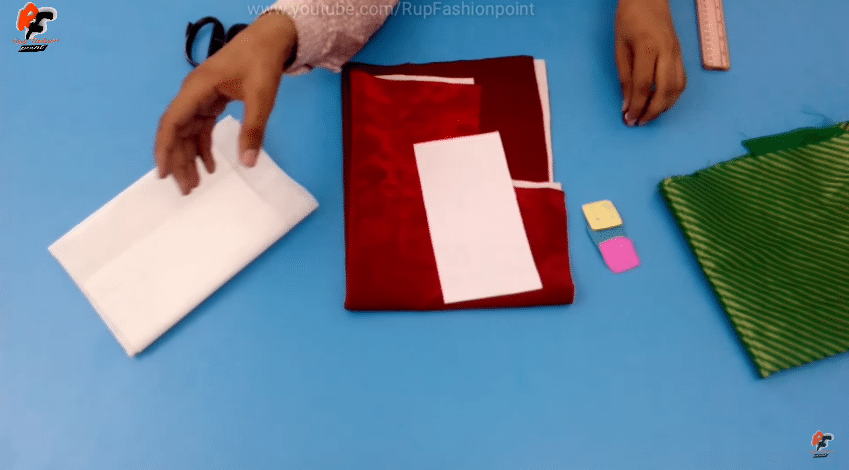
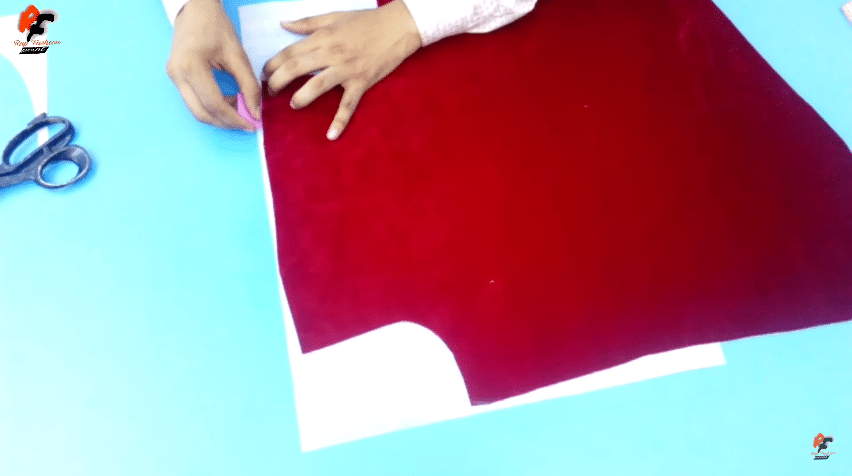
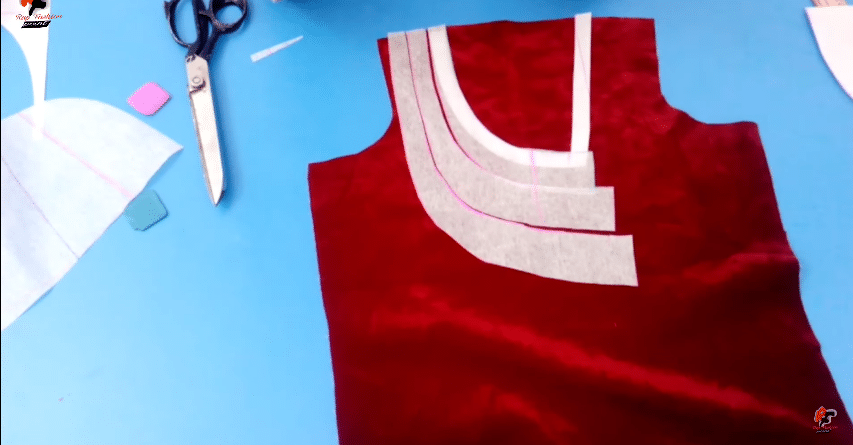
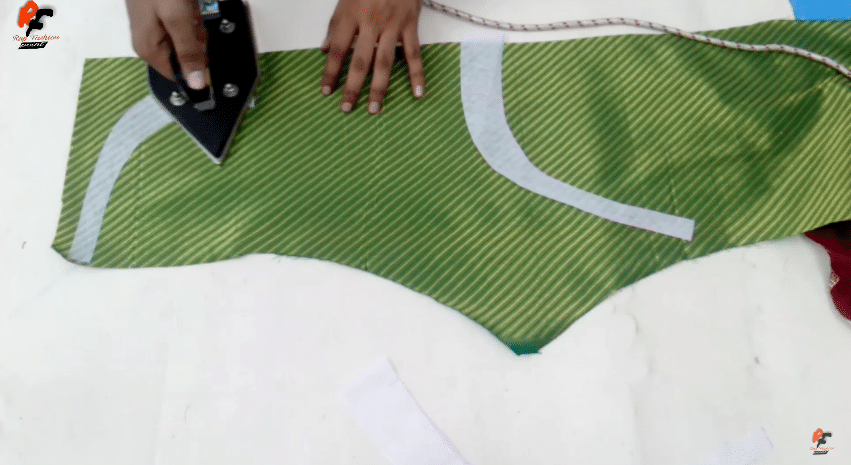
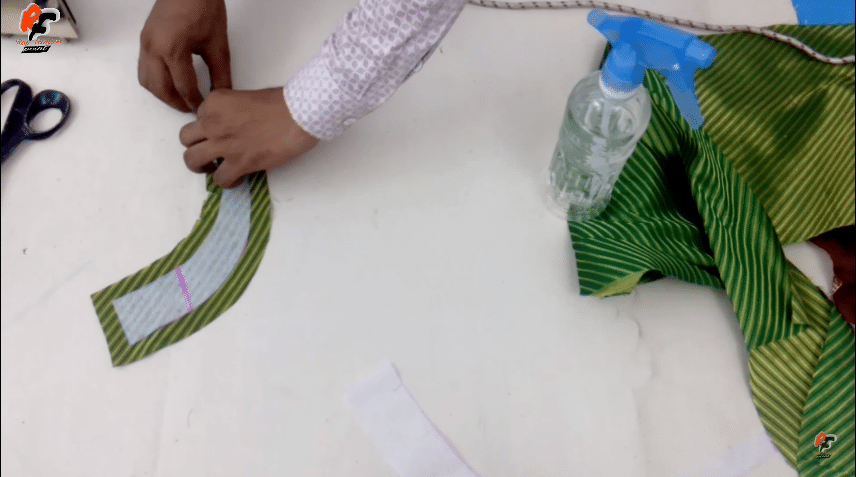
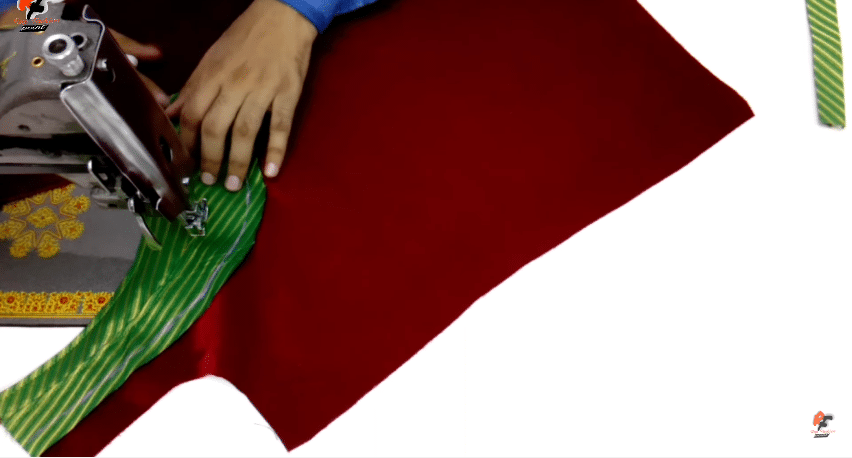
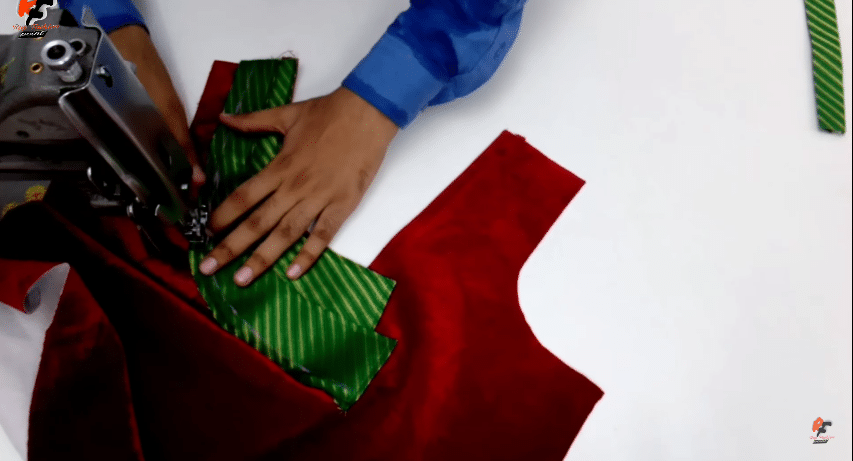
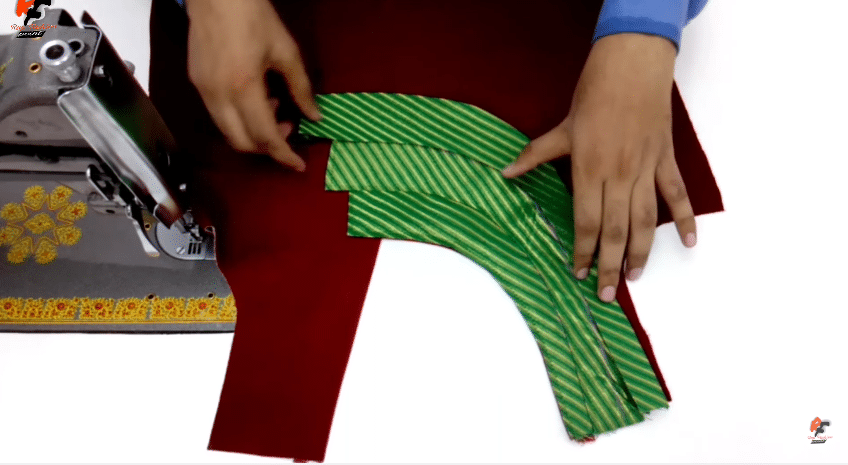
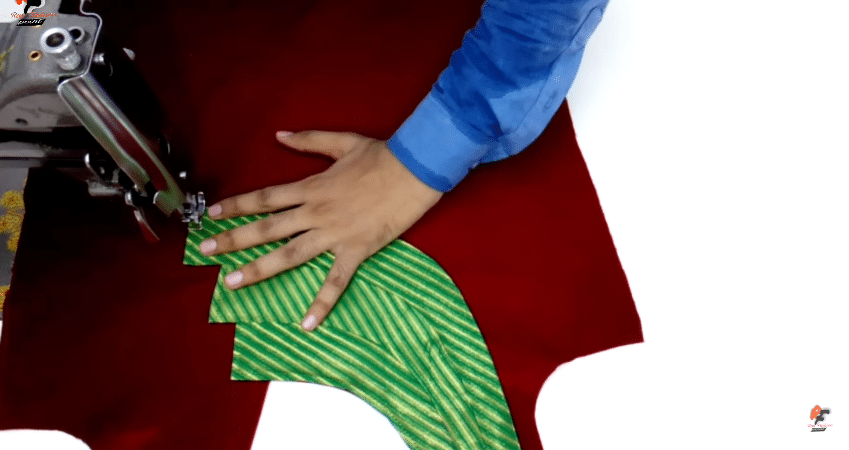
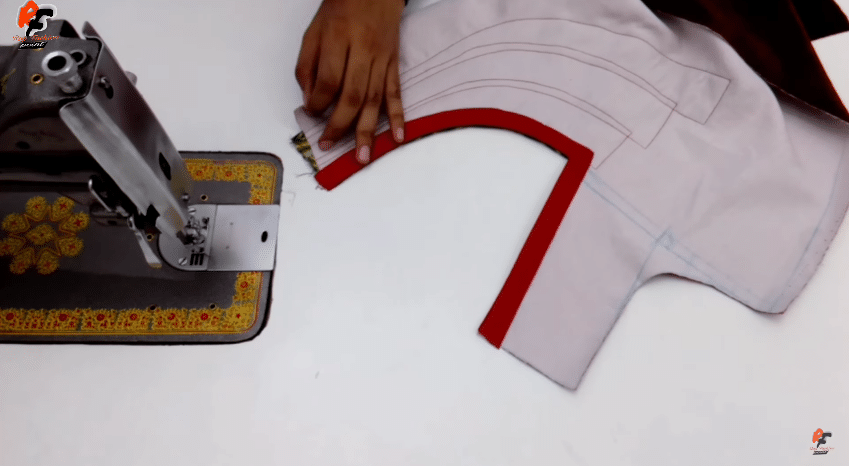
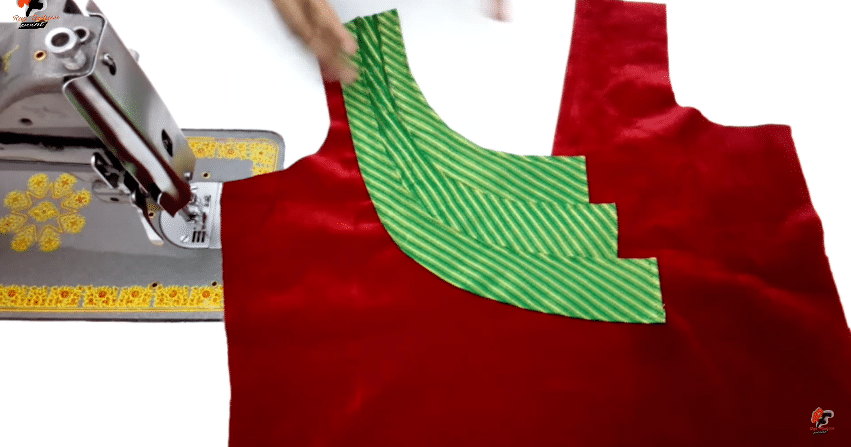
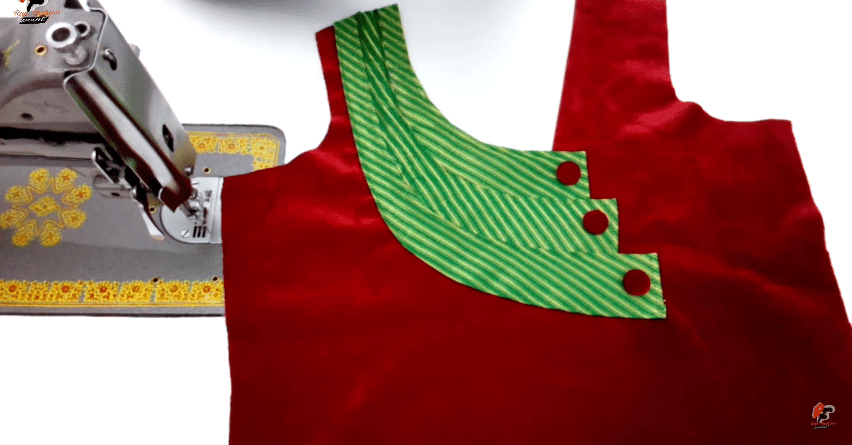
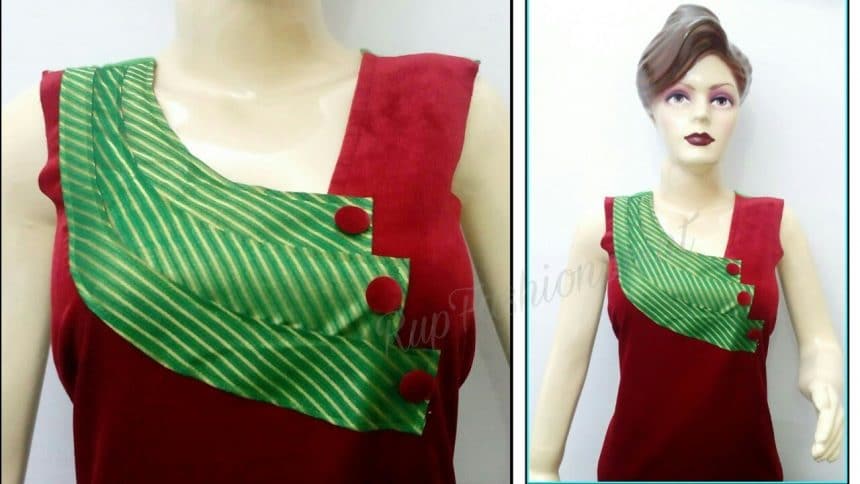
One Side Patterns and Button New Kurta Neck Design
New Kurta Neck Design | One Side Patterns and Button
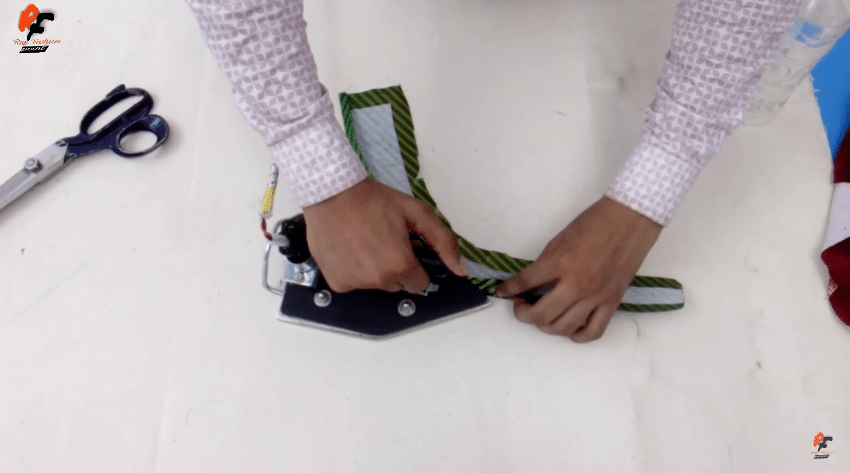
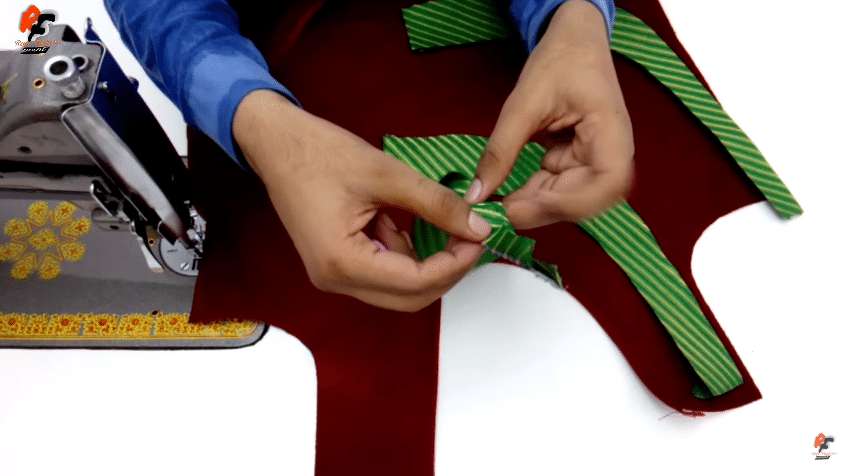
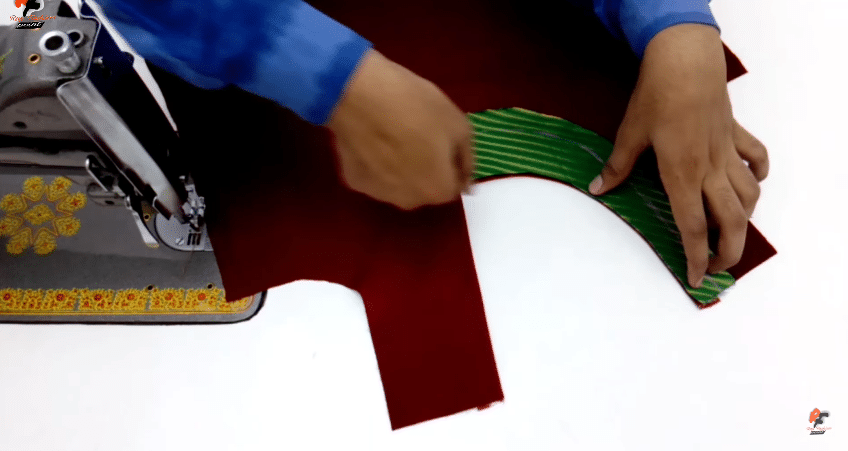
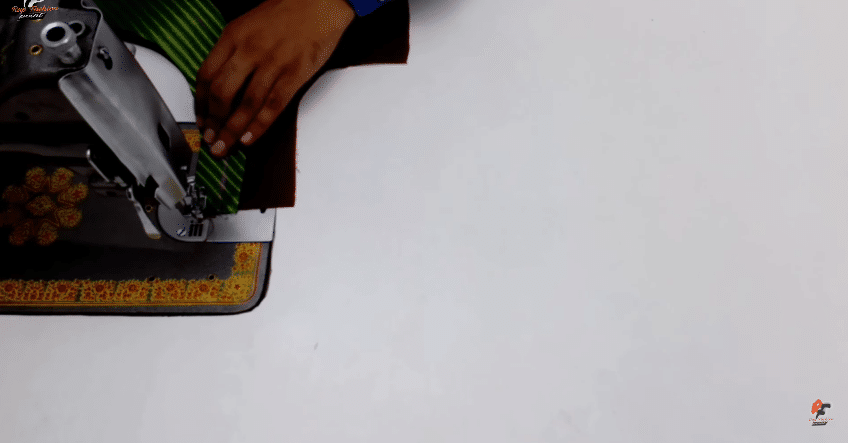
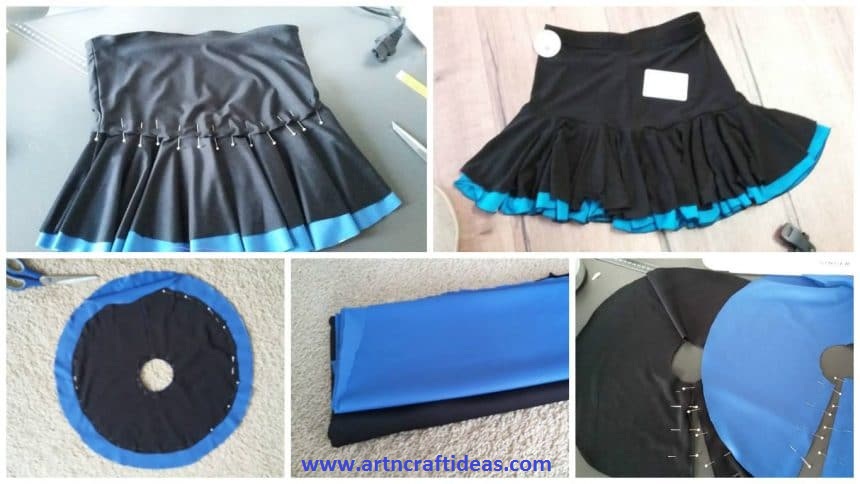
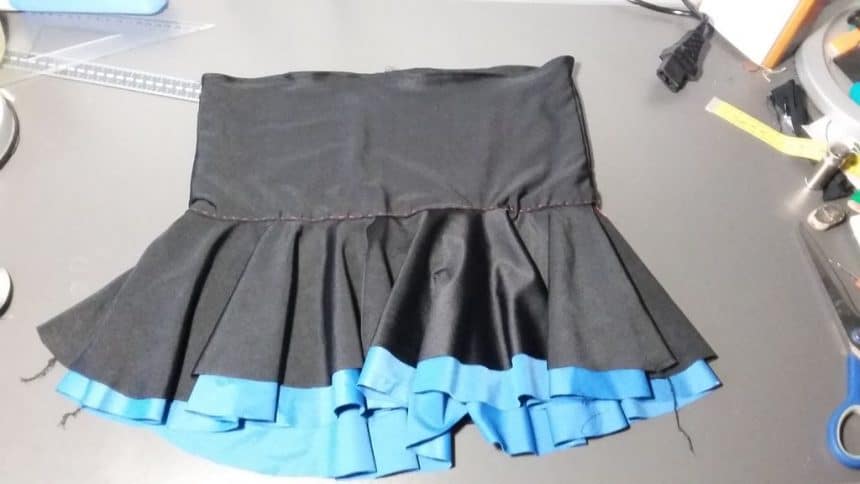
How to Sew Two-layer Latin Dance Skirt
This is a simple skirt, which can be made with low to intermediate sewing skills. Total costs: about 15 euros.
I apologize in advance for the poor quality of most of my pictures. My camera had a lot of difficulty with photographing black fabric.
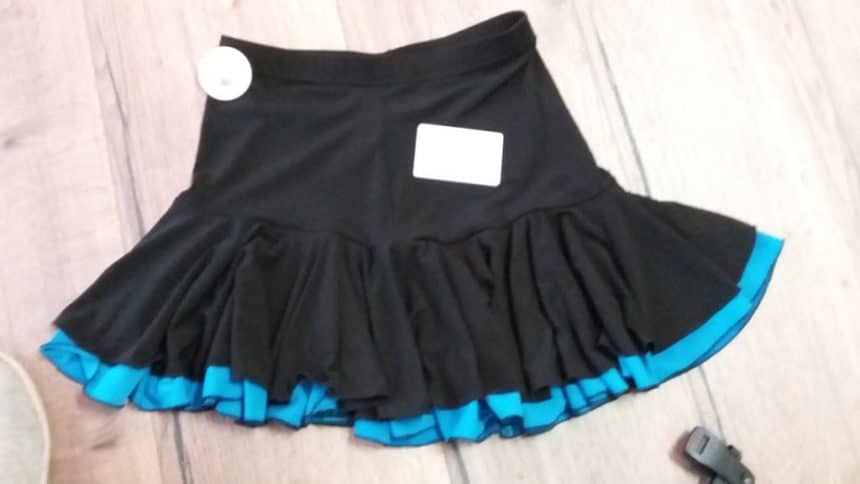 Step 1: The Pattern
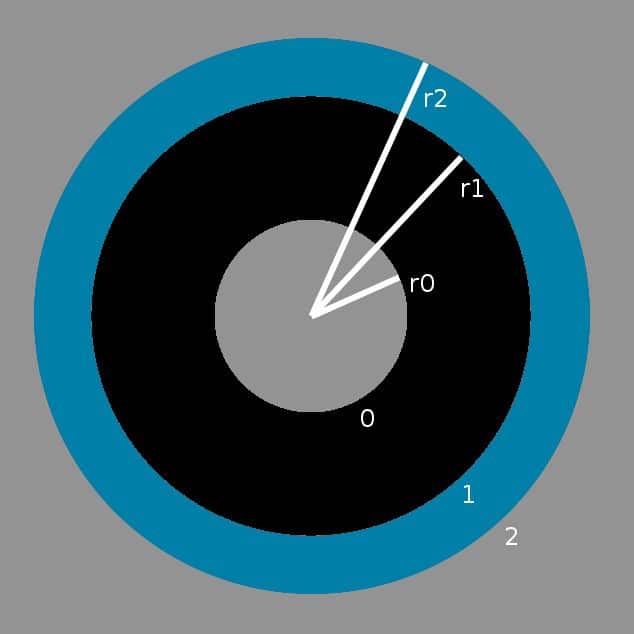
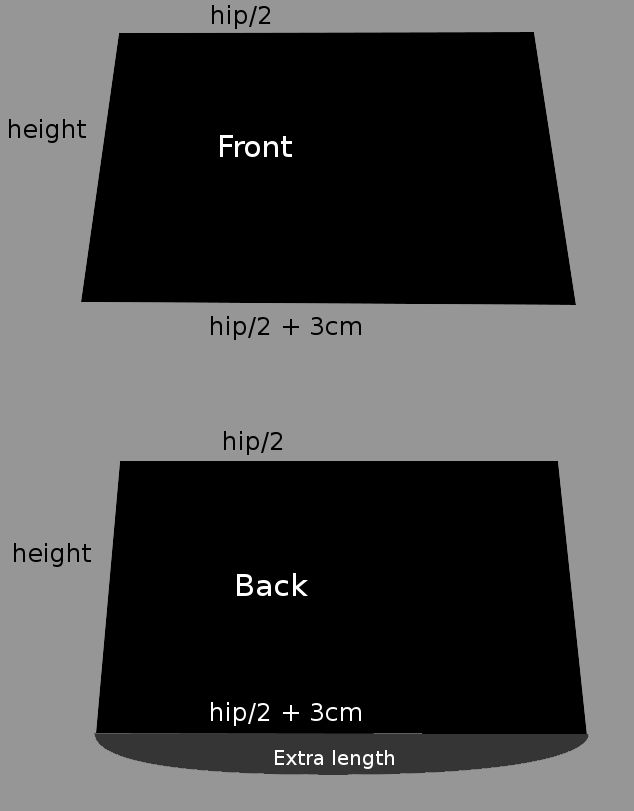
Of course, first, you need to make your pattern. Thankfully, this is super easy. You can use the figure as a guide. So here’s how to make the pattern.
First, you need the hip measurement of the person you’re making the skirt for. My friend is very small and has a hip measurement of 84 cm. Since the skirt is made of lycra which is very stretchy, the actual skirt needs to be smaller. I estimated that a skirt circumference of 70 cm would be OK. I will call this 70 cm the hip measurement from now on. You also need to decide on a total length. Following the example of the skirt in my photo, I chose a total length of about 40 cm. Note that this pattern does not include seam allowances.
The skirt consists of two parts. Two trapezoids at the top, which I will call the base, and a wide, hanging part, which is made from four circles, which I will call the frill.
The base consists of two trapezoids, where the back part has a bit of extra fabric at the bottom. This is in place to make sure that the bum of the dancer stays hidden while dancing. The top width of the pieces is hip/2 ( =35 cm), and the height is the total length/2 ( =20 cm). The extra length is about 5 cm, depending on the bum of the wearer. The bottom of the trapezoids is a bit (about 3 cm for each panel) wider than the top edge. This will stop the skirt from riding up.
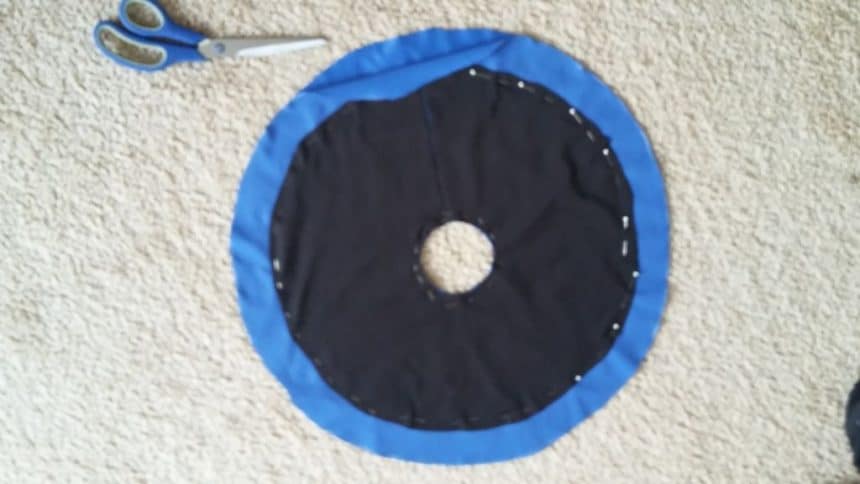
The frill is made out of four circles, with a circle cut out of the center, as shown in the figure. The black circles need to be a bit smaller than the blue ones, but they must have the same inner radius since the inner edge will connect to the base. The inner circumference of each circle (c0) must be 1/2 of the hip measurement. This means that the inner radius (r0) must be r0 = c0/(4π) = c0/12.6. So for me, r0 = 5.6 cm. The radius of the blue fabric needs to be 20 cm longer, so r2 = 25.6 cm. The black fabric must be 3 cm shorter, so r1 = 22.6 cm.
Step 2: The Fabric
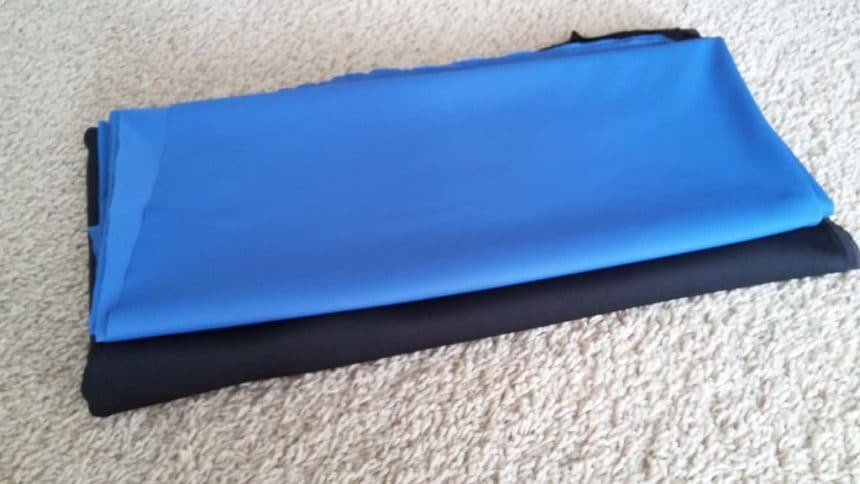
It is easiest to draw a rough sketch to get an idea of how much fabric you will need. Key point: do not confuse radii and diameters! If you make a skirt with the same sizes as me, then you should have plenty if you get 60 cm of blue (at 140 cm Wide) and 1 m of black. I got 1 m of both.
I got a light quality lycra. Try to get the blackest black you can, and a color that really pops for the lower layer. Bright green, red, or even a glittering fabric would be really cool. It’s an accent, make it stand out!
There is a lot of lycra available online, but in the end, I got it at my local fabric market. I prefer to see and feel my fabric, so there are no surprises in the thickness, color, and quality.
Step 3: Drawing
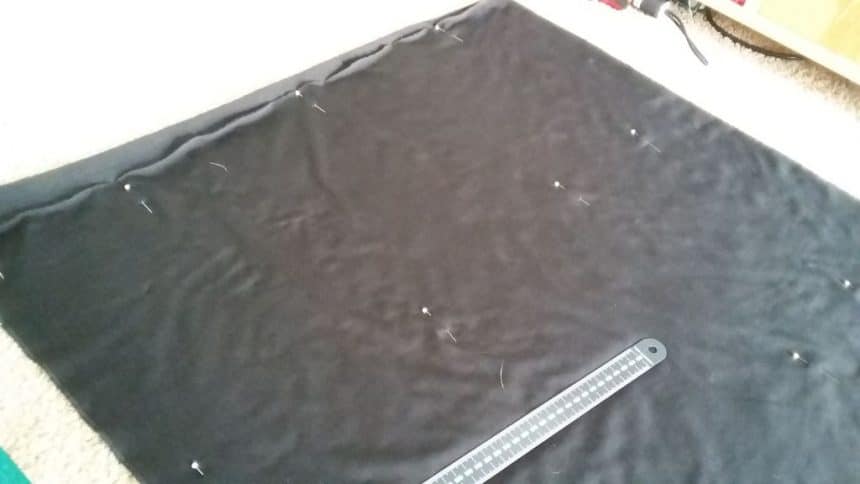
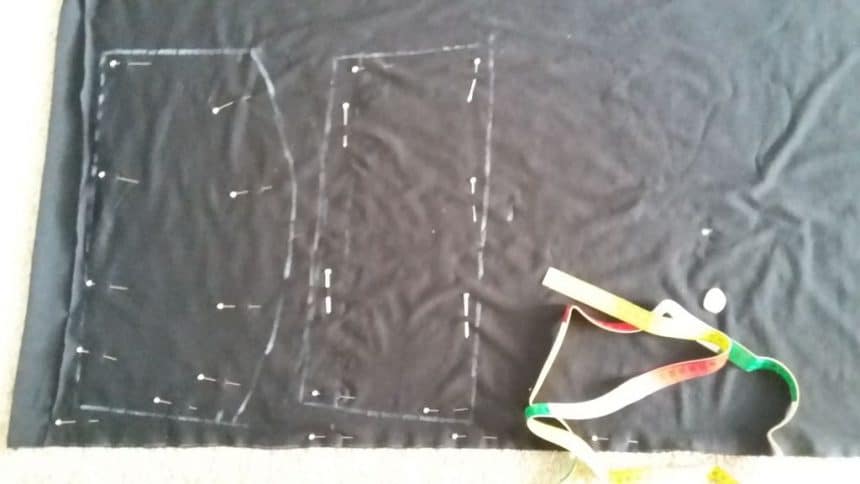
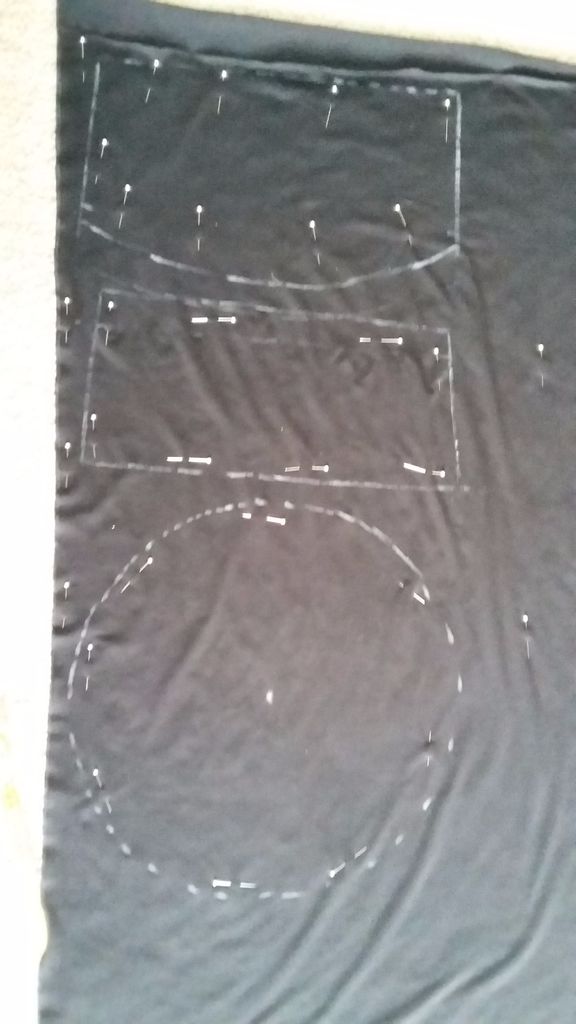
You will need a piece of dressmaker’s chalk, a cup of water, and a lot of pins and patience. Lycra is slippery, which makes is tricky to work with. If you dip the edge of the chalk in water before drawing a line, it will release a lot more chalk, making the drawing easier.
My lycra is reasonably thin because I wanted the frill to be light. Due to this, I decided to make my base out of two layers. So draw both pieces of the base twice, or once on folded fabric. If you work on folded fabric, you need to pin the two layers together, as shown in the picture.
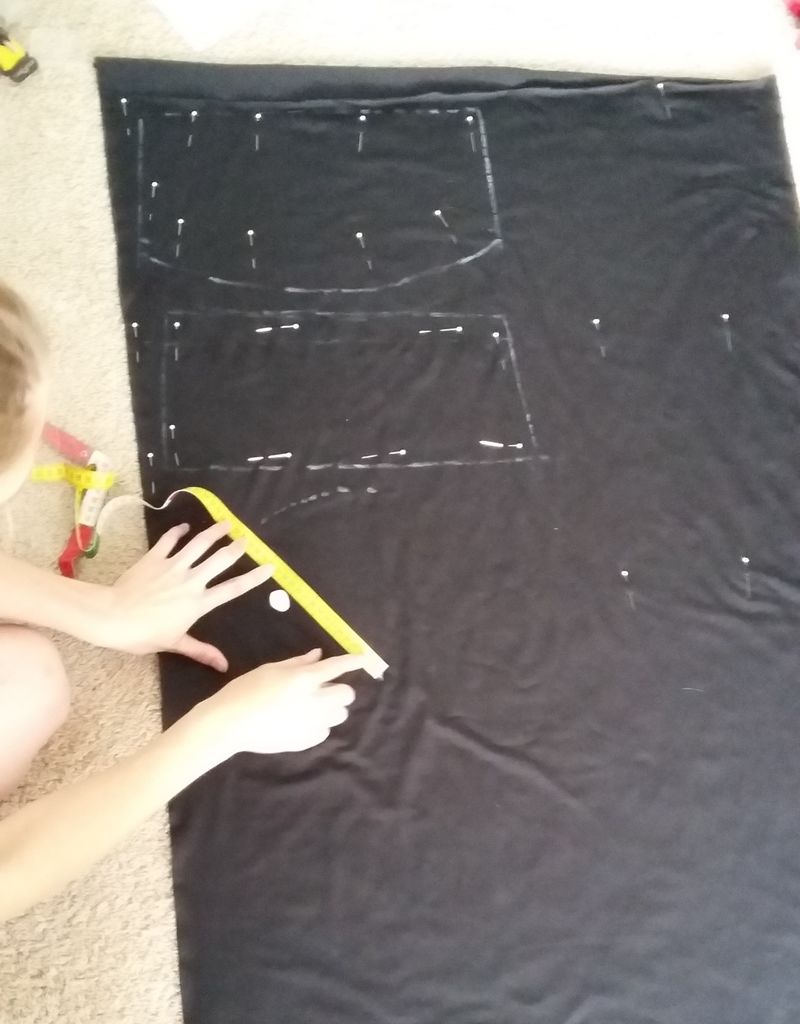
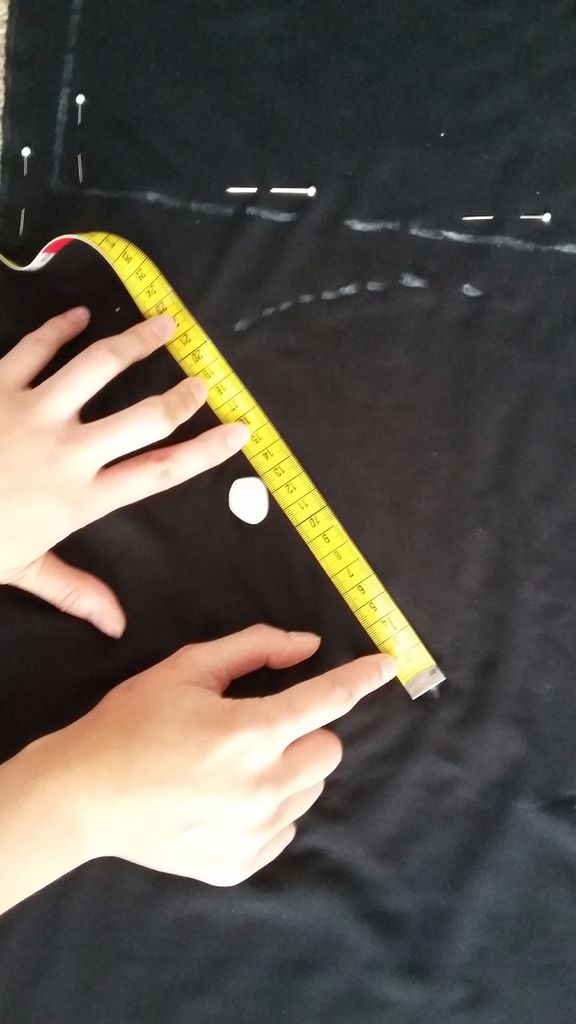
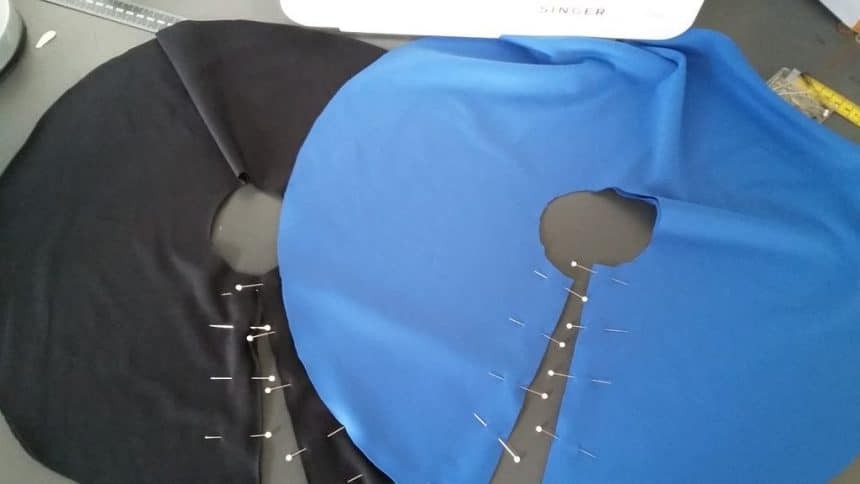
You will also need two circles of each color, with the right radio (black smaller than blue). I did this by drawing a dot at the place where I wanted my circle, and moving my tape-measure around that dot to draw a circle, as shown in the figure. Also, draw the inner circle with radius r0.
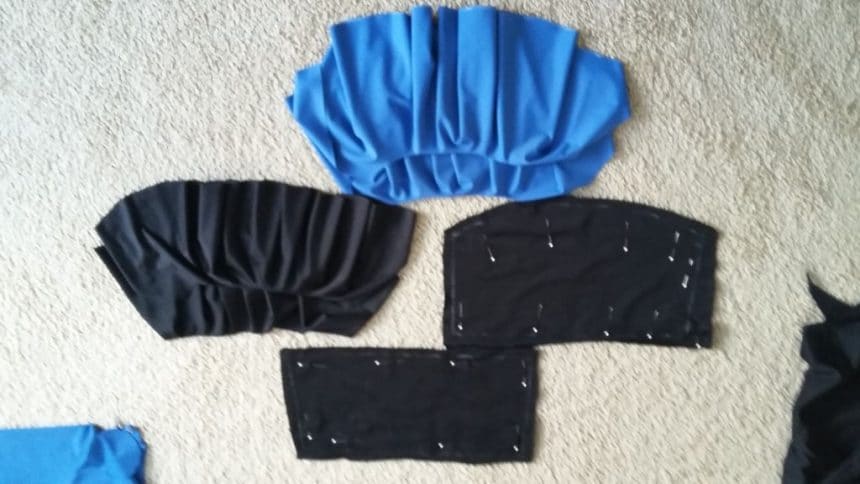
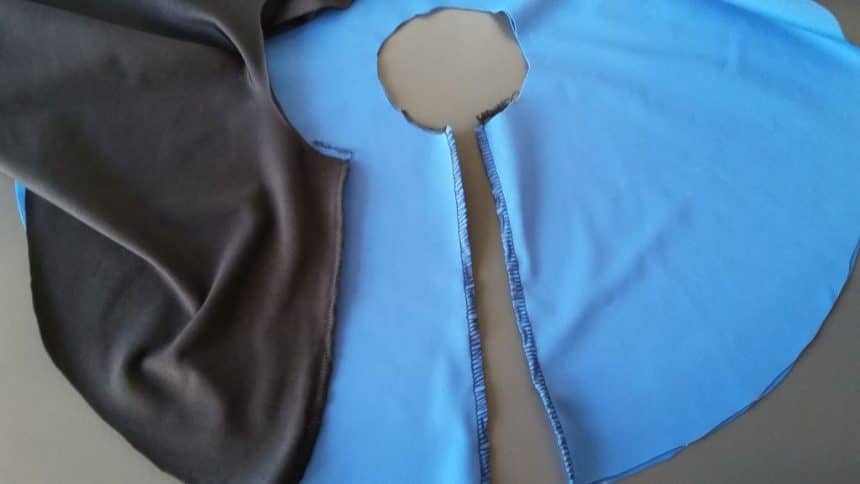
Cut all the pieces (2x front panel, 2x back panel, 2 black circles, and 2 blue circles). Leave a 1 cm seam allowance around the base. Do not leave seam allowance around the inner edge of the circles, or the circumference will be too small. Instead, leave a small allowance around the outer edge. Lycra will not fray, so you will not need to hem the outer edge frill. Cut a straight line from the outer edge of the circles to the center. The figure shows the pieces you now have.
Step 4: Making the Base and the Frill
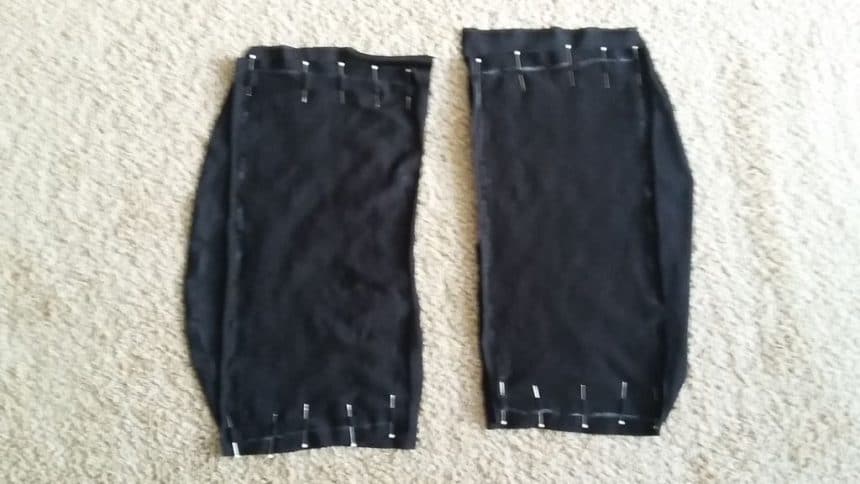
Sew the front pieces of the base to the back pieces, good sides together. I used an overlock machine with the most stretchy stitch. If you are using a regular sewing machine, make sure you are using a stretch needle and a stretch stitch. Sew the pieces together.
Now turn one of the two bases right side out, and put it inside the other one, so all the good sides are touching. Sew around the top edge to close it off, and turn the good sides outward. Now only the lowest edge of the base is bare, and the edges of the top and sides are neatly tucked away.
For the frill: Put the good sides of both colors together and sew the cut edge as shown. Lay them on top of each other, with both bad sides facing down (good side to bad side). Pin them securely together.
Step 5: Putting It Together
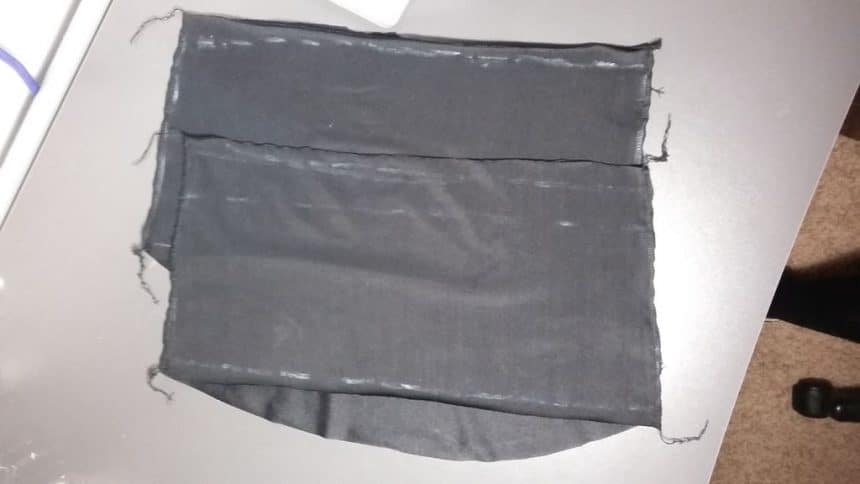
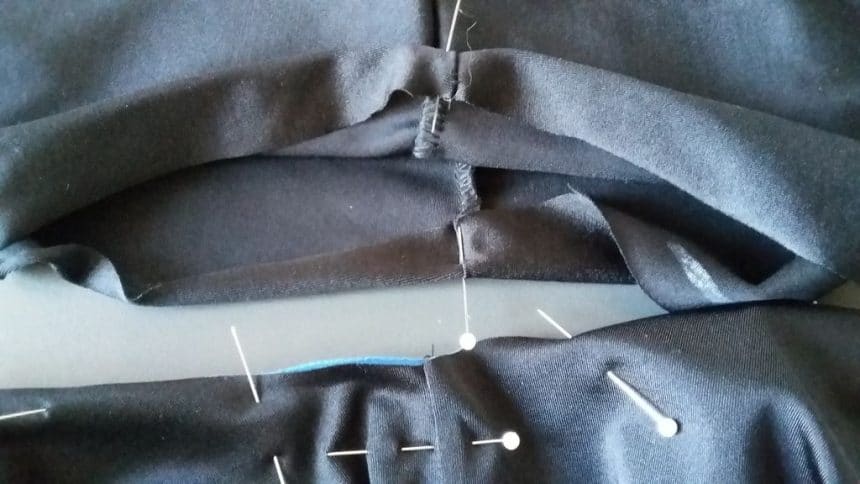
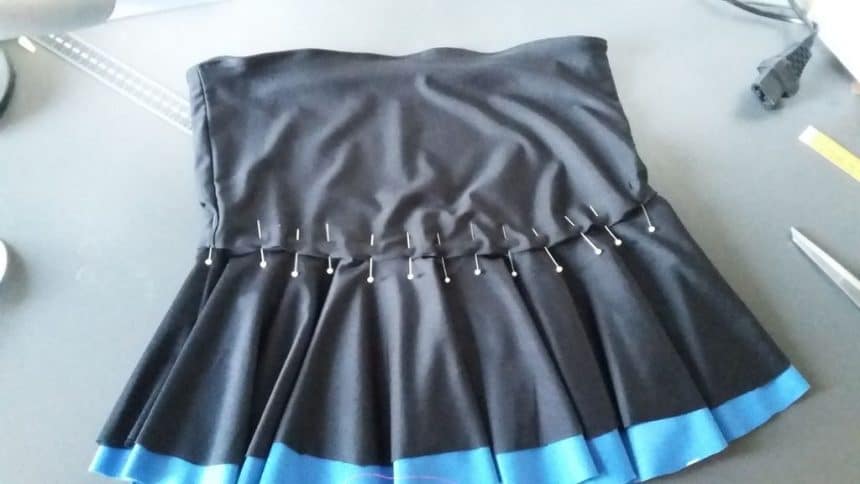
Now comes a lot of pinning. Fold the two layers of the base inward, and lay the top edge (or inner edge) between them, as shown in the closeup. Do not be stingy with pins, this will help a lot. With rough stitches, hand bastes it all together. Like I said, lycra is slippery, and this is a place where the stability of the basting will be a big help.
Using a regular sewing machine and a stretchy stitch, sew they base and the grill together.
And that’s it! You’re done. You made yourself a beautiful skirt.
Step 6: Look at Her Shine!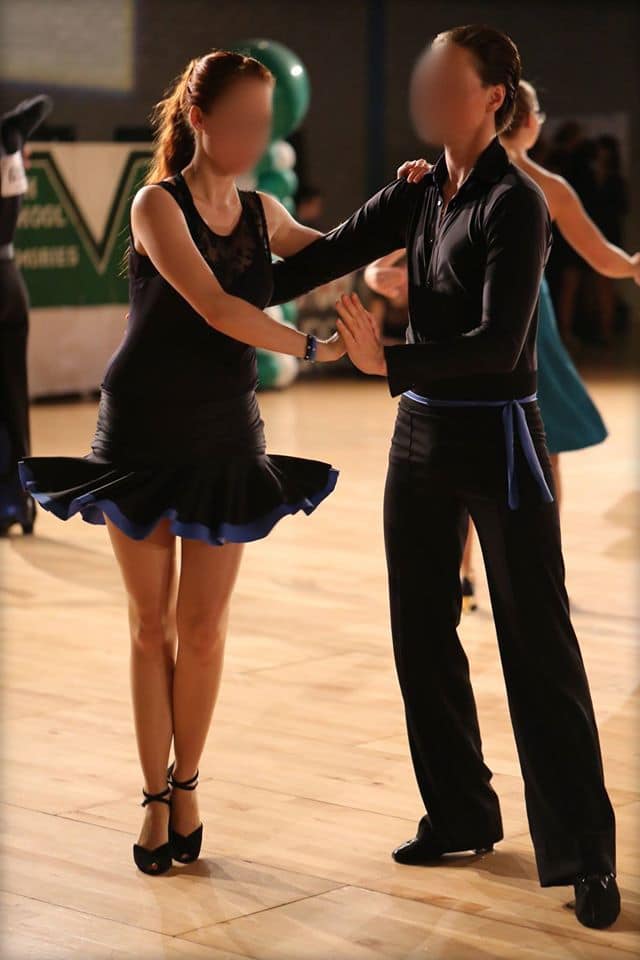
I’m happy with the result, and my friend is even happier. She’s a wonderful dancer, and the skirt enhances it. Her dancing partner modeled an accent for his own outfit from the scrap of blue that was left over.
Thanks!
courtesy: Frivolica
