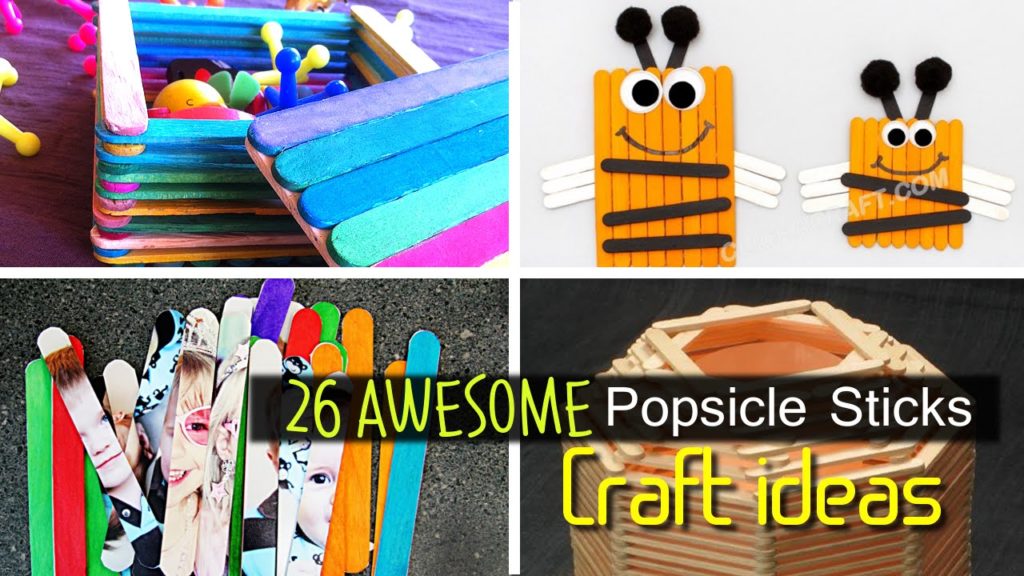
Posted onSeptember 14, 2017September 14, 2017inCraft, Ideas, Kids Corner, Kids Crafts, Popsicle Stick 26 Lovely and Fun Popsicle Stick Crafts for Kids!
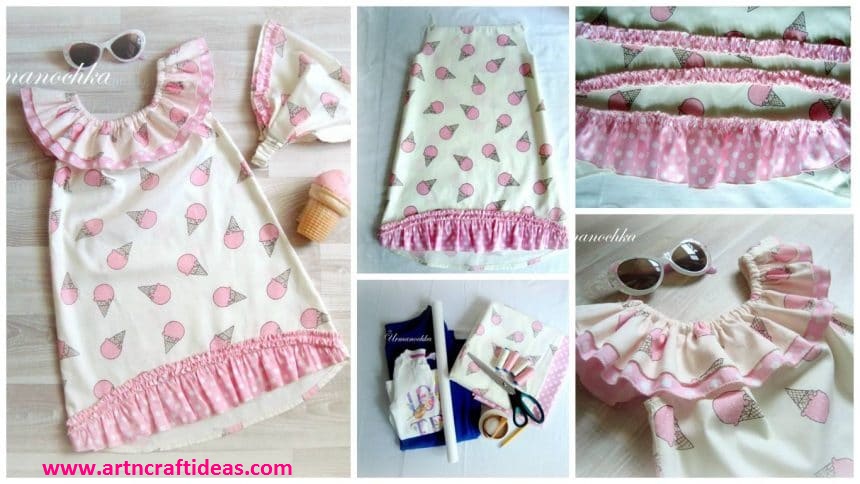
Posted onJuly 9, 2017inClothing, Embroidery And Sewing, Kids Corner, Tutorial How to sew a bright summer dress for girls “Strawberry ice cream”
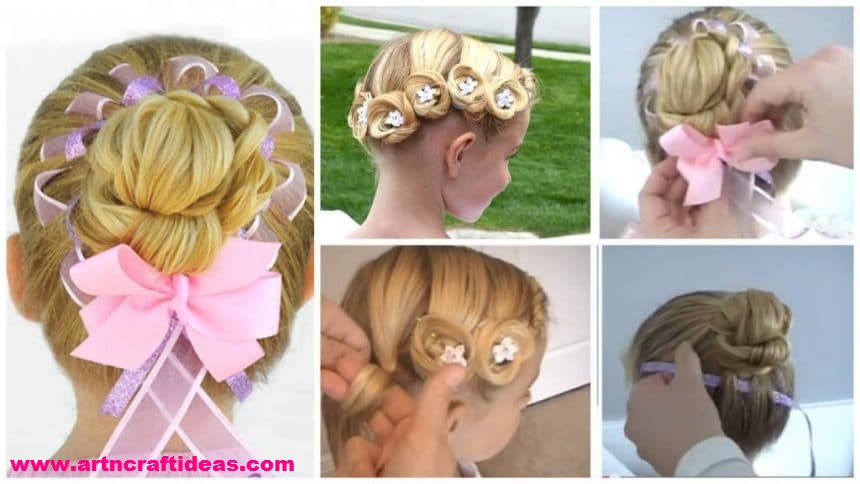
Posted onJuly 2, 2017inHairstyle, Tutorial 2 Cool Hairstyles for Little Girls on Any Occasion Step By Step
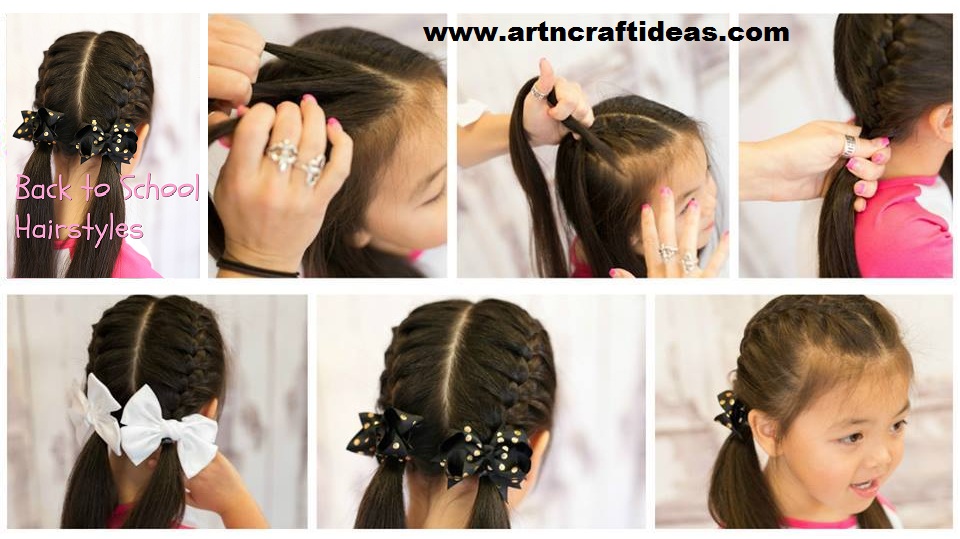
Posted onJuly 1, 2017July 1, 2017inHairstyle, Kids Corner, Tutorial Super Easy Hairstyle To Try For Back To School
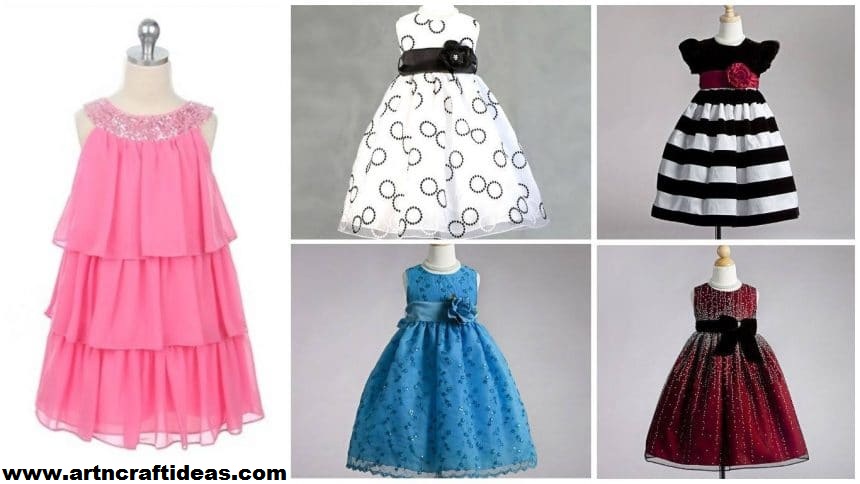
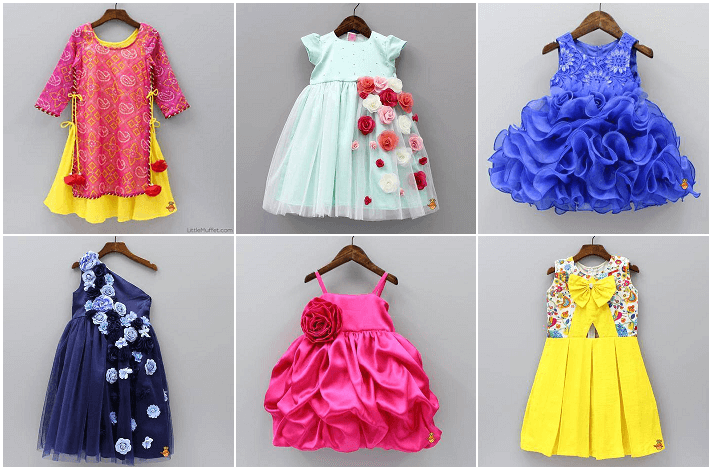
Posted onJune 29, 2017inClothing, Embroidery And Sewing, Kids Corner 25 Different types of frock designs for kids
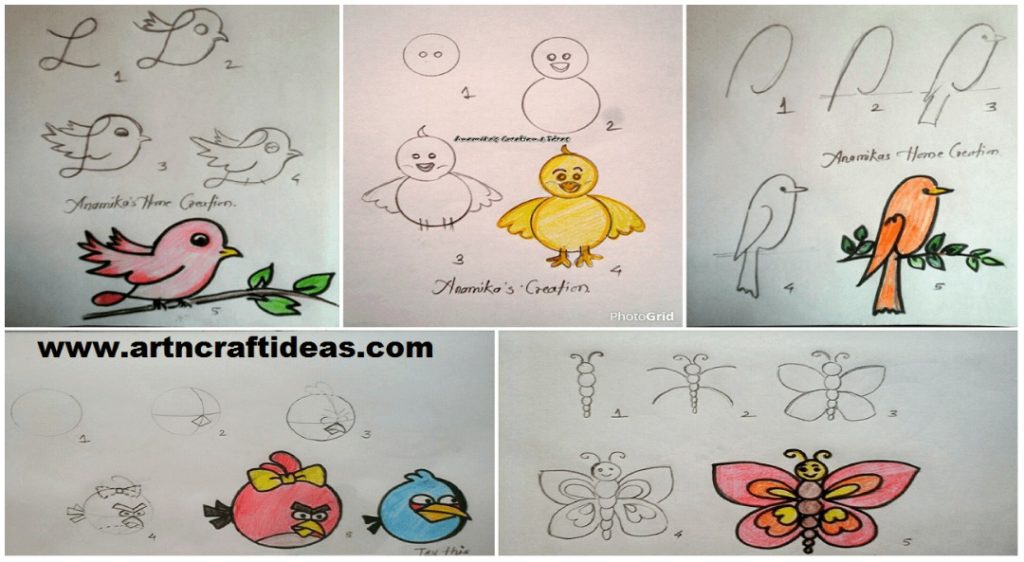
Posted onJune 24, 2017September 8, 2025inKids Activities, Kids Corner, Step by step How to teach drawing to kids step by step
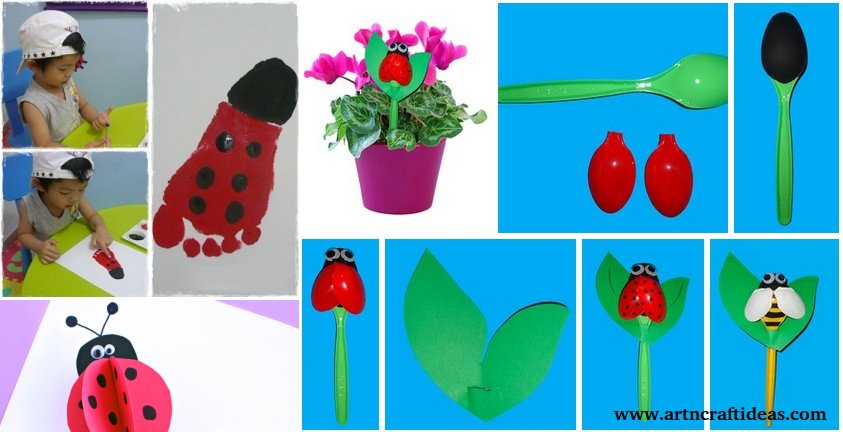
Posted onMay 18, 2017inKids Crafts, Paper Crafts, Spring Crafts, Tutorial Spring Crafts: How to make a ladybug with their hands