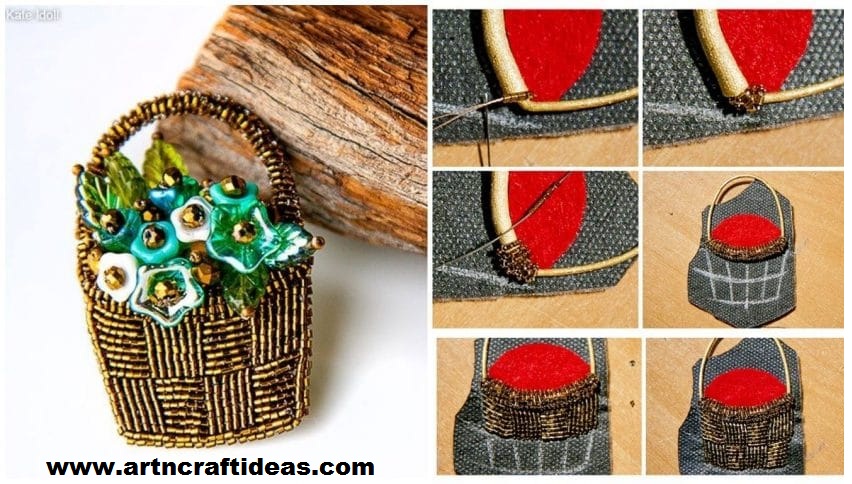
Posted onJune 30, 2017June 30, 2017inDIY, Jewellery, Tutorial DIY beautiful brooches “Basket with flowers”
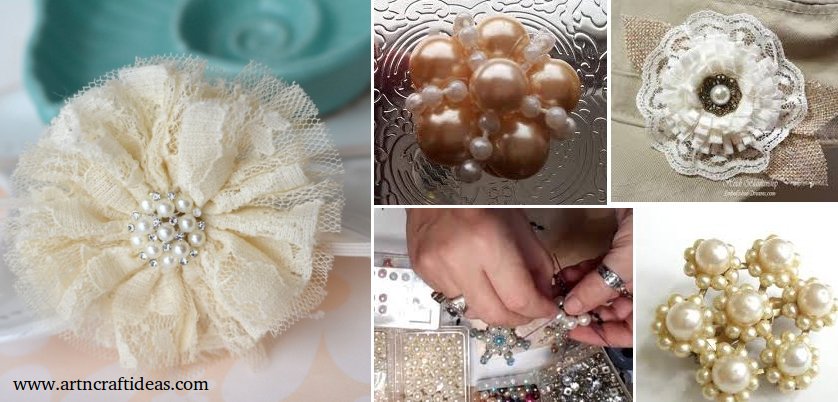
Posted onMay 16, 2017inFlower Crafts, Jewellery, Tutorial, Video Shabby Chic Pearl Flower Video Tutorials
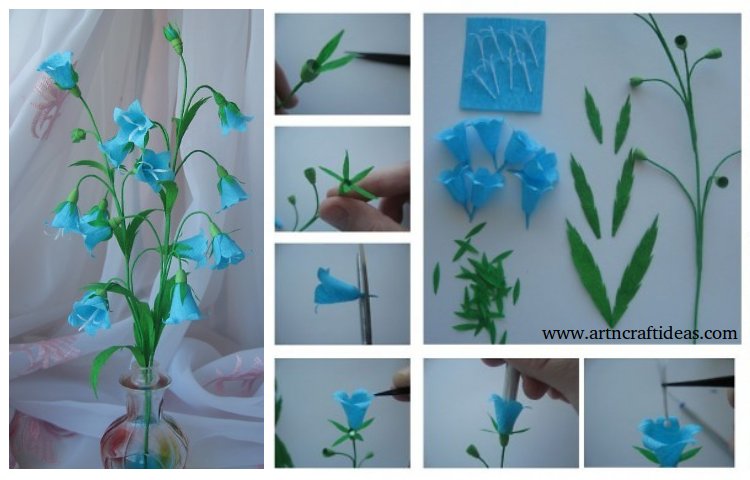
Posted onMay 16, 2017May 16, 2017inDIY, Home Decor, Paper Crafts, Tutorial How to make paper flowers bells – Step by step
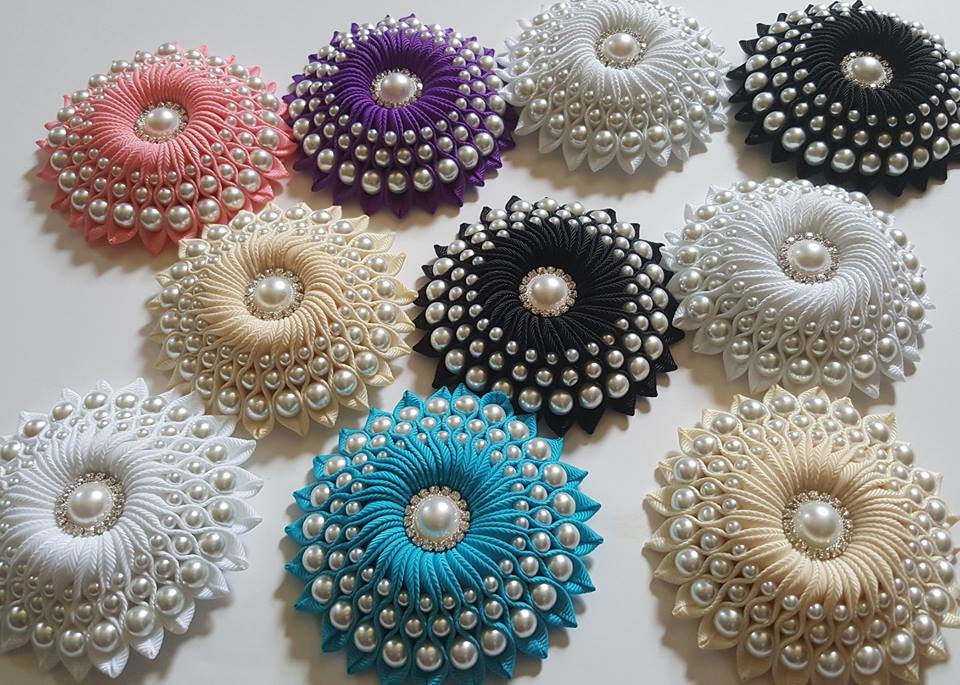
Posted onMarch 25, 2017March 27, 2017inDIY, Featured, Flower Crafts, Tutorial DIY Ribbon flower with beads
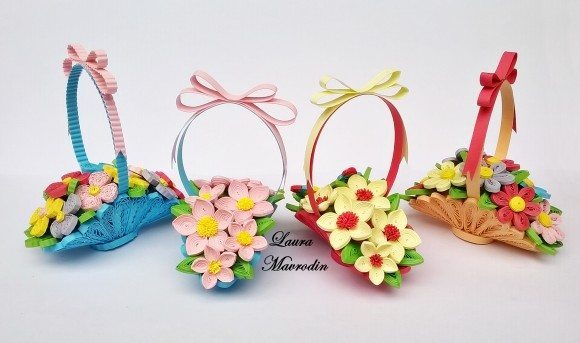
Posted onFebruary 24, 2017February 25, 2017inDIY, Quilling, Step by step, Tutorial How to make quilling basket of flowers bouquets
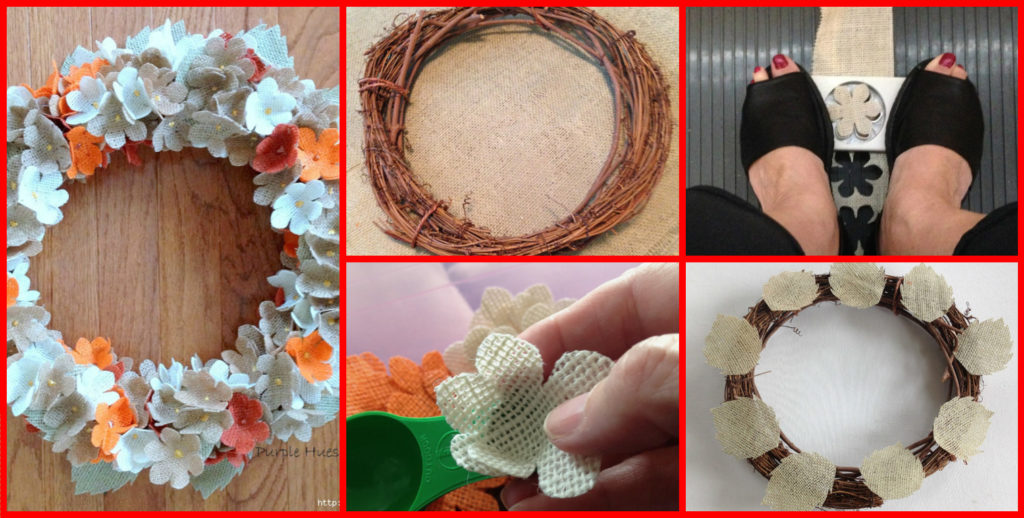
Posted onFebruary 4, 2017inChristmas, DIY, Easter, Home Decor, Step by step, Tutorial, Valentine’s Day Hydrangea Wreath with Burlap
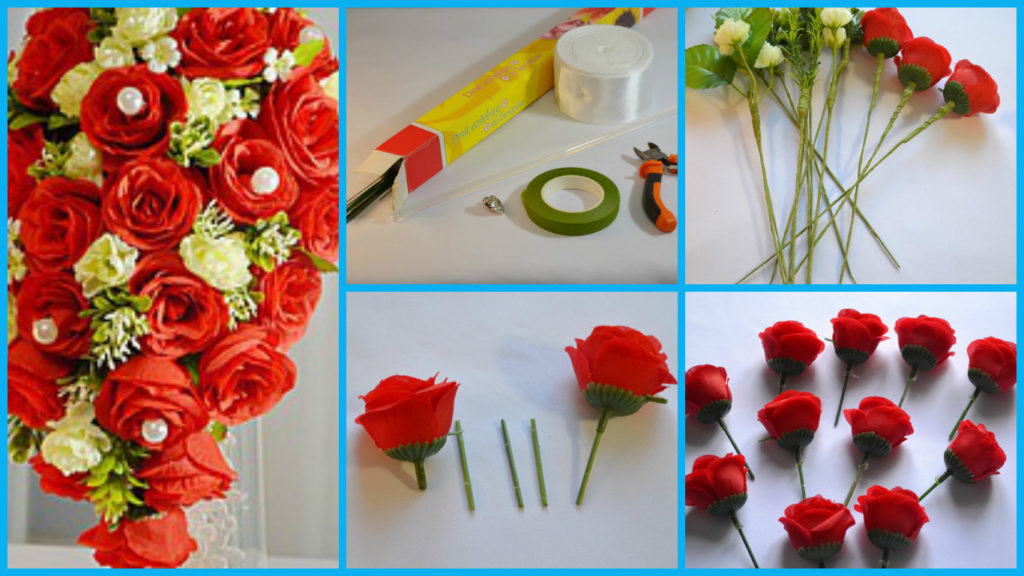
Posted onFebruary 4, 2017inFlower Crafts, Other, Step by step, Tutorial, Valentine’s Day How to create a cascading bouquet of artificial flowers
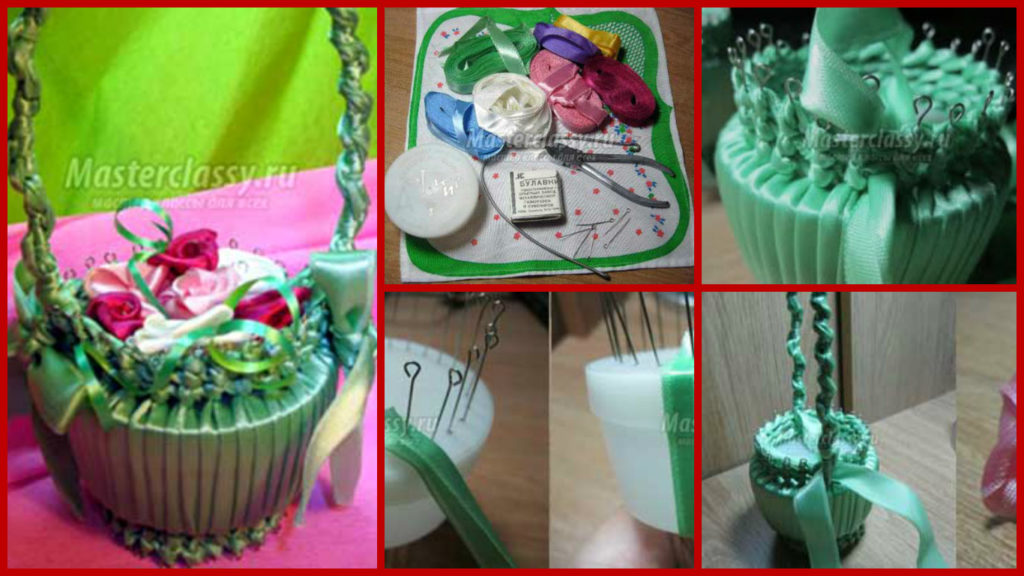
Posted onJanuary 31, 2017inDIY, Step by step, Tutorial DIY: Beautiful basket with flowers ribbons and plastic boxes
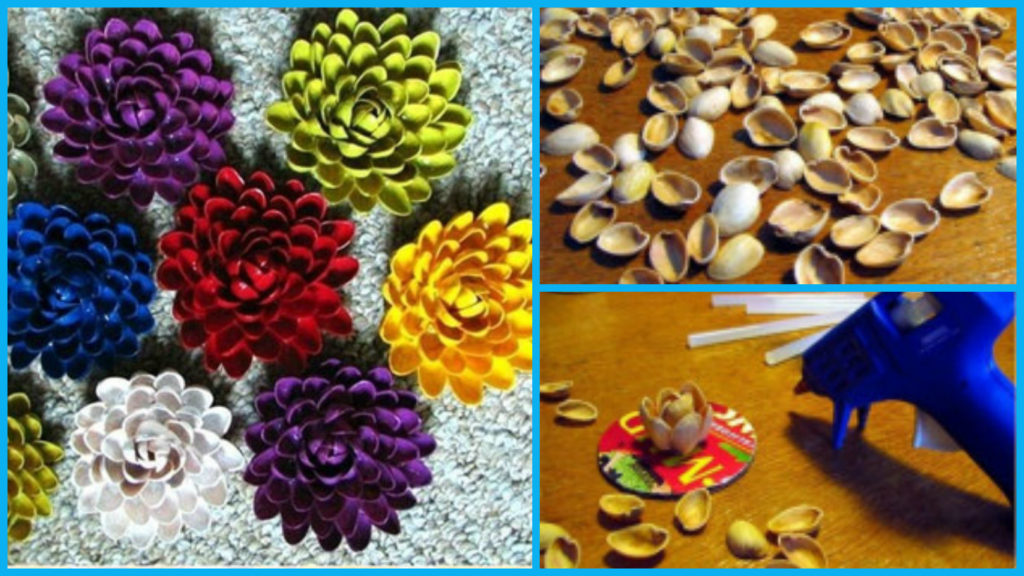
Posted onJanuary 30, 2017inBest out of Waste, Diwali, DIY, Home Decor, Step by step, Tutorial Beautiful flowers out of shells
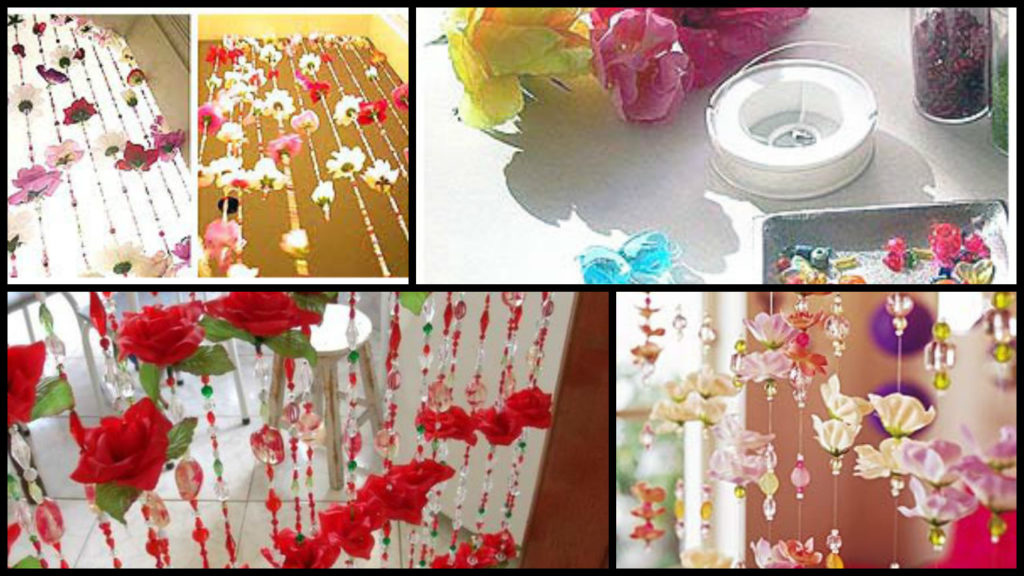
Posted onJanuary 29, 2017inBest out of Waste, DIY, Home Decor, Step by step, Tutorial Beautiful curtains made of beads and artificial flowers