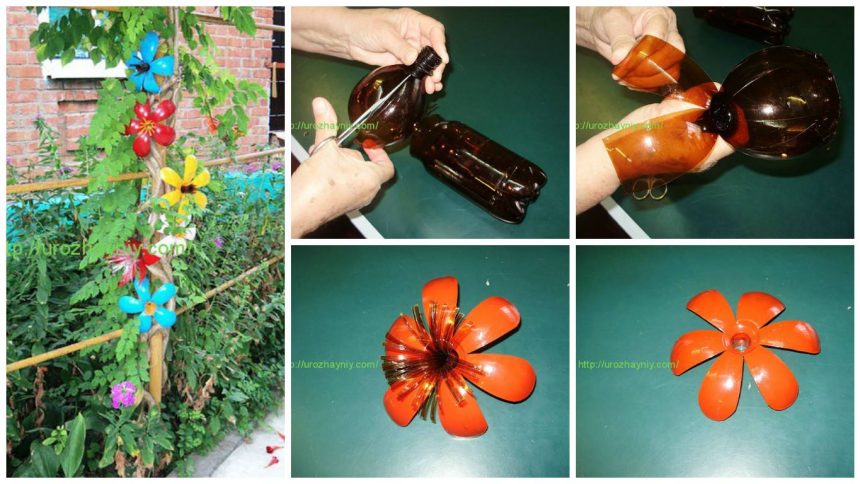
Posted onJanuary 19, 2017inFlower Crafts, Step by step, Tutorial How to make beautiful garden flowers from plastic bottles
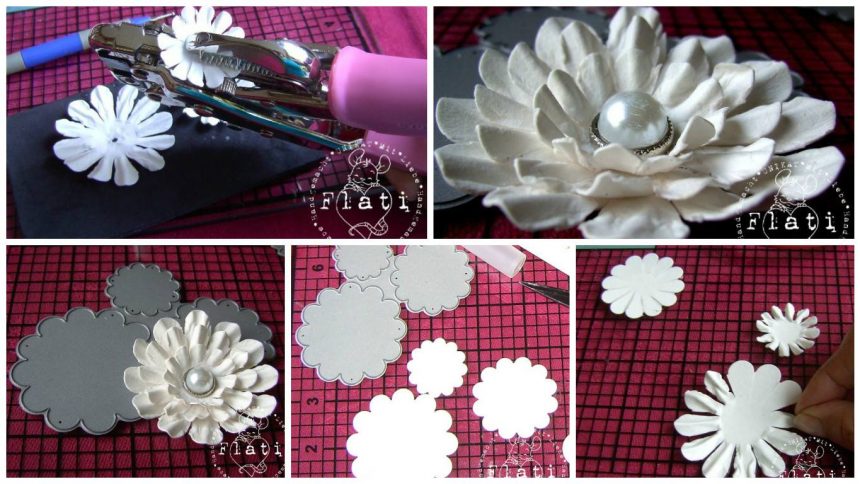
Posted onJanuary 19, 2017inFlower Crafts, Paper Crafts, Step by step, Tutorial How to make beautiful elegant flower scrap of watercolor paper
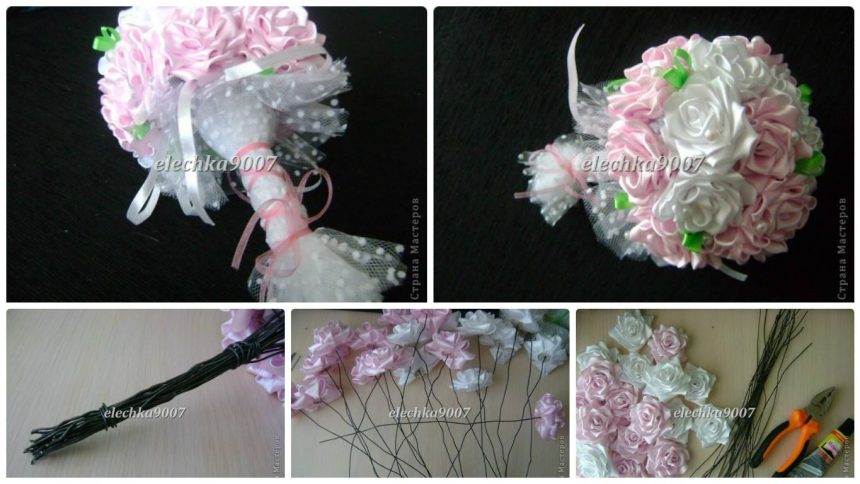
Posted onJanuary 19, 2017inStep by step, Tutorial, Wedding How to make beautiful wedding bouquet of ribbon flowers
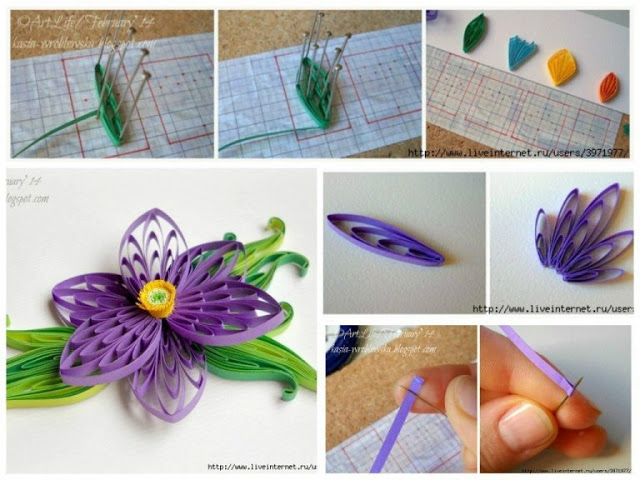
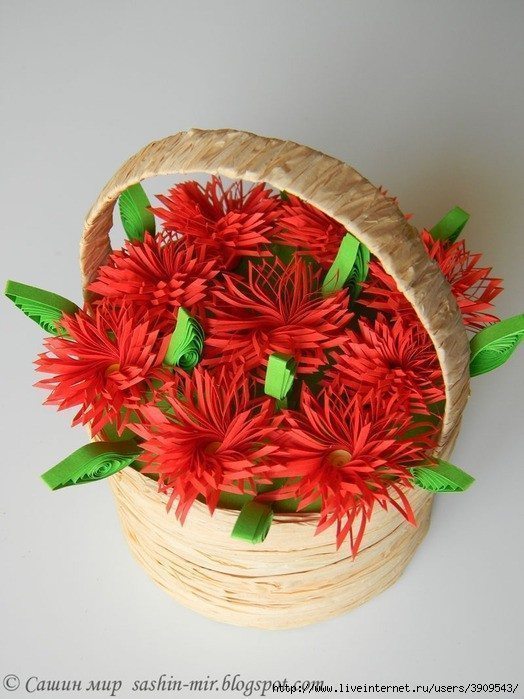
Posted onJanuary 15, 2017inDIY, Flower Crafts, Home Decor, Quilling Husking quilling paper idea – step by step
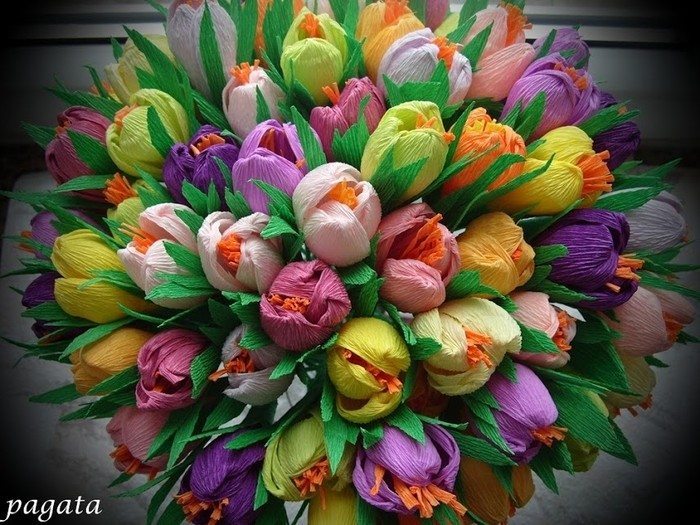
Posted onJanuary 7, 2017inDecorations, DIY, Paper Crafts, Step by step, Tutorial Spring crocuses of corrugated paper step by step
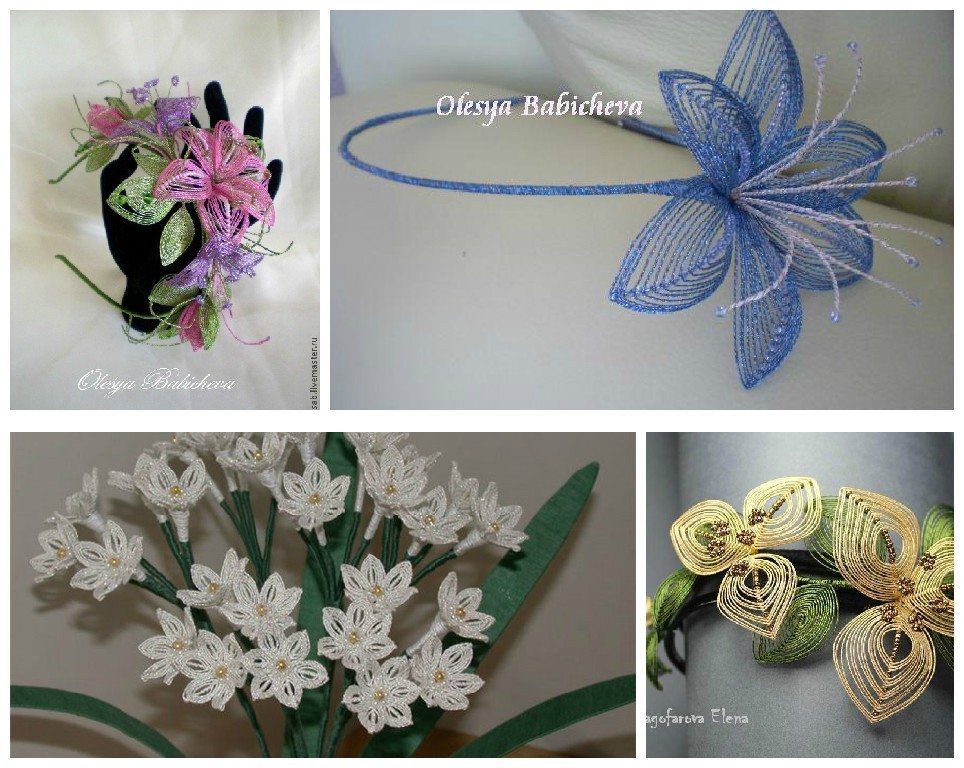
Posted onJanuary 6, 2017January 6, 2017inDIY, Featured, Flower Crafts, Ideas, Jewellery, Step by step, Tutorial Beautiful DIY Flowers in the ganutell
Posted onJanuary 5, 2017June 10, 2018inBest out of Waste, DIY, Embroidery And Sewing, Flower Crafts, Home Decor, New Year, Step by step, Tutorial Daisies of twine – Flower Craft
Posted onJanuary 4, 2017February 19, 2017inBirthday, Christmas, DIY, Flower Crafts, Home Decor, New Year, Step by step, Tutorial, Wedding Easter Baskets & Ideas for Spring Activities
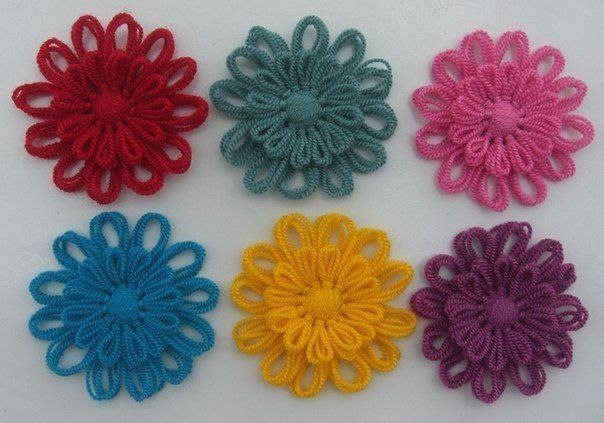
Posted onJanuary 4, 2017inEmbroidery And Sewing, Flower Crafts, Ideas, Step by step, Tutorial Flower Looms: Instructions for Winding a Circular Flower Loom
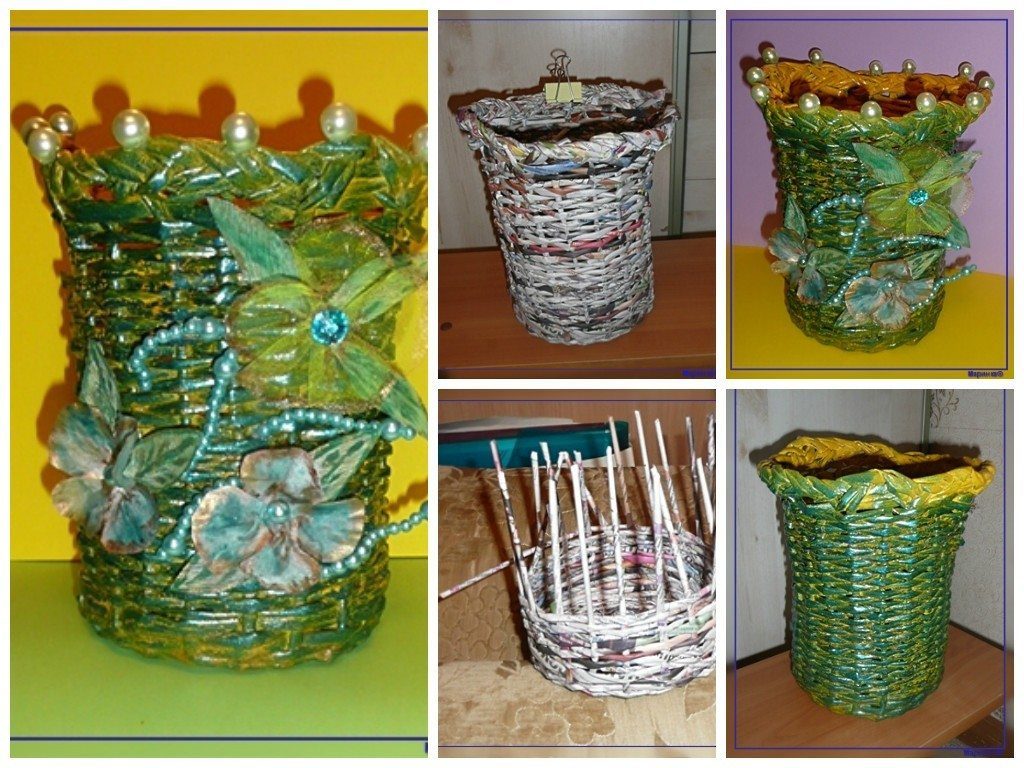
Posted onJanuary 4, 2017inBest out of Waste, DIY, Home Decor, Step by step, Tutorial DIY Recycled Newspaper Basket with flowers