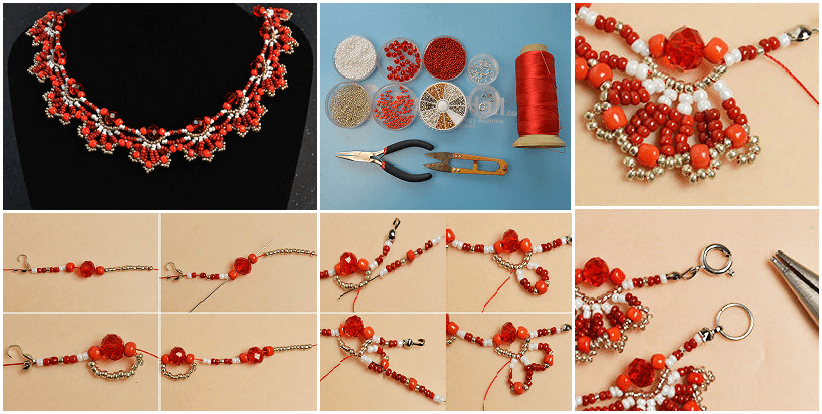
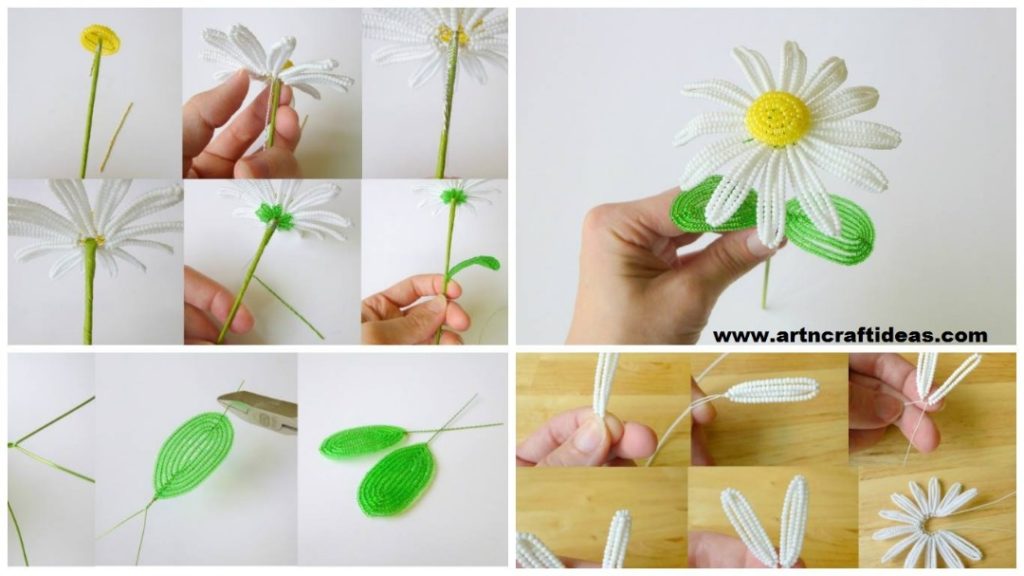
Posted onMay 28, 2017inJewellery, Mother's Day, Tutorial How to Make a Delicate Red Flower Choker Necklace With Beads
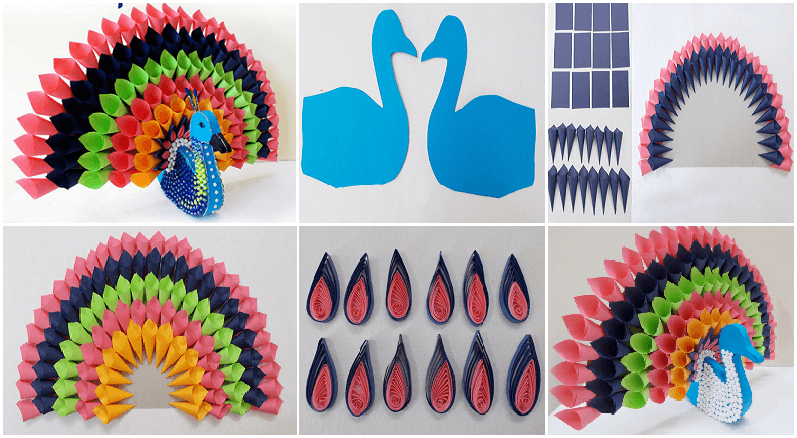
Posted onMay 28, 2017inKids Crafts, Paper Crafts, Step by step, Tutorial DIY Multicolored Paper Peacock
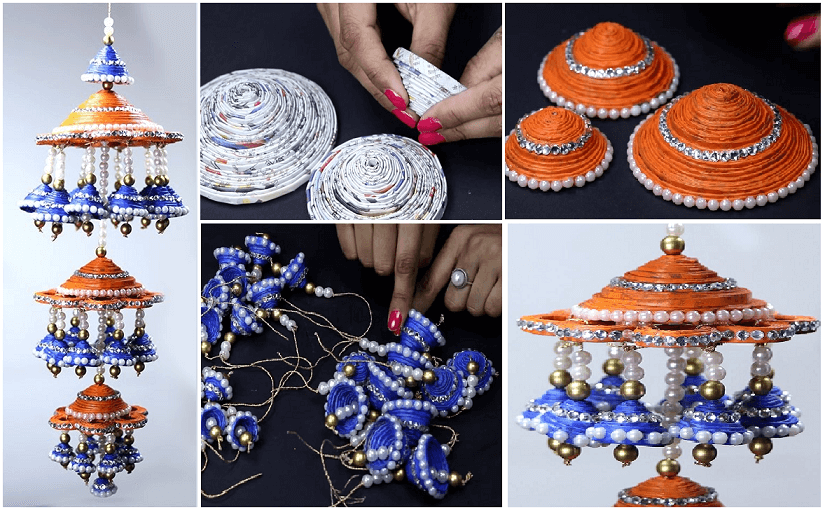
Posted onMay 27, 2017inBest out of Waste, Home Decor, Newspaper Crafts, Tutorial, Video How to Make Newspaper Wall Hanging Craft
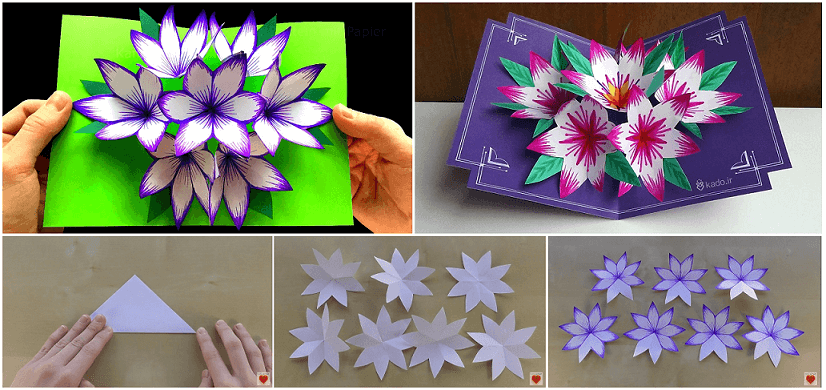
Posted onMay 27, 2017May 28, 2017inFeatured, Mother's Day, Paper Crafts, Tutorial, Video How to Make 3D Flower Pop-Up Card
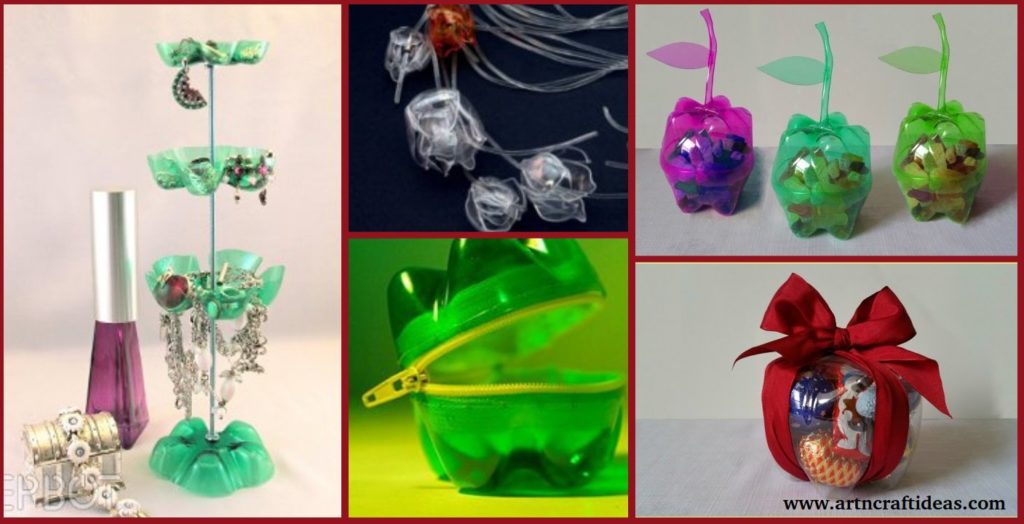
Posted onMay 25, 2017inBest out of Waste, DIY, Tutorial DIY Creative Ways To Reuse Old Plastic Bottles