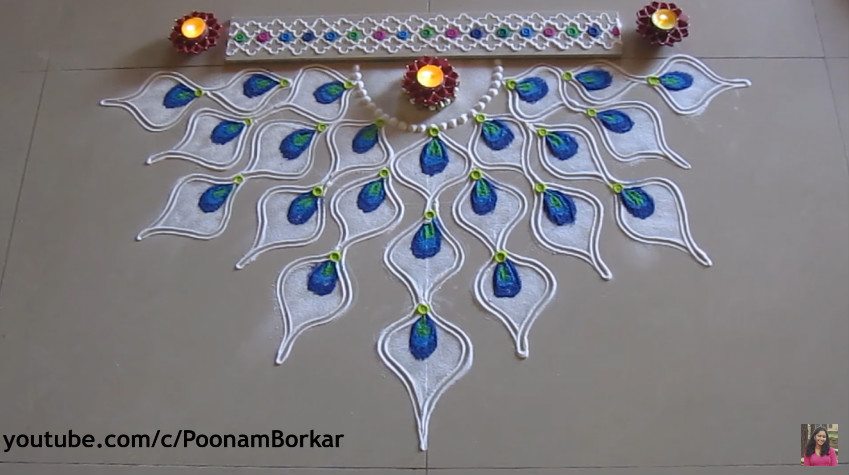
Posted onOctober 31, 2017inDiwali, Rangoli, Tutorial, Video Latest and Simple Peacock Rangoli Designs Using Tools and Techniques – Step By Step
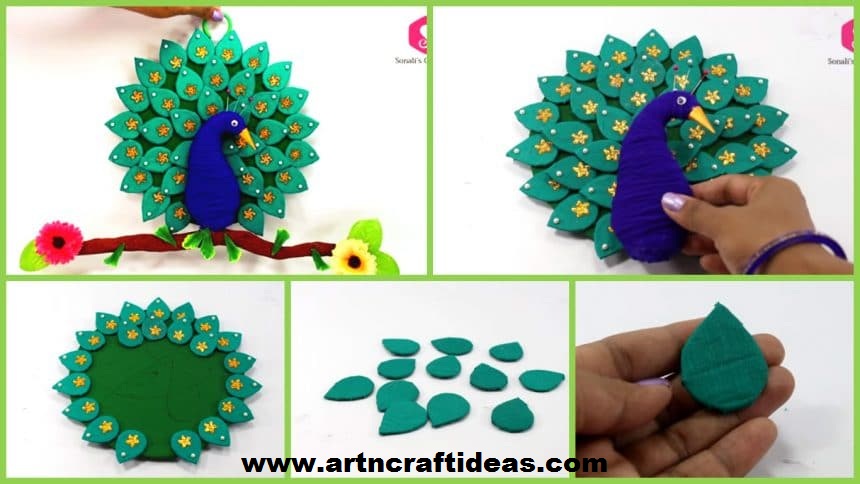
Posted onJune 20, 2017inCardboard Crafts, Craft, Tutorial, Video How to Make Cardboard Peacock Wall Hanging For Home Decor
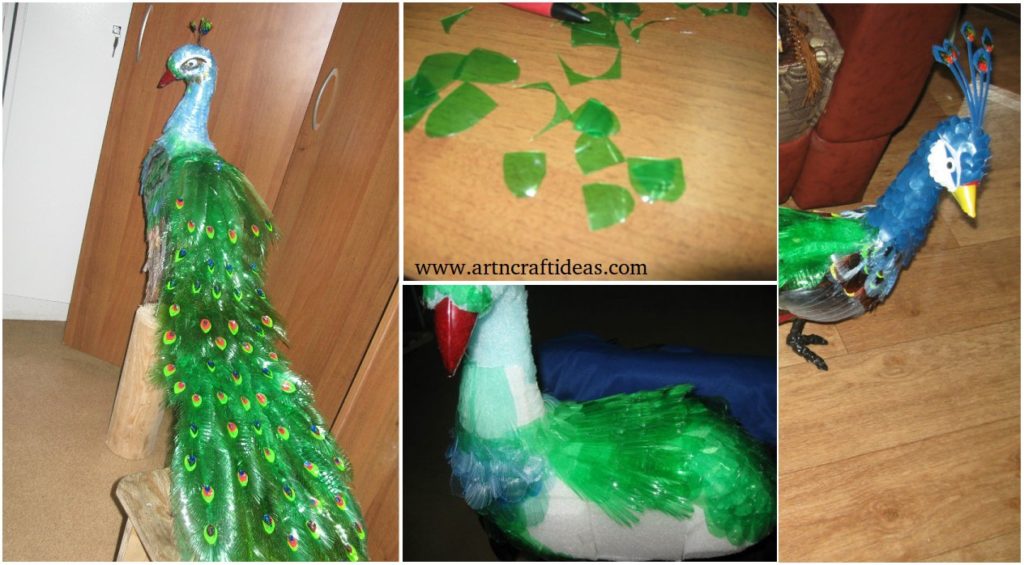
Posted onJune 4, 2017inBest out of Waste, DIY, Tutorial DIY Beautiful Peacock Design from plastic bottles
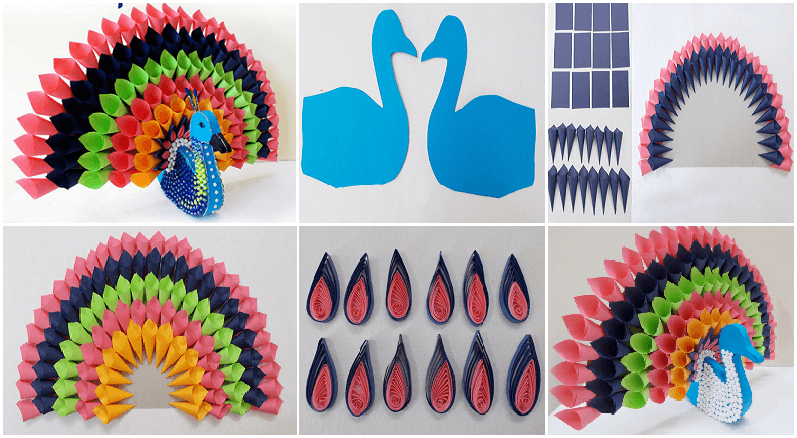
Posted onMay 28, 2017inKids Crafts, Paper Crafts, Step by step, Tutorial DIY Multicolored Paper Peacock
Posted onFebruary 19, 2017November 19, 2022inDiwali, DIY, Rangoli, Step by step, Tutorial DIY: Easy peacock feather rangoli design
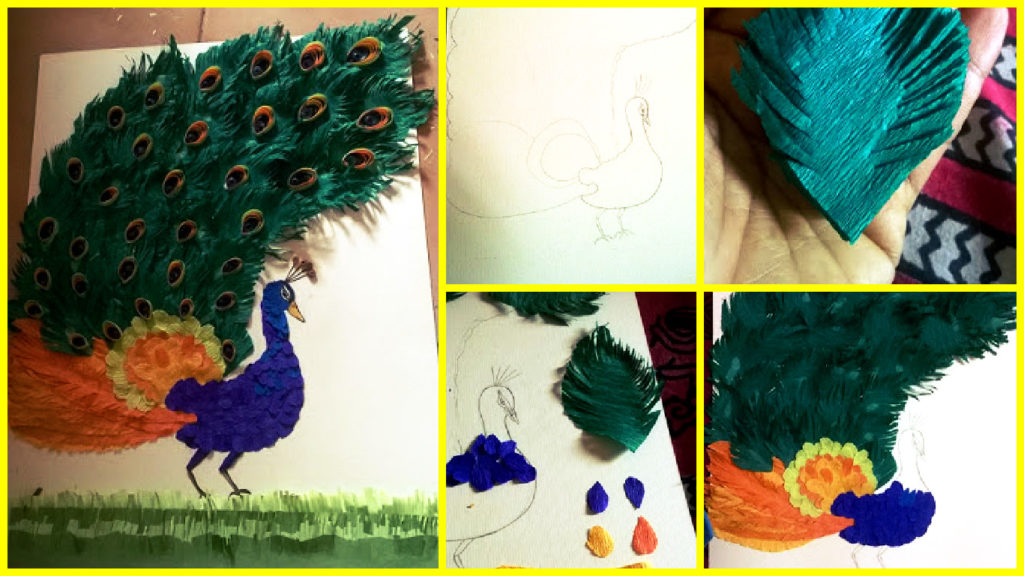
Posted onFebruary 6, 2017inDIY, Kids Crafts, Paper Crafts, Step by step, Tutorial DIY: Peacock paper craft
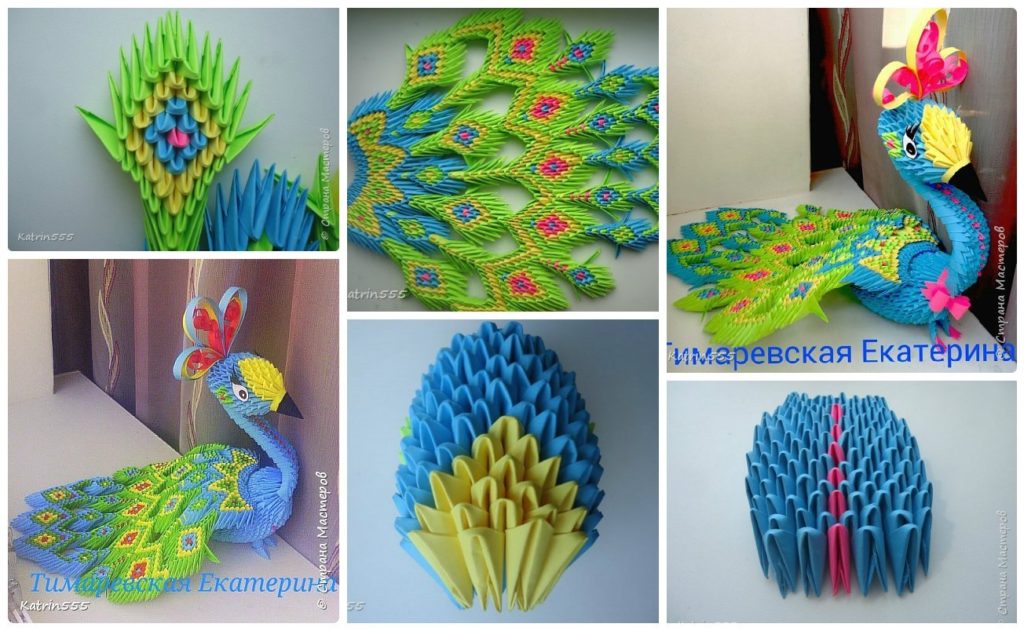
Posted onJanuary 11, 2017January 11, 2017inDIY, Origami, Paper Crafts, Step by step, Tutorial DIY How to make origami peacock