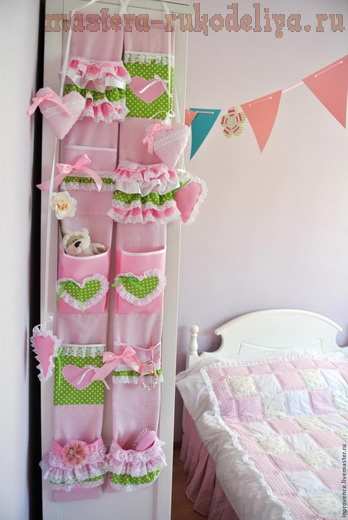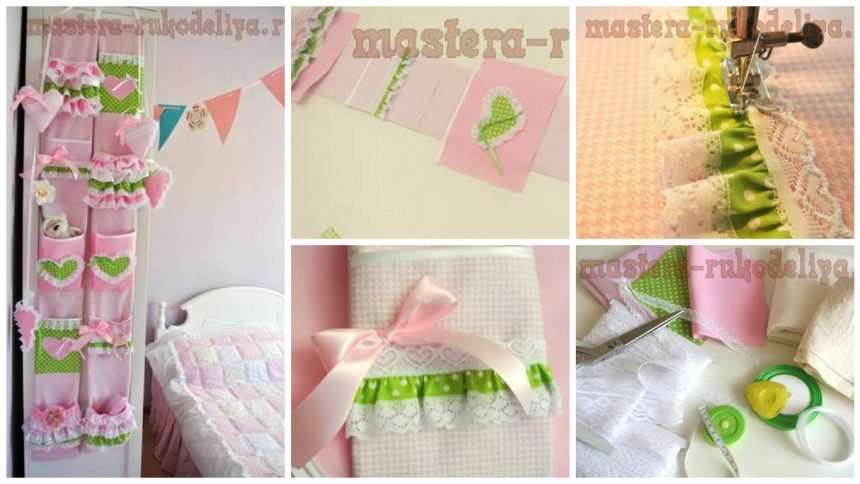
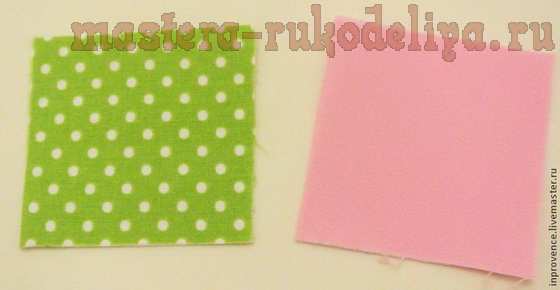
Let’s start with the fabric selection, which we need. I developed a custom interior, where the requirement was a combination of pink and light green colors.
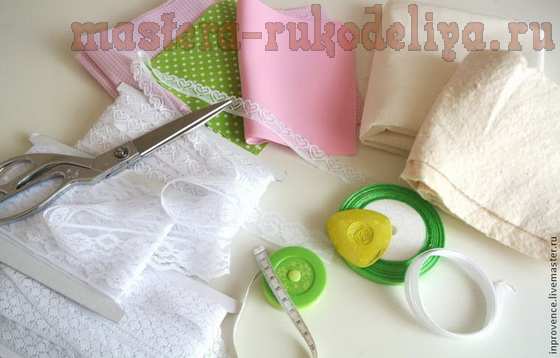
We need: cotton fabric, soft and hard Dublin, cotton insulation and padding polyester, lace, satin ribbons and rep and, of course, all the sewing tools: scissors, ruler, centimeter, etc.
Let’s start with the basics organizer. Ready my pockets size – 13×120 cm, so we cut out with SEAM 15×126 cm rectangle from the heater and two rectangles of cotton.
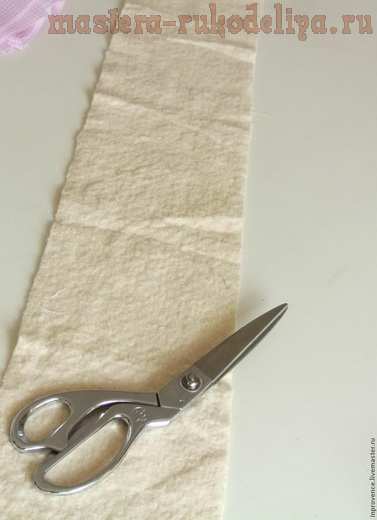
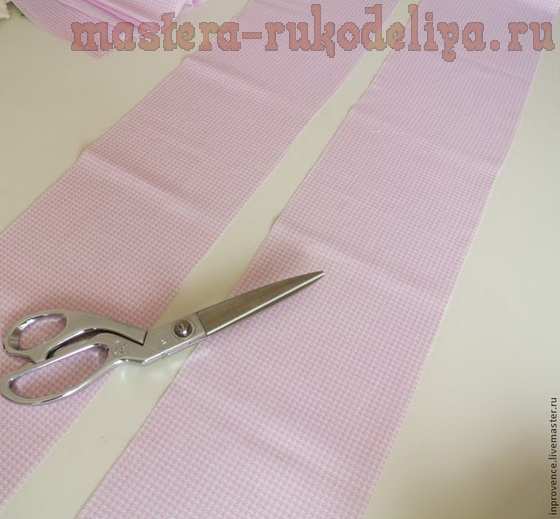
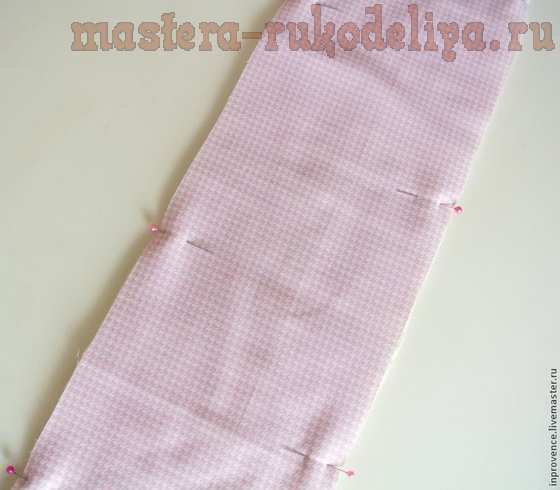
Then we put a rectangle of cotton face up to a heater, shear pin and sew on the machine around the perimeter with an allowance of 1 cm from the edge.
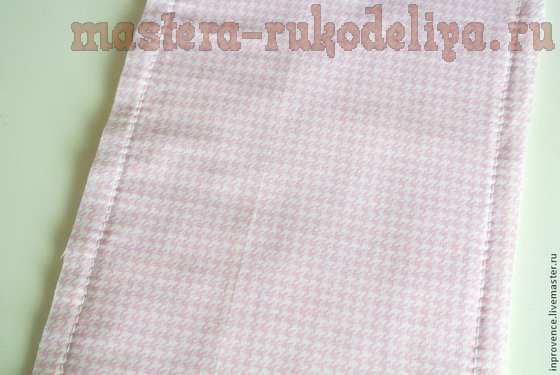
Postpone our billet in the direction and take over the production of pockets. 5. I’ve got two of them 15×20 cm and 23×20 cm three volume.

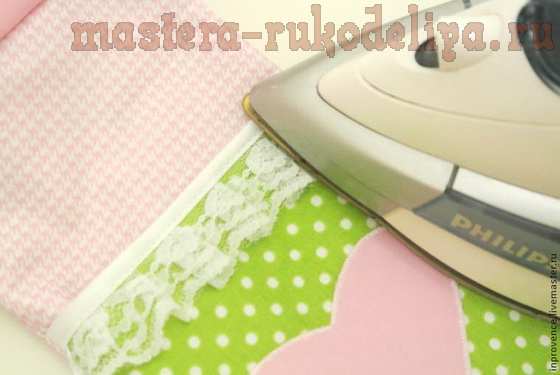
In order for our pockets in the finished product to keep the shape, I glue them tight soft Dublerin using iron.
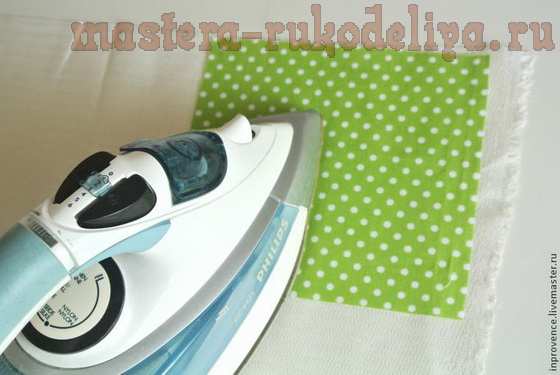
Getting to the decor of the first two holders. They will be with hearts. Because I desired tissue cut out 2 squares of about 10 to 10 cm and sealing their hard Dublerin.
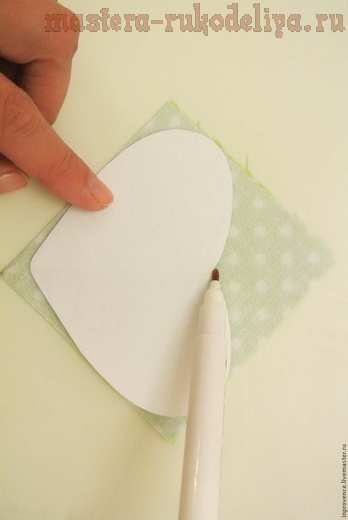
Then, I draw a heart pattern and translate it to the wrong side of the squares.
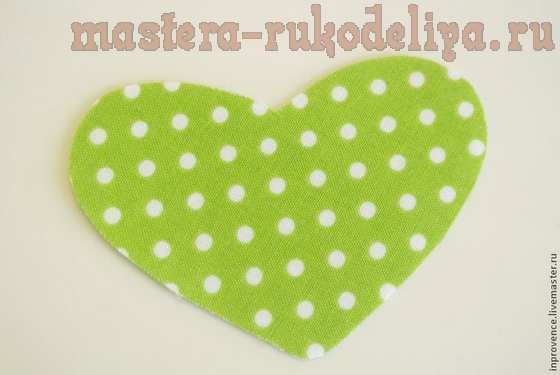
Cut hearts, and I get kind of application.
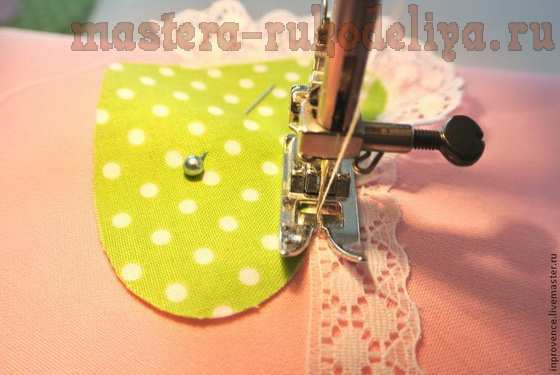
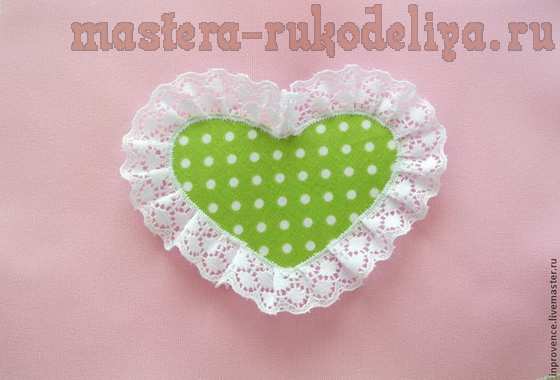
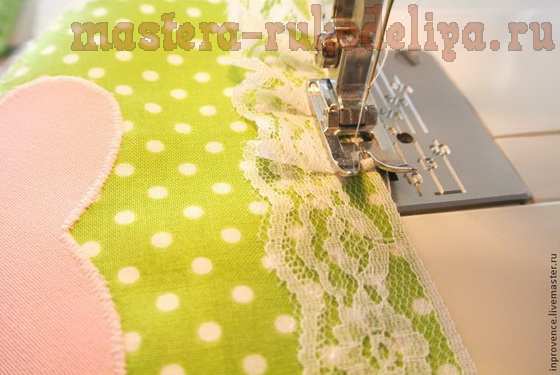
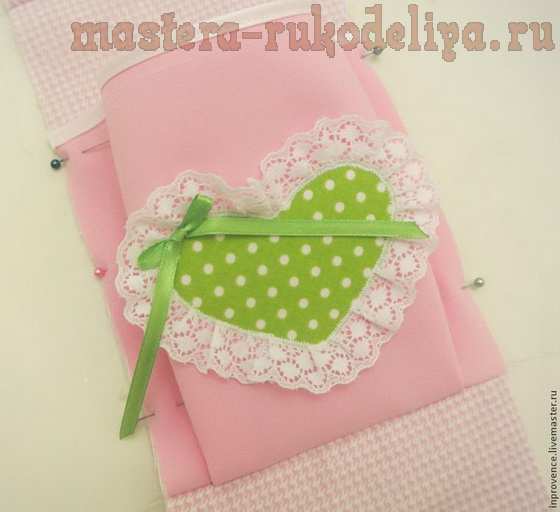
I put my heart right in the middle pocket and stabbed with a pin. Then I put a line on the zig-zag with a very small step and obmetochnym stitch sew heart to afford, while still pristrachivaya pleated lace. If you are a beginner or are not confident in their abilities, then you can first tack lace and only then stitched heart on a typewriter.
Here’s what I got:
Then I tie a small bow of green satin ribbon, burning the edges and sew by hand to the heart.
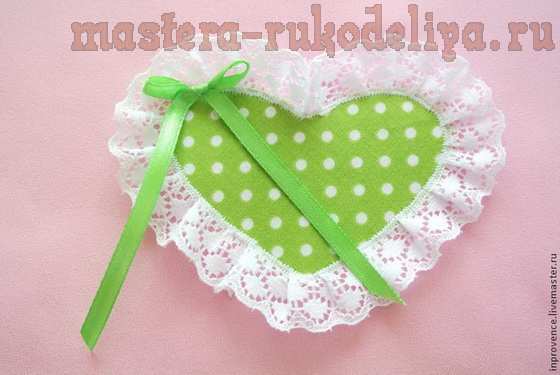
Edge will treat pockets, satin inlay on the bias.
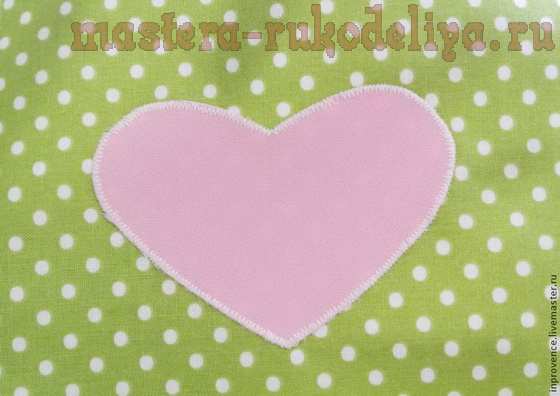
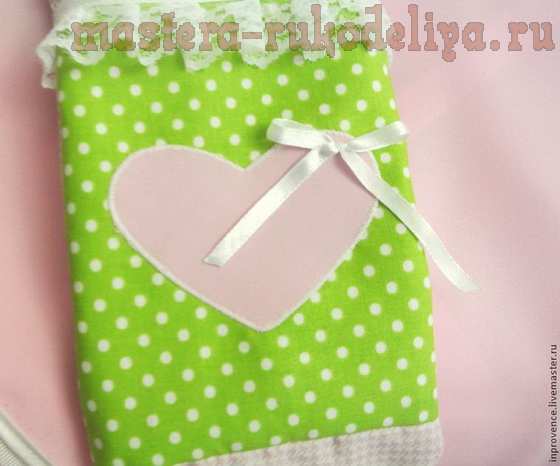
One pocket is ready. Getting to the second. Here a little easier, we just sew heart to the tissues without lace.
And that’s what we get:
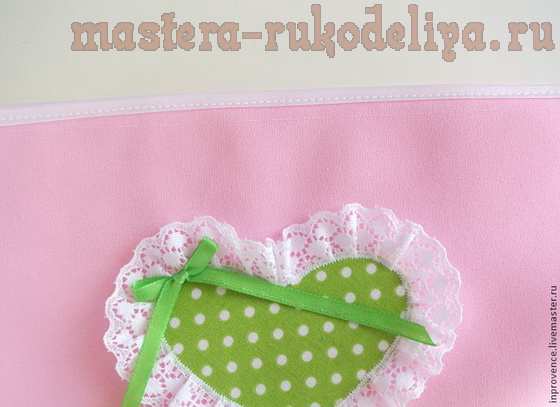
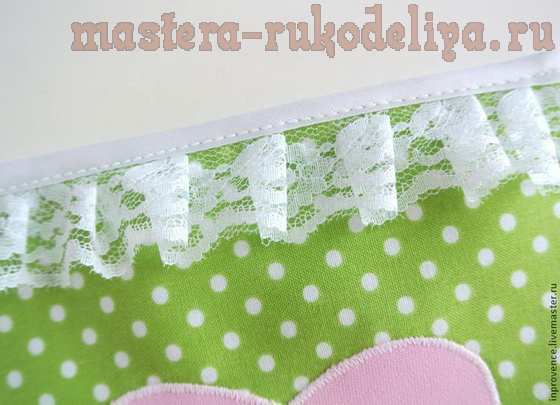
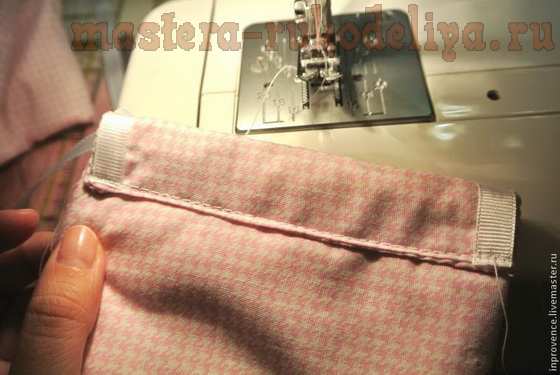
Next to the upper edge of the pocket sew lace, putting him in the fold.
And as close inlay cut on the bias.
That’s what we get:
Getting to the other pocket. To me it was easier, I put all the strips of fabric, lace and ribbons to approximately know which strips where to apply.
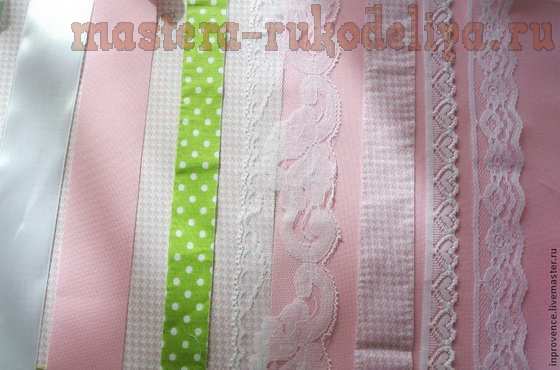
Previously I handled all sections of the strips under the serger
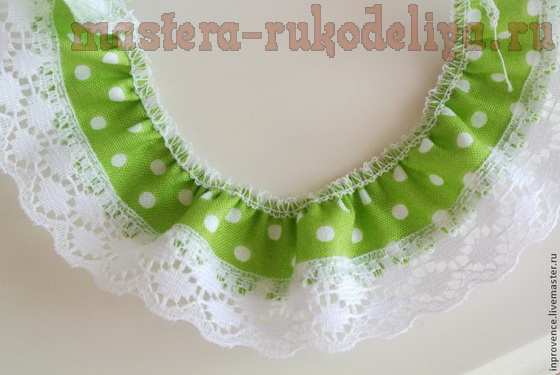
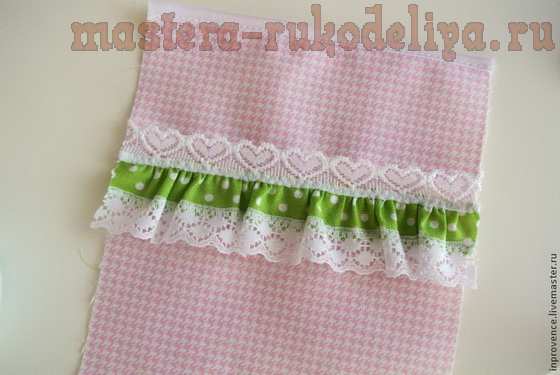
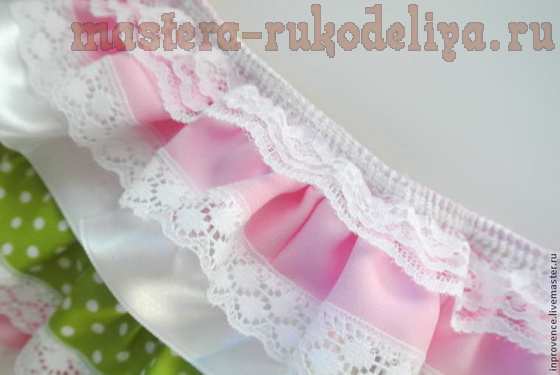
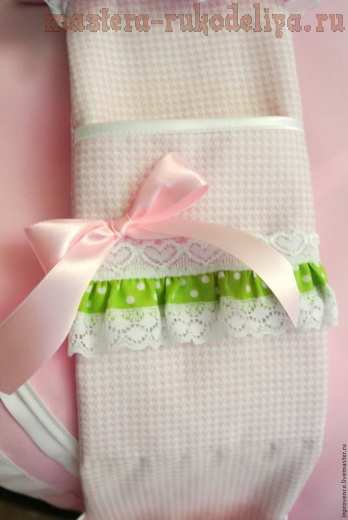
Getting to the third pocket. The treated green fabric strip length is twice the width of the pocket sew lace 0.5 cm from the edge.
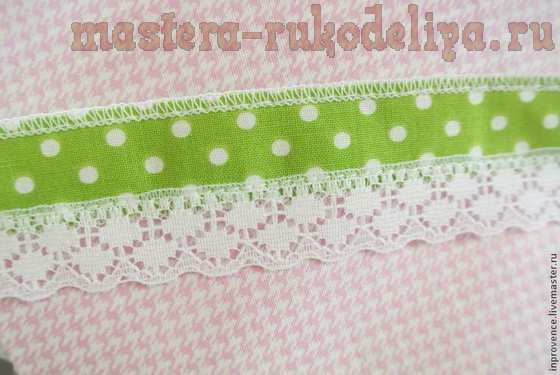
Then I collect r: first laid at a typewriter with a long line of steps, and then tighten to the desired length. This procedure I will make all stripes, so in the future I will omit it.
Sew stepping back from the edge of 0.5 cm.
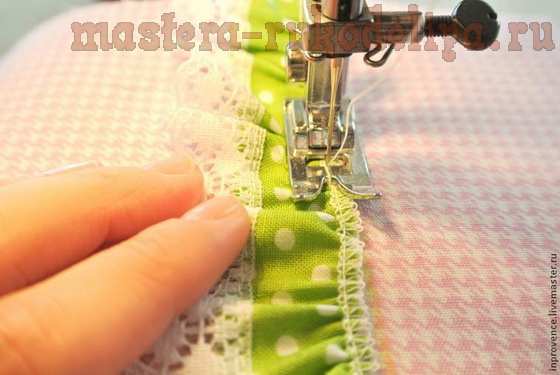
Over sew ruffles lace stitching zig-zag so as to cover the cut ruffles.
Handle inlay cut on the bias.
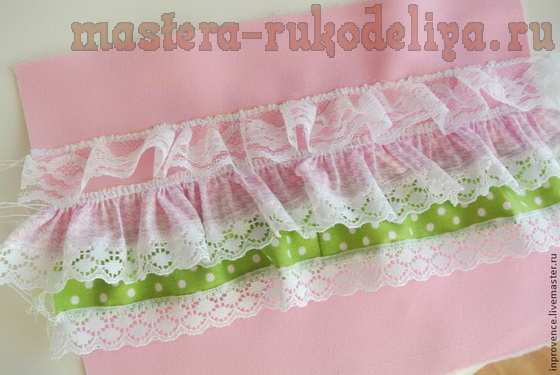
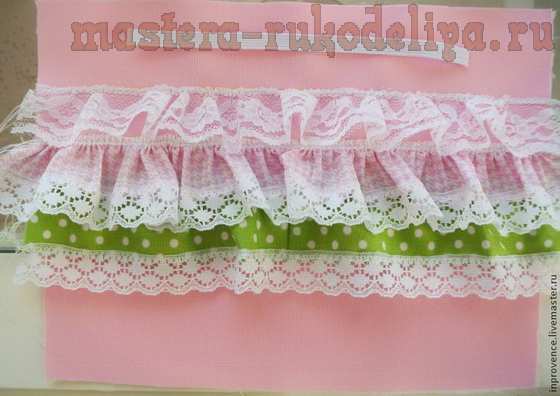
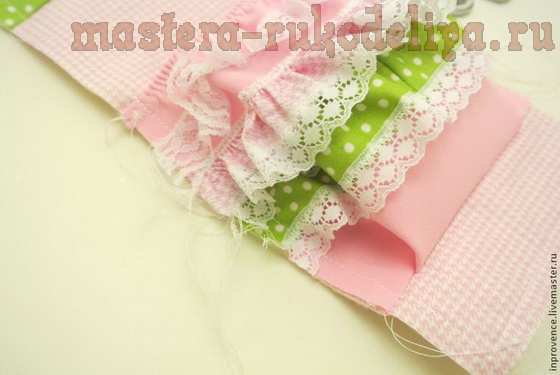
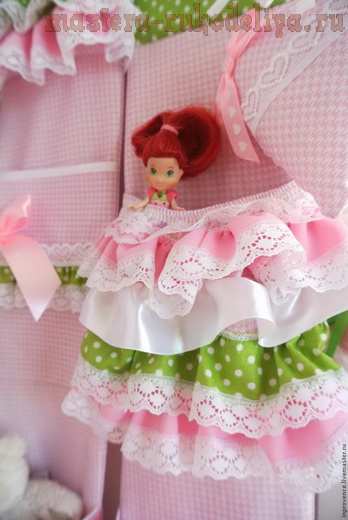
Getting the following two pockets. We produce the required number of frills and lace fabric.
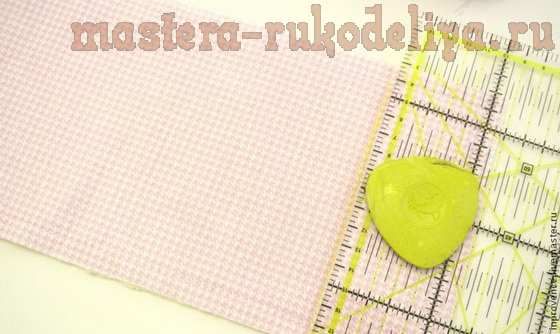
Next, using a ruler and chalk mark the band, which will be placed ruffles, depending on their width. The width of the strip mine was from 3 to 5 cm. Pay attention to the width of the strips should be such that each upper almost covers the upper edge of the bottom frill that was not visible place.
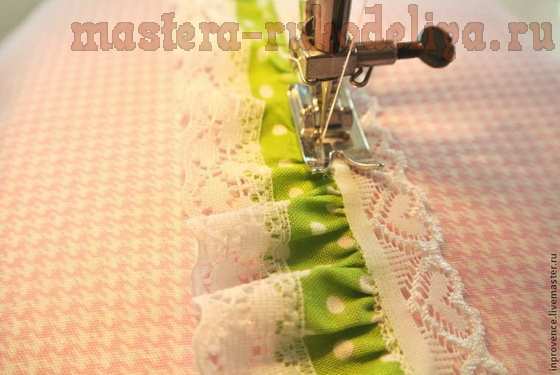
Sew ruffles, starting from the bottom.
In this pocket I kept away from the top 2 cm from the top of ruffles + 1.5, visit the hem edge.
Then cut the clothesline gum equal to the width of the organizer, ie 15 cm.
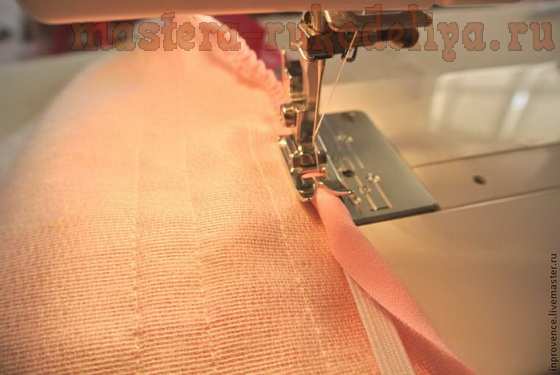
Close the elastic double hem and sew it zigzagged, pulling parallel.
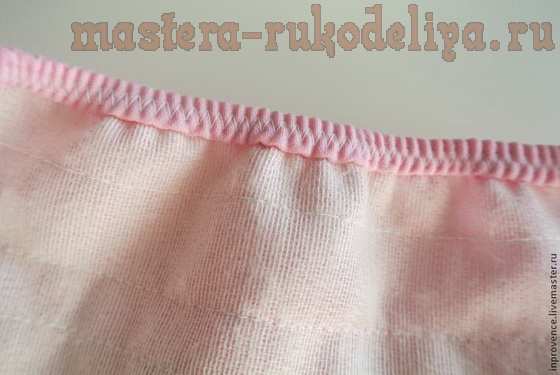
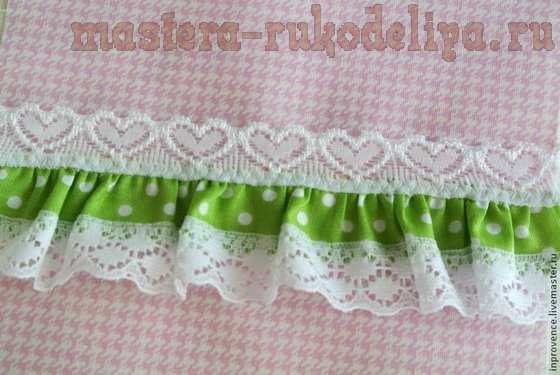
Ready pocket is gathered from above.

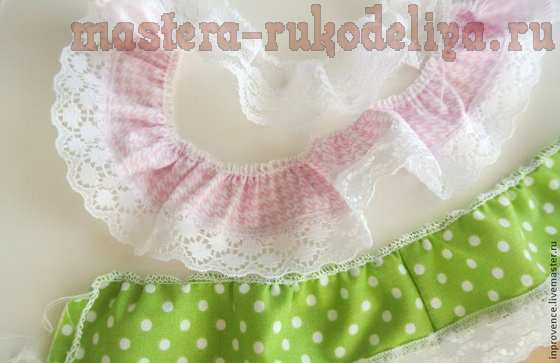
By the same principle we do a second pocket, but here I use a large number of bars and top stitched lace 1.5 cm from the edge in such a way that after the hem lace was on the edge of the pocket.
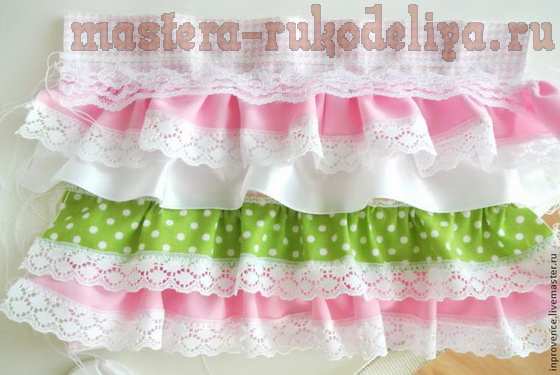
We sew the elastic exactly as in the previous one pocket. Only now we will have lace on the edge.
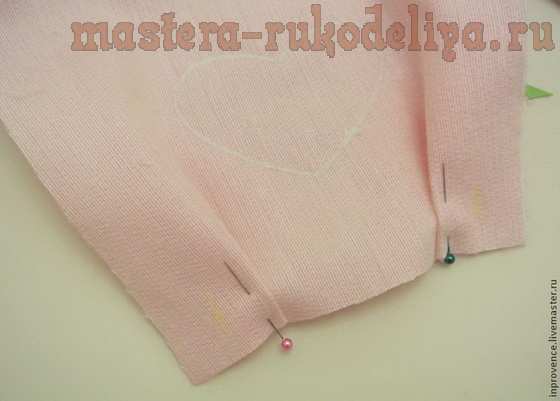
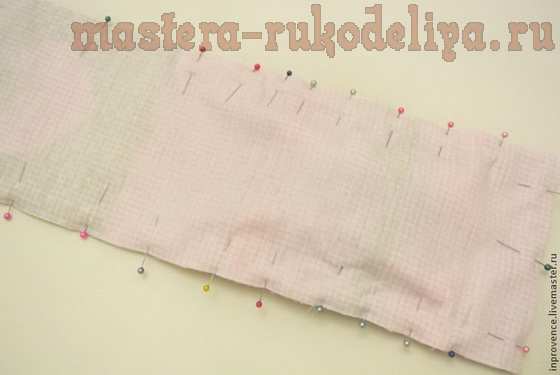
Well, all of our pockets ready. Now we take the basis of organizer pockets and decompose in the order that we like the most. The photo shows that there are pockets that are wider than the base.They need to be prepared.

To do this, stabs folds with pins, stepping back from the edges of the 2 cm. At the very crease I pledge to 4 cm on one side. This will be the volume of our pockets, it can do on your own a little more or less.
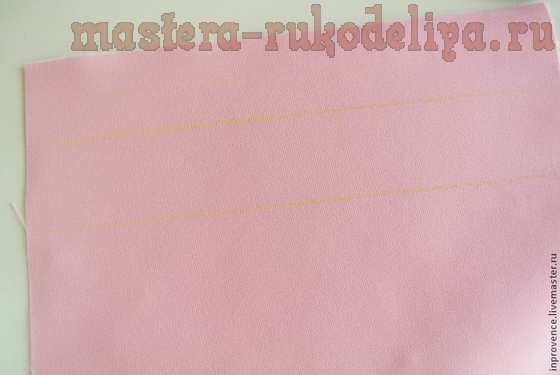
Then, based on lay off 5 equal portions and draw a line, which will be secured our pockets. I retreated from the bottom 5 cm and bases noted line at a distance of 23 cm from each other.
Applies the pockets to the selected strips treated edge downwards organizer vvezh underside.Stabbed with pins and sew pockets to the base, with an allowance of 1 cm.
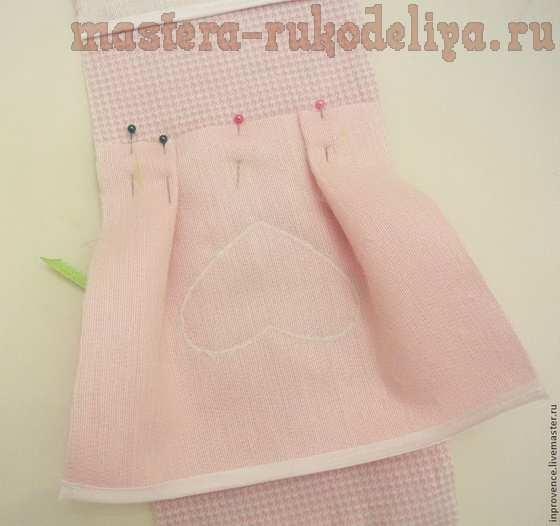
Then turn down pockets stitched into position, stabs edge pins and stitched by all organizer perimeter edge pockets.
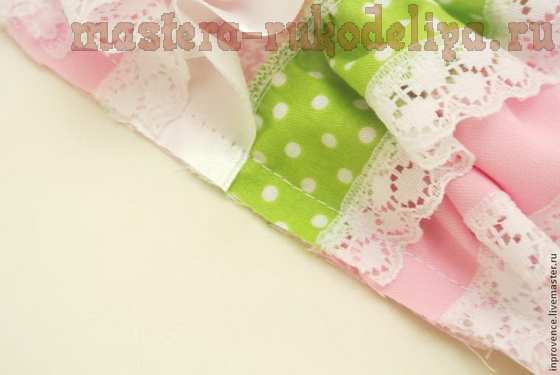
In pockets with ruffles trimmed with scissors cuts, sticking out from the sides.
Then take a second strip of cotton, puts her face to “face” the organizer and pinned down, most often fix the pins are the places where there are voluminous pockets. This stage requires accuracy, meticulously, the fabric should not move or stretch. The newly stitched by the organizer on the perimeter with an allowance of 1 cm, leaving the top edge for eversion.
Next wrenched organizer and sew up the top slice. Then sew ribbons rep, who will be suspended for the organizer, buckle edge and sew it
The resulting insert piece aluminum tube or rail, or thicker wire, or even the old line – all that you will have at your fingertips, it is pre-sawed off 12-cm length. A firm foundation is necessary for us to ensure that the organizer is not formed at the hanging.

Already ready organizer casts a critical eye, and add the necessary touches. I have this satin bows on the pockets. I wanted to add here.
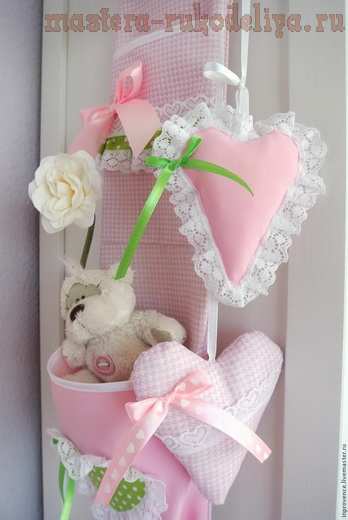
Ready organizer especially on the side folds pockets and enjoy the result!
For his pockets I sewed another textile hearts.
I hope you enjoyed the master class, and there are fans of the business who dare to repeat the feat with numerous bows and ruffles.