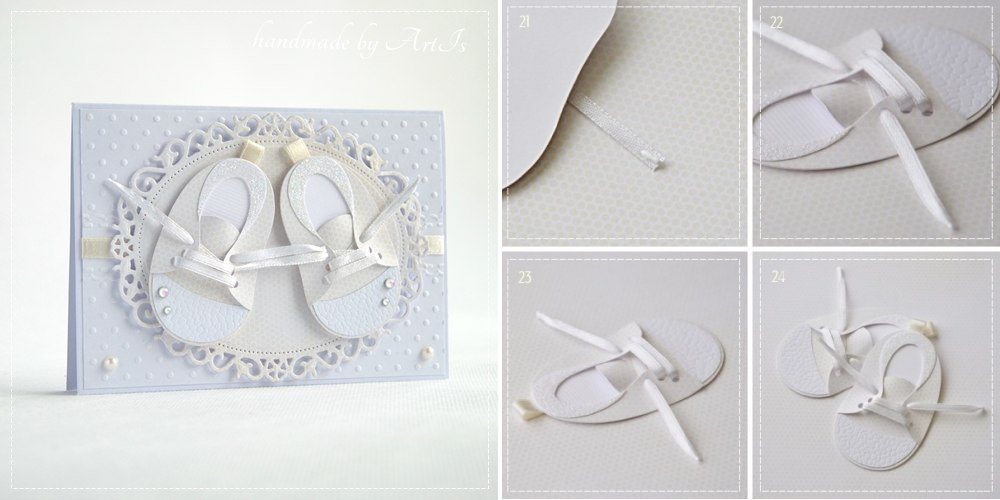
Posted onMay 16, 2017inBirthday, Ideas, Kids Corner, Tutorial DIY Handmade Newborn child’s birthday Card
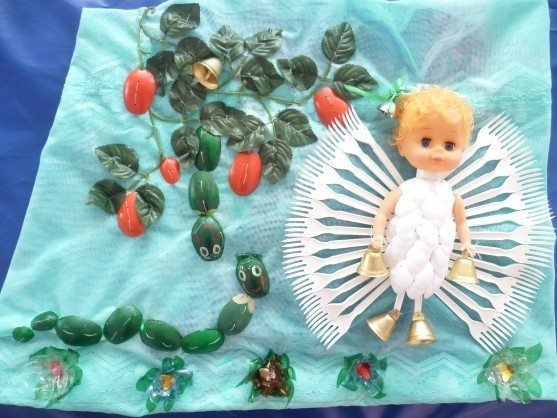
Posted onMarch 26, 2017inBest out of Waste, Kids Corner, Tutorial How to make angel of disposal spoons
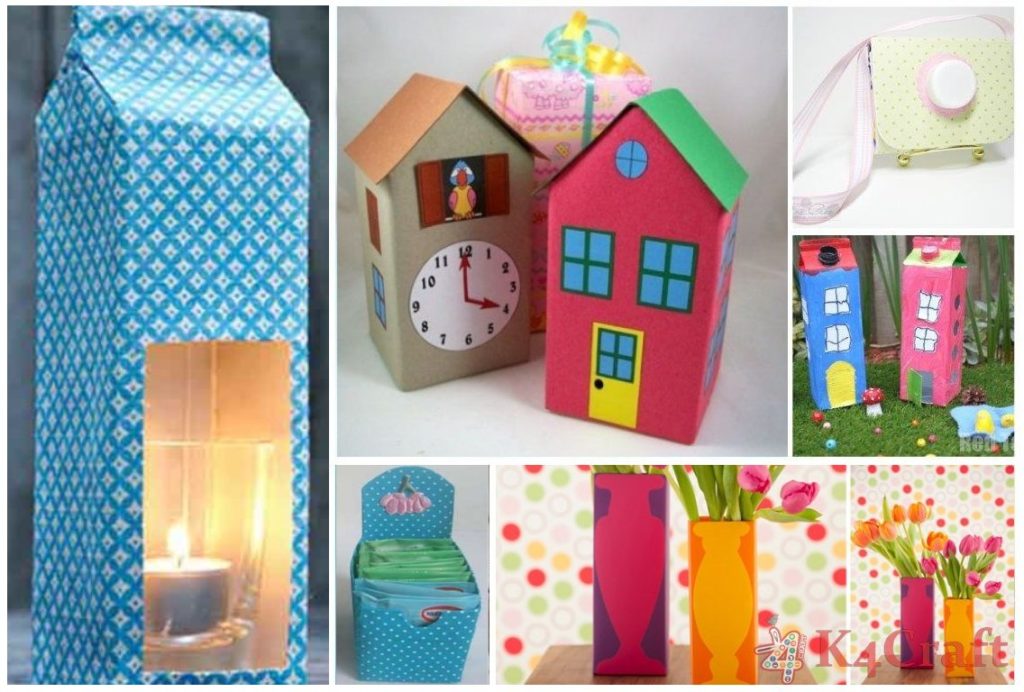
Posted onMarch 14, 2017March 14, 2017inBest out of Waste, Featured, Ideas, Kids Crafts, Video DIY Kids Crafts with Recycled Milk Cartons
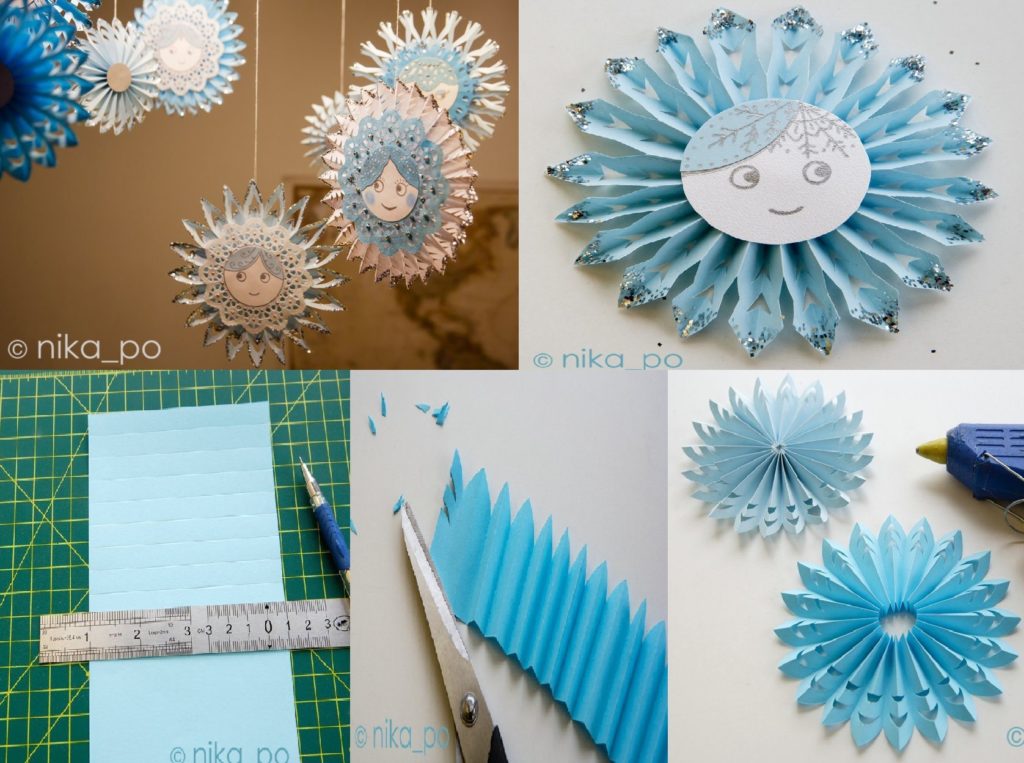
Posted onFebruary 24, 2017inDIY, Kids Crafts, Paper Crafts, Step by step, Tutorial DIY: Beautiful Snowflakes-Socket
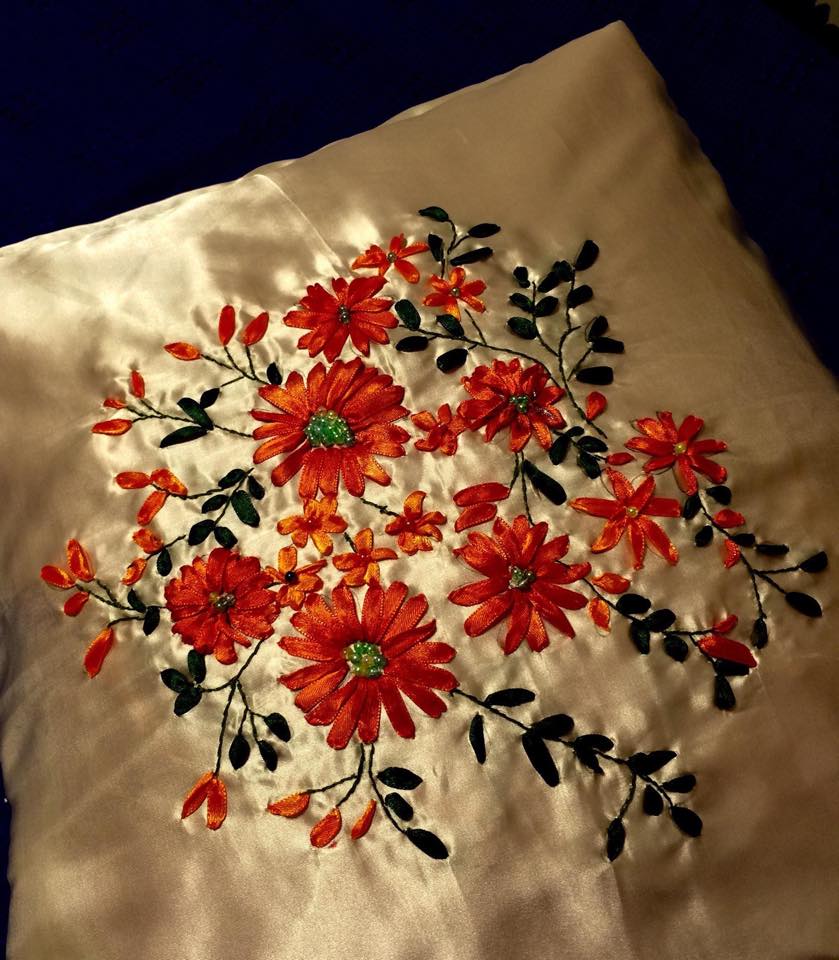
Posted onFebruary 21, 2017November 19, 2022inEmbroidery And Sewing, Step by step, Tutorial Ribbon embroidery Step By Step Image Tutorial
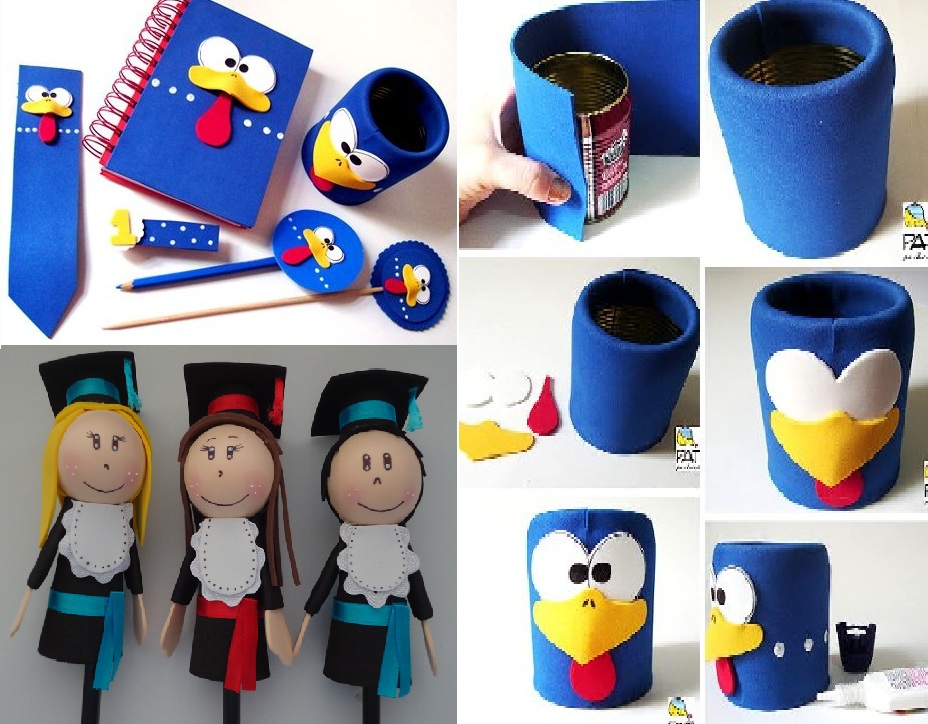
Posted onFebruary 19, 2017inDIY, Ideas, Kids Crafts, Step by step, Tutorial 20 Handicrafts for Back to School with EVA
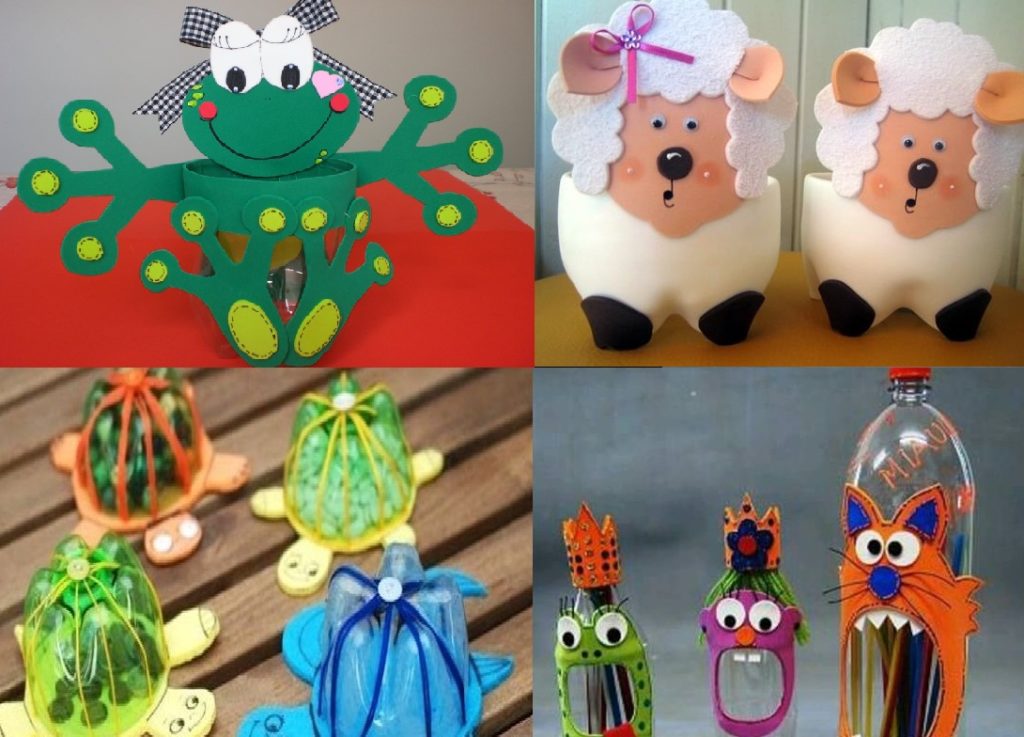
Posted onFebruary 18, 2017inBest out of Waste, DIY, Ideas, Kids Crafts 22 crafts made with EVA and Plastic bottle