Posted onFebruary 25, 2017April 24, 2018inBest out of Waste, DIY, Kids Crafts, Step by step, Tutorial, Valentine’s Day DIY: Hearts from waste material
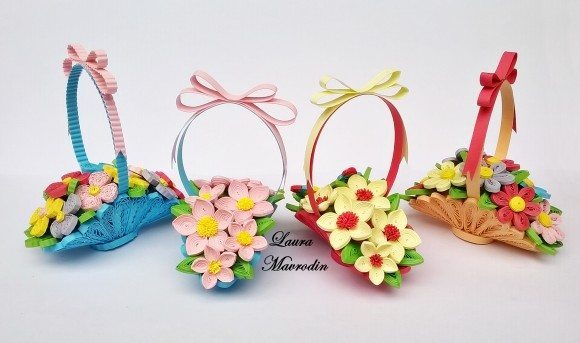
Posted onFebruary 24, 2017February 25, 2017inDIY, Quilling, Step by step, Tutorial How to make quilling basket of flowers bouquets
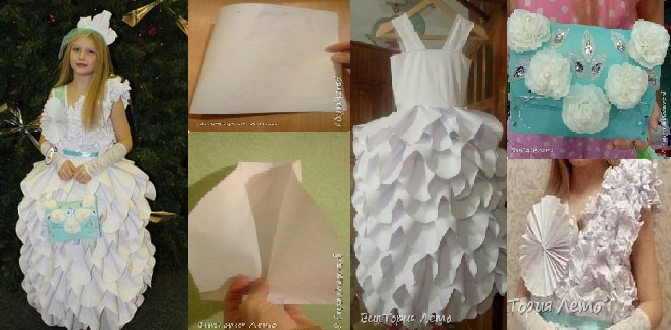
Posted onFebruary 24, 2017inBest out of Waste, Clothing, DIY, Kids Crafts, Step by step, Tutorial Handmade paper frock for fancy dress competition
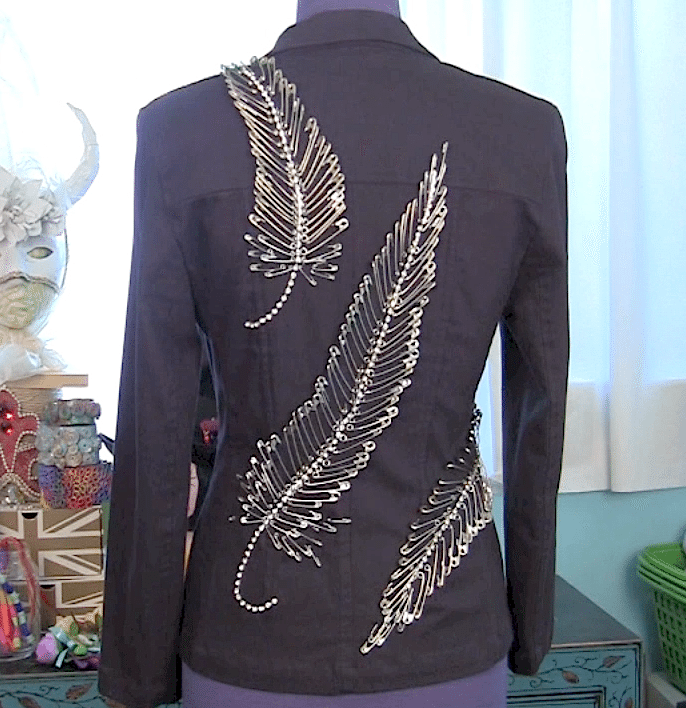
Posted onFebruary 22, 2017inBest out of Waste, Clothing, Step by step, Tutorial DIY: Safety pin feather jacket
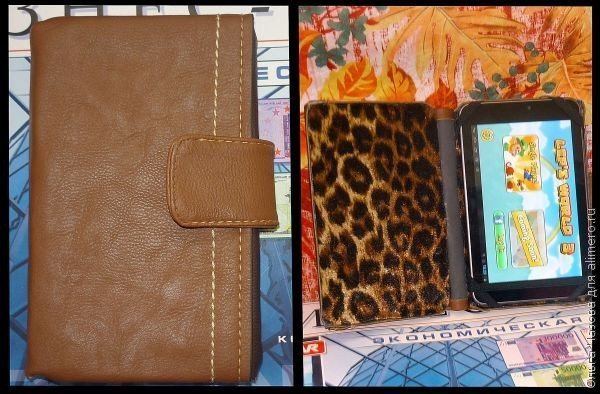
Posted onFebruary 22, 2017inCardboard Crafts, DIY, Step by step, Tutorial How to make case book tablet
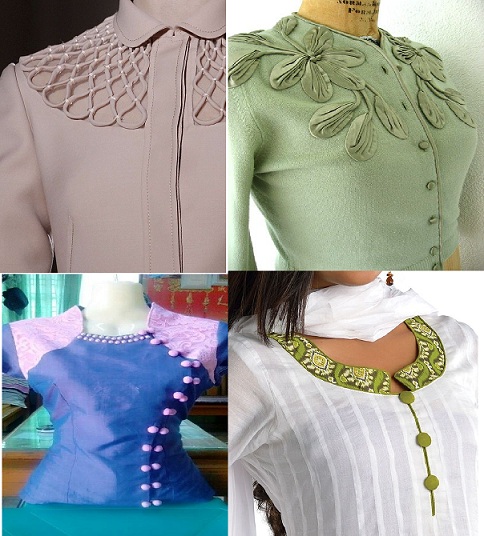
Posted onFebruary 22, 2017February 23, 2017inClothing, Ideas, Patchwork Crafts Different Types Of Kurta Neck Designs
Posted onFebruary 22, 2017inBest out of Waste, DIY, Step by step, Tutorial Toilet Roll Mini Album Tutorial
Posted onFebruary 21, 2017inBirthday, DIY, Step by step, Tutorial A Square around mini scrapbook step by step
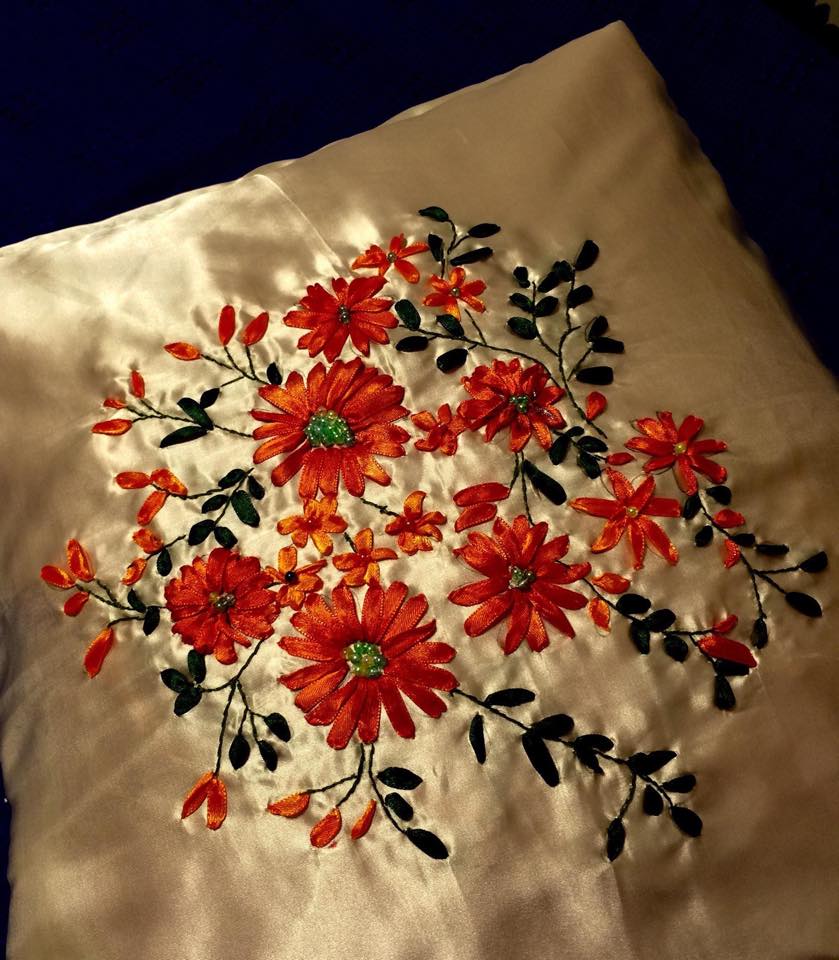
Posted onFebruary 21, 2017November 19, 2022inEmbroidery And Sewing, Step by step, Tutorial Ribbon embroidery Step By Step Image Tutorial