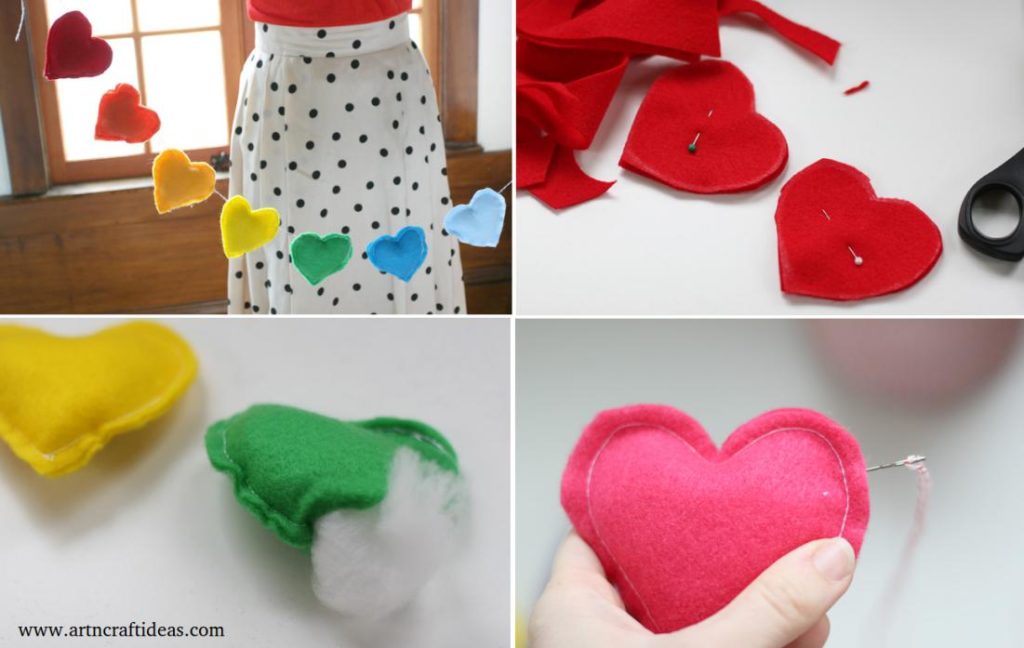
Posted onJuly 17, 2017inCelebrations, Decorations, DIY, Home Decor, Tutorial, Valentine’s Day DIY: Valentine’s Day Rainbow Banner
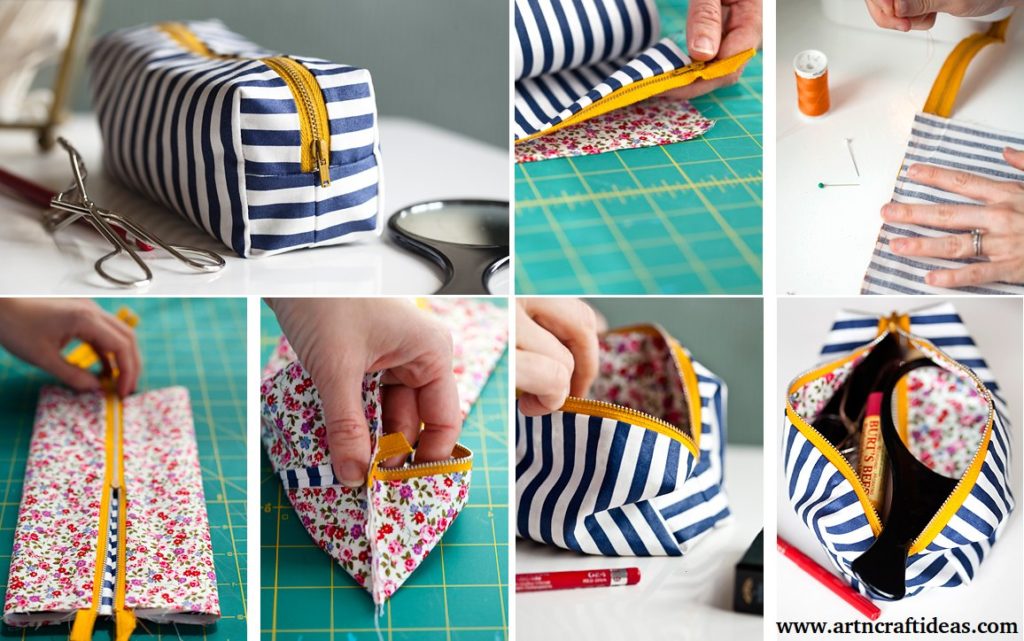
Posted onJuly 17, 2017inClothing, DIY, Fashion, Tutorial DIY Tutorial: Make Your Own Mini Boxy Makeup Bag
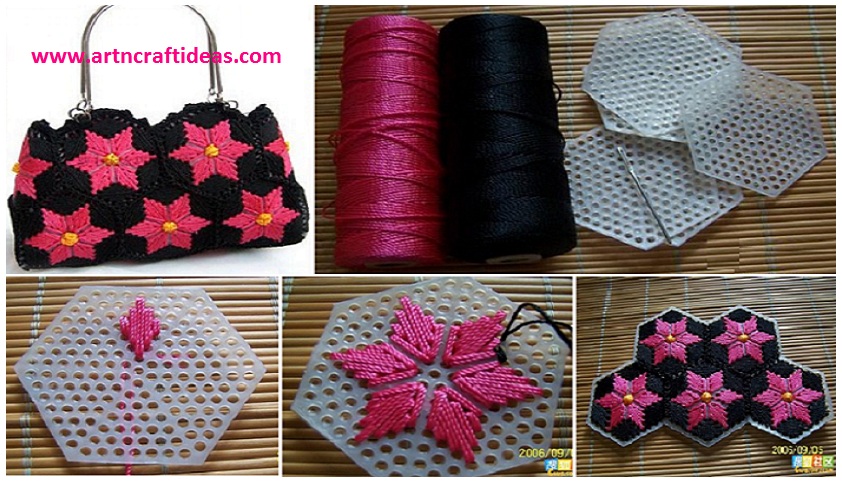
Posted onJuly 10, 2017July 10, 2017inDIY, Fashion, Tutorial How to Make Pretty Hand Bag from Stitch on Plastic Canvas
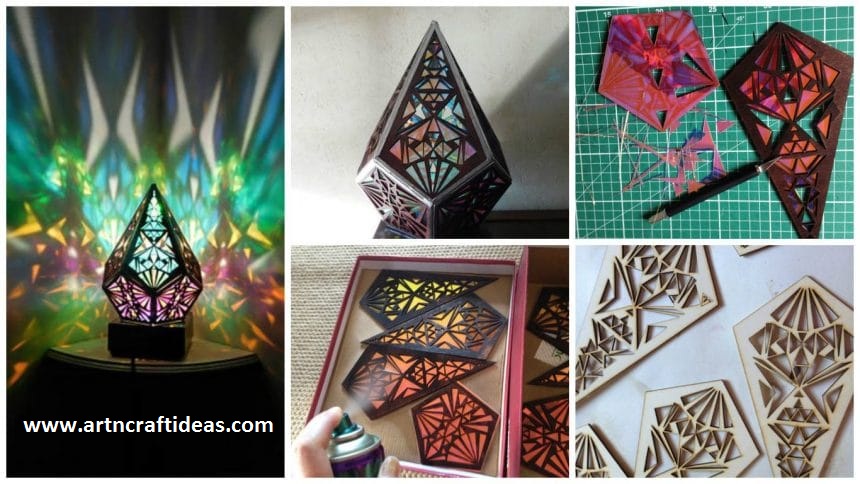
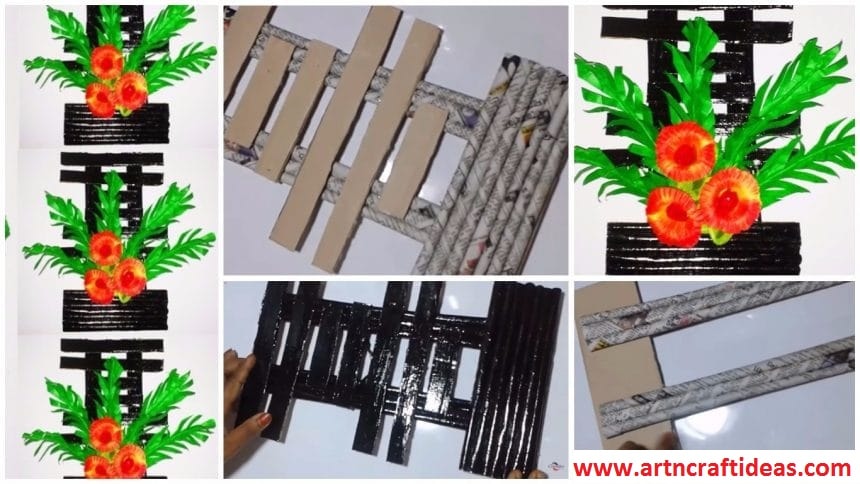
Posted onJuly 6, 2017inBest out of Waste, Craft, Home Decor, Newspaper Crafts, Tutorial How to Make Handmade Newspaper Wall Hanging
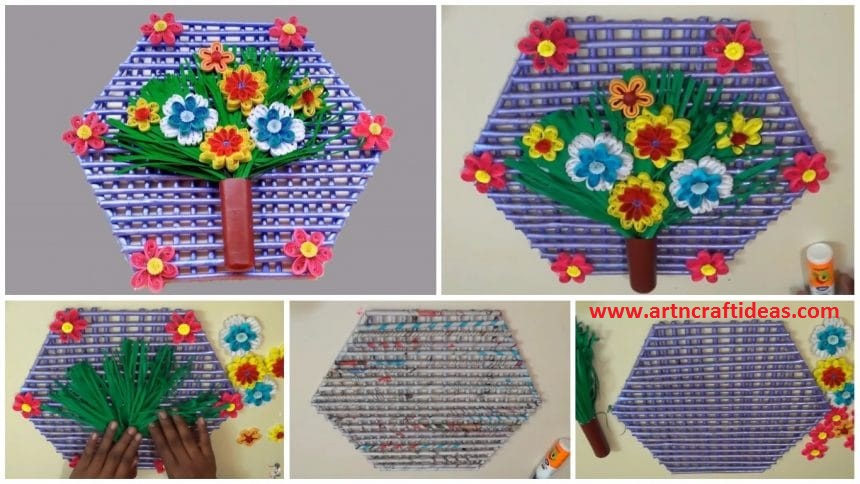
Posted onJuly 6, 2017inBest out of Waste, Craft, Newspaper Crafts, Quilling, Tutorial Paper quilling wall hanging design for room decoration
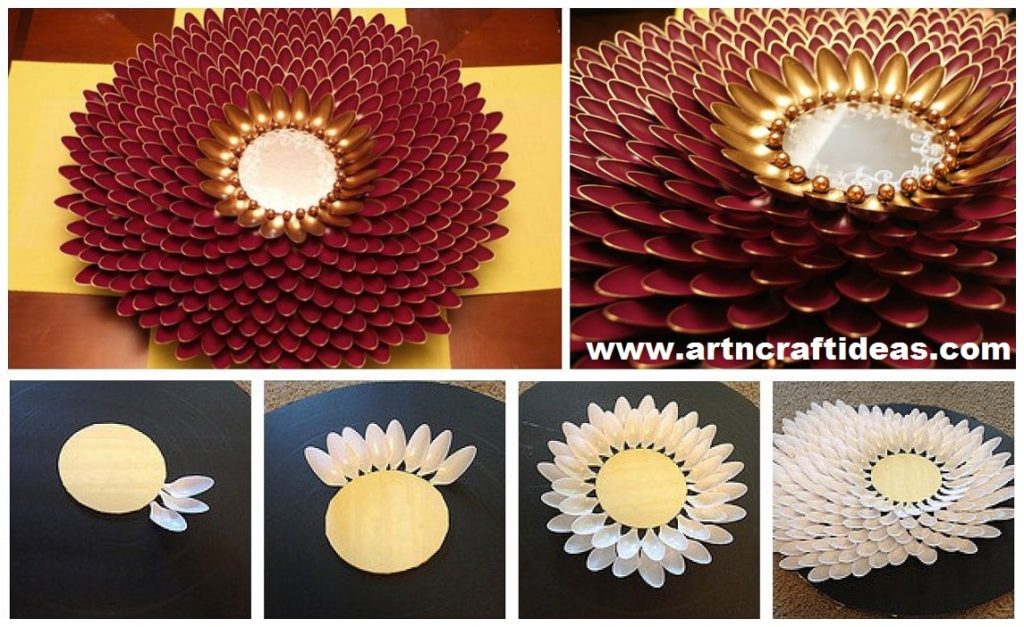
Posted onJuly 1, 2017July 1, 2017inBest out of Waste, Craft, Home Decor, Tutorial How to Make Beautiful And Easy Spoon Sunflower