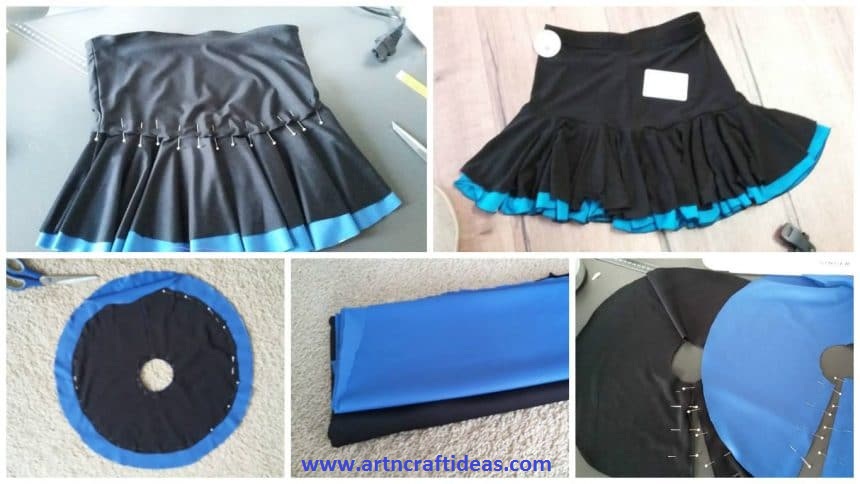
Posted onJuly 8, 2017inClothing, Embroidery And Sewing, Tutorial How to Sew Two-layer Latin Dance Skirt
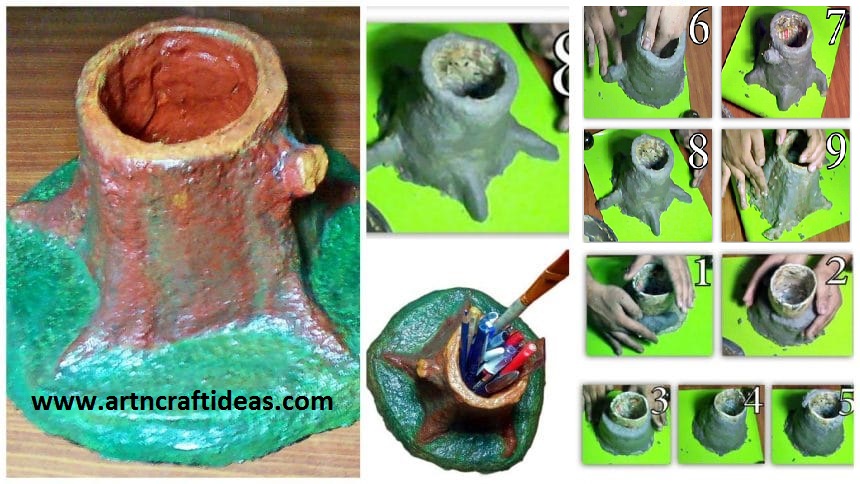
Posted onJuly 8, 2017July 8, 2017inBest out of Waste, Craft, Newspaper Crafts, Tutorial, Video DIY: Handmade Paper Mache Pencil Holder
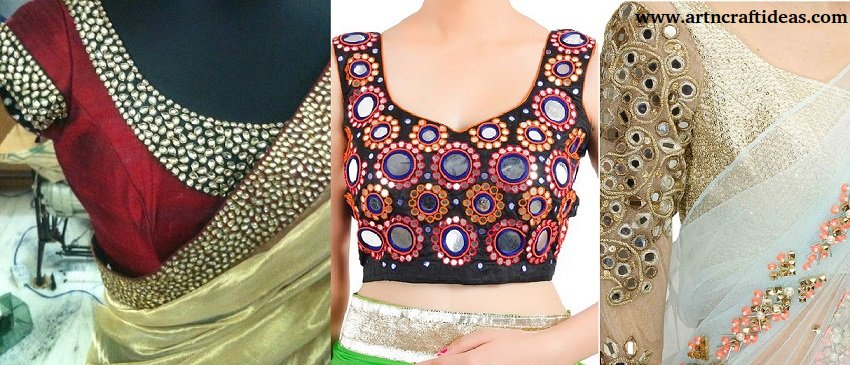
Posted onJuly 8, 2017inClothing, Fashion, Ideas Most Popular Embroidered Sarees Blouses Trends for Women
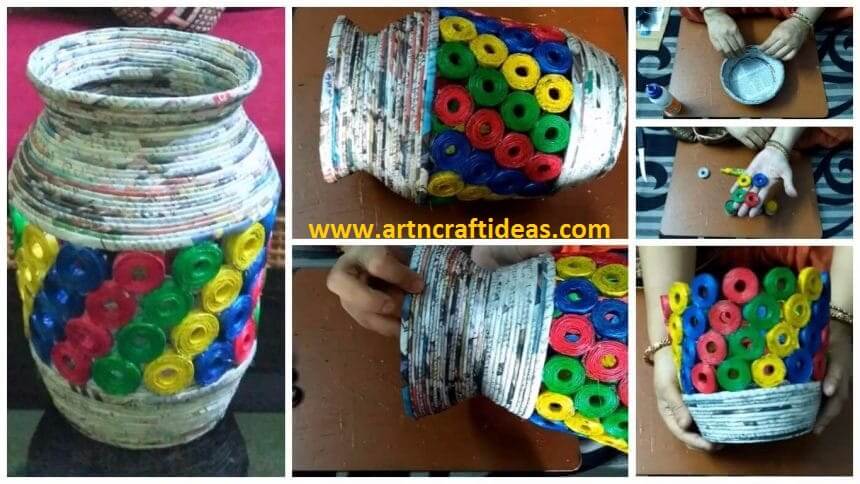
Posted onJuly 8, 2017inBest out of Waste, Craft, Newspaper Crafts, Tutorial How to make a newspaper tubes jar or vase
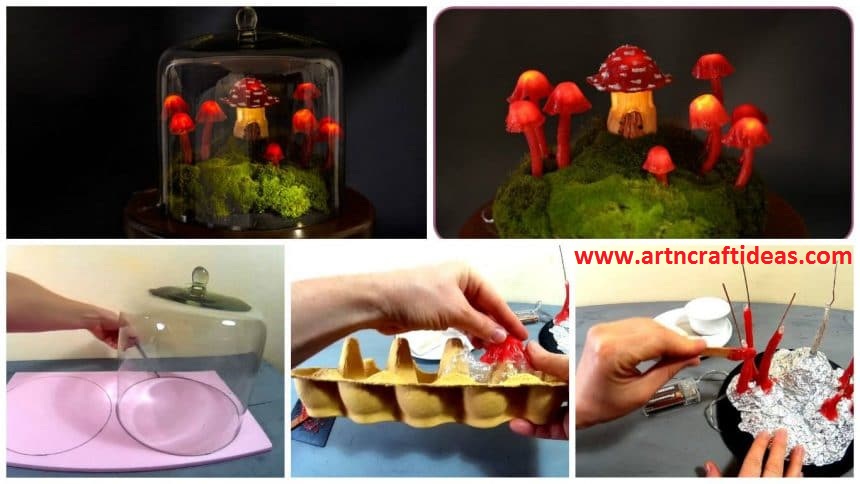
Posted onJuly 8, 2017inCraft, DIY, Home Decor, Tutorial DIY Miniature Fairy Garden Terrarium – Enchanted Mushroom Lights
Posted onJuly 8, 2017inClothing, Fashion, Ideas, Wedding BEAUTIFUL LEHENGA DESIGNS THAT ARE KILLING IT IN 2017
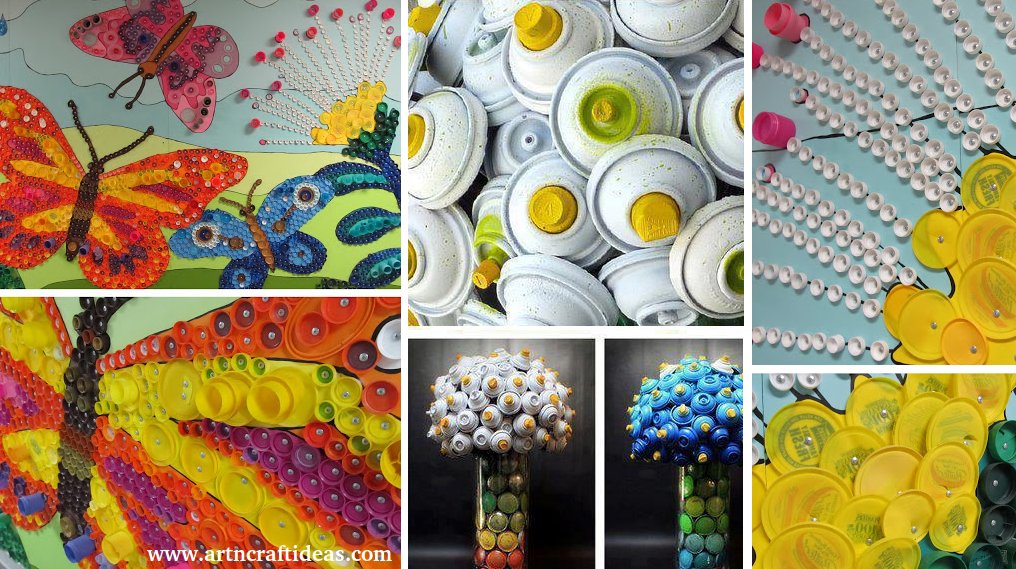
Posted onJuly 7, 2017July 7, 2017inBest out of Waste, Ideas, Kids Activities KIDS CRAFT: Artistic Ways to Recycle Bottle Caps
Posted onJuly 7, 2017inDIY, Fashion, Jewellery, Tutorial DIY Silicone Transparent Floral Bracelet Tutorial