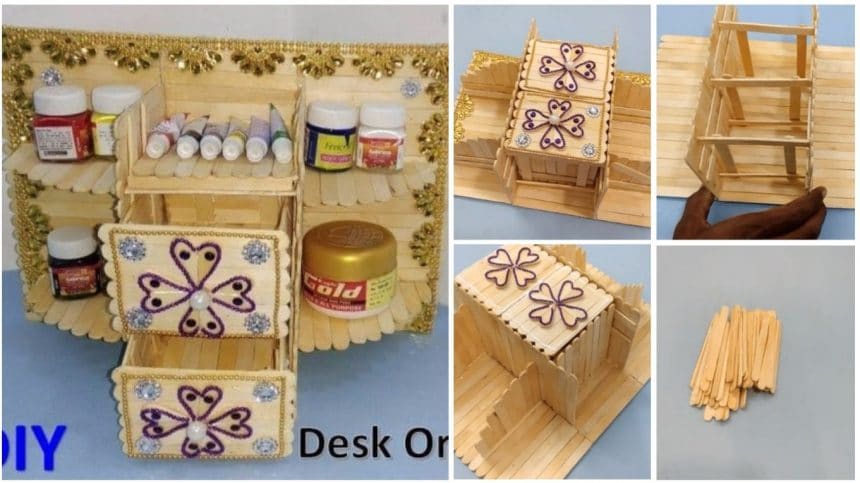
Posted onOctober 31, 2017inCraft, DIY, Tutorial, Video How to Make Desk Organizer from Ice Cream Stick
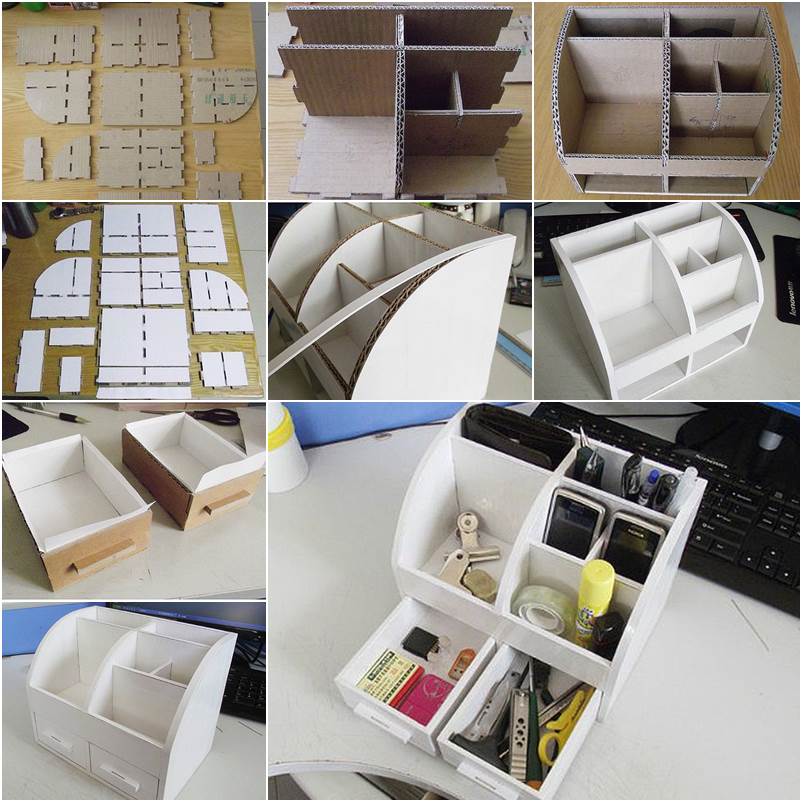
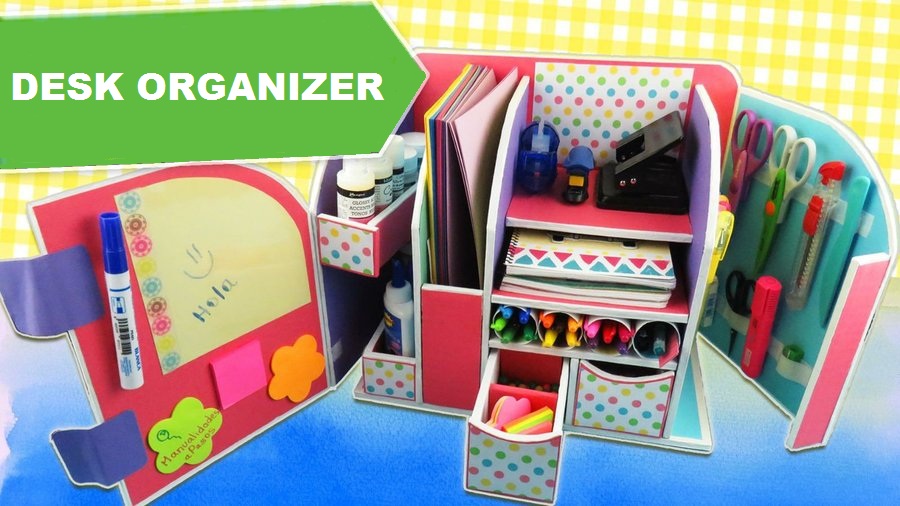
Posted onJuly 5, 2017inBest out of Waste, Cardboard Crafts, DIY, Tutorial DIY Cardboard Desk Organizer with Drawers (AFFORDABLE)
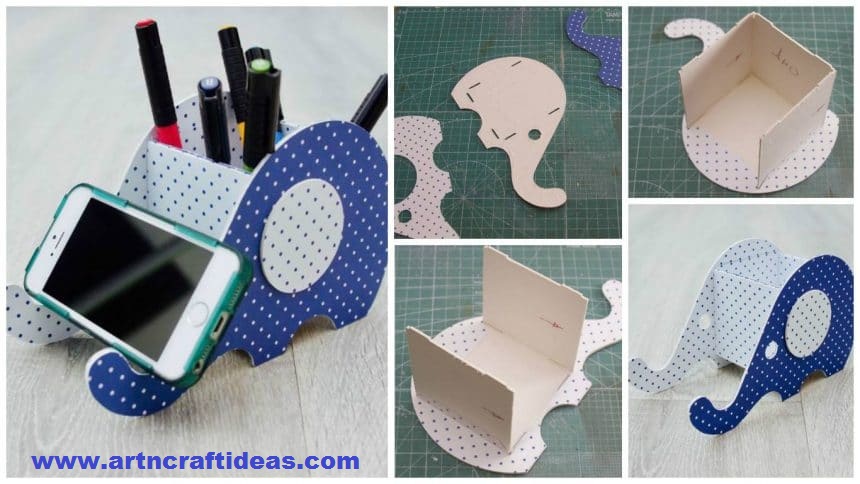
Posted onJuly 2, 2017inBest out of Waste, Cardboard Crafts, Craft, Paper Crafts, Step by step, Tutorial How to make paper and cardboard stand-organizer “Elephant” for the tablet
Posted onJune 20, 2017inBest out of Waste, Cardboard Crafts, Craft, Tutorial How to Make Cardboard Mega Organizer
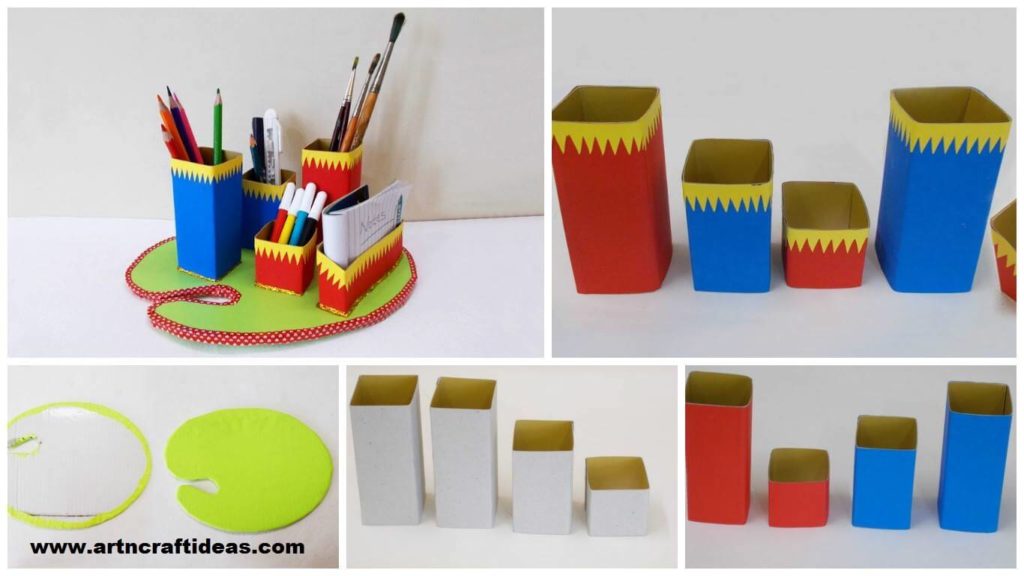
Posted onJune 11, 2017inBest out of Waste, Cardboard Crafts, Craft, DIY, Tutorial How to Make DIY Desk Organizer
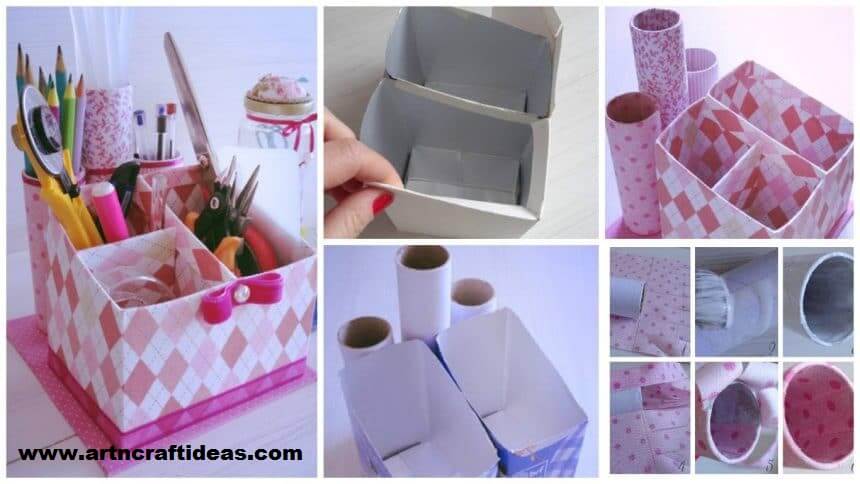
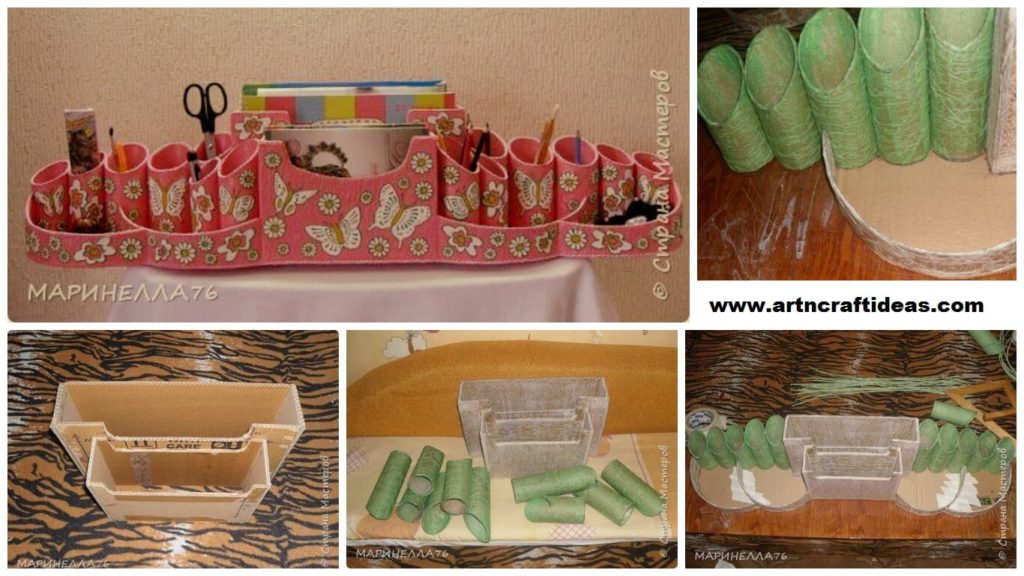
Posted onFebruary 20, 2017February 20, 2017inBest out of Waste, Cardboard Crafts, DIY, Featured, Step by step, Tutorial DIY: Beautiful Desk Organizer from Cardboard