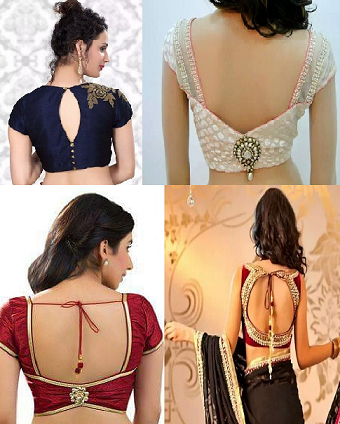
Posted onMarch 4, 2017March 4, 2017inClothing, Featured, Ideas 15 Latest Blouse Back Neck Designs Patterns
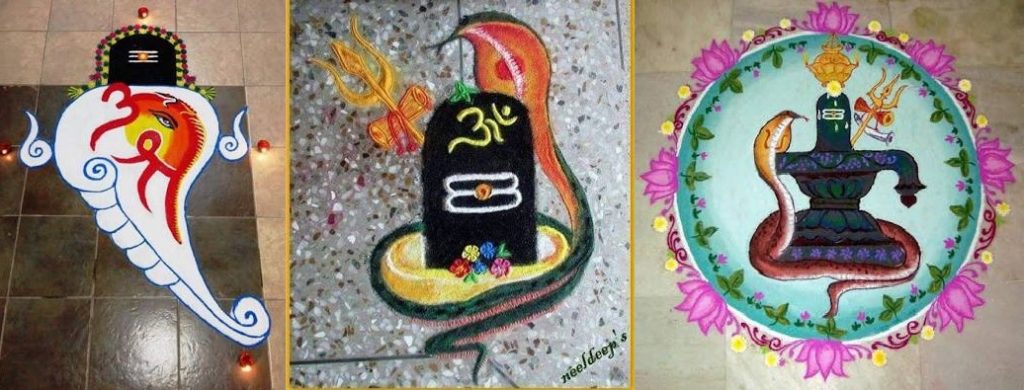
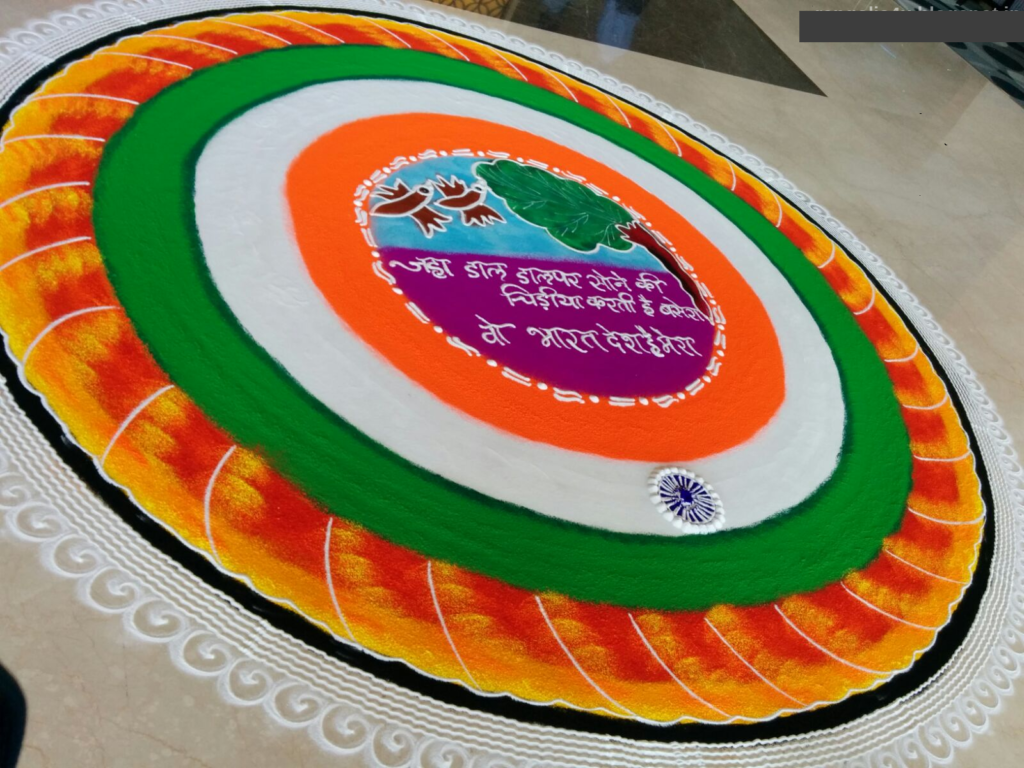
Posted onFebruary 23, 2017February 23, 2017inFeatured, Ideas, Rangoli, Shivaratri Shivaratri Rangoli Designs
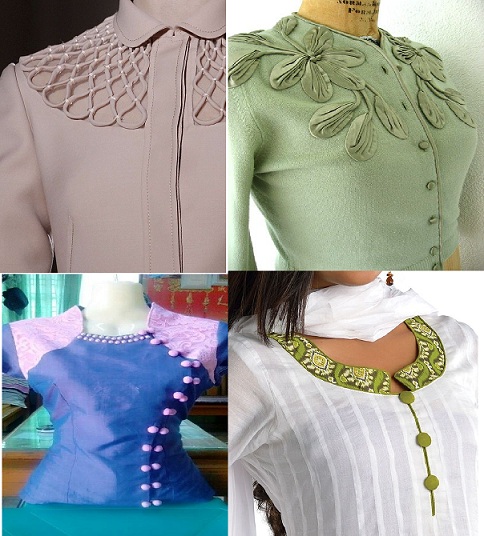
Posted onFebruary 22, 2017February 23, 2017inClothing, Ideas, Patchwork Crafts Different Types Of Kurta Neck Designs
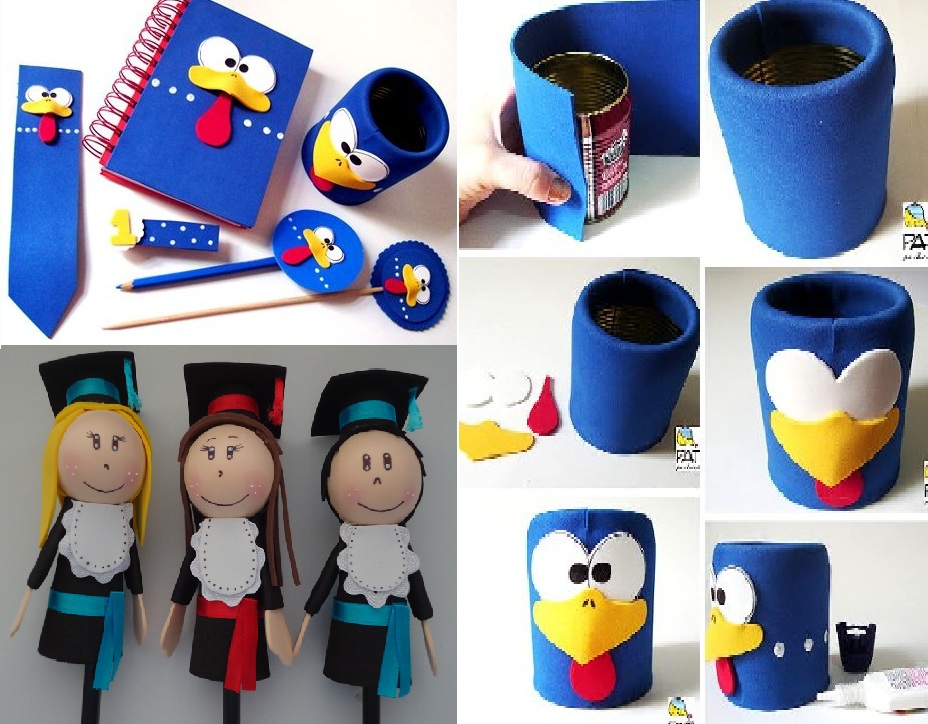
Posted onFebruary 19, 2017inDIY, Ideas, Kids Crafts, Step by step, Tutorial 20 Handicrafts for Back to School with EVA
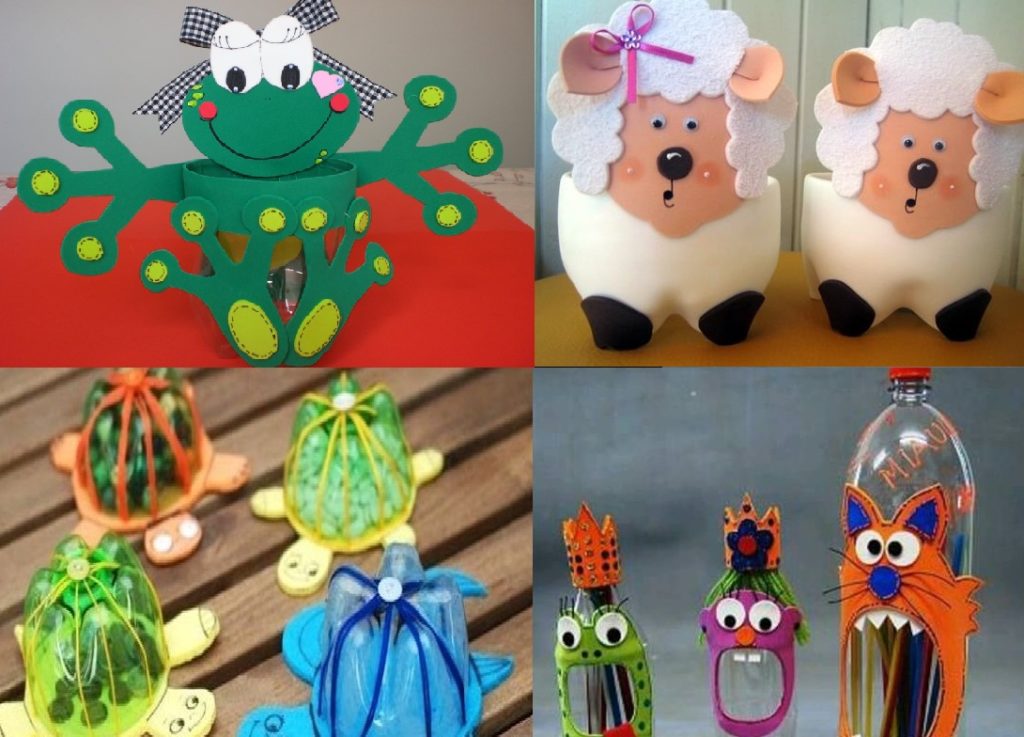
Posted onFebruary 18, 2017inBest out of Waste, DIY, Ideas, Kids Crafts 22 crafts made with EVA and Plastic bottle
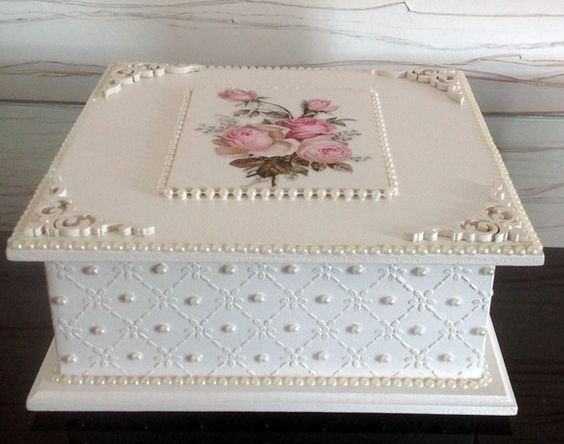
Posted onFebruary 15, 2017inBest out of Waste, DIY, Home Decor, Ideas, Step by step, Tutorial Beautiful Craft Ideas with MDF Box
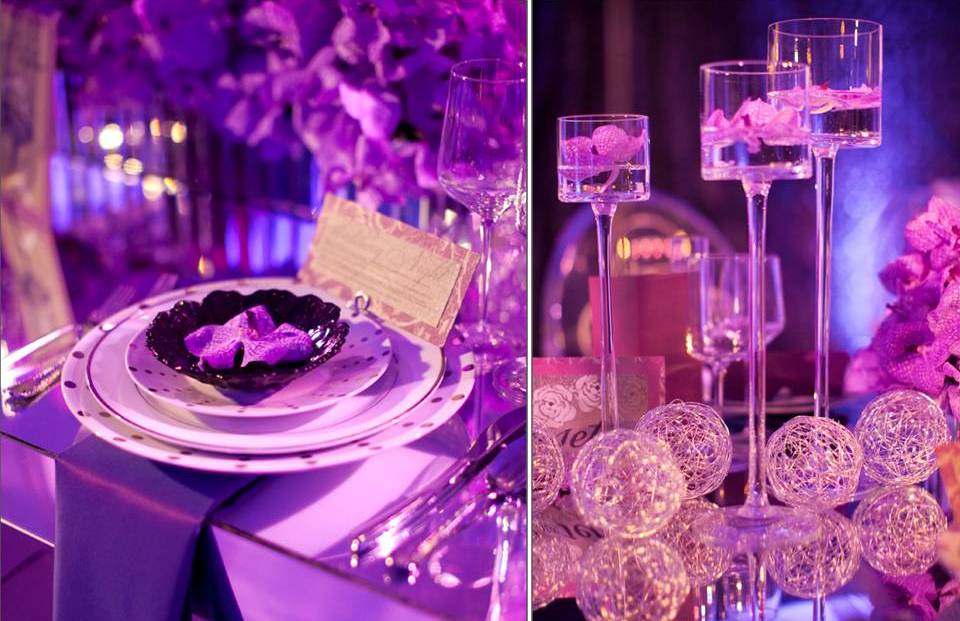
Posted onJanuary 21, 2017inDecorations, DIY, Ideas, Wedding 15 Elagant Wedding Reception Centerpieces Ideas
Posted onJanuary 13, 2017March 13, 2017inDIY, Home Decor, Ideas, Step by step How to make fabulous night lamp
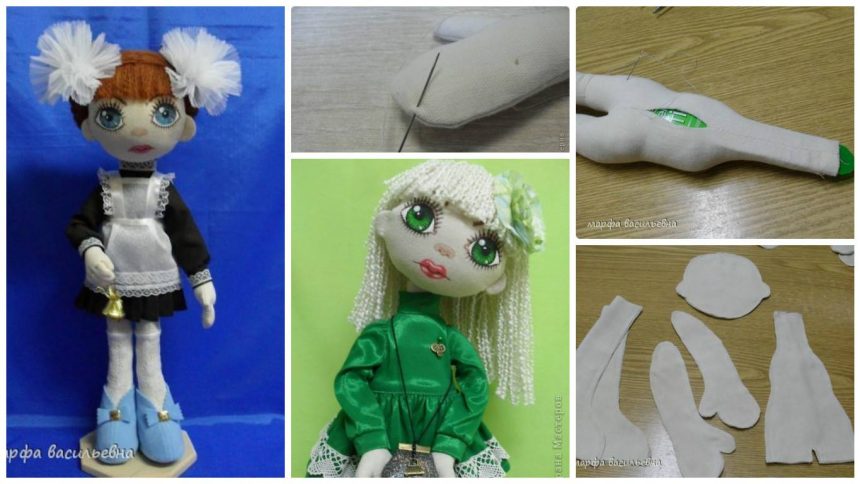
Posted onJanuary 12, 2017March 13, 2017inBest out of Waste, Ideas, Tutorial How to make cute textile doll