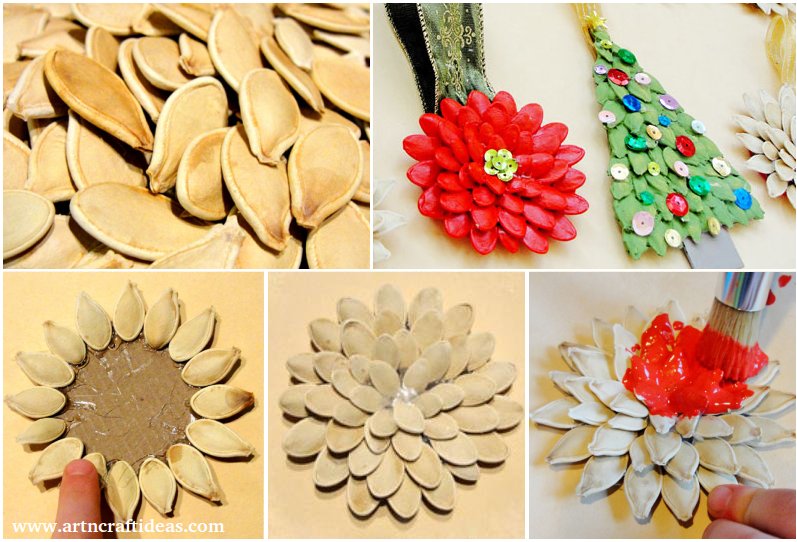
It’s been a busy fall for us so I’m just now getting this post out after working on these pumpkin seed ornaments for over a month. Better late than never! We hoarded pumpkin seeds from Halloween, washed and toasted them, then they sat dry in a bowl on our kitchen counter for almost two months waiting to be turned into Christmas ornaments. Finally we finished them this week and they were worth the wait. For this project you’ll need pumpkin seeds, cardboard, colored felt, a hot glue gun, ribbons, scissors and decorations for the flowers and trees, if you decide to make those too.
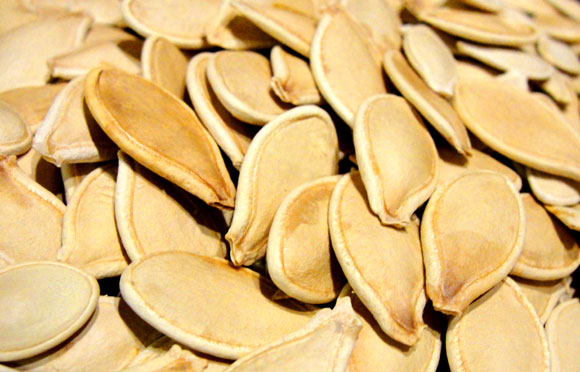
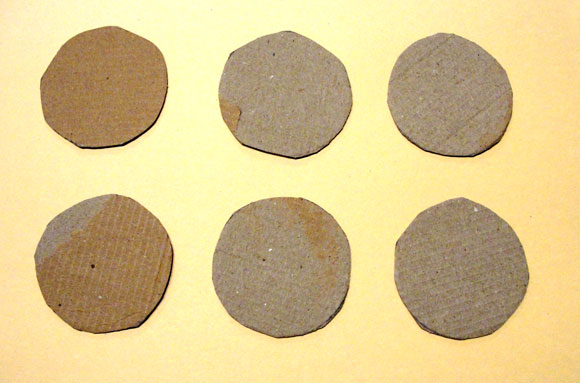
Use a pen to trace circles around the bottom of a cup (on top of cardboard) for the base of the flowers, then cut them out.
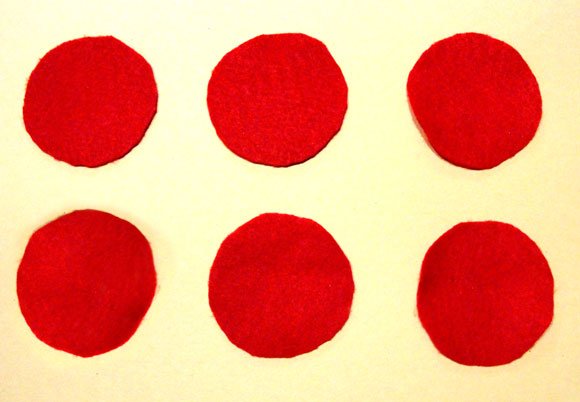
Use the same cup to trace circles on felt and cut them out as well.
Use a hot glue gun to glue the seeds around the edges of the cardboard as seen below.
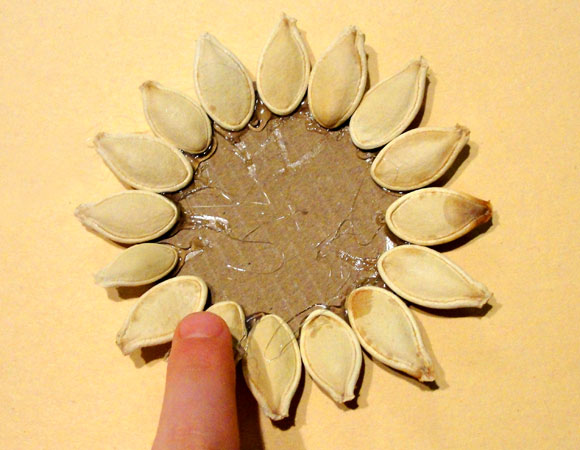
You can alter the orientation of the seeds as you place them – some pointing out, others pointing in. Don’t worry about the glue gun strings hanging off. You can remove them later after it all dries.
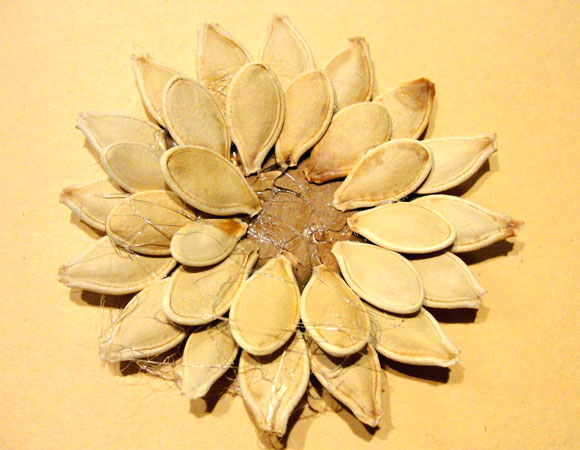
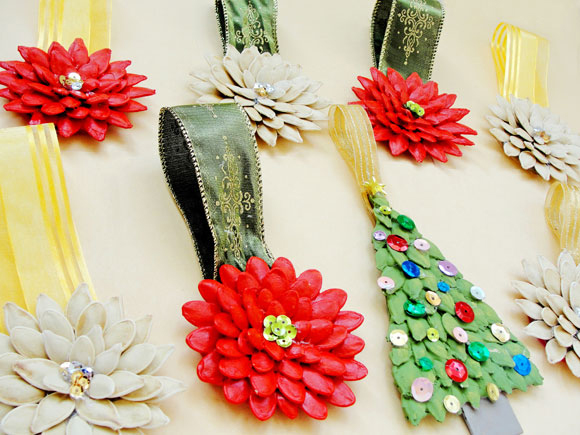
Here you can see the different variations of pumpkin seed placement.
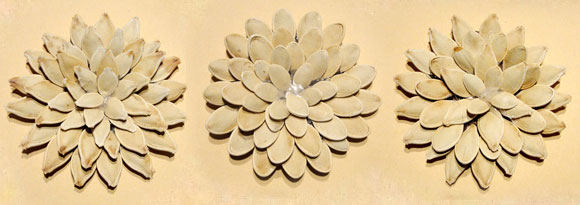
We did a tree too just for giggles.
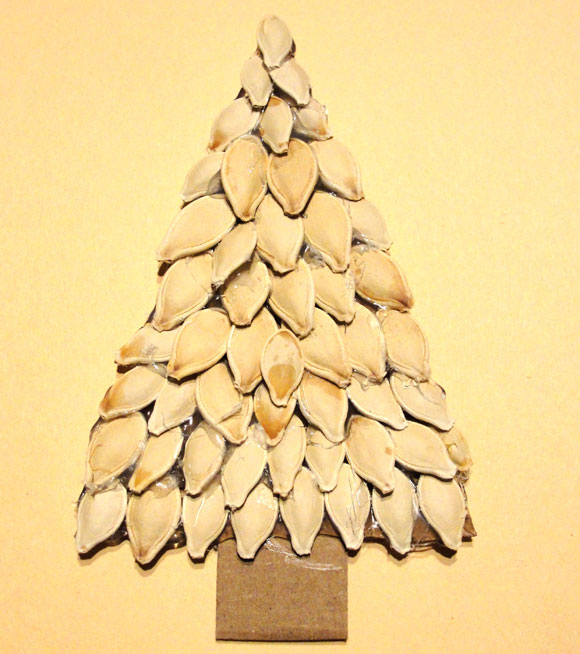
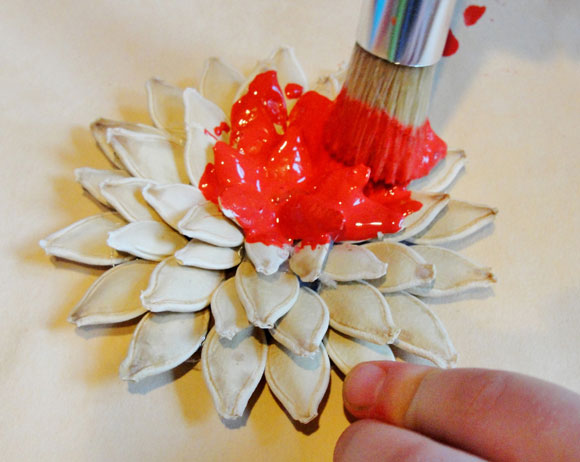
Then we started painting the flowers.
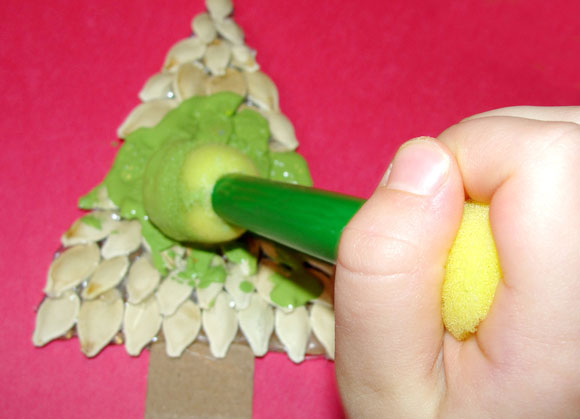
And painting the tree.
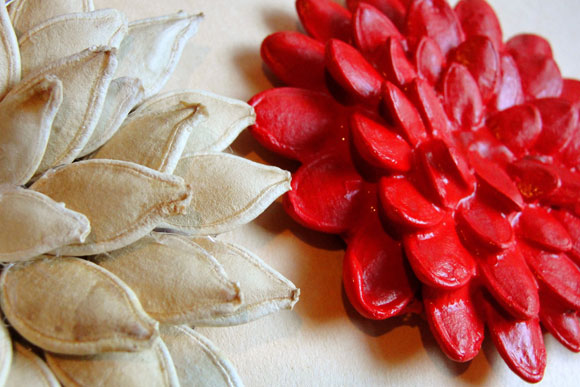
The natural seed color is beautiful as is, so we painted some and not others.
Next we added sequin decorations to the center of the flowers and all over the tree.

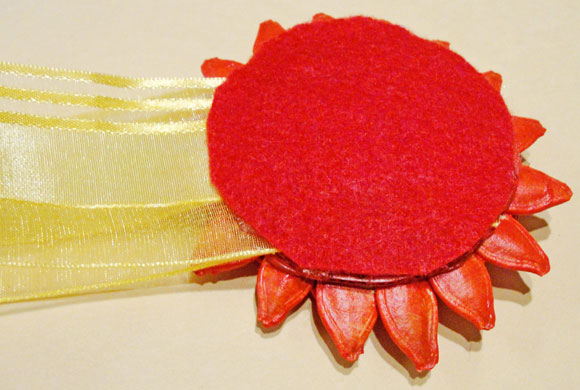
Then hot glued the ribbons on the back of the ornaments.
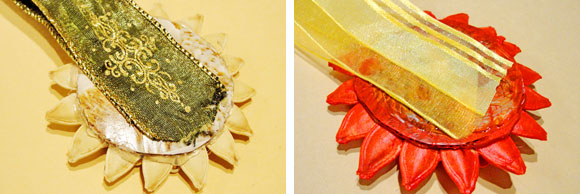
And glued the felt on top of that to keep the ribbon in place and cover the back.
Here they all are in their glory!
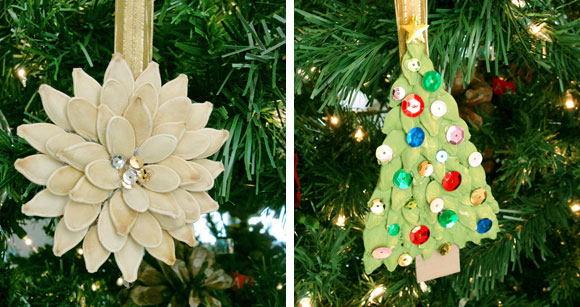
We put some of the ornaments on our tree.
And saved others for future occasions.
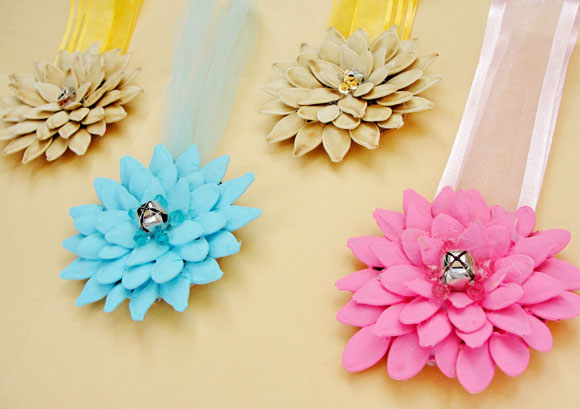
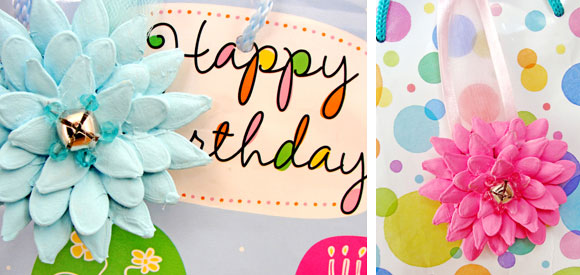
Like gift bag decorations!
Hope you like this desk organizer craft tutorial.
Image source: whimsicalkidscanvas
We would love to hear your thoughts in the comment section below. And be sure to like us Facebook for more ideas!
Thank you for visiting our website. Keep Creating with Art & Craft!
