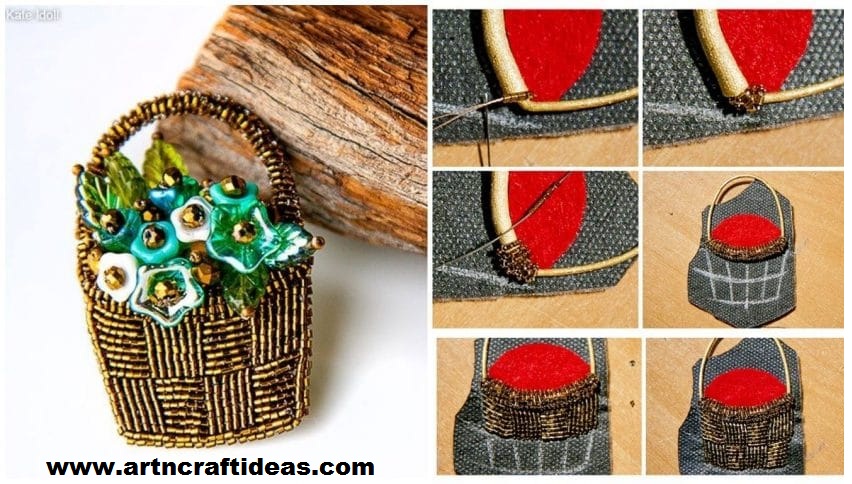
Posted onJune 30, 2017June 30, 2017inDIY, Jewellery, Tutorial DIY beautiful brooches “Basket with flowers”
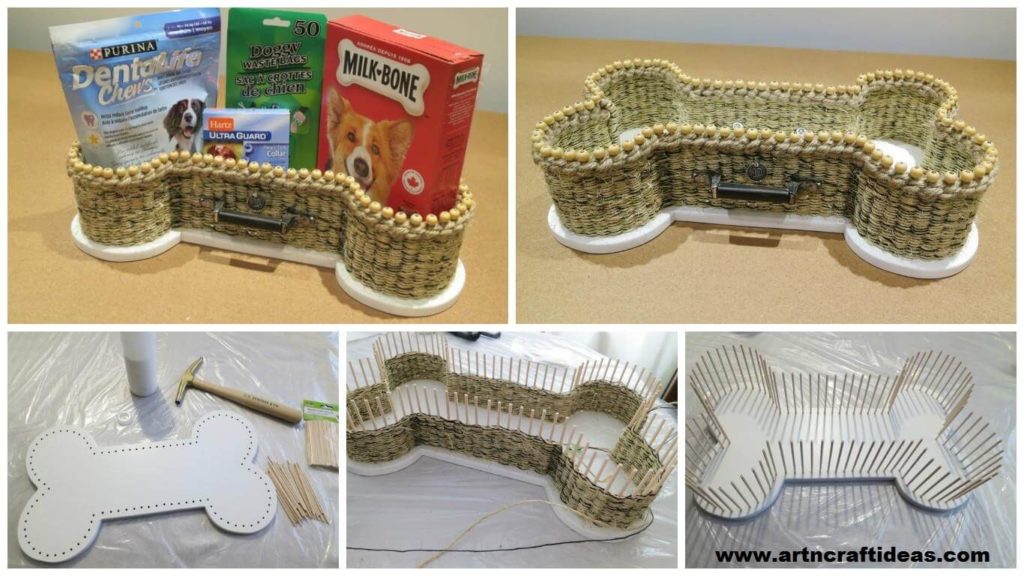
Posted onMarch 4, 2017May 20, 2018inDIY, Embroidery And Sewing, Patchwork Crafts, Tutorial Homemade small sewing basket
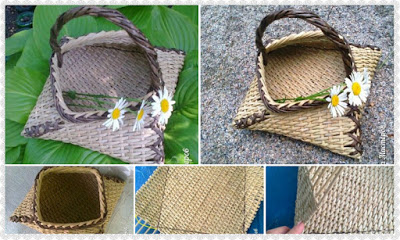
Posted onFebruary 24, 2017February 25, 2017inDIY, Quilling, Step by step, Tutorial How to make quilling basket of flowers bouquets
Posted onFebruary 16, 2017inBest out of Waste, DIY, Newspaper Crafts, Step by step, Tutorial DIY: Weaving Newspapers Basket
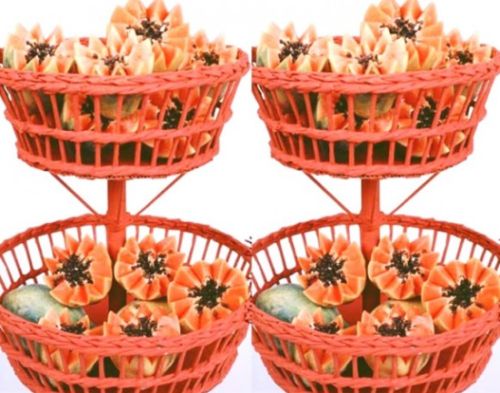
Posted onFebruary 15, 2017inBest out of Waste, DIY, Newspaper Crafts, Step by step, Tutorial How to make newspaper fruit basket