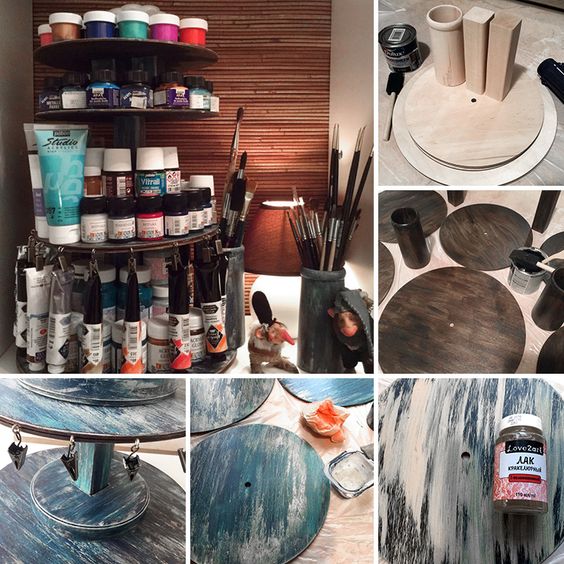
Rotating organizer paint: Jars, tubes and bottles of paint … and a lot of the heap. Find the right, it means to dig the entire drawer (but you can not
find … 🙂 Let’s try to put in order the chaos, and even to spread-to paint from the heart 🙂 It has long wanted to try.
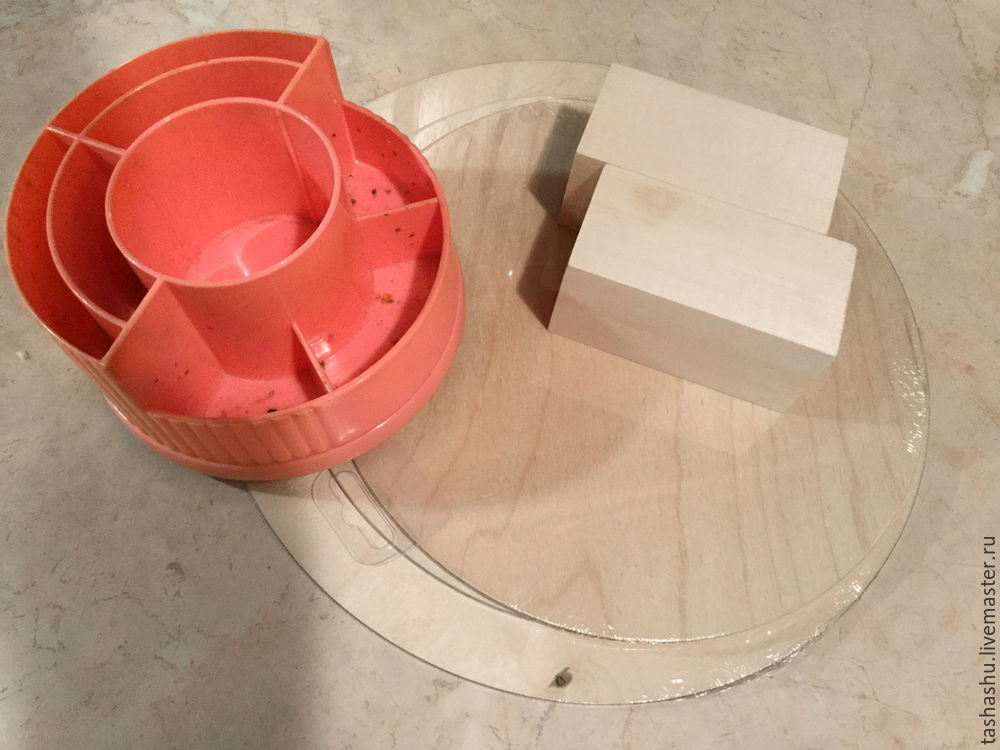
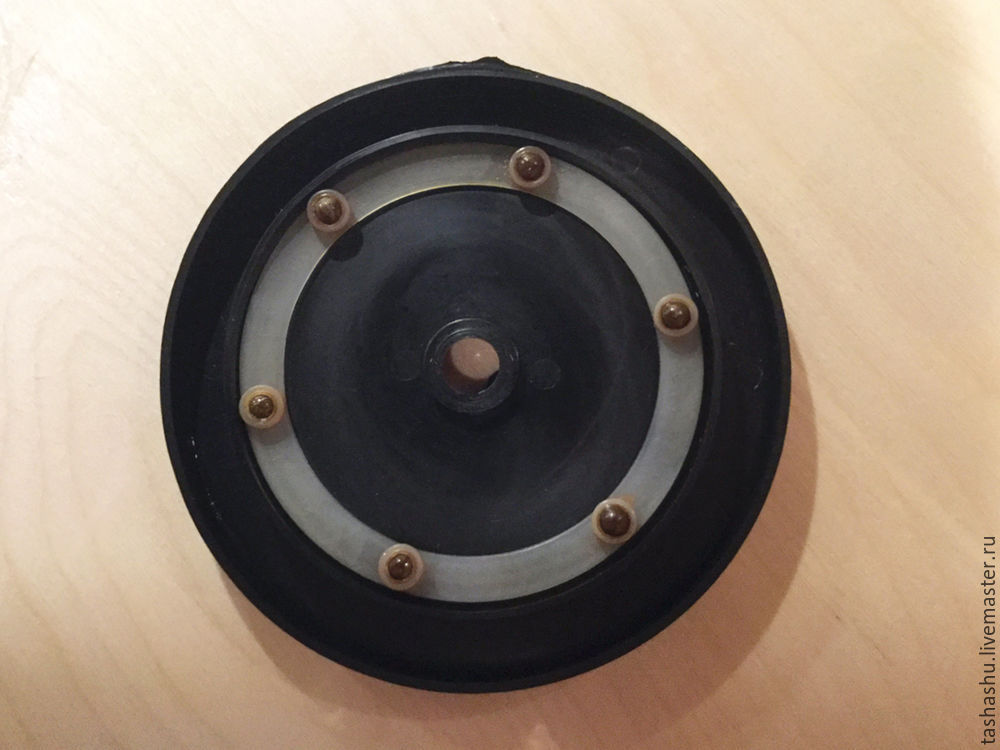
The idea began here with this old pencil holders

At the bottom of it showed up bearing.
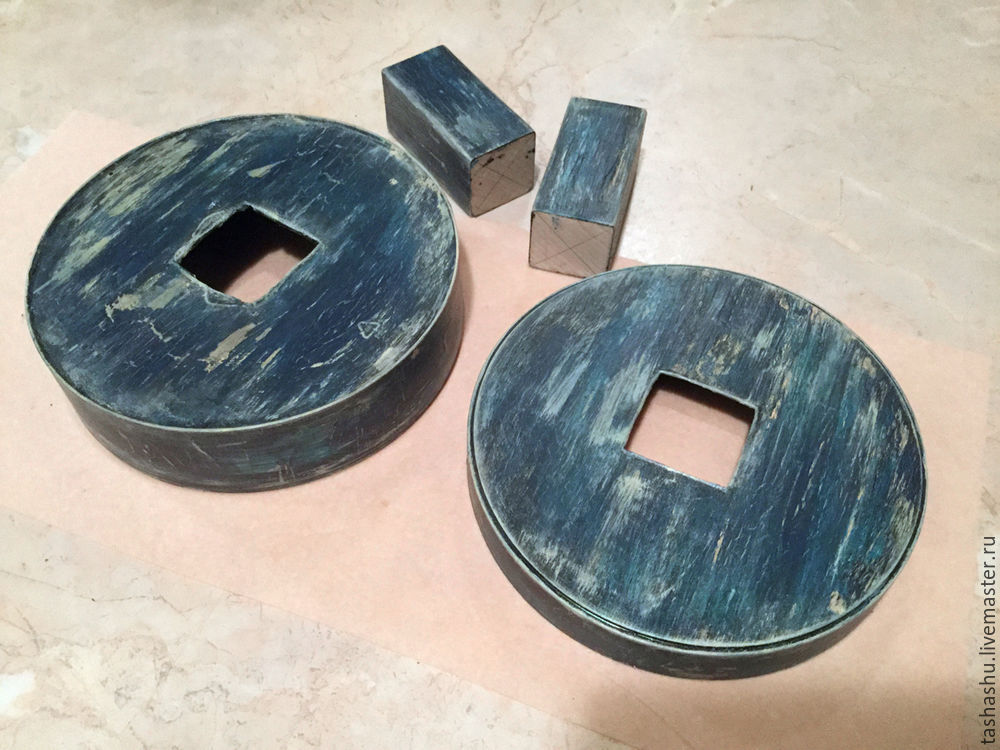
If the pencil holders are not there, you can buy a rotatable plate without any problems. So, decoupage shop bought wooden round bars for hours (shop for handicrafts within walking distance – the eternal temptation 🙂 Two circle – 30cm in diameter, four – with a diameter of 25cm, the three “bar thread” length of 15cm, and two wooden pencil holders (lynx tips, too, will need to live somewhere).

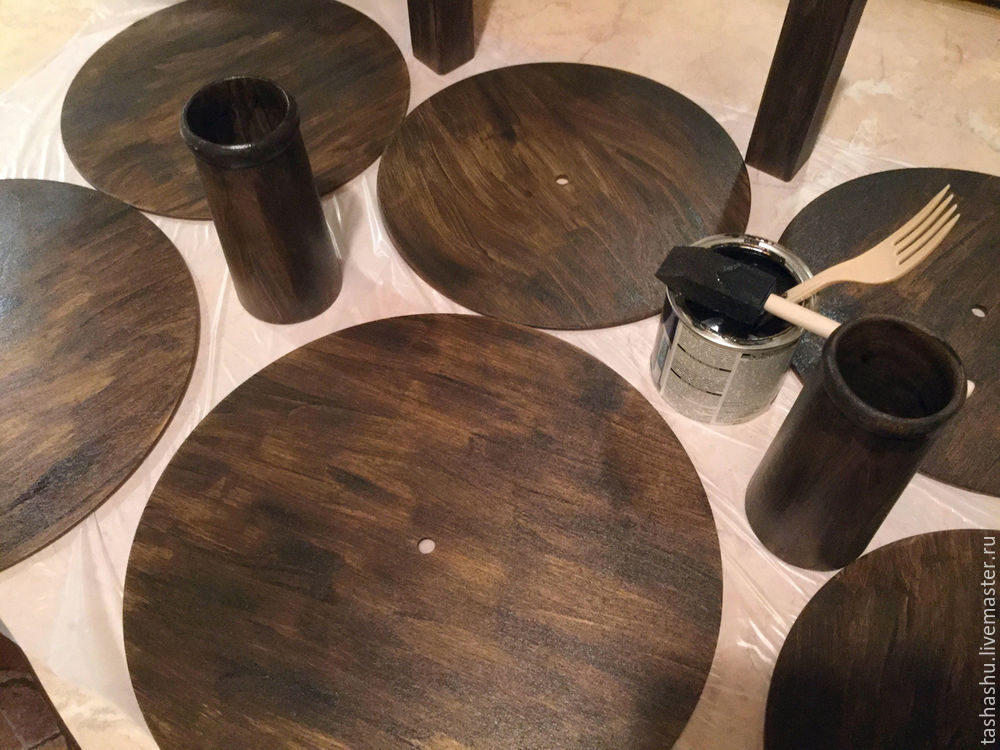
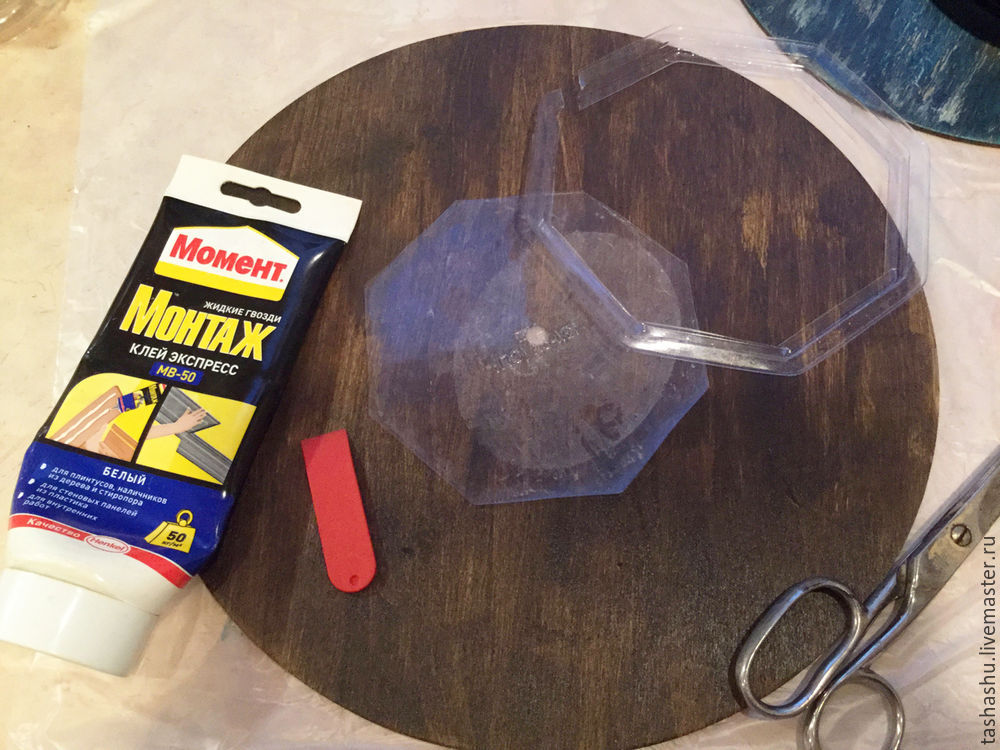
Bars along the edges slightly rounded sandpaper and a block sawed in half. I cover all that stuff a dark stain in the direction of the wood grain.
In order to rotate the ball bearings fun, one of the boards pasted adhesive Moment-assembling of the cover from plastic disposable food container, it is smooth and durable. This circle will be the base of the organizer.
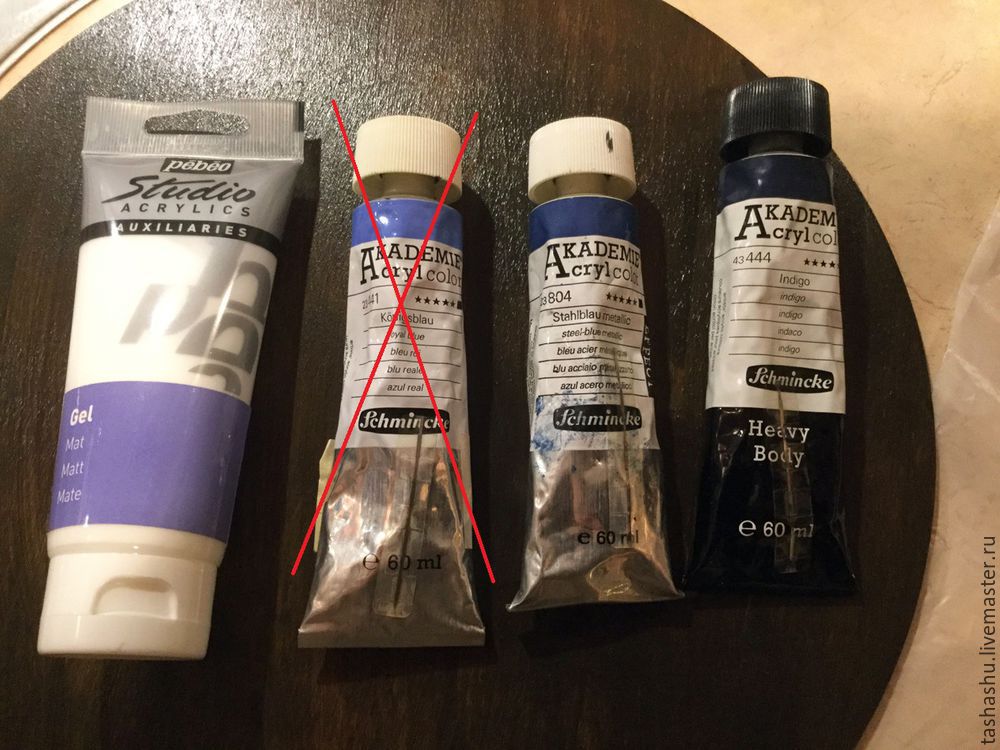
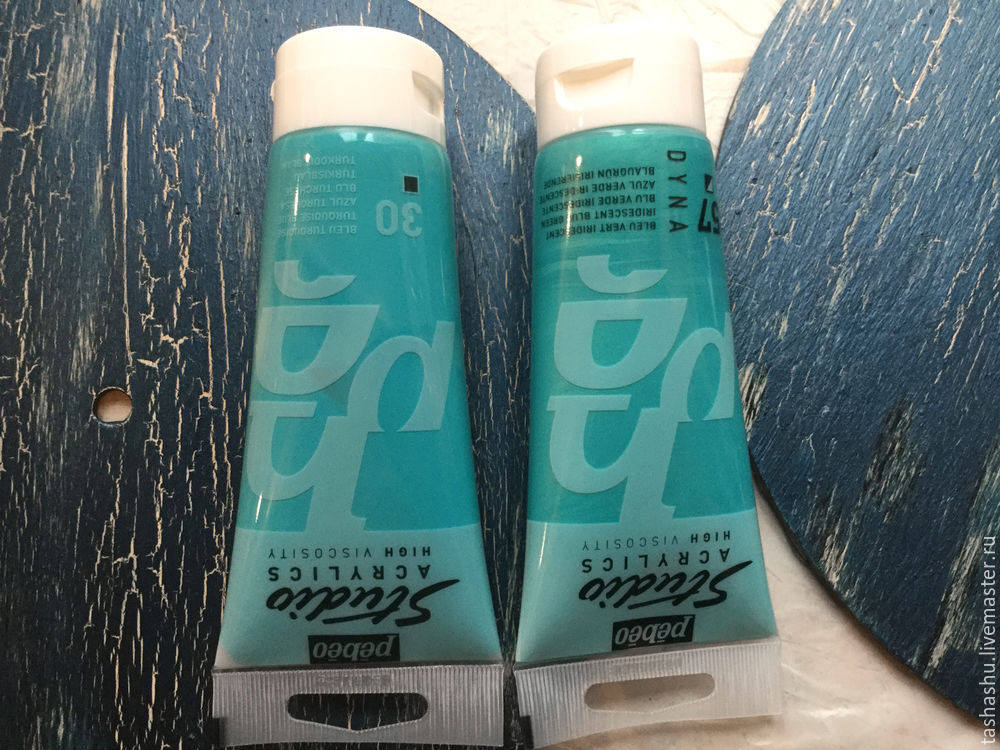
Probably there are many techniques of multi-layer dye, but I decided to just use an old fence principle. Paint with anything 🙂 I found three blue paint of those that do not mind. One of them gave a lilac and was rejected, the second gloss. Gloss me to anything and I mixed the paint with matting paste.
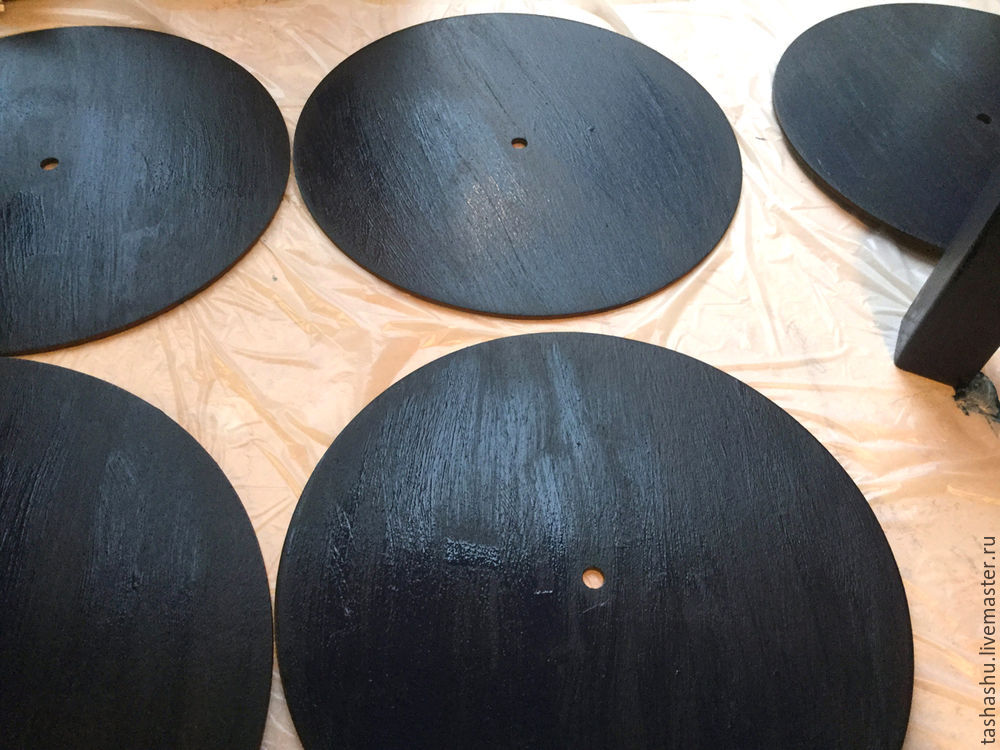
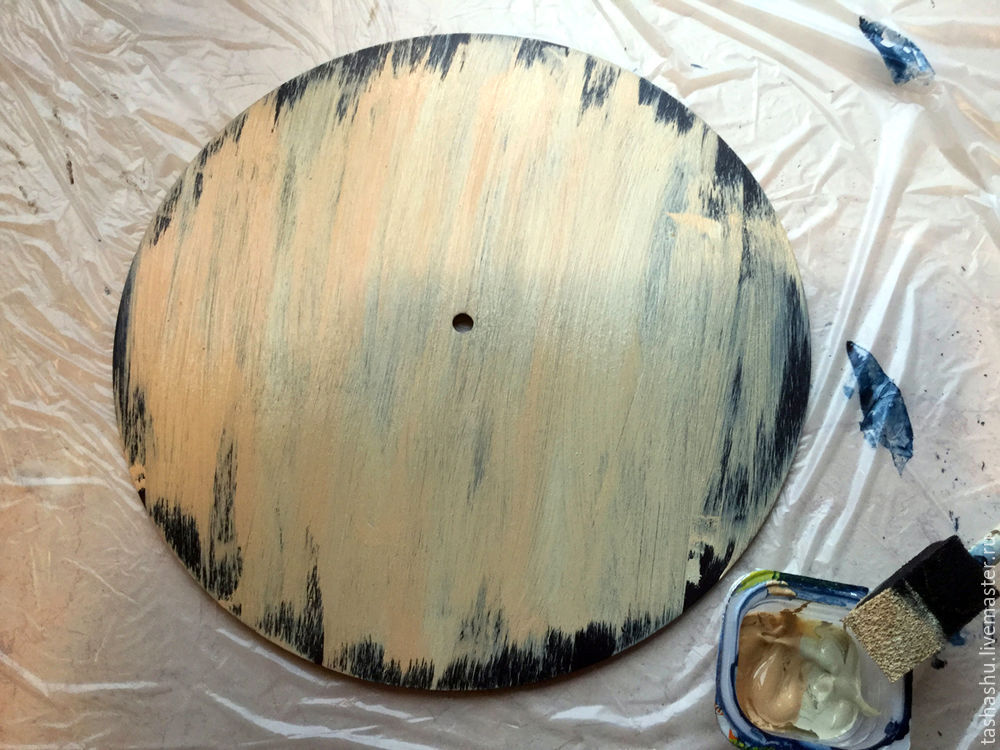
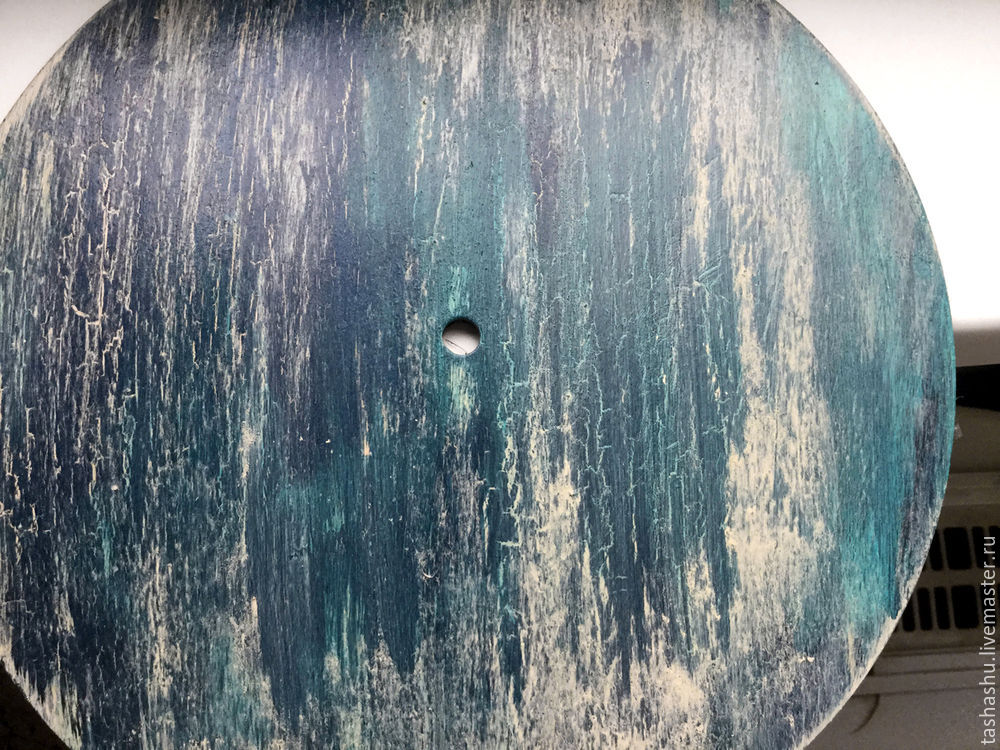
So first, dark blue paint across the surface (do not forget that the painting should be strictly in the direction of fibers
of wood). Thus all paint preform.
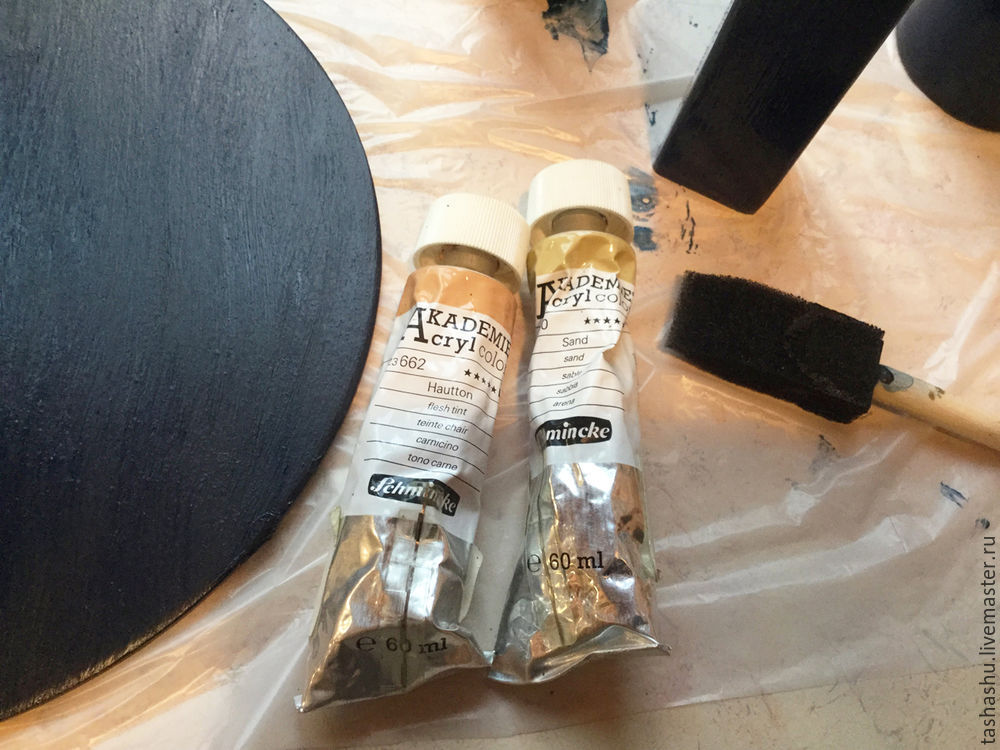
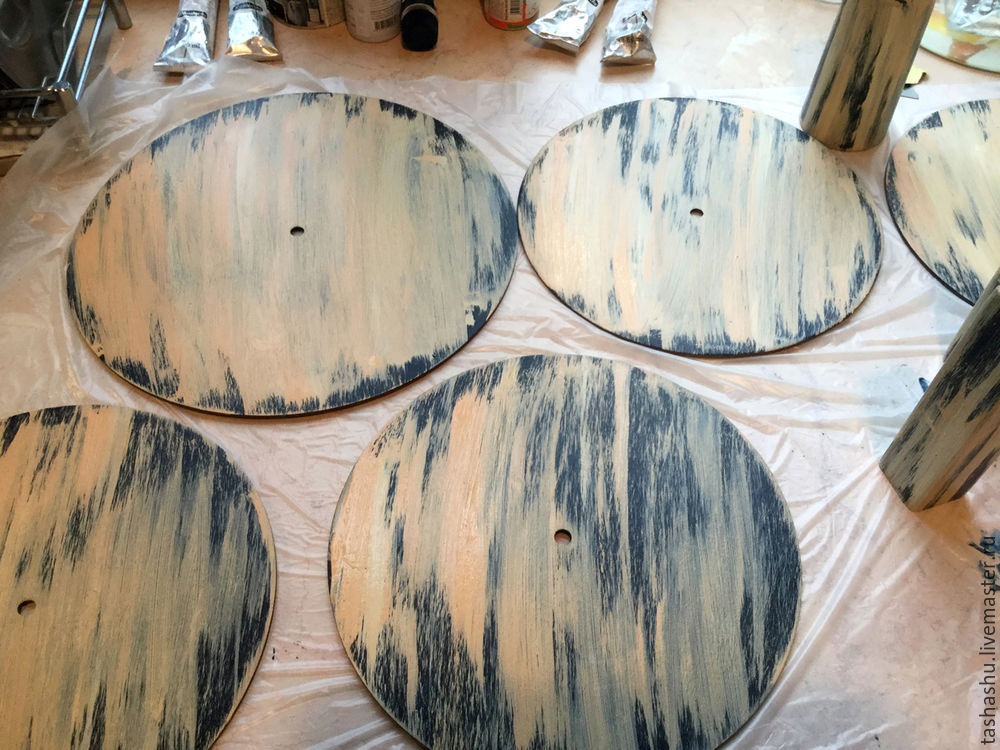
I was about to take up the second blue paint, lighter, but just remembered the old fence. We assume that the next time it decided to make a light. Therefore squeezed just two bright paint and sponge smeared before reaching the edges of the workpieces (edge ”shabby from time to time”).
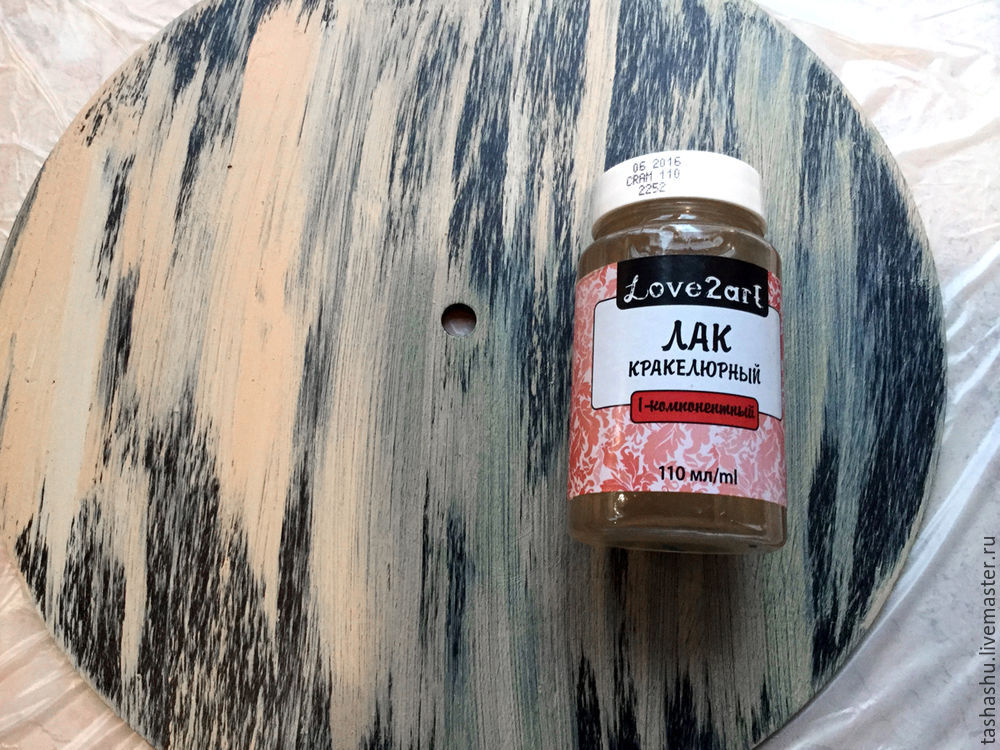
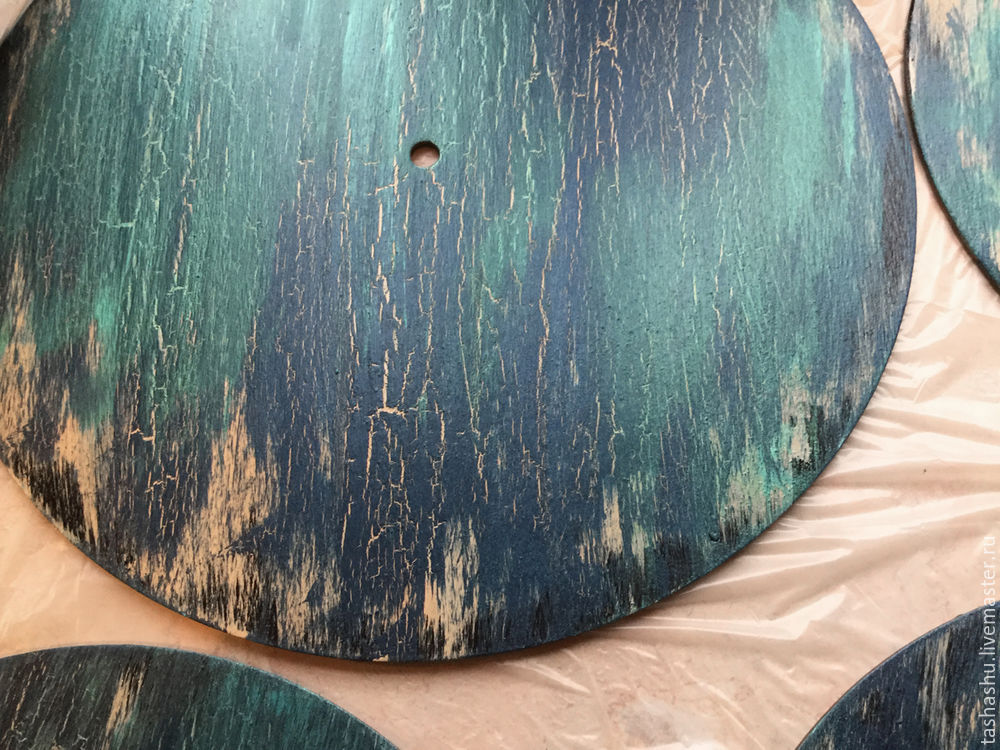
From time to time … Yes, it means more than not craquelure. I found one-component Crackle.
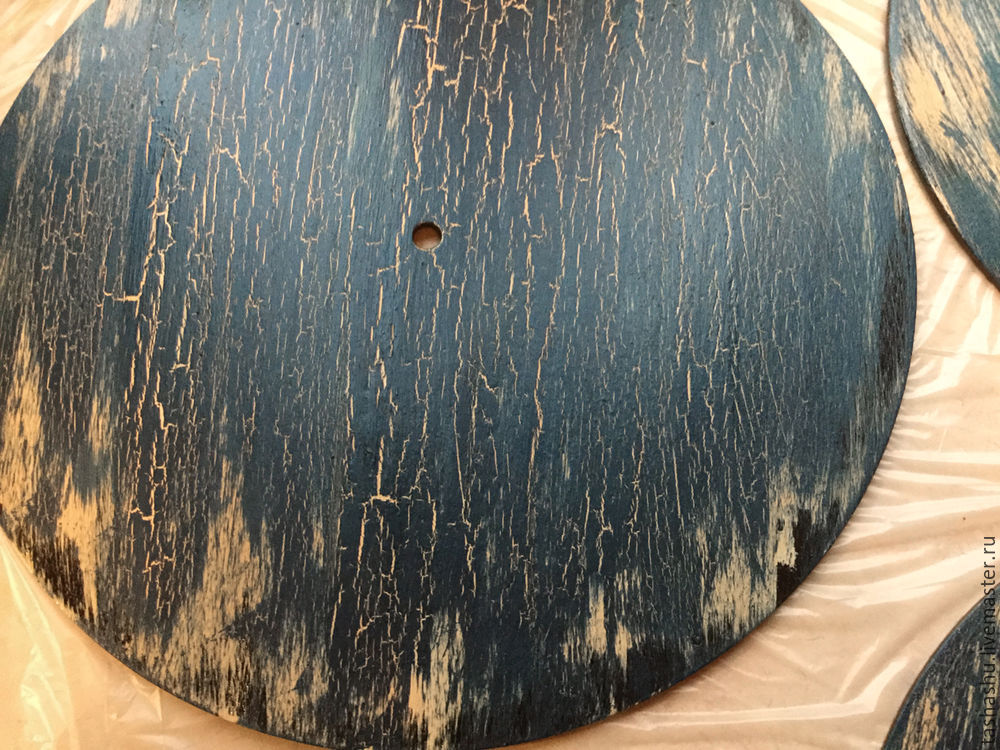
The following hypothetical fence owners decided to return to the blue and I painted over cracelures light blue paint.
Again, it did not reach the edges of the blanks. Eclipsed craquelure cracks.
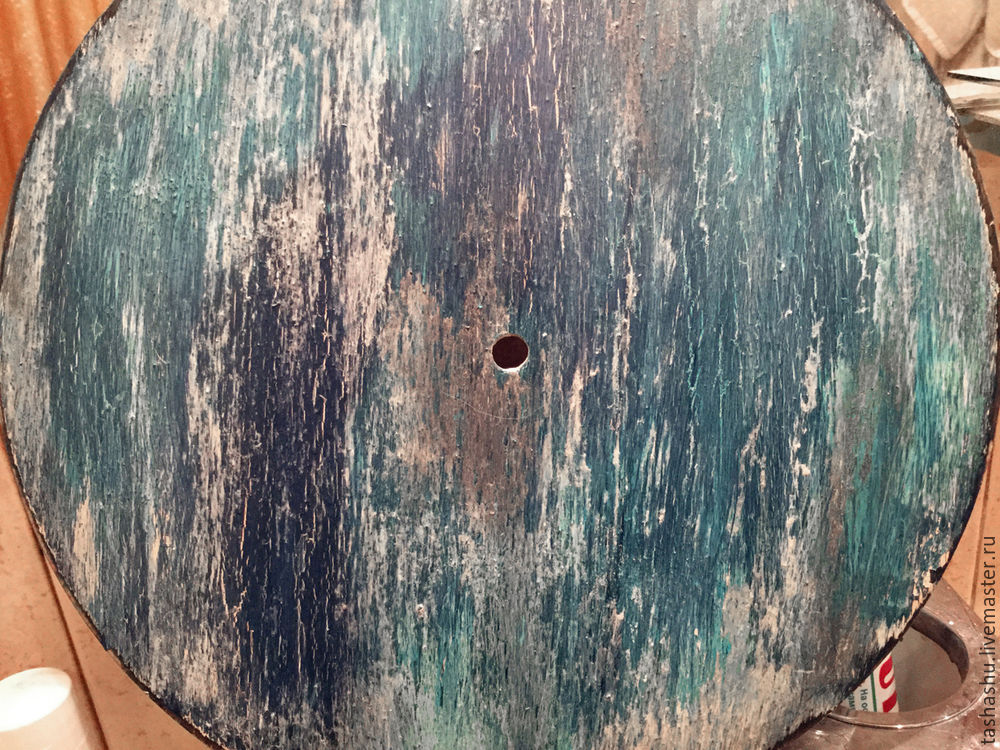
In general, it’s almost enough, but not a favorite turquoise? Held in places almost dry sponge.
And once again he walked the bright paint, barely touching almost dry sponge and immediately removing the excess with a damp
cloth.
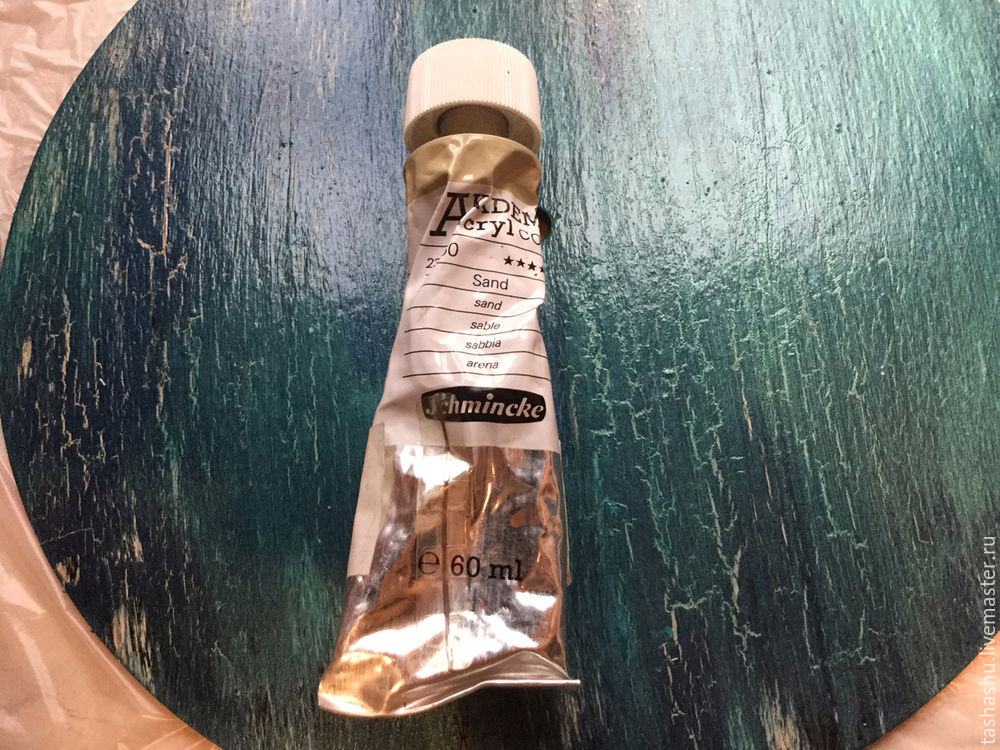
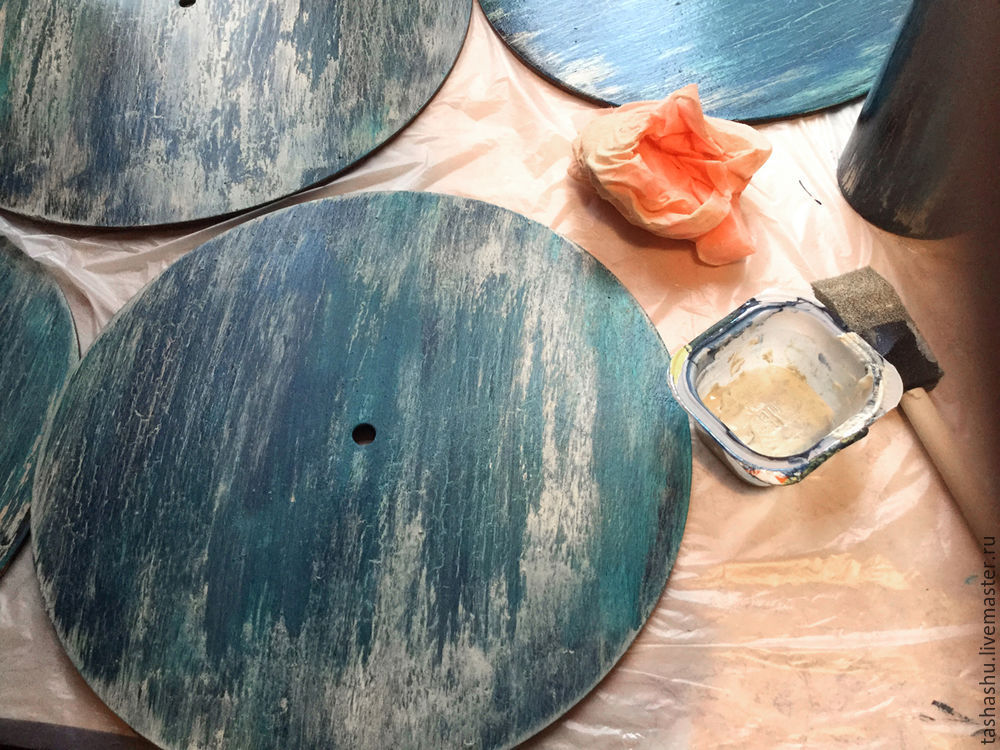
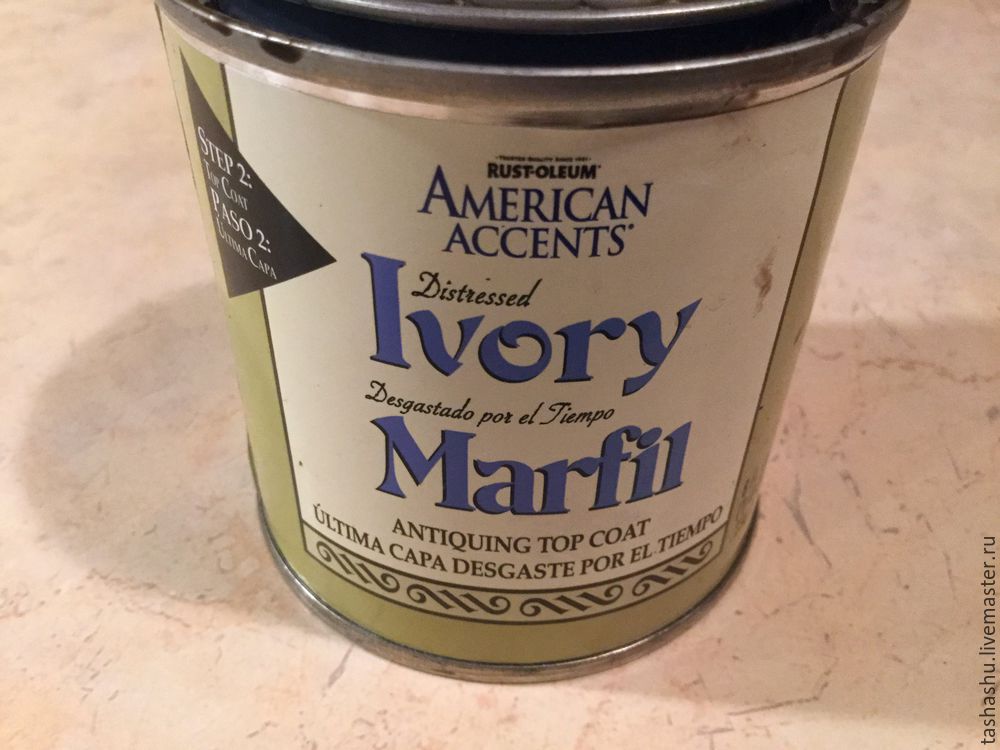
Old – so old! Without dirt can not do. This is my favorite American “dirt”. It is gray and brown, both
wonderful stain.
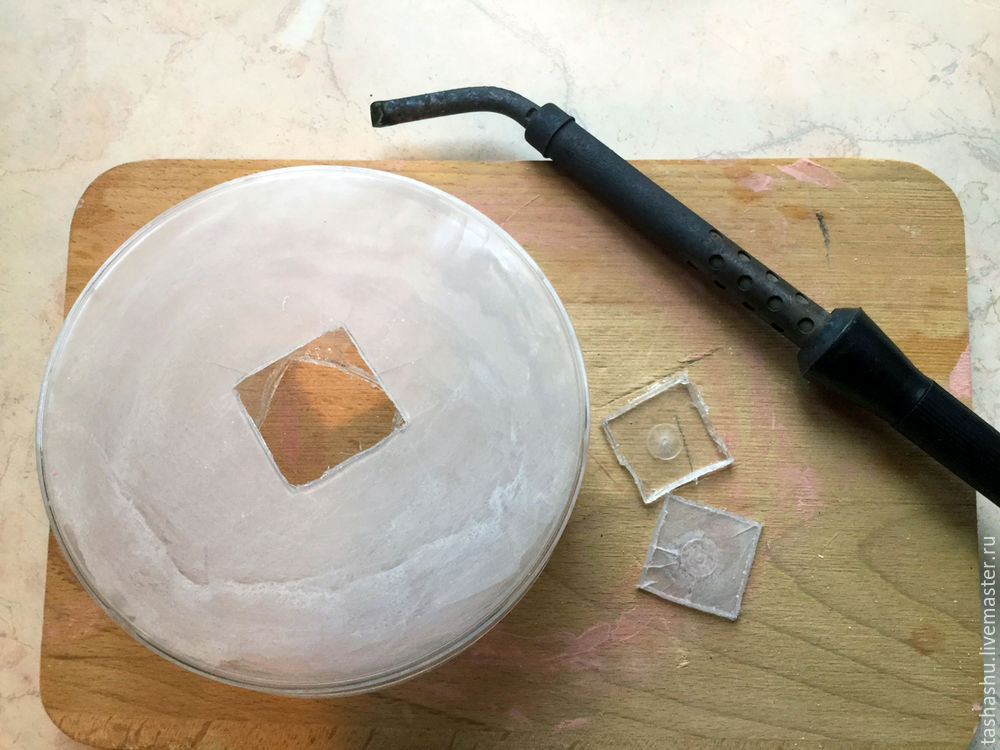
At this point I decided to add his future tower rise to jars not hide behind each other. To do this well it came from a box of chocolates (cherry chocolate was delicious :)) soldering iron to cut a hole the size of bars (first tried proskresti nail, but it is a very long-running process and the plastic began to crack). With a soldering iron I handled in five minutes.
Dyed both halves of the box as the same as the wooden workpiece, but without stain. All parts are covered matt acrylic varnish.
Well, that’s got to build. Moment need glue-mounting screws and washers.
Assembly Diagram (starting from the bottom, “the podium” just worn on the bars).
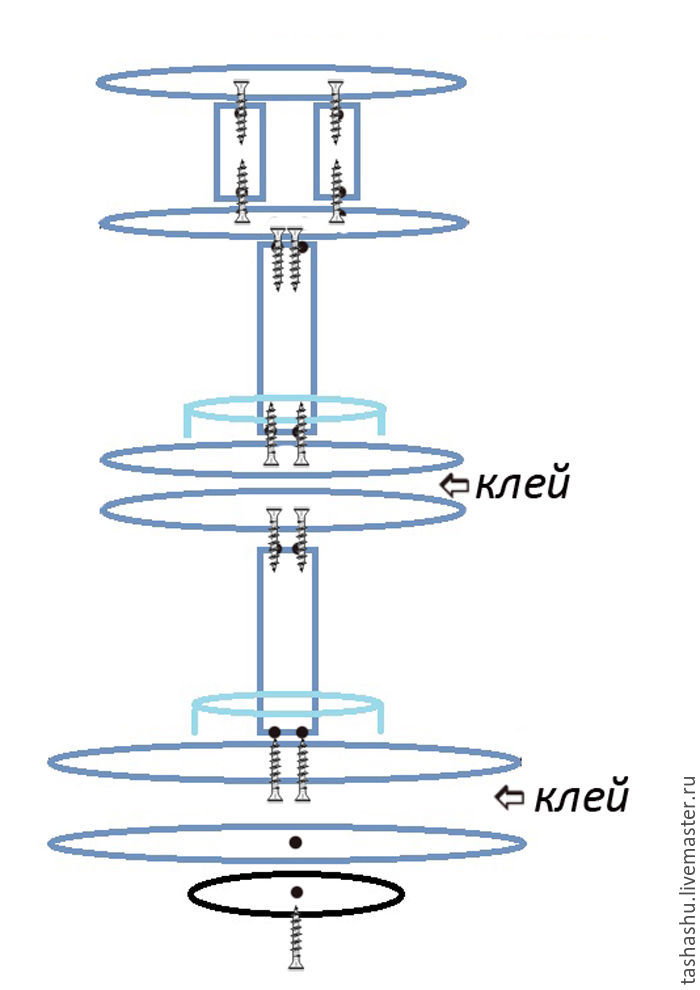
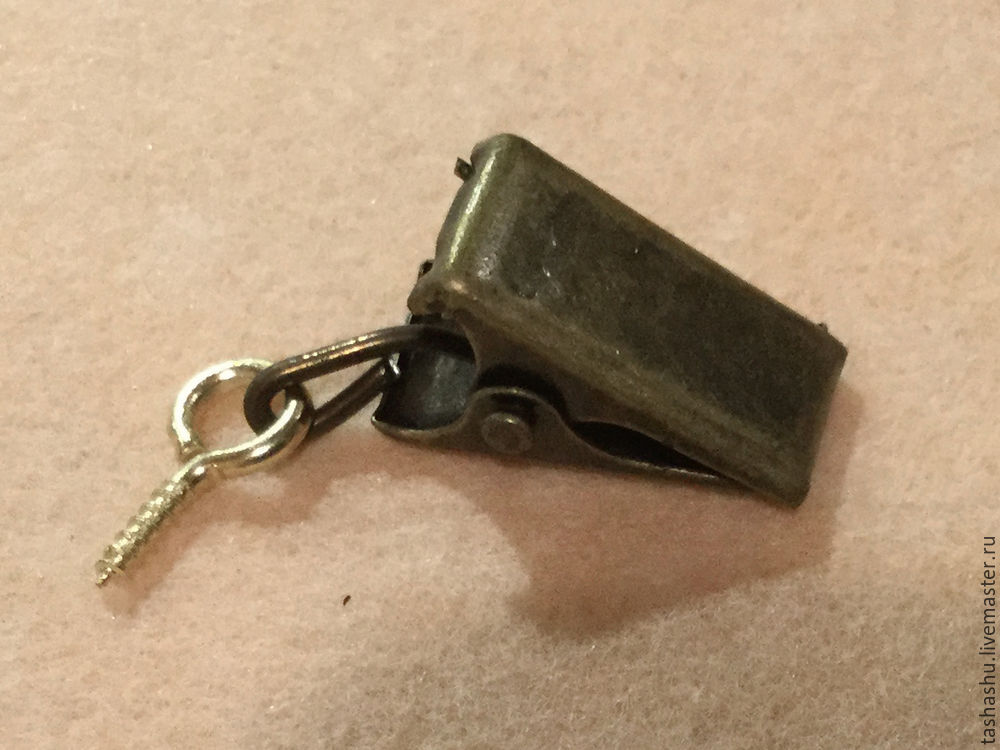
The lower tier of the double I made preparations, as heavy paint and boards seemed to me shaky. For tubes the diameter of the hard-boiled “crocodiles” for curtains that are cemented on the screws with rings. I do not know how they
are called, in the store were in the department for the manufacture of jewelry.
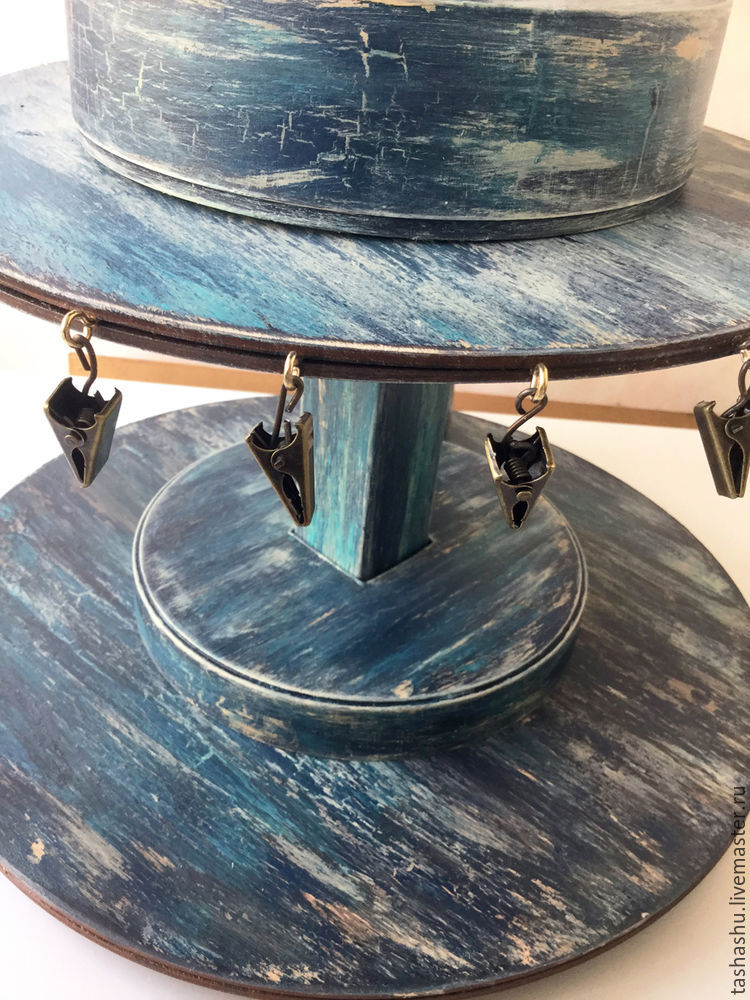
Well, that’s all rotating organizer is ready and you can celebrate the new home of my paints.

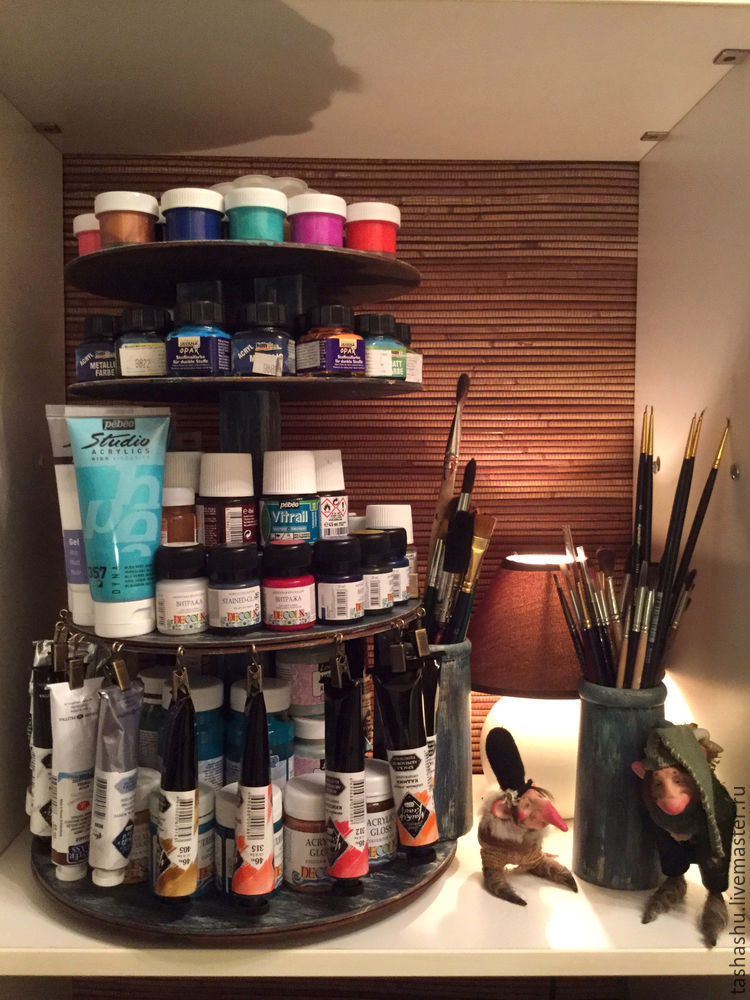
Thank you for attention!