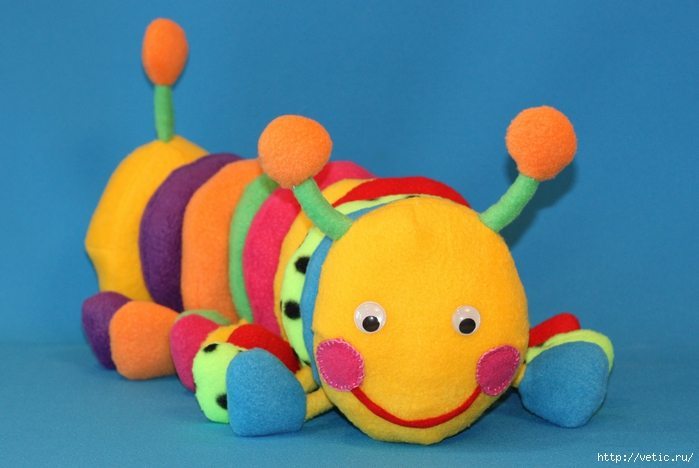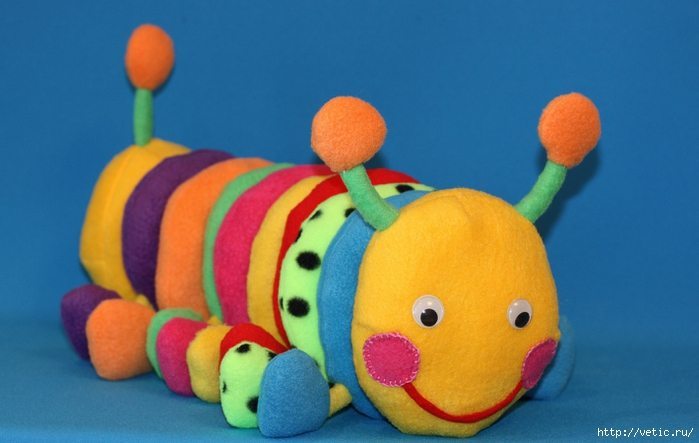
If this is a nice, friendly creature had to your taste, I tell you details about all the stages of its creation.
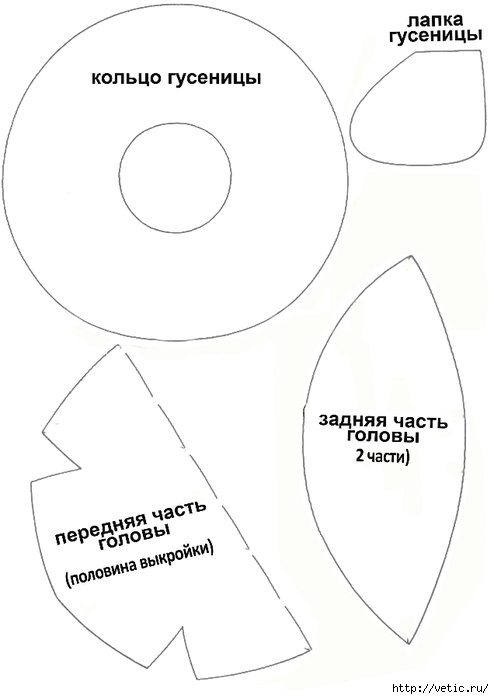
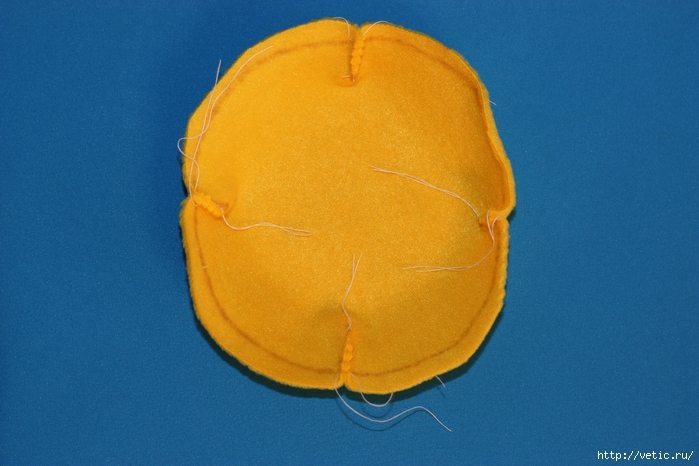
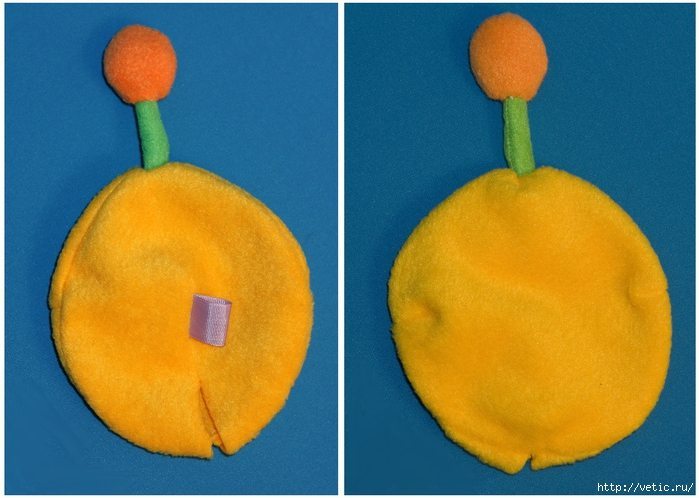
First I cut the pattern head caterpillar (the final segment of the body sewn on the pattern of the same) and scribbling darts.
Then determine the height of horns, cut them out of the fabric, wrenched and stuffed with synthetic padding.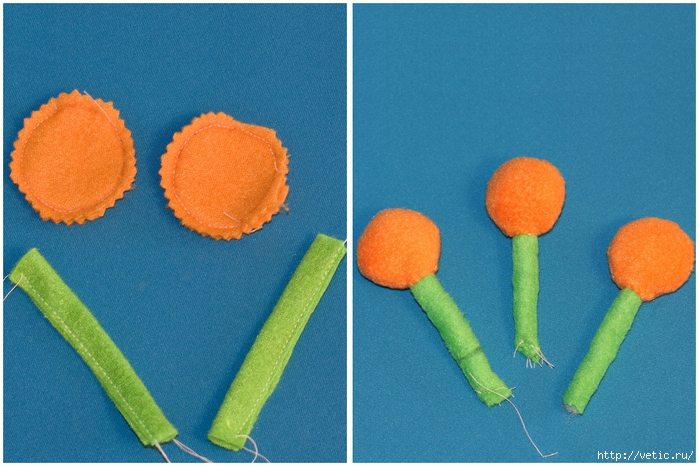
Pins cemented horns on the front side of the head and the tissue along the contour of the pattern sewn two back of the head segment.
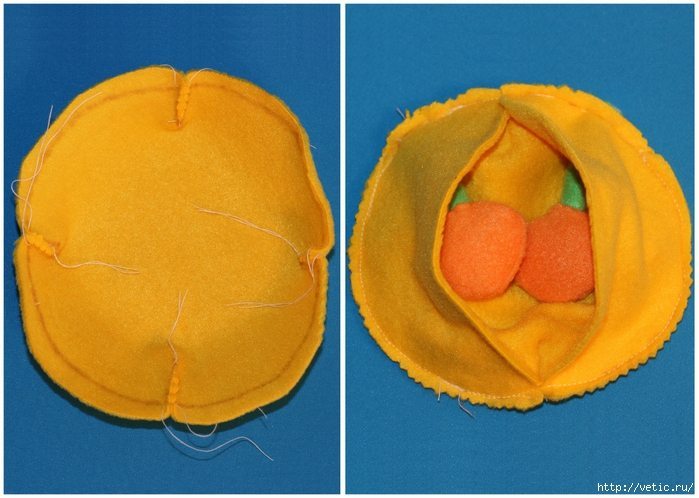
As the loops, which is tacked to the trunk, I used rep tape. Subsequently, the eyelet is attached buckle, so it is very important to select the material for it was strong and does not stretch. It will be subjected to high loads. Loops should be sewn into the center of the hole for eversion. loop size is arbitrary, it is selected empirically.
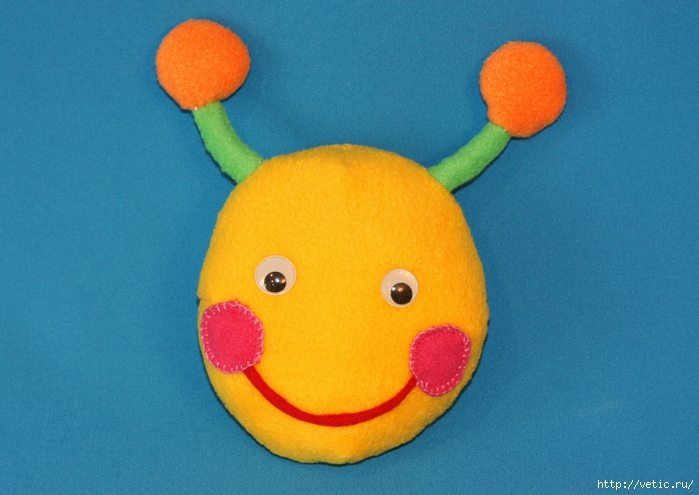
It looks like the head of a caterpillar.
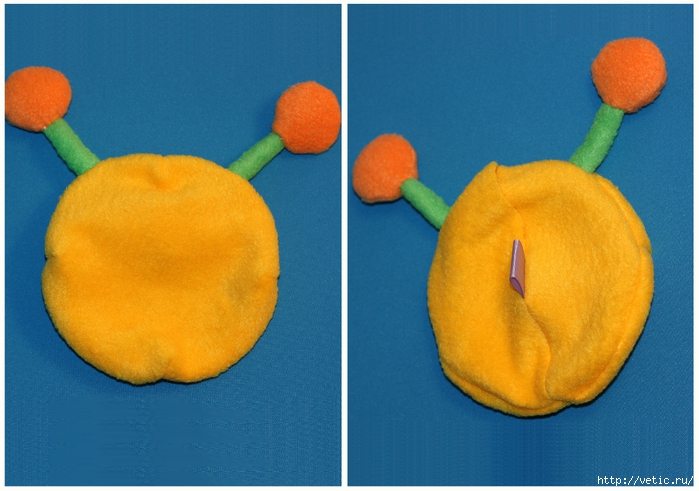
And this is – the final segment of the torso.
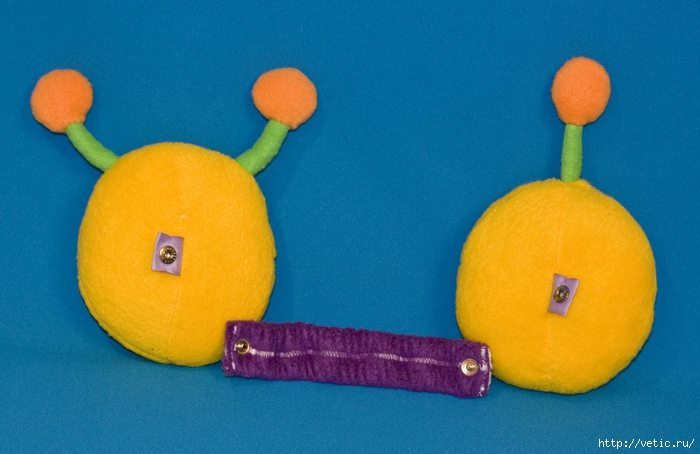
I decided it would be more convenient if the segments of the body tracks are worn on a wide elastic band. Elastic good stretches and shrinks. its compression effect do a good job in keeping with caterpillars bull ring. Porous surfaces fleece will not let slip rings and gum will firmly push the segments to each other and do not give them to fall apart in different directions. Taurus will look unified and whole.
To the kid was nice to keep the gum in his hands, I sheathed her fleece. As an attachment, it was decided to stay on the buttons. They are quite durable and reliable. Besides the buttons fasten the child more comfortable and faster than buttons or hooks.
To caterpillar expression face constantly changing, I decided to stay at the plastic with little eyes darting pupils. Eyes glued, and blush, and mouth sewn securely.
During the crosslinking-ring segments, I was faced with the unexpected difficulties that had to be overcome by experience. The challenge was to maintain the shape of a circular segment, even after tamping, despite the ability to stretch fleece in different directions. As well as avoiding unnecessary seams are also tightening the fleece. Having tried a few options, I stopped at the next.
Be prepared to foot tracks of the same color as the ring to which they will be sewn. Decide which direction extends fleece. It is important to make all ring patterns so as to keep the same direction of the traction material, otherwise ready to ring skewed in opposite directions.
Cut fabric ring with one hole in the center (the same as in the pattern). On the front side of the fabric, place the foot. After trying a few different options, I determined that the best distance between the legs of 12 cm and kept it on all the rings. Secure the legs on the fabric using pins. Cut a second ring, but without a central opening. Apply the pattern face down on the first lap with legs. Fully sew the two circles on the outside to the outer contour.
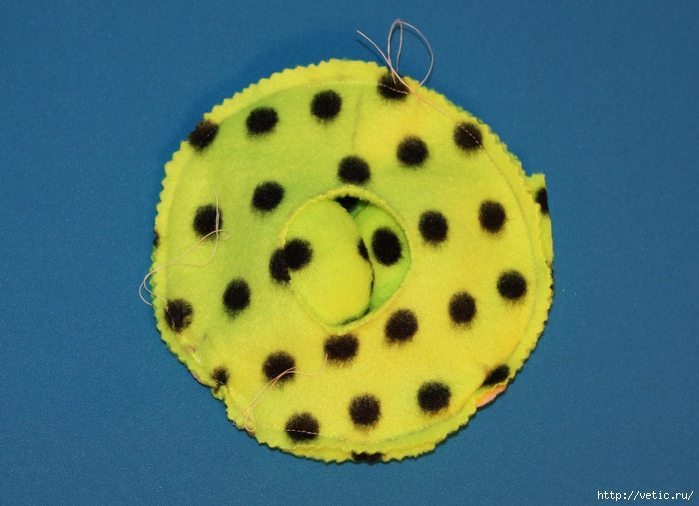
Remove the work piece through the central hole.
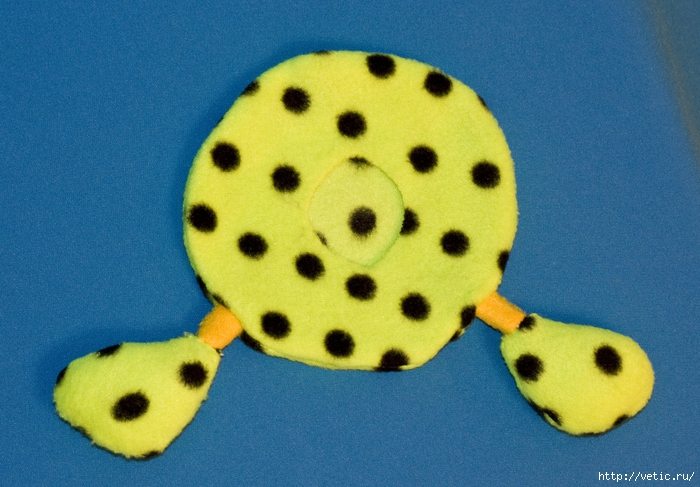
The marker on the fabric circle contour of the central opening in the second round, and cut it out.
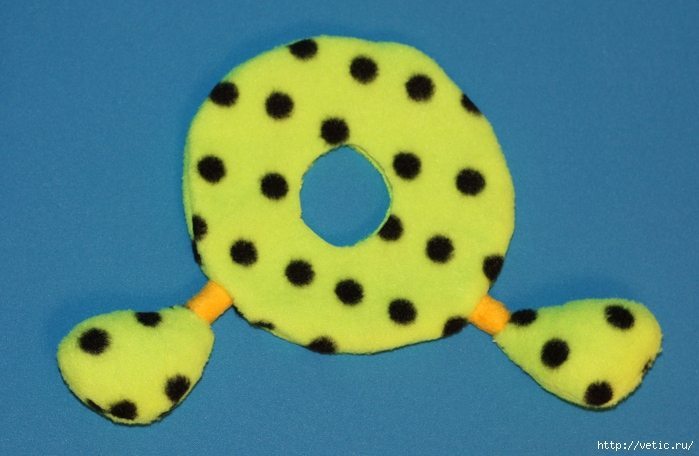
Note the pin segment, through which you will fill the workpiece and sew a hidden seam contour of the inner circle.
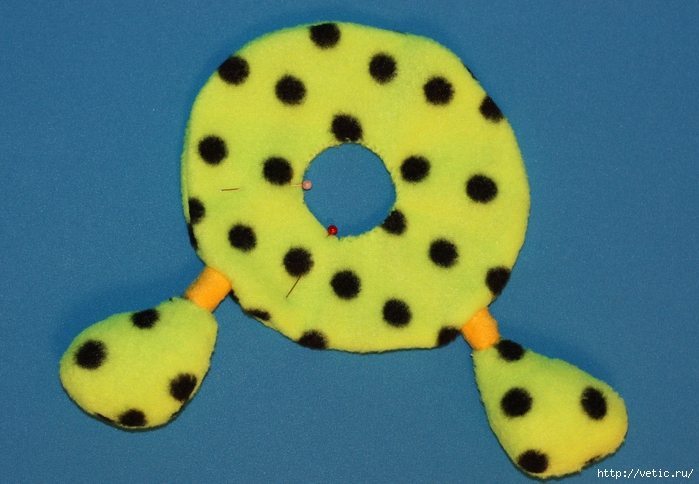
Firmly tamp the filler workpiece and sew the remaining hole.
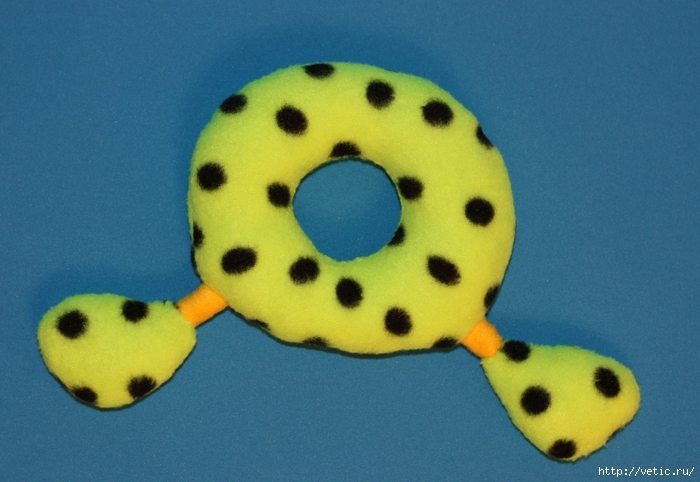
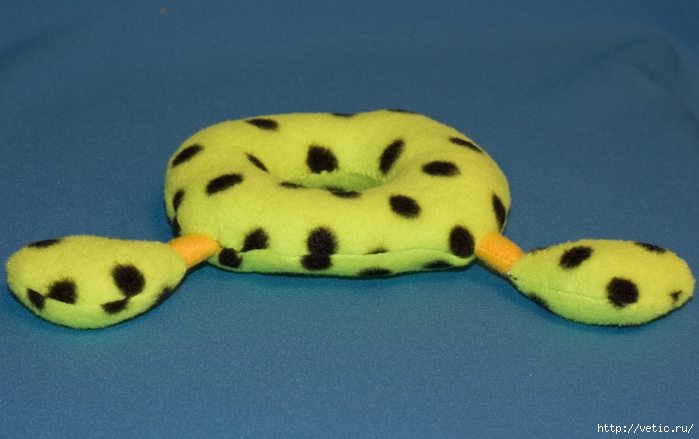
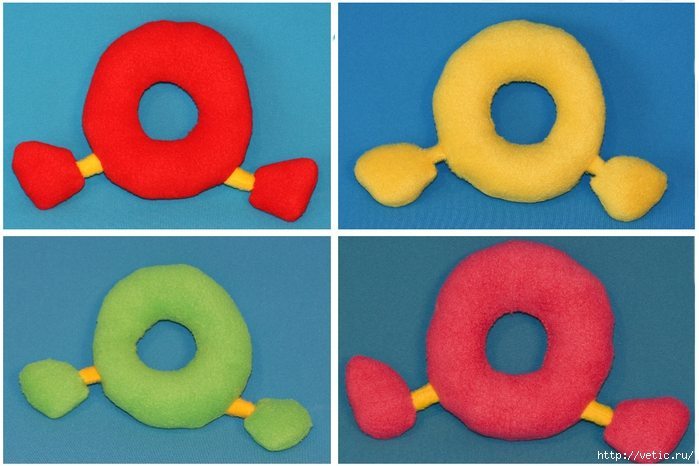
Prepare multiple rings of different colors.
It seemed to me that for a given size of the tracks (including a slight compression rubber rings) will be the most appropriate 8 rings.
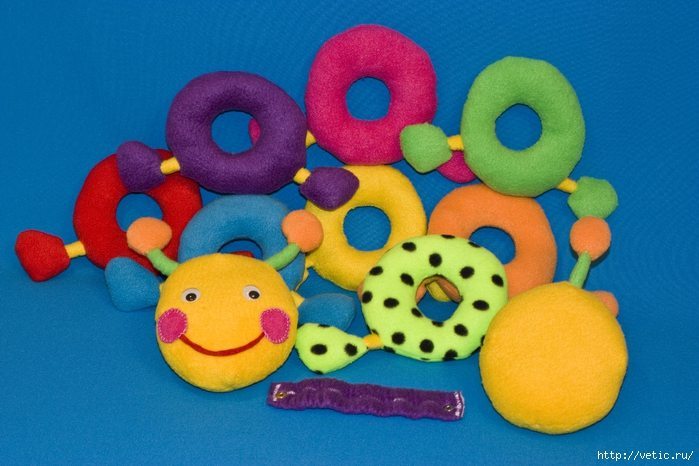 Still needed caterpillar. One end of the gum is tacked to the final segment. All subsequent rings are put on it in random order.
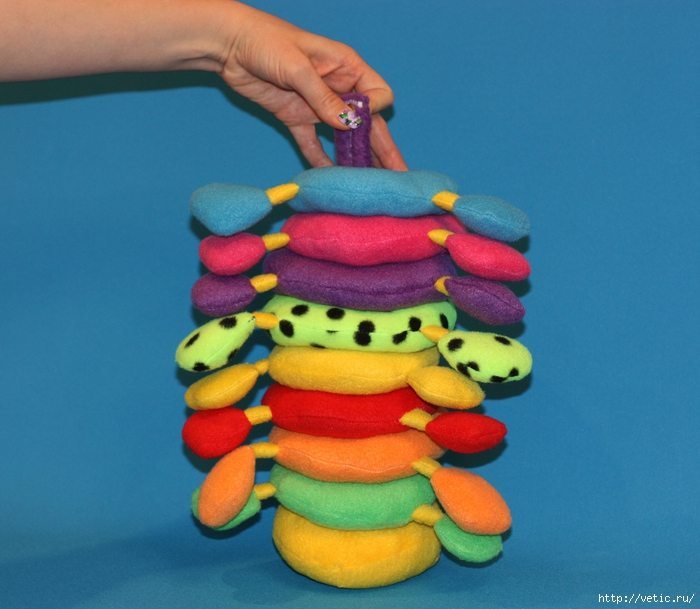
Pristegnёm head and the game can begin!
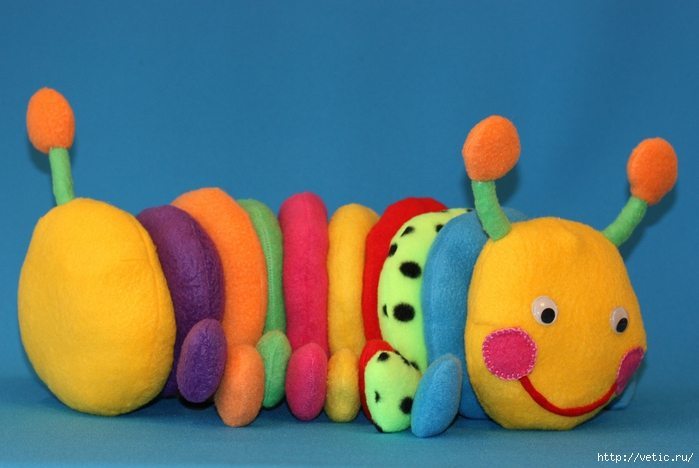
Due to the unfastened segments of the caterpillar’s body can squirm.
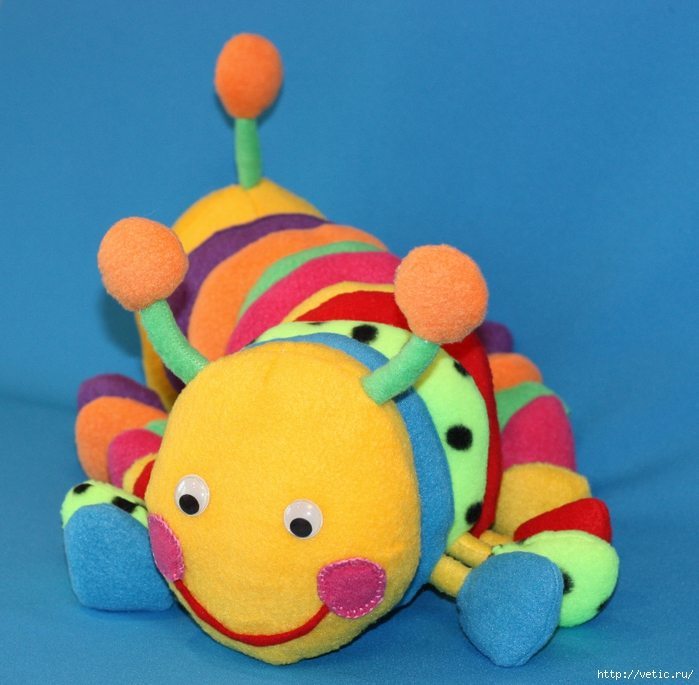 This sweet creature becomes not just a good kid and a soft toy. From caterpillar fun to learn colors, to determine their sequence, change the order of colored rings. You can try to count them, to learn of the caterpillar body and come up with a lot of other fun games.
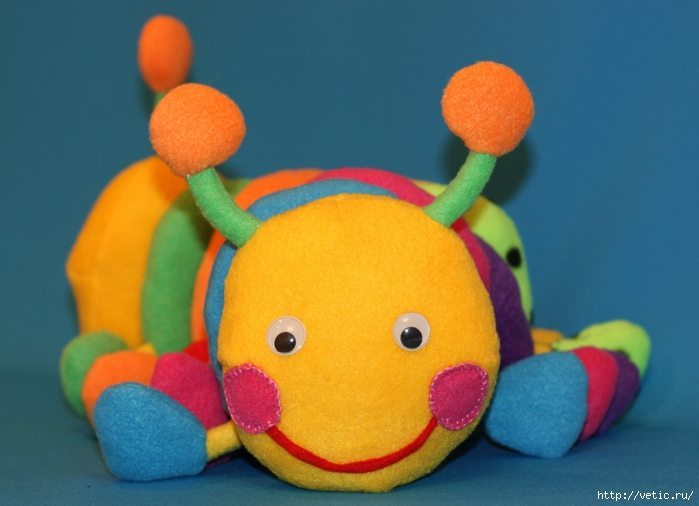
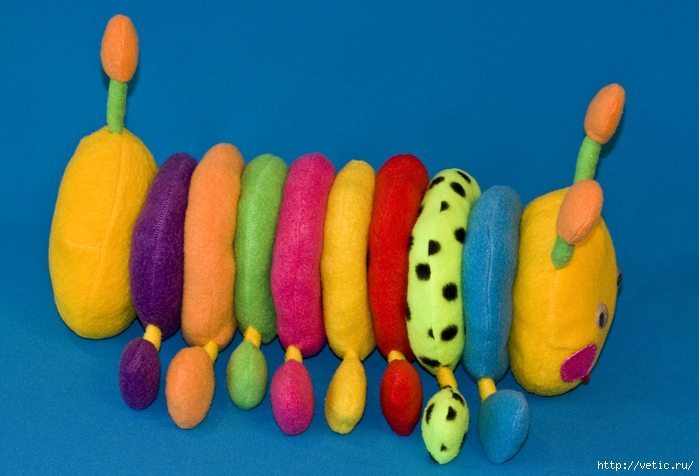
If you like the track as well as I do, I suggest you the pattern that I borrowed from a Japanese magazine and slightly modified for more smooth and round rings.
