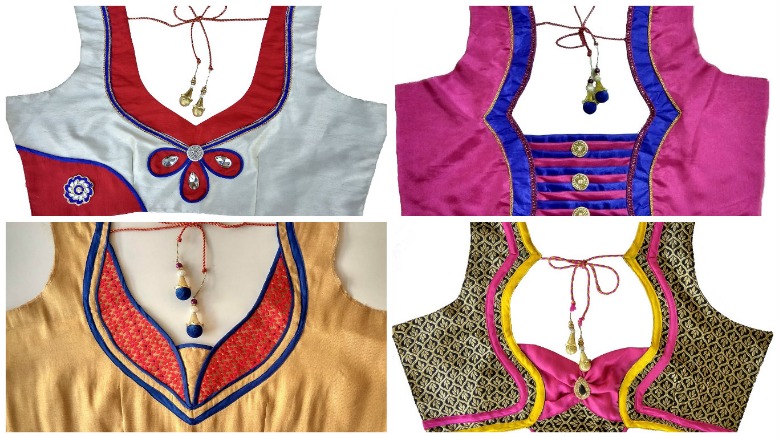
Posted onMay 19, 2017November 19, 2022inClothing, Patchwork Crafts, Tutorial, Video How to make designer back neck blouse
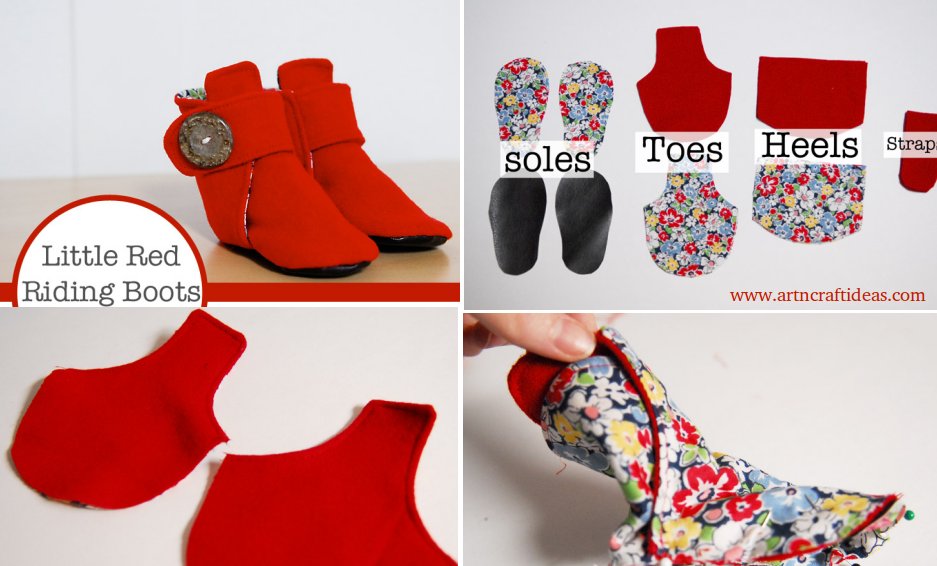
Posted onMay 18, 2017inClothing, Featured, Kids Corner, Tutorial Little Red Riding Baby Boots Pattern Tutorial
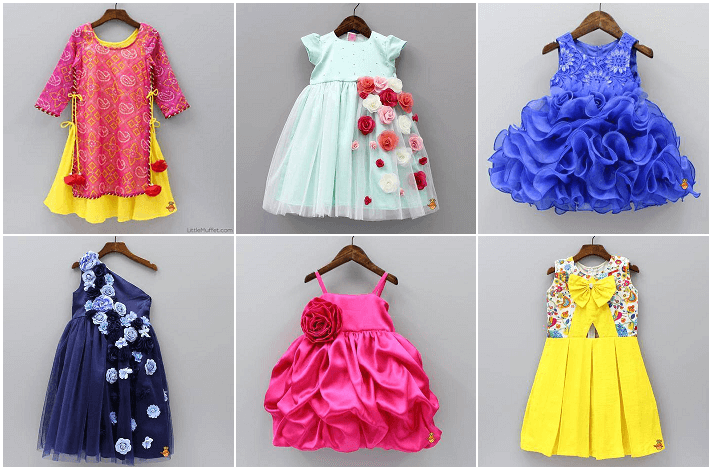
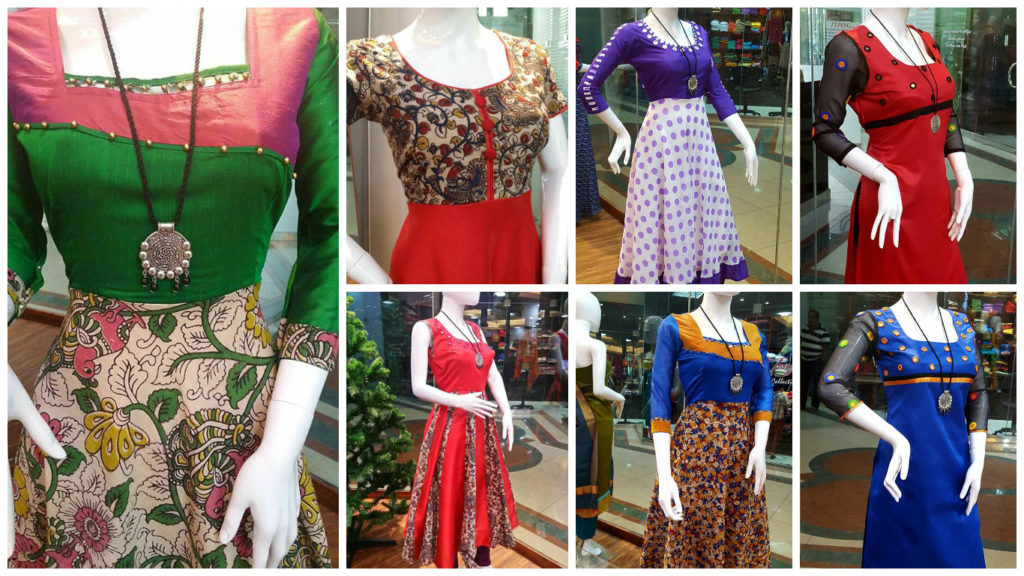
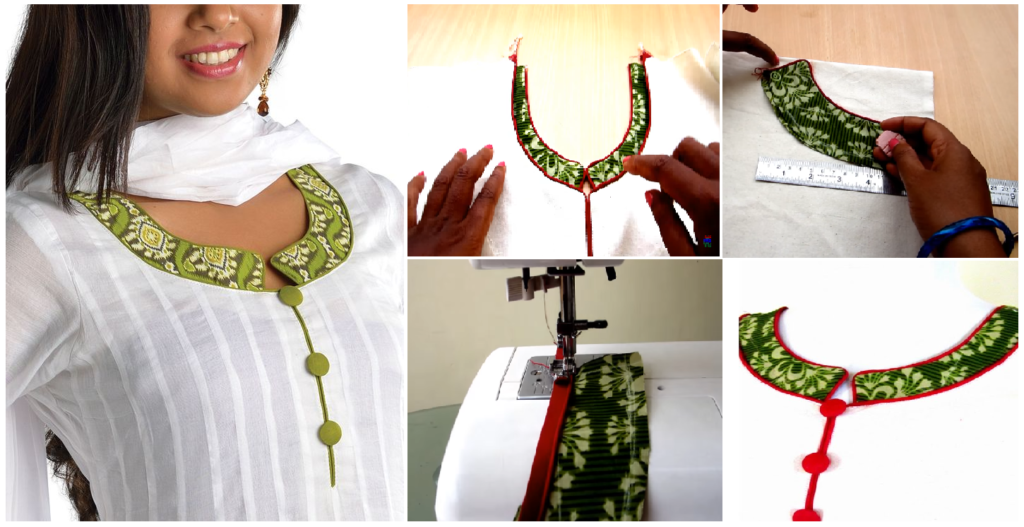
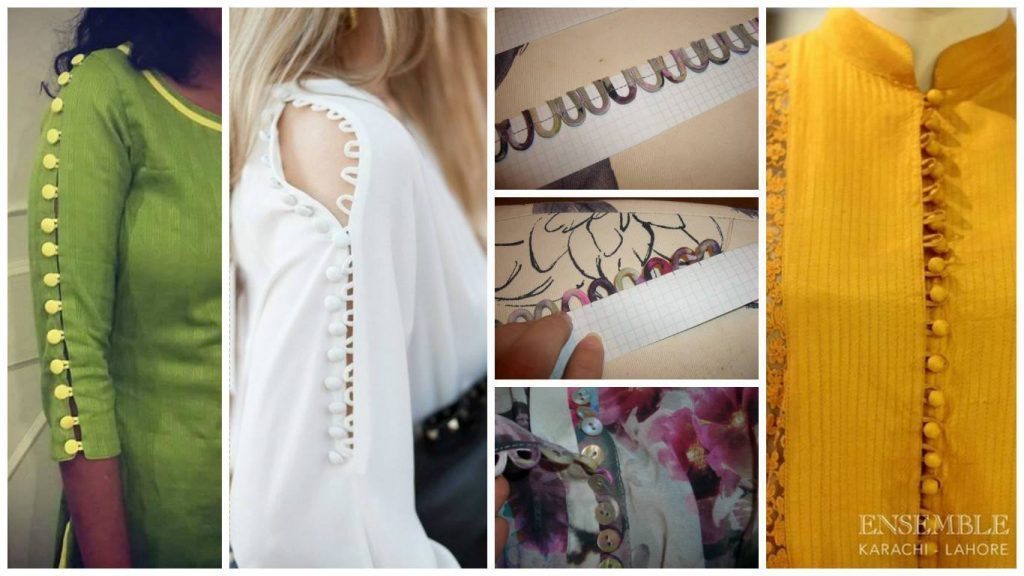
Posted onMay 16, 2017inClothing, Embroidery And Sewing Different Types Of Kurti Designs For Stitching
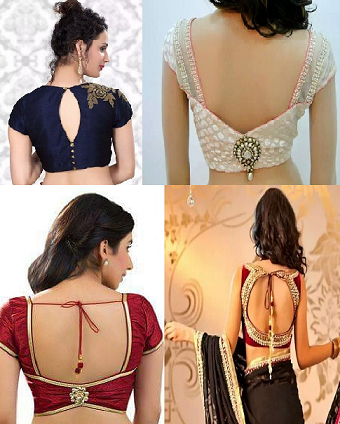
Posted onMarch 4, 2017March 4, 2017inClothing, Featured, Ideas 15 Latest Blouse Back Neck Designs Patterns
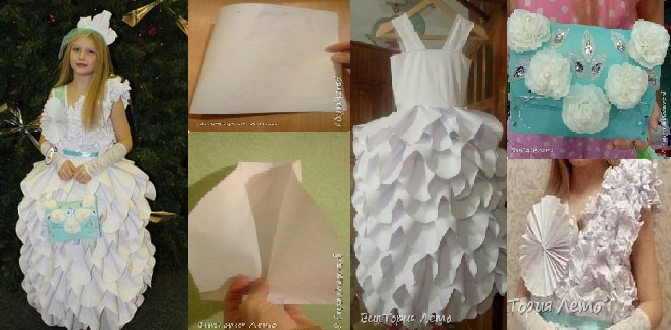
Posted onFebruary 24, 2017inBest out of Waste, Clothing, DIY, Kids Crafts, Step by step, Tutorial Handmade paper frock for fancy dress competition
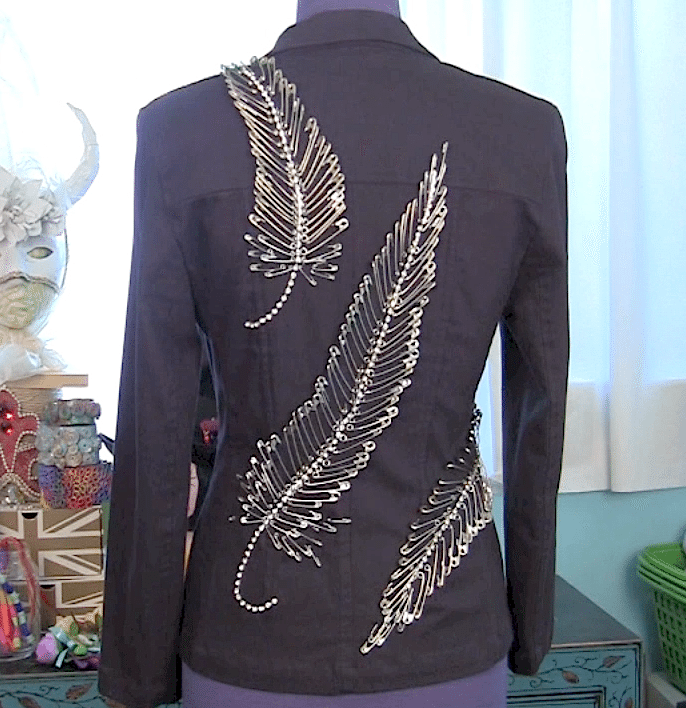
Posted onFebruary 22, 2017inBest out of Waste, Clothing, Step by step, Tutorial DIY: Safety pin feather jacket