Posted onJune 20, 2017November 19, 2022inClothing, Embroidery And Sewing, Patchwork Crafts, Tutorial, Video How to Sew a Designer Strip Sleeves
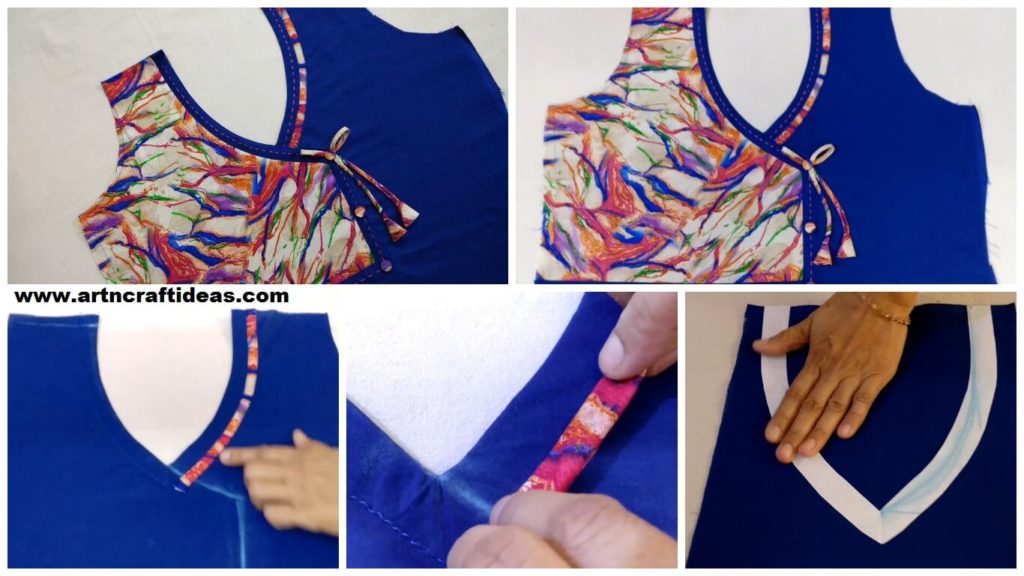
Posted onJune 16, 2017inClothing, Embroidery And Sewing, Patchwork Crafts, Tutorial, Video Designer Kurti Neck Design Cutting and Stitching
Posted onJune 9, 2017inClothing, Embroidery And Sewing, Tutorial, Video How to sew a Jacket style pattern kurti
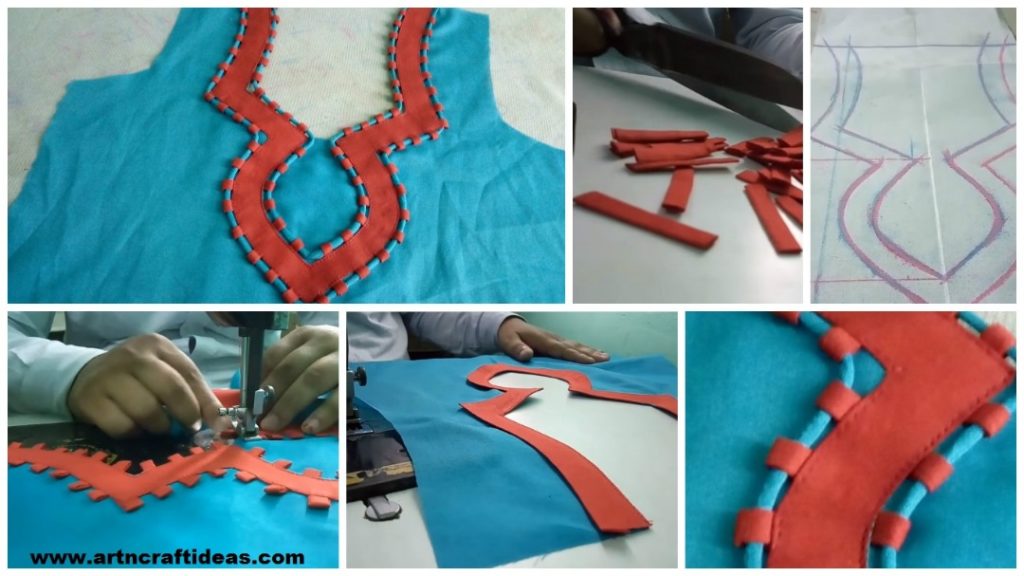
Posted onJune 9, 2017inClothing, Embroidery And Sewing, Patchwork Crafts, Tutorial How to sew piping neck design
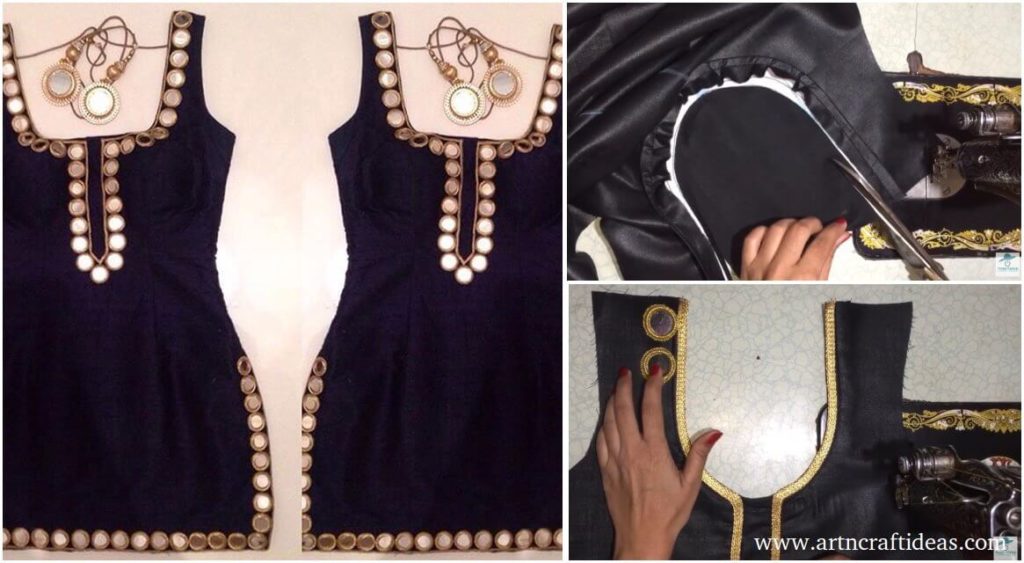
Posted onJune 5, 2017June 5, 2017inClothing, Tutorial, Video DIY Fashion: Round Neck Design for Kurti with Mirror work
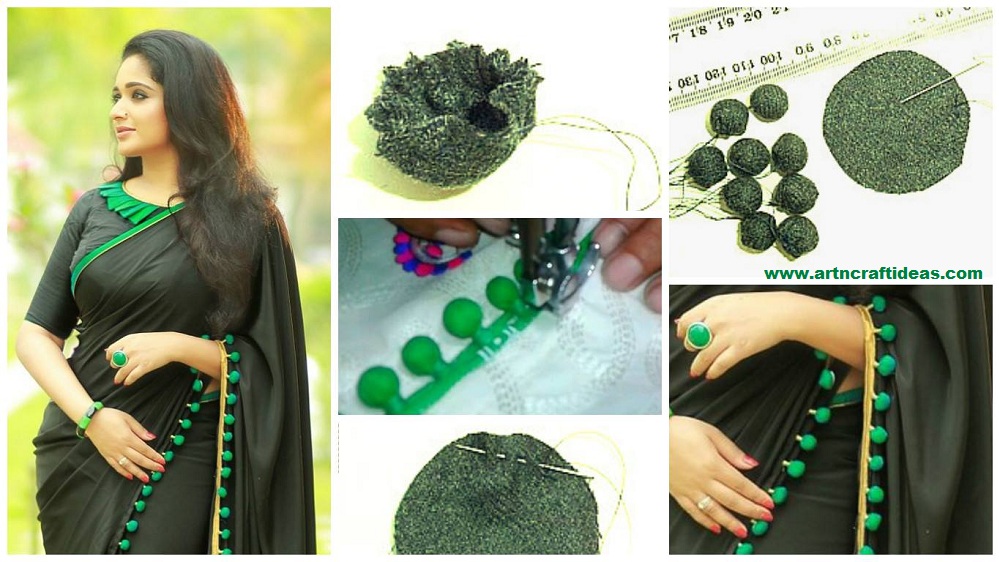
Posted onJune 2, 2017inClothing, Embroidery And Sewing, Tutorial How to decorate saree from fabric pompom