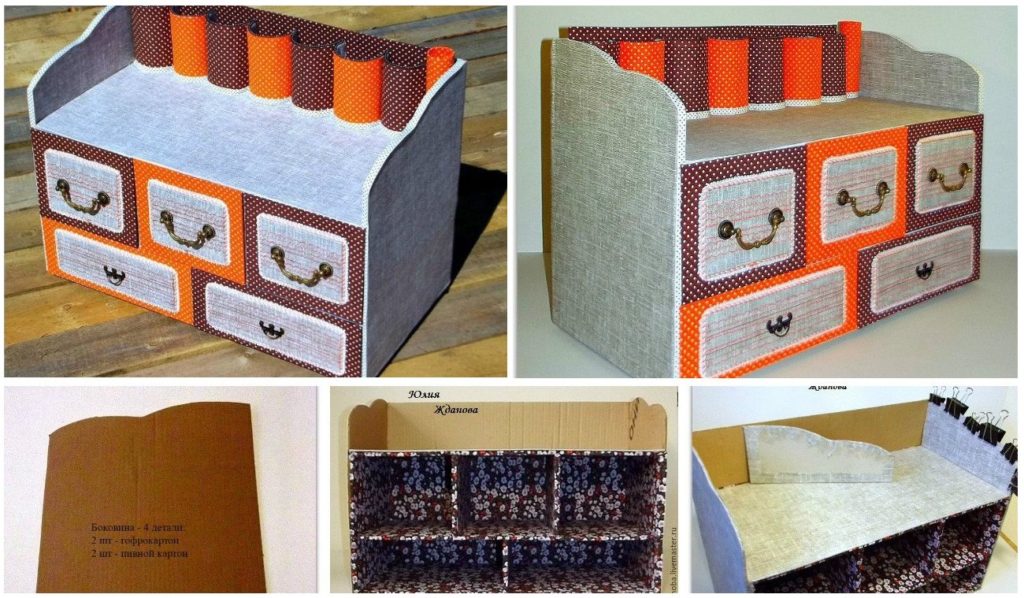
Posted onMay 7, 2017July 15, 2017inCardboard Crafts, DIY, Home Decor How to make a cardboard room dresser with drawers
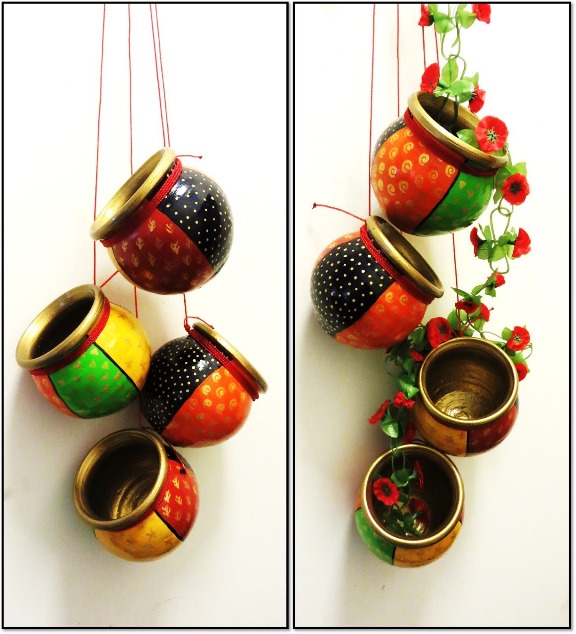
Posted onApril 8, 2017April 8, 2017inBest out of Waste, Home Decor, Tutorial How to make terracotta hanging pots
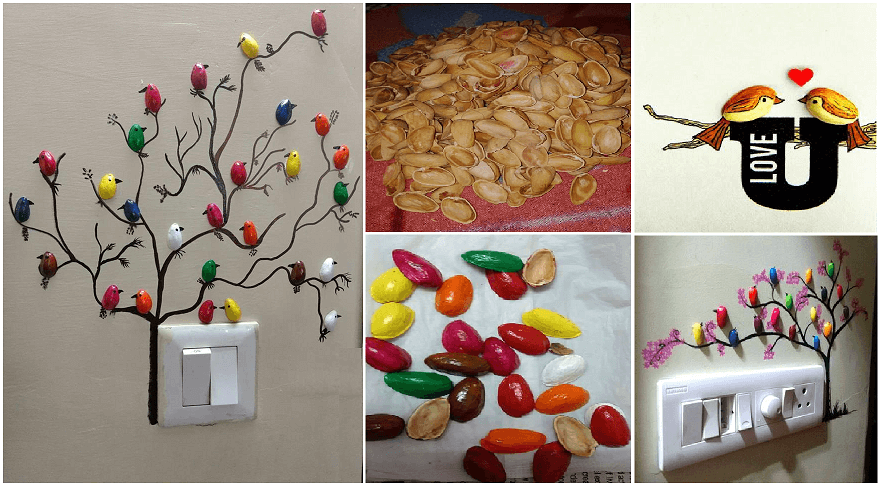
Posted onApril 8, 2017May 11, 2017inBest out of Waste, Featured, Home Decor, Tutorial Handmade pista shell bird for wall decoration
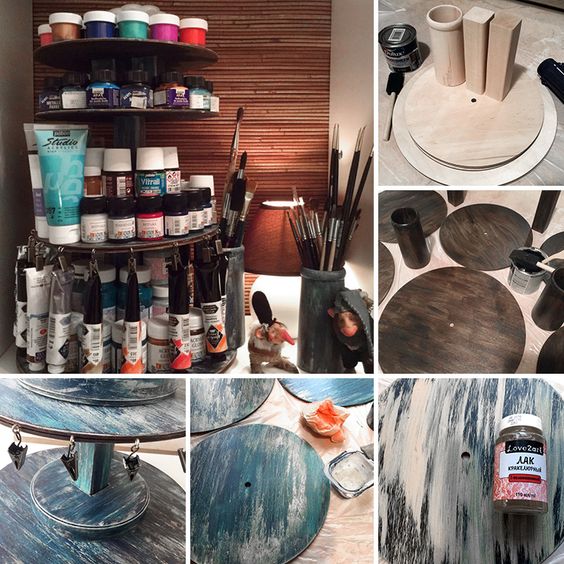
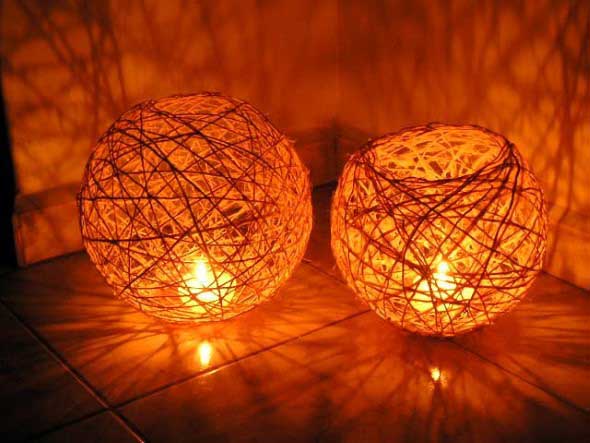
Posted onMarch 14, 2017inDIY, Home Decor, Tutorial Awesome DIY String Pendant Light Ideas & Tutorials
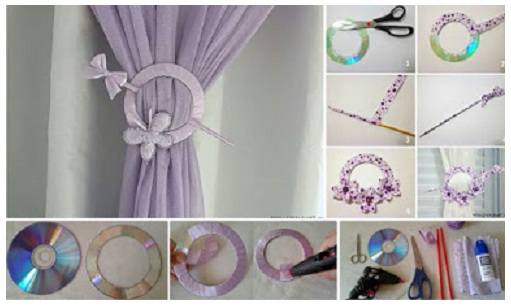
Posted onMarch 12, 2017inBest out of Waste, Home Decor, Tutorial How to make curtains holder of old CD