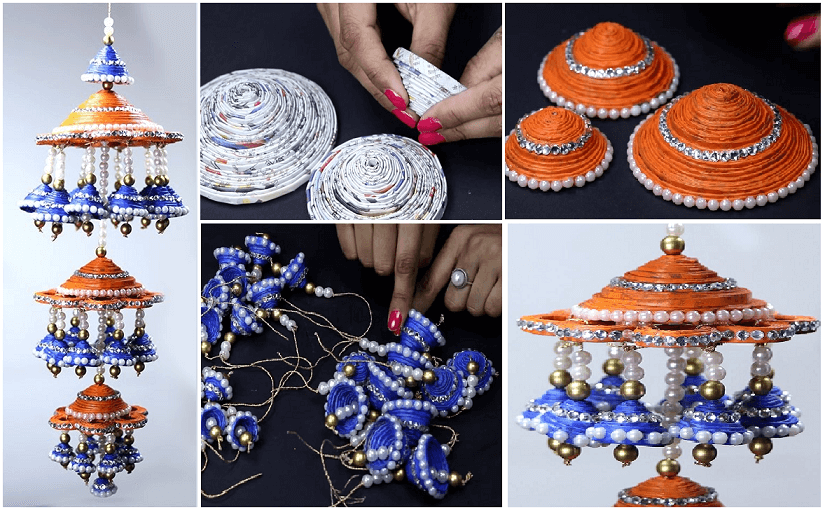
Posted onMay 27, 2017inBest out of Waste, Home Decor, Newspaper Crafts, Tutorial, Video How to Make Newspaper Wall Hanging Craft
Posted onMay 20, 2017May 16, 2017inBest out of Waste, DIY, Home Decor, Ideas, Kids Crafts 20+ Easy DIY Toilet Paper Roll Craft Ideas
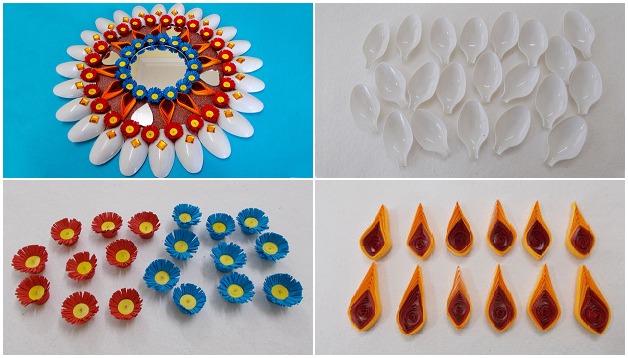
Posted onMay 19, 2017inBest out of Waste, Home Decor, Tutorial, Video DIY Plastic Spoons & Mirror Wall Decor
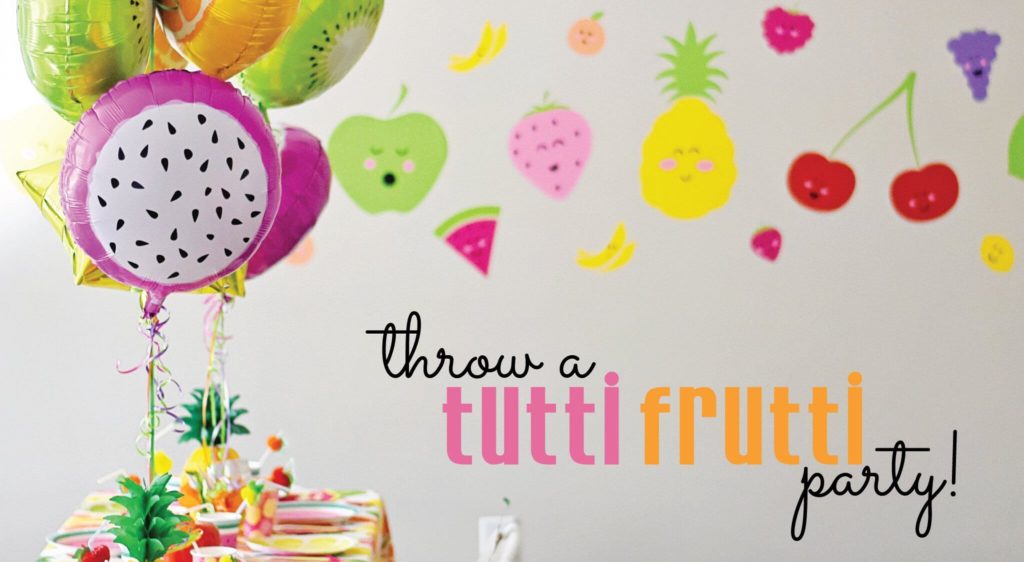
Posted onMay 18, 2017inBirthday, Decorations, Ideas, Kids Corner DIY Cute and Colorful Tutti Frutti Birthday Party Decoration Ideas
Posted onMay 17, 2017May 17, 2017inHome Decor, Kids Corner, Tutorial Love birds – Acrylics Painting on Canvas
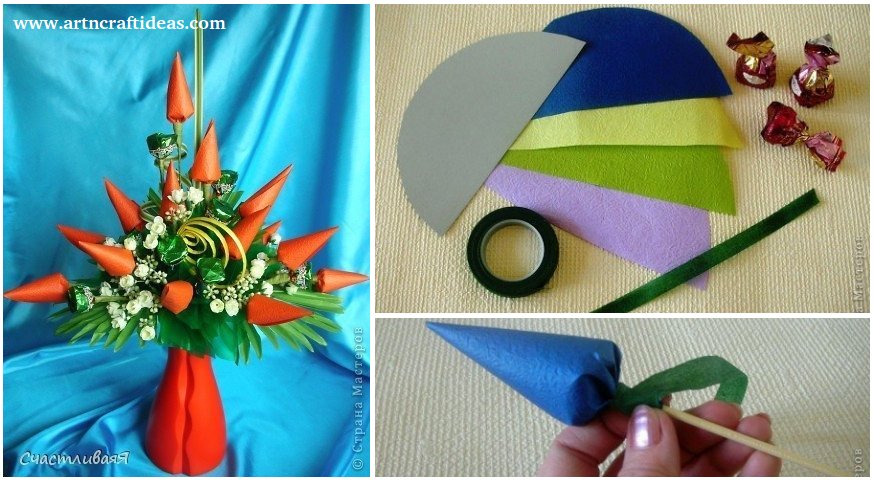
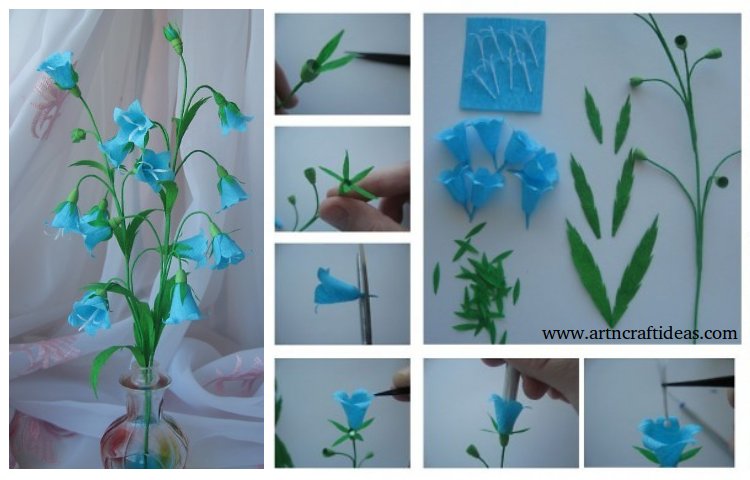
Posted onMay 16, 2017May 16, 2017inDIY, Home Decor, Paper Crafts, Tutorial How to make paper flowers bells – Step by step
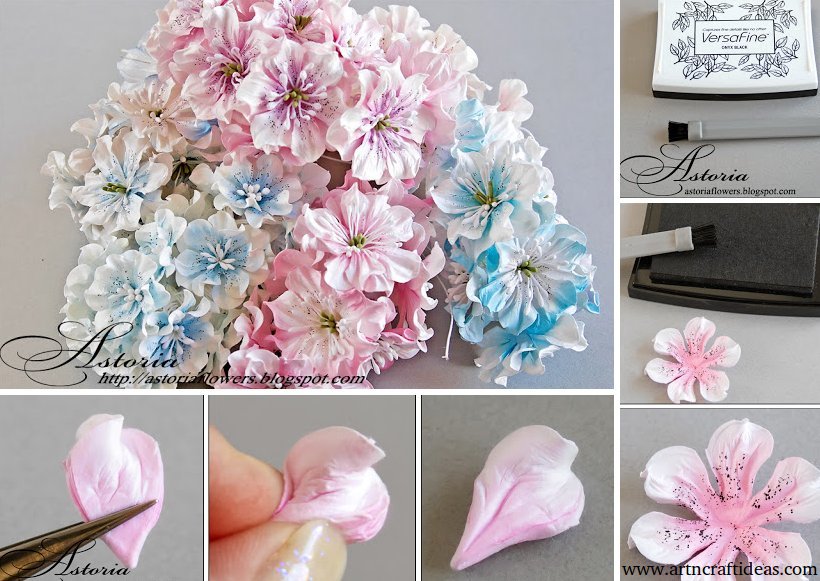
Posted onMay 15, 2017inDIY, Home Decor, Paper Crafts, Tutorial DIY Beautiful roses from watercolor paper – Step by step